Kitchen Flooring
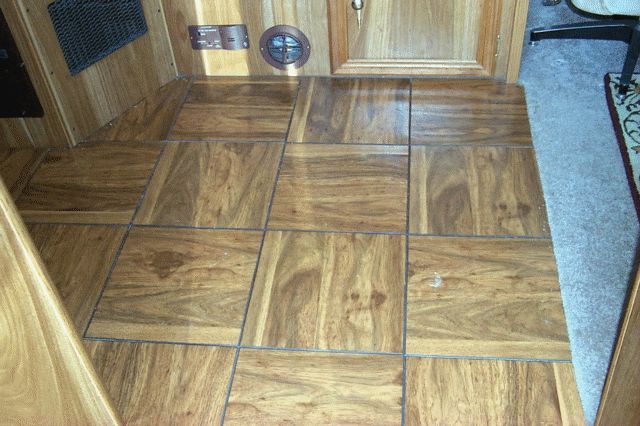
We were never really excited about the stock floor - it was dark and the seams between the individual 12” linoleoum tiles were a pain to clean.
After a little research, our kitchen floor replacement is complete! We nixed the cheap vinyl remnant we’d bought at Home Depot in favor of a piece of Armstrong Solarian Supreme we found at a local flooring place. This flooring was about the same thickness as the original tiles and about half that thickness was the actual floor pattern material, making it much less likely to show scratches. The owner waited on us as everyone else was out to lunch, and he turned out to be a motorhome enthusiast as well, having just replaced the flooring in his class C (not a LD) with hardwood (must be nice to own the flooring store!).
The easy part was taking out the old flooring in our ‘99 30IB - the adhesive had failed so what was there was barely attached (either that, or spray contact adhesive is used and was only applied to one of the surfaces by mistake). We just picked each tile up and laid it on some flooring pattern paper in order, using a 4-foot straight-edge and a large framing square to get everything lined up.
Where the old flooring met cabinetry, there was a bead of brown silicone caulk that had to be cut (we realized this after accidentally pulling a small area about 1/4” of the cabinet “wud” skin up). Even with the pattern from the old flooring, it took 3-4 trims on each side, usually removing 1/32”, to get the new flooring to lay flat and not contact any vertical surfaces (key, according to the flooring guy). It’s likely the new vinyl continued to relax once laid in the motorhome.
We then stapled the perimeter down with some 3/8” staples. Our electric staple gun put them about 1/8” away from the edges. You can’t see them under the carpet nap and we will put in some small quarter round moulding to cover the other areas.
This REALLY brightened up the place and the smaller pattern we chose made the kitchen area seem larger. It took 5 1/2 hours working slowly, measuring several times, with hydration breaks to combat the heat. Maybe an hour left to complete the job of cutting, staining, and installing the quarter-round.
Pictures

Here is what we started with.
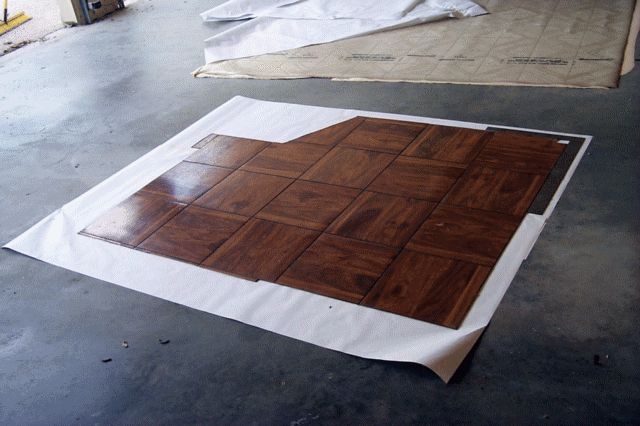
The tiles were removed one by one and reconstructed on top of a piece of paper so it could be traced.
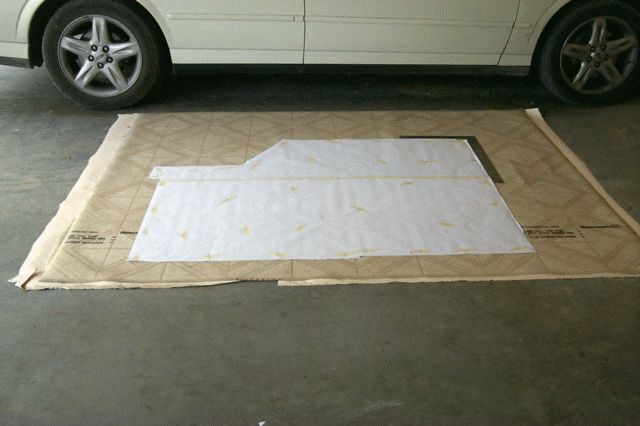
The traced paper pattern was cut out and place on top of the linoleum which was then cut out
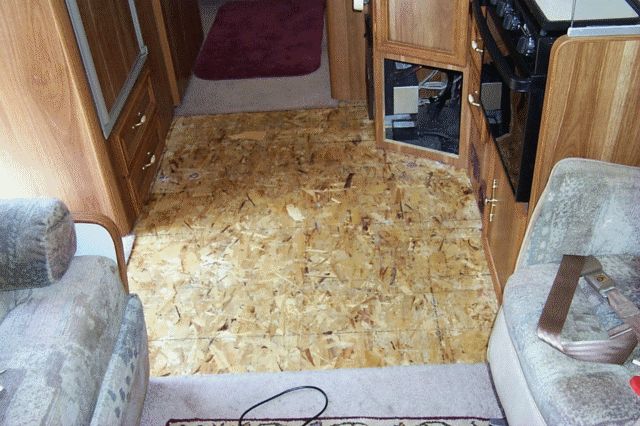
This is what you will find under your flooring in the LD
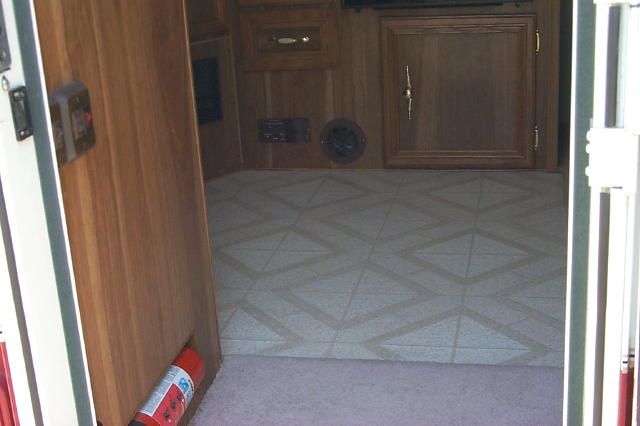
Here is what the kitchen looks like with the new linoleum in place. It’s much brighter in the kitchen and looks more coordinated to the carpet and cabinets. Plus it does not have all those little dirt collecting grooves of the old floor.
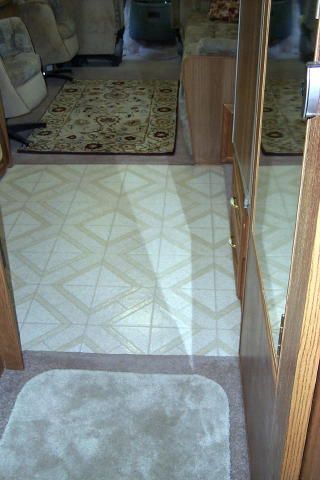
Another picture looking from the bedroom to the cab
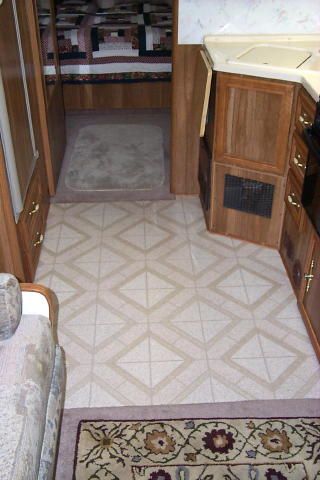
From the living area to the bedroom


