Fresh Tank Overflow
On our coach (2000/U320/36) the overflow hose exits the fresh tank, travels over the grey and black tanks, and terminates at the top of the bay divider. All of this is on the passenger side, in the Manabloc bay. The fitting then deposits any overflow (from over-filing or tight turns on a full tank) onto the bulkhead L bracket.
We don’t often use full fresh tanks, but we decided this was easy to move and just a good thing to get done. I’ve read many of the updates done before, so here is ours.
I decided to replace the 1-3/8” ID pool hose; the other option was to splice the existing one to add the length needed, but I did not want tp add a potential leak point. This is the hose we used. 1-3/8” Fill Hose with Flats it looks just like what was originally there.
Fresh Water Tank Fitting
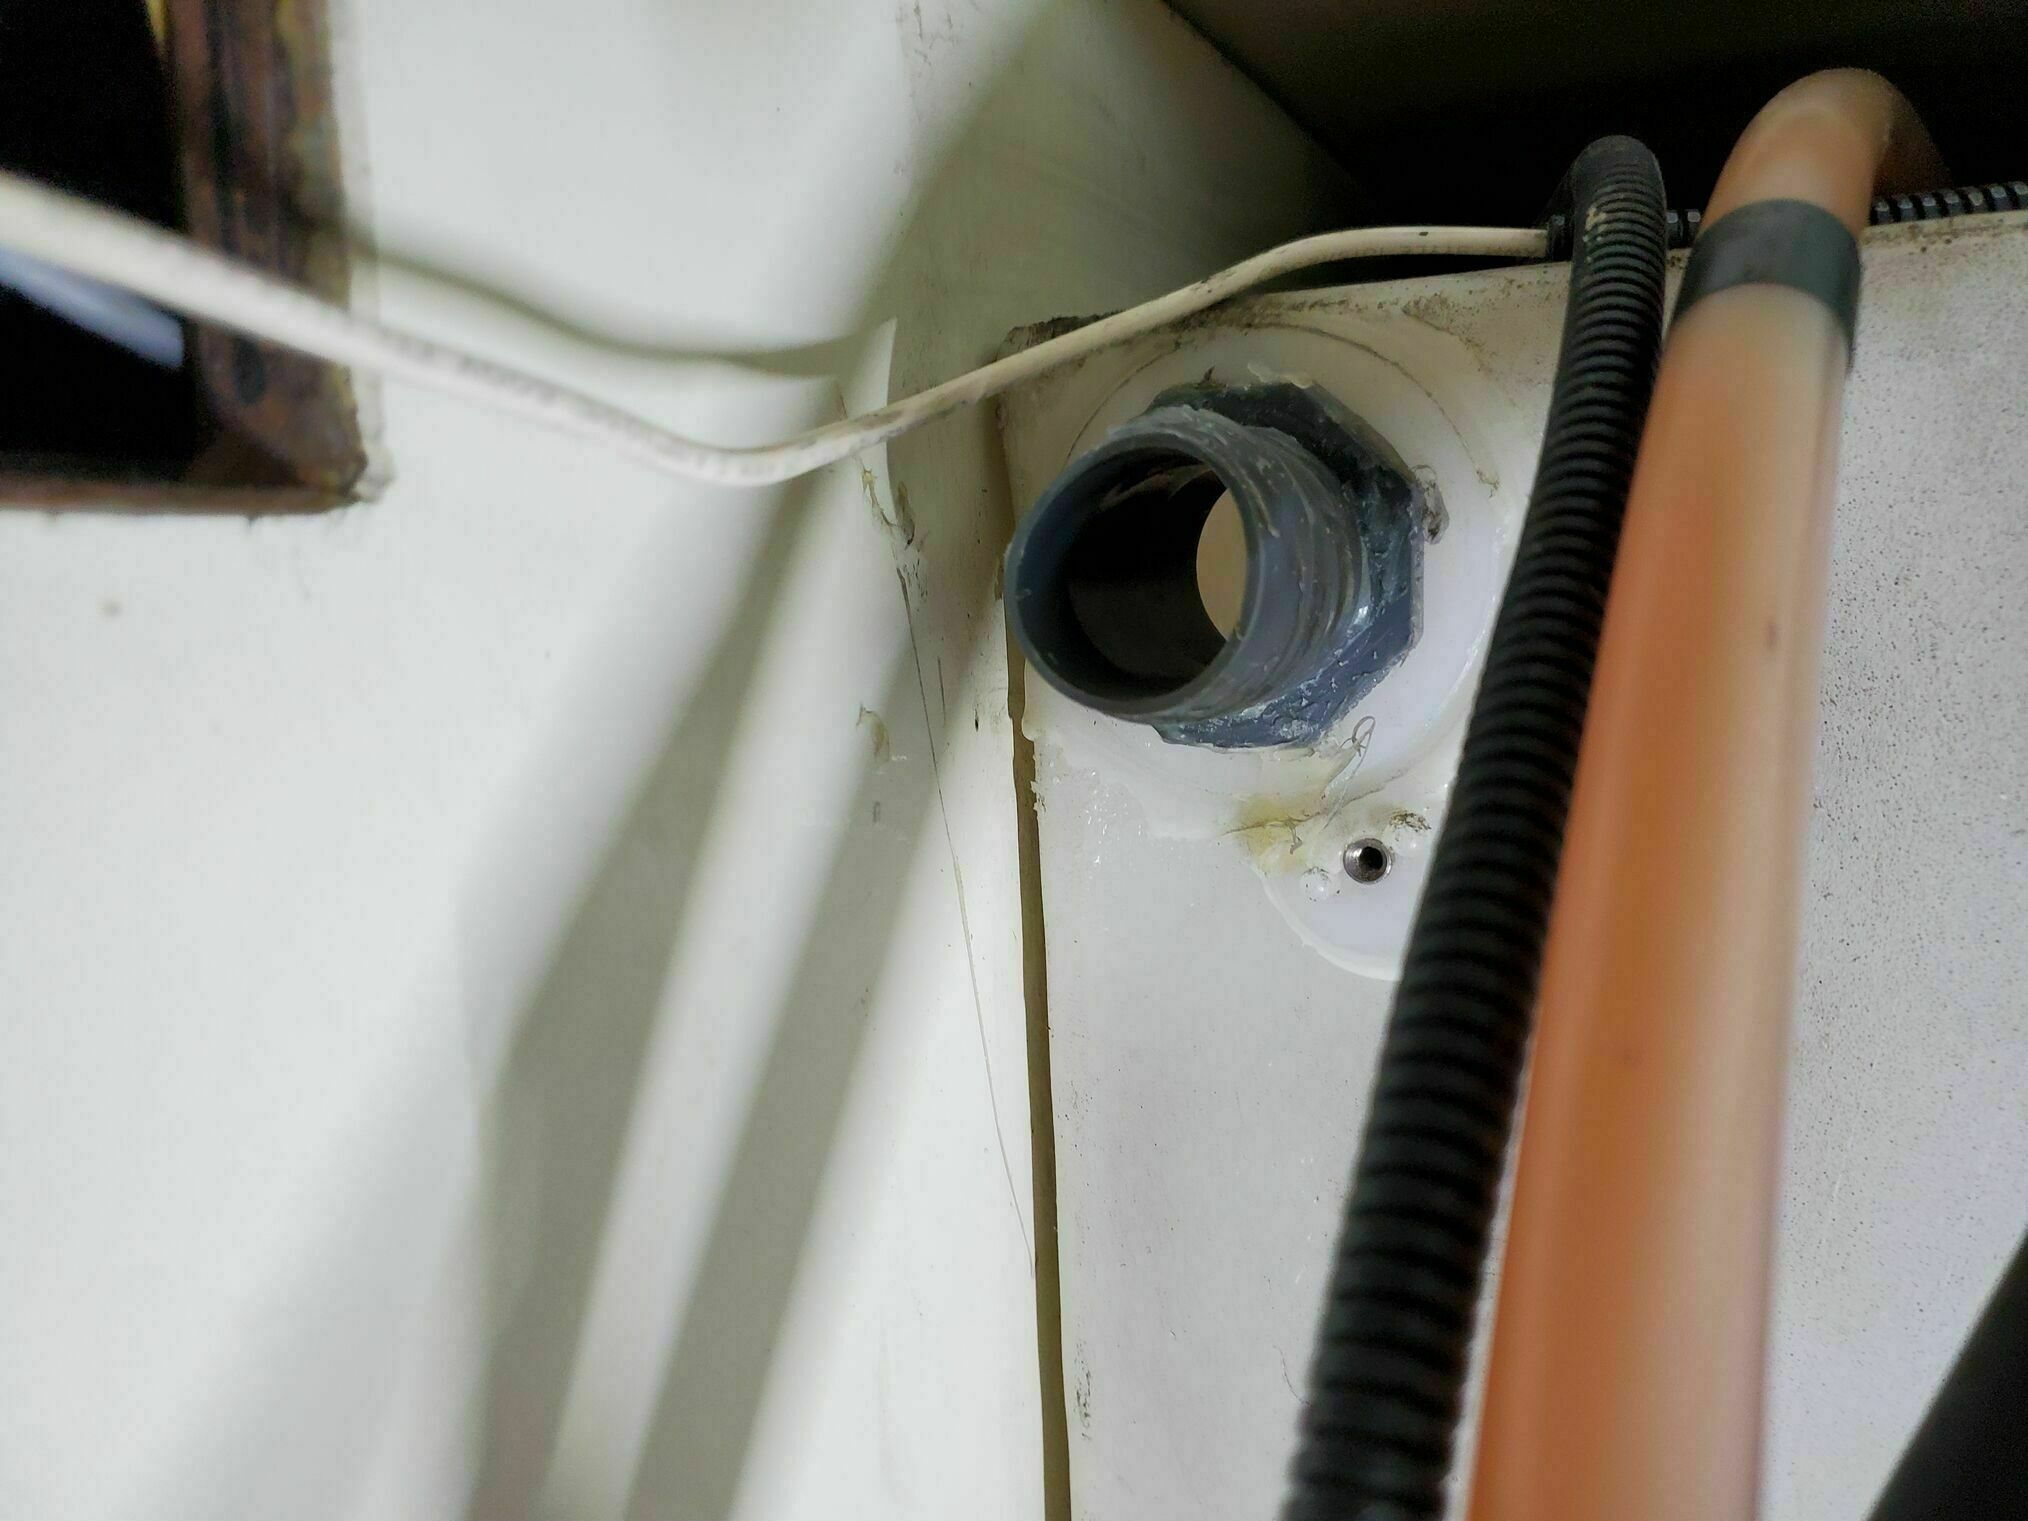
Foretravel attached the hose to the fresh tank with silicone sealant plus a hose clamp. When you remove the hose, you will see the fitting on the fresh tank has a pool hose thread, the type where you twist on a spiral hose. Then, if you want it to be watertight, you add silicone and a clamp. After removing the hose, I had to remove all that silicone so I could get a good seal with the new hose and fresh silicone.
Sealing the original Bulkhead Connection
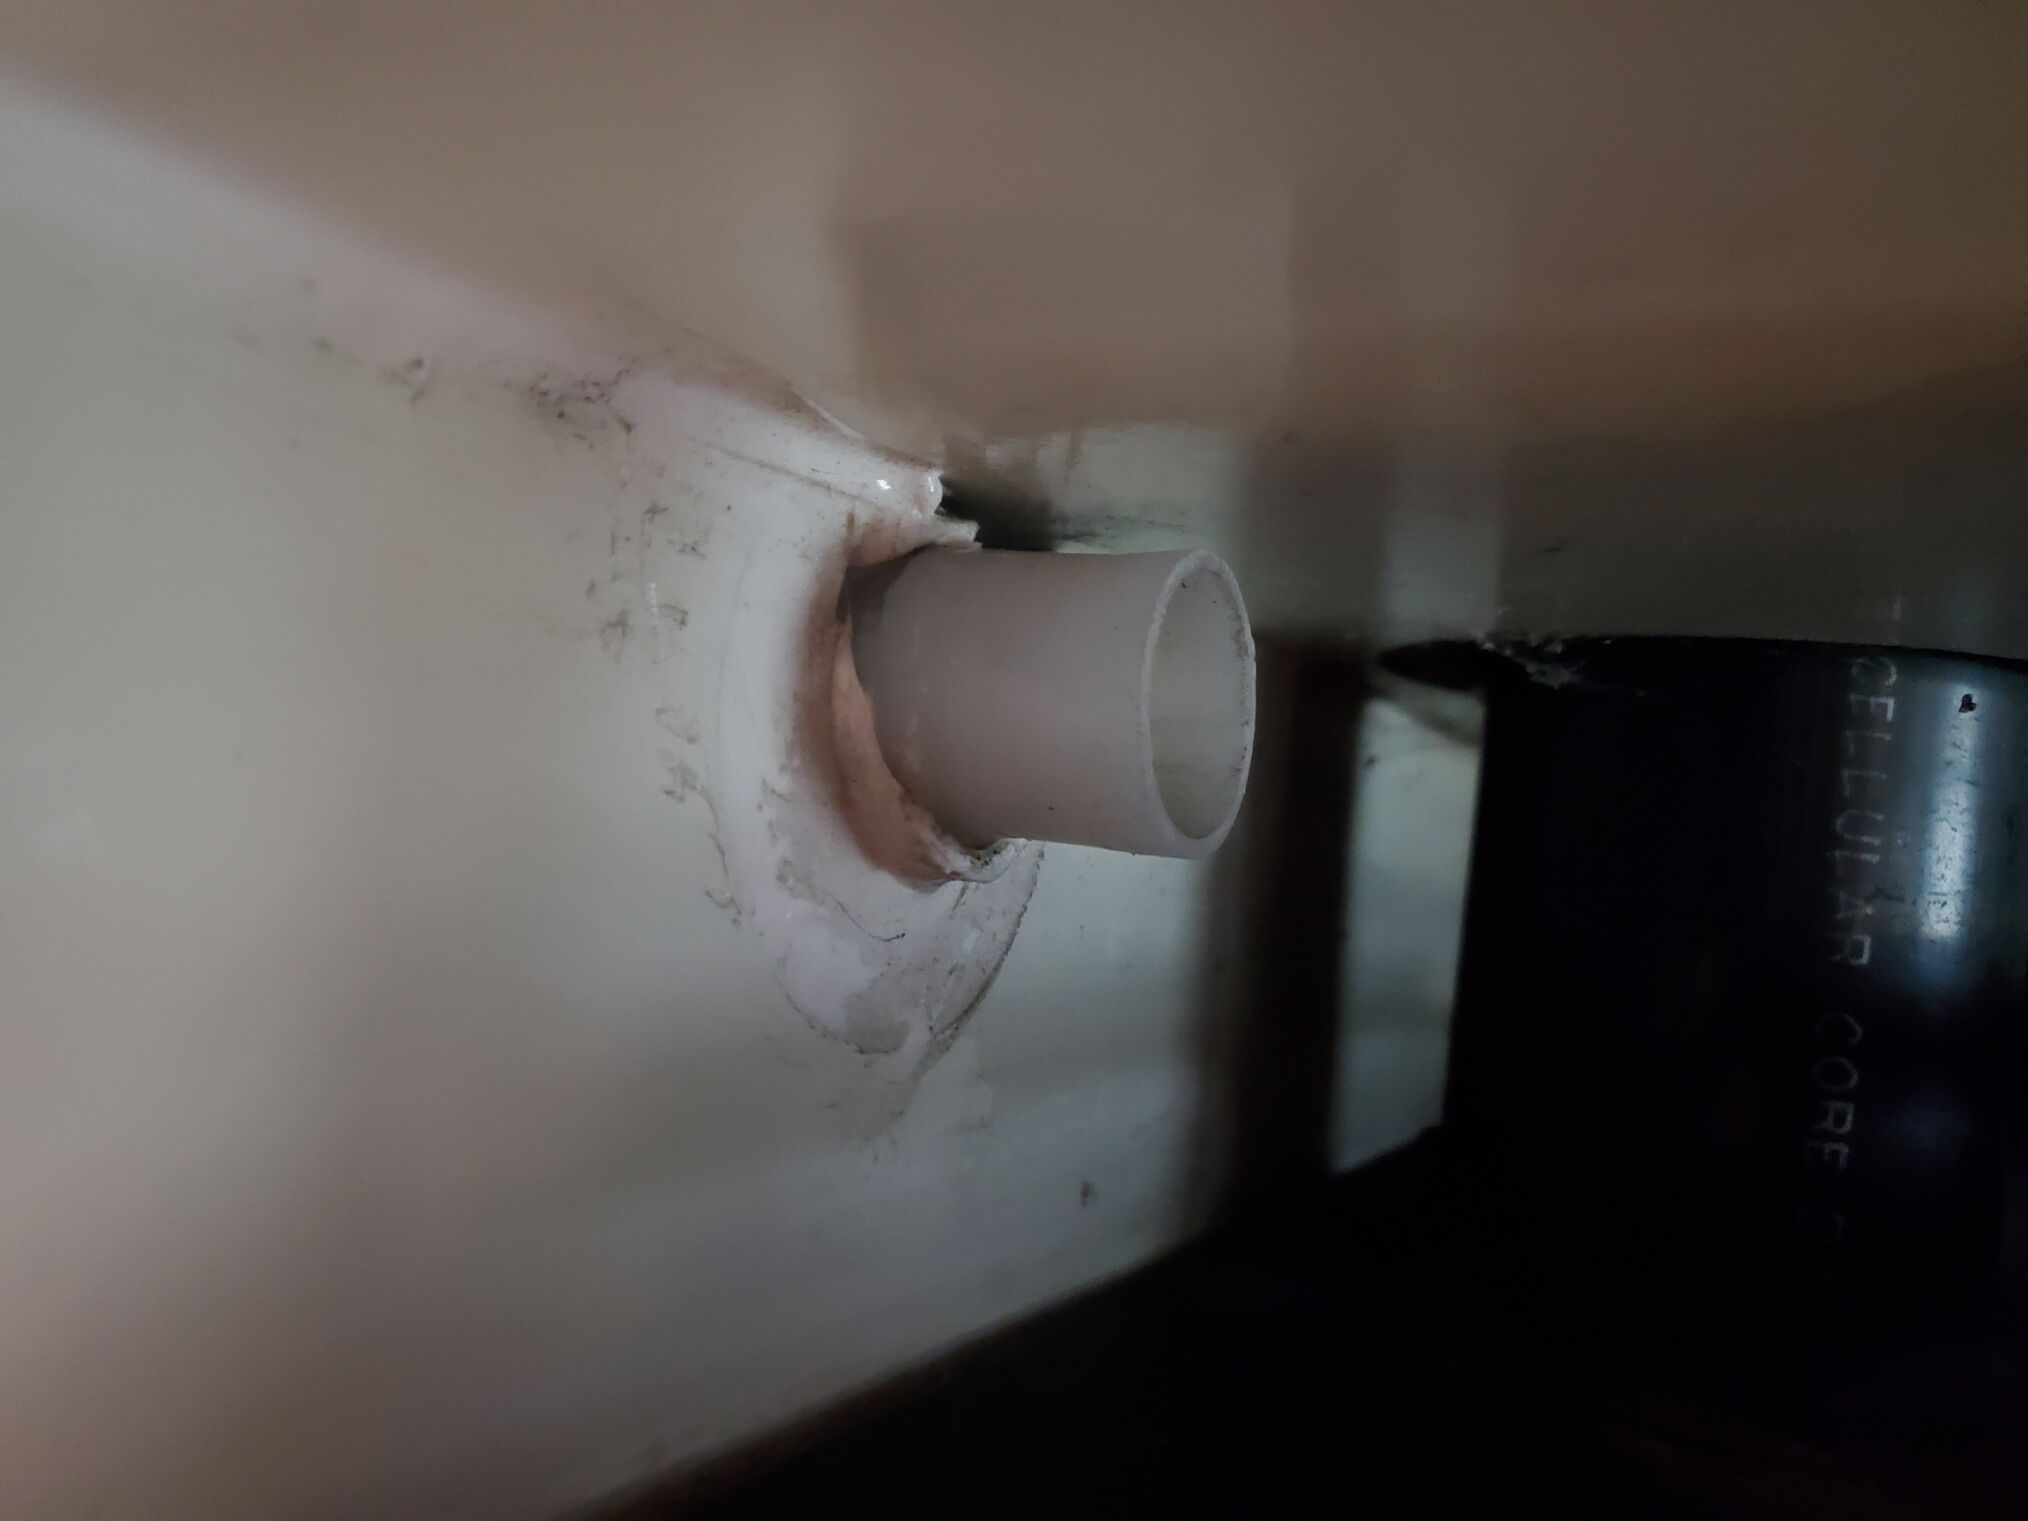
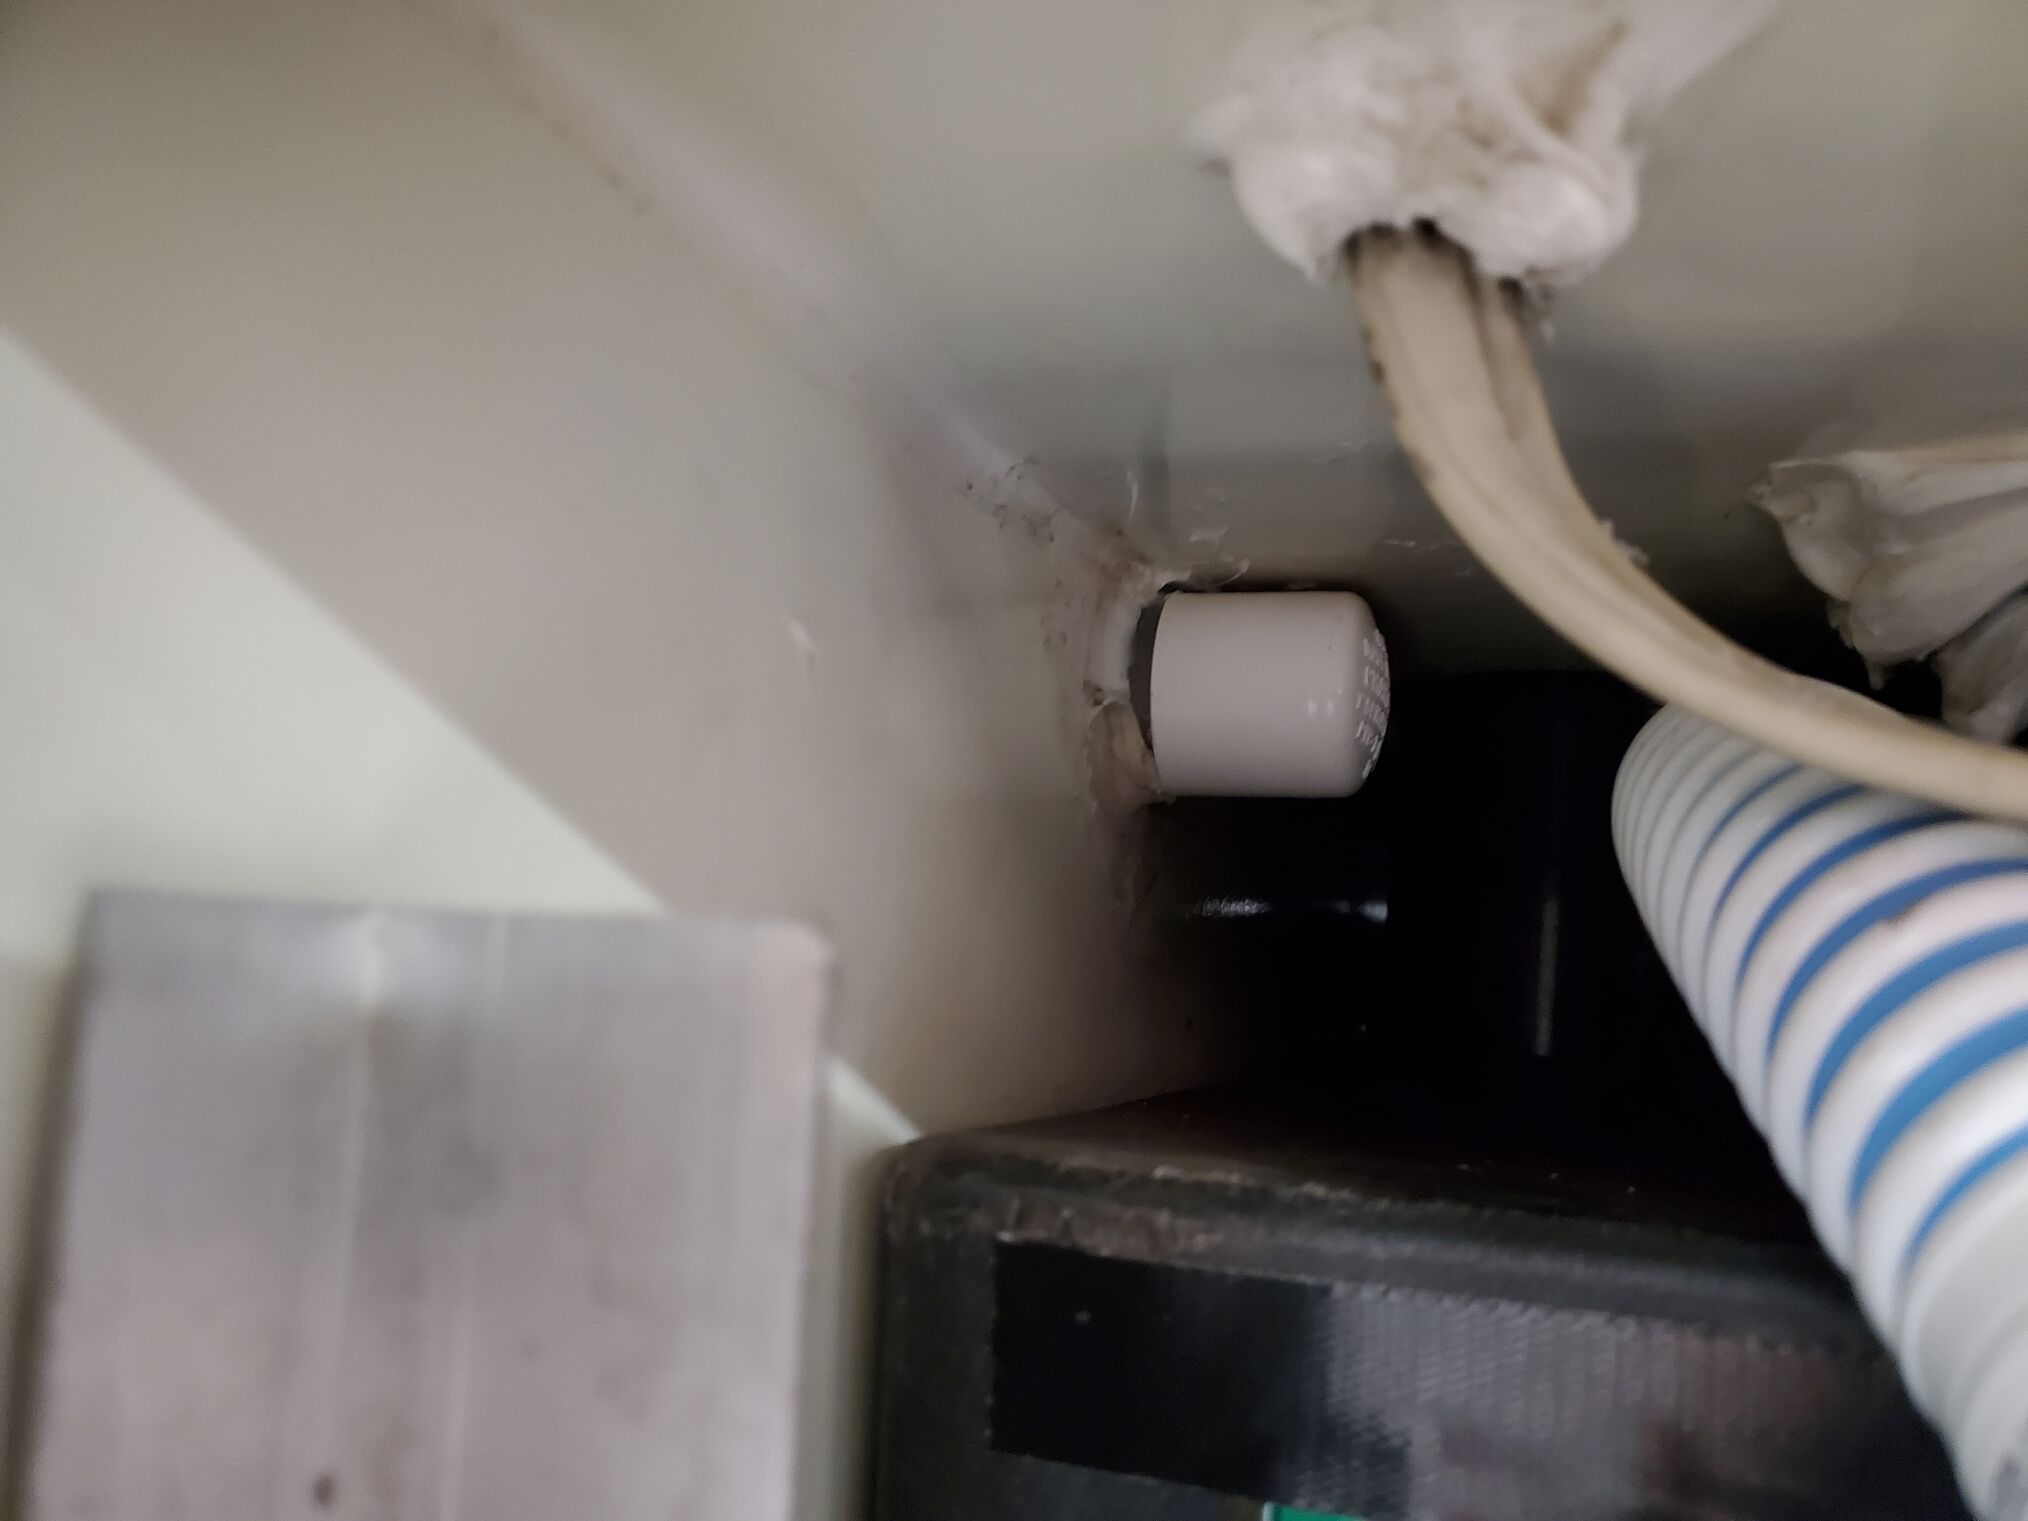
The fitting on the bay wall is a straight pipe that the hose was connected to with a hose clamp; in our case, there were a few gaps in the sealing of that pipe to the wall (see picture). A 1” PVC cap “kind-of” fits over the existing pipe, but I took the cap to the lathe and opened it up about 1/32” so it was a better fit. Once happy with the fit I secured it with some silicone and sealed the original wall gaps.
Fixing the Scupper
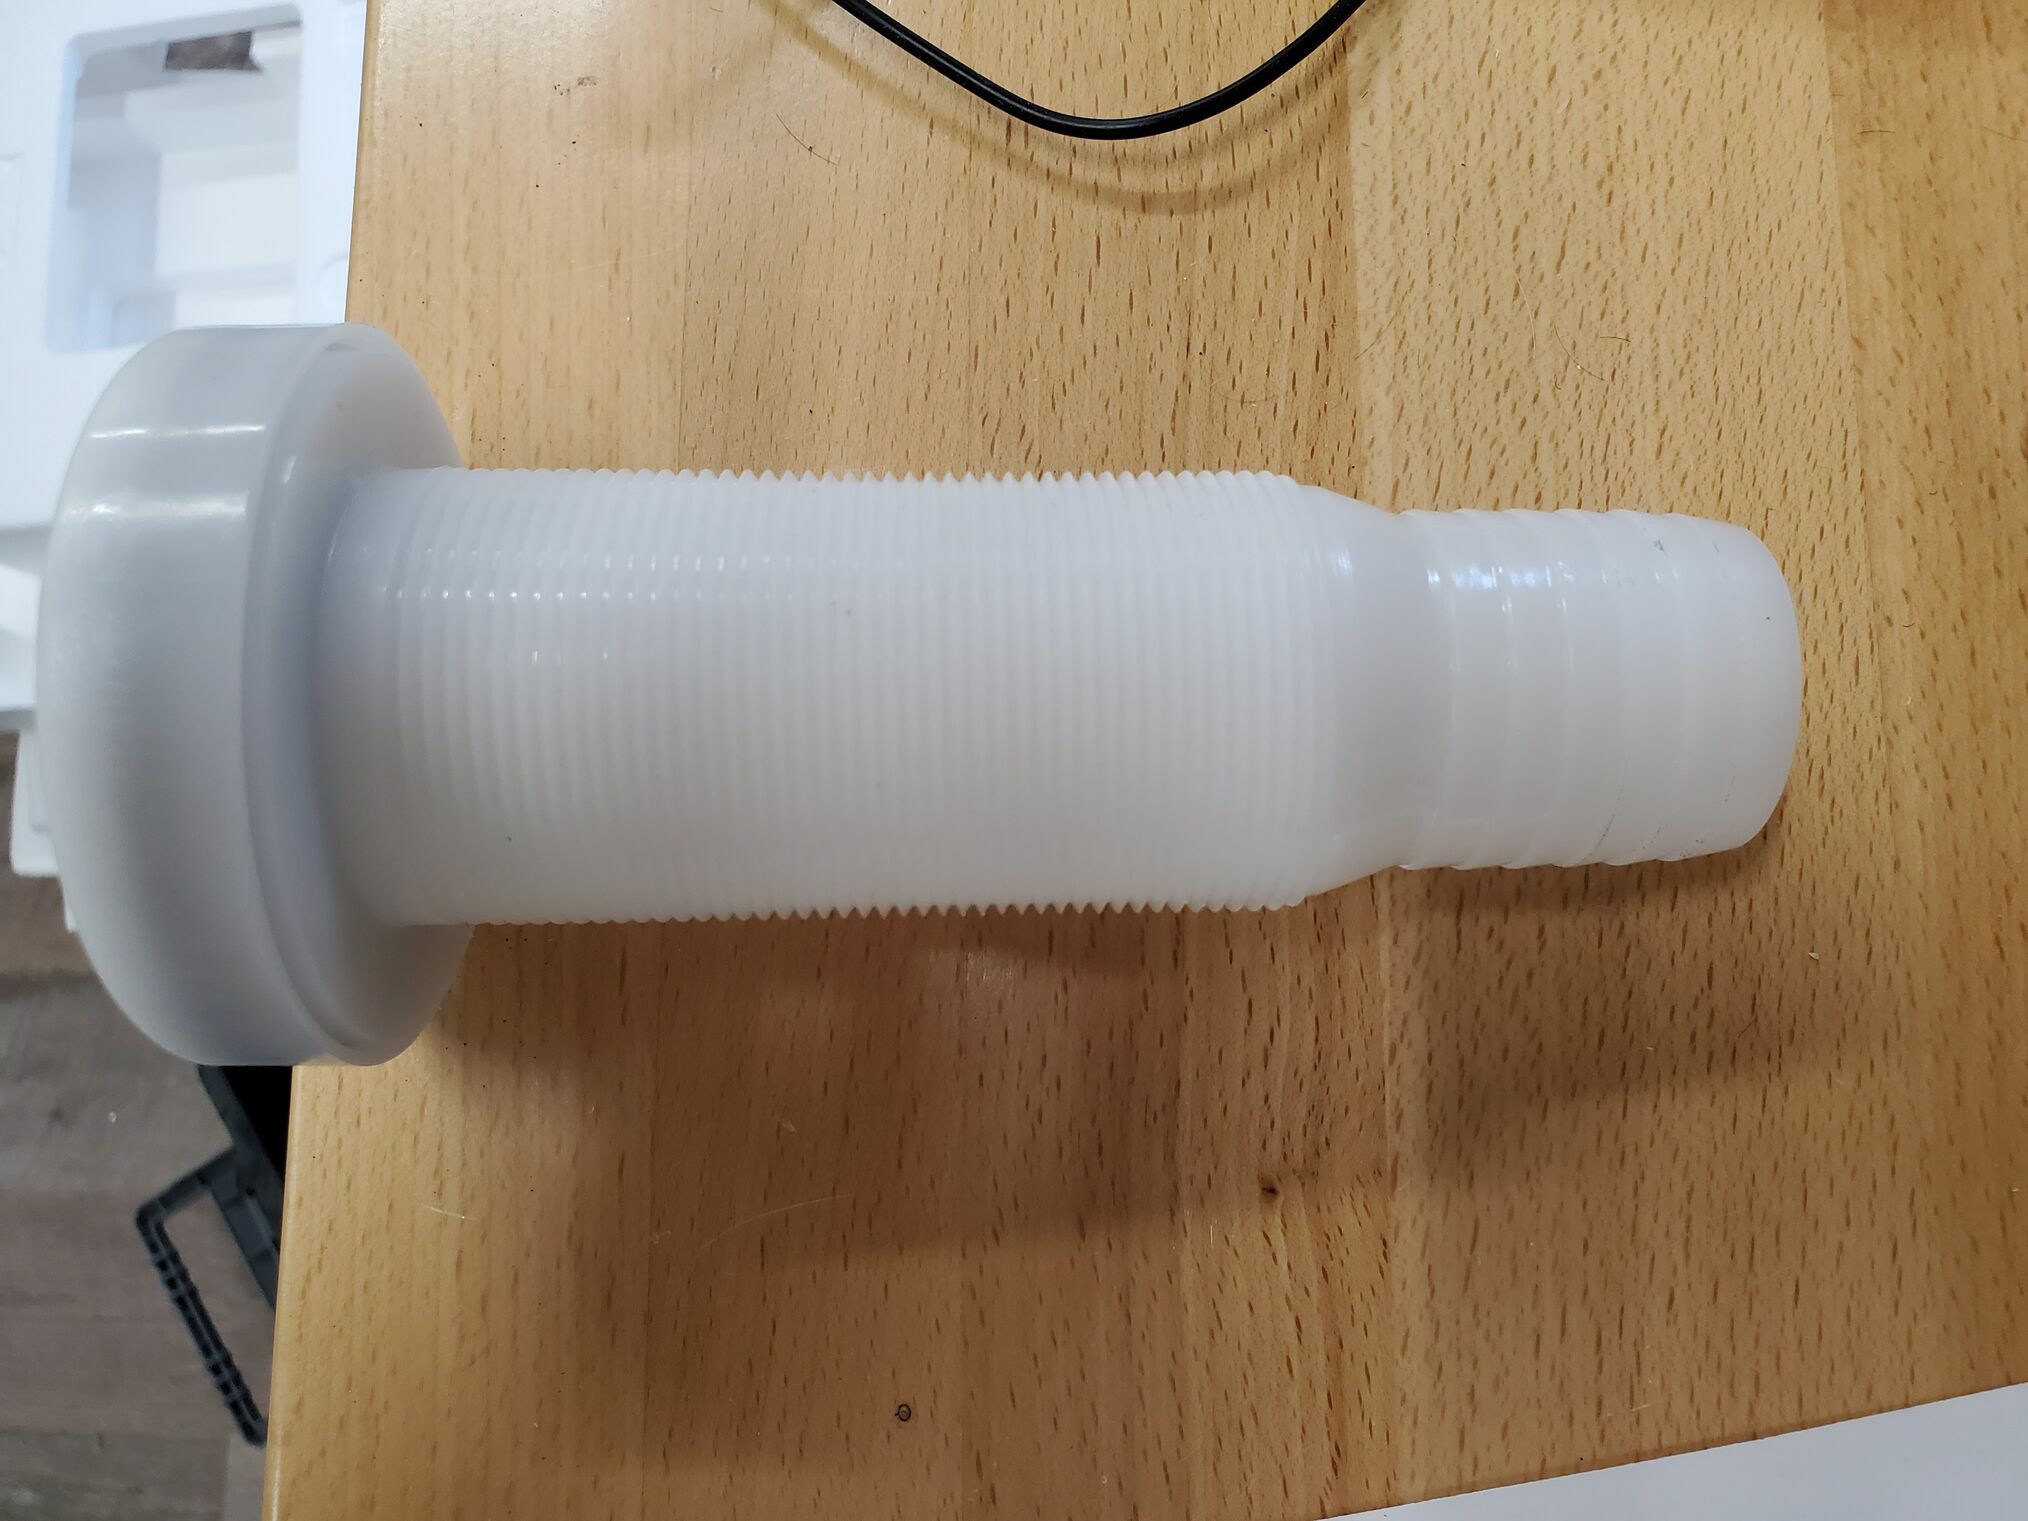
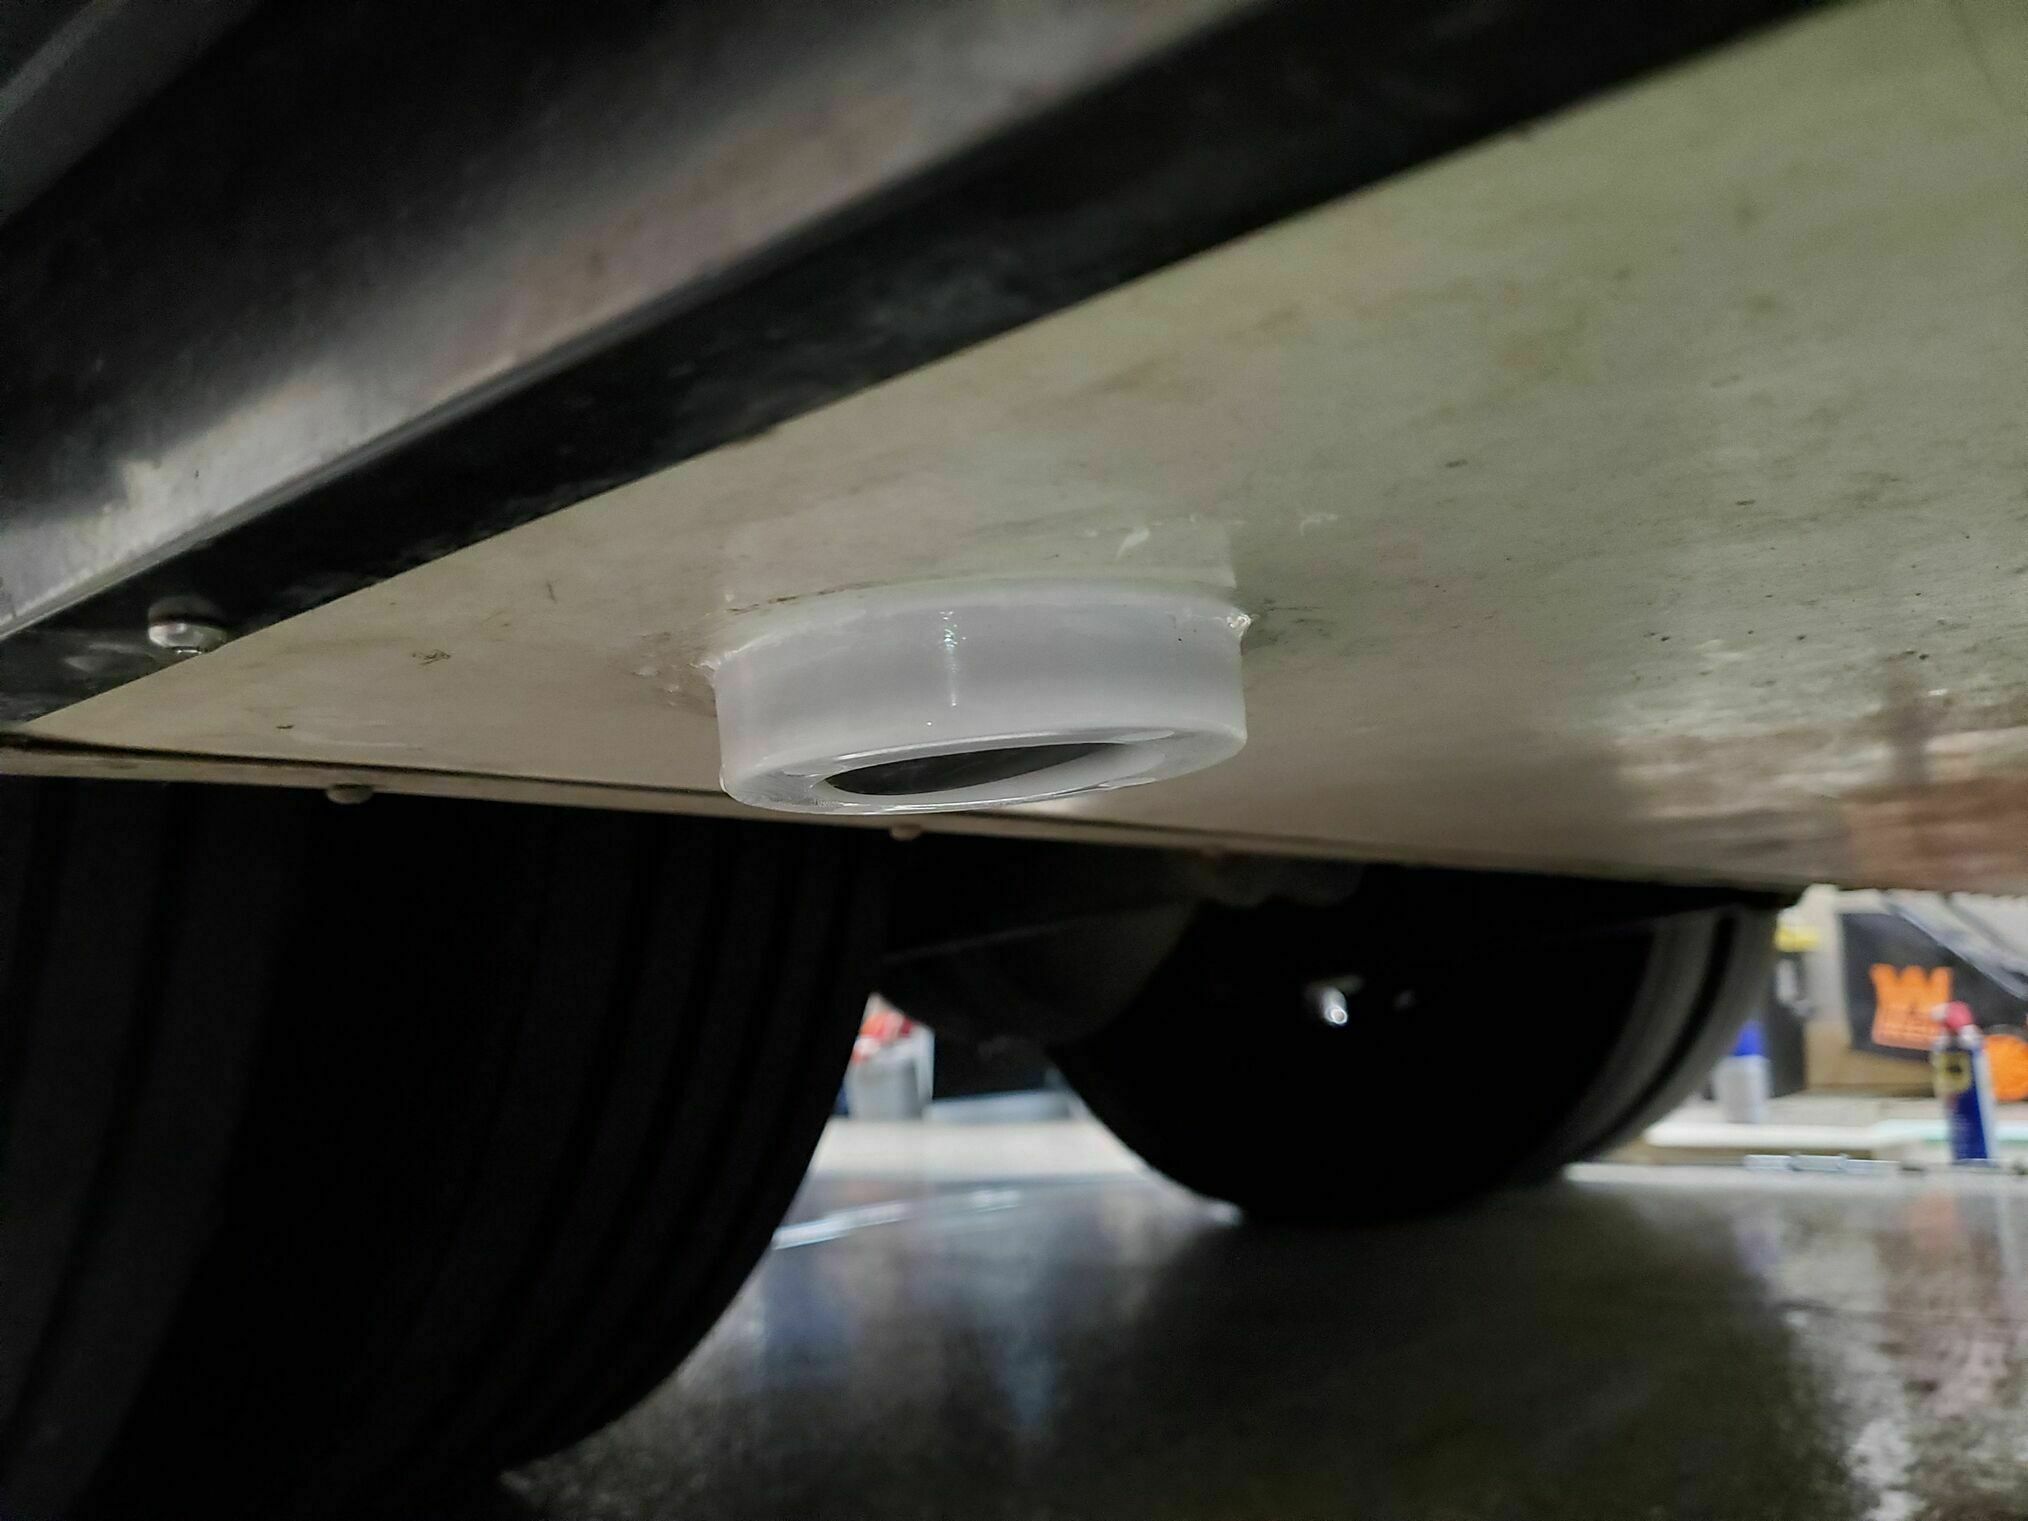
To exit through the floor, I choose this Attwood Scupper Thru Transom 1-1/2”. Although this is for a 1-1/2” hose, I thought with a bit of heat applied to hose it would expand and fit. Unfortunately, the material that the fill hose is made from did not stretch/expand with heat. Instead, I put the scupper on the lathe and turned the barbed fitting down (still as a barb) so it would work with a 1-3/8” hose. There is ample material thickness to work with; you are only taking the walls down a 1/16” of an inch.
Letting it breathe
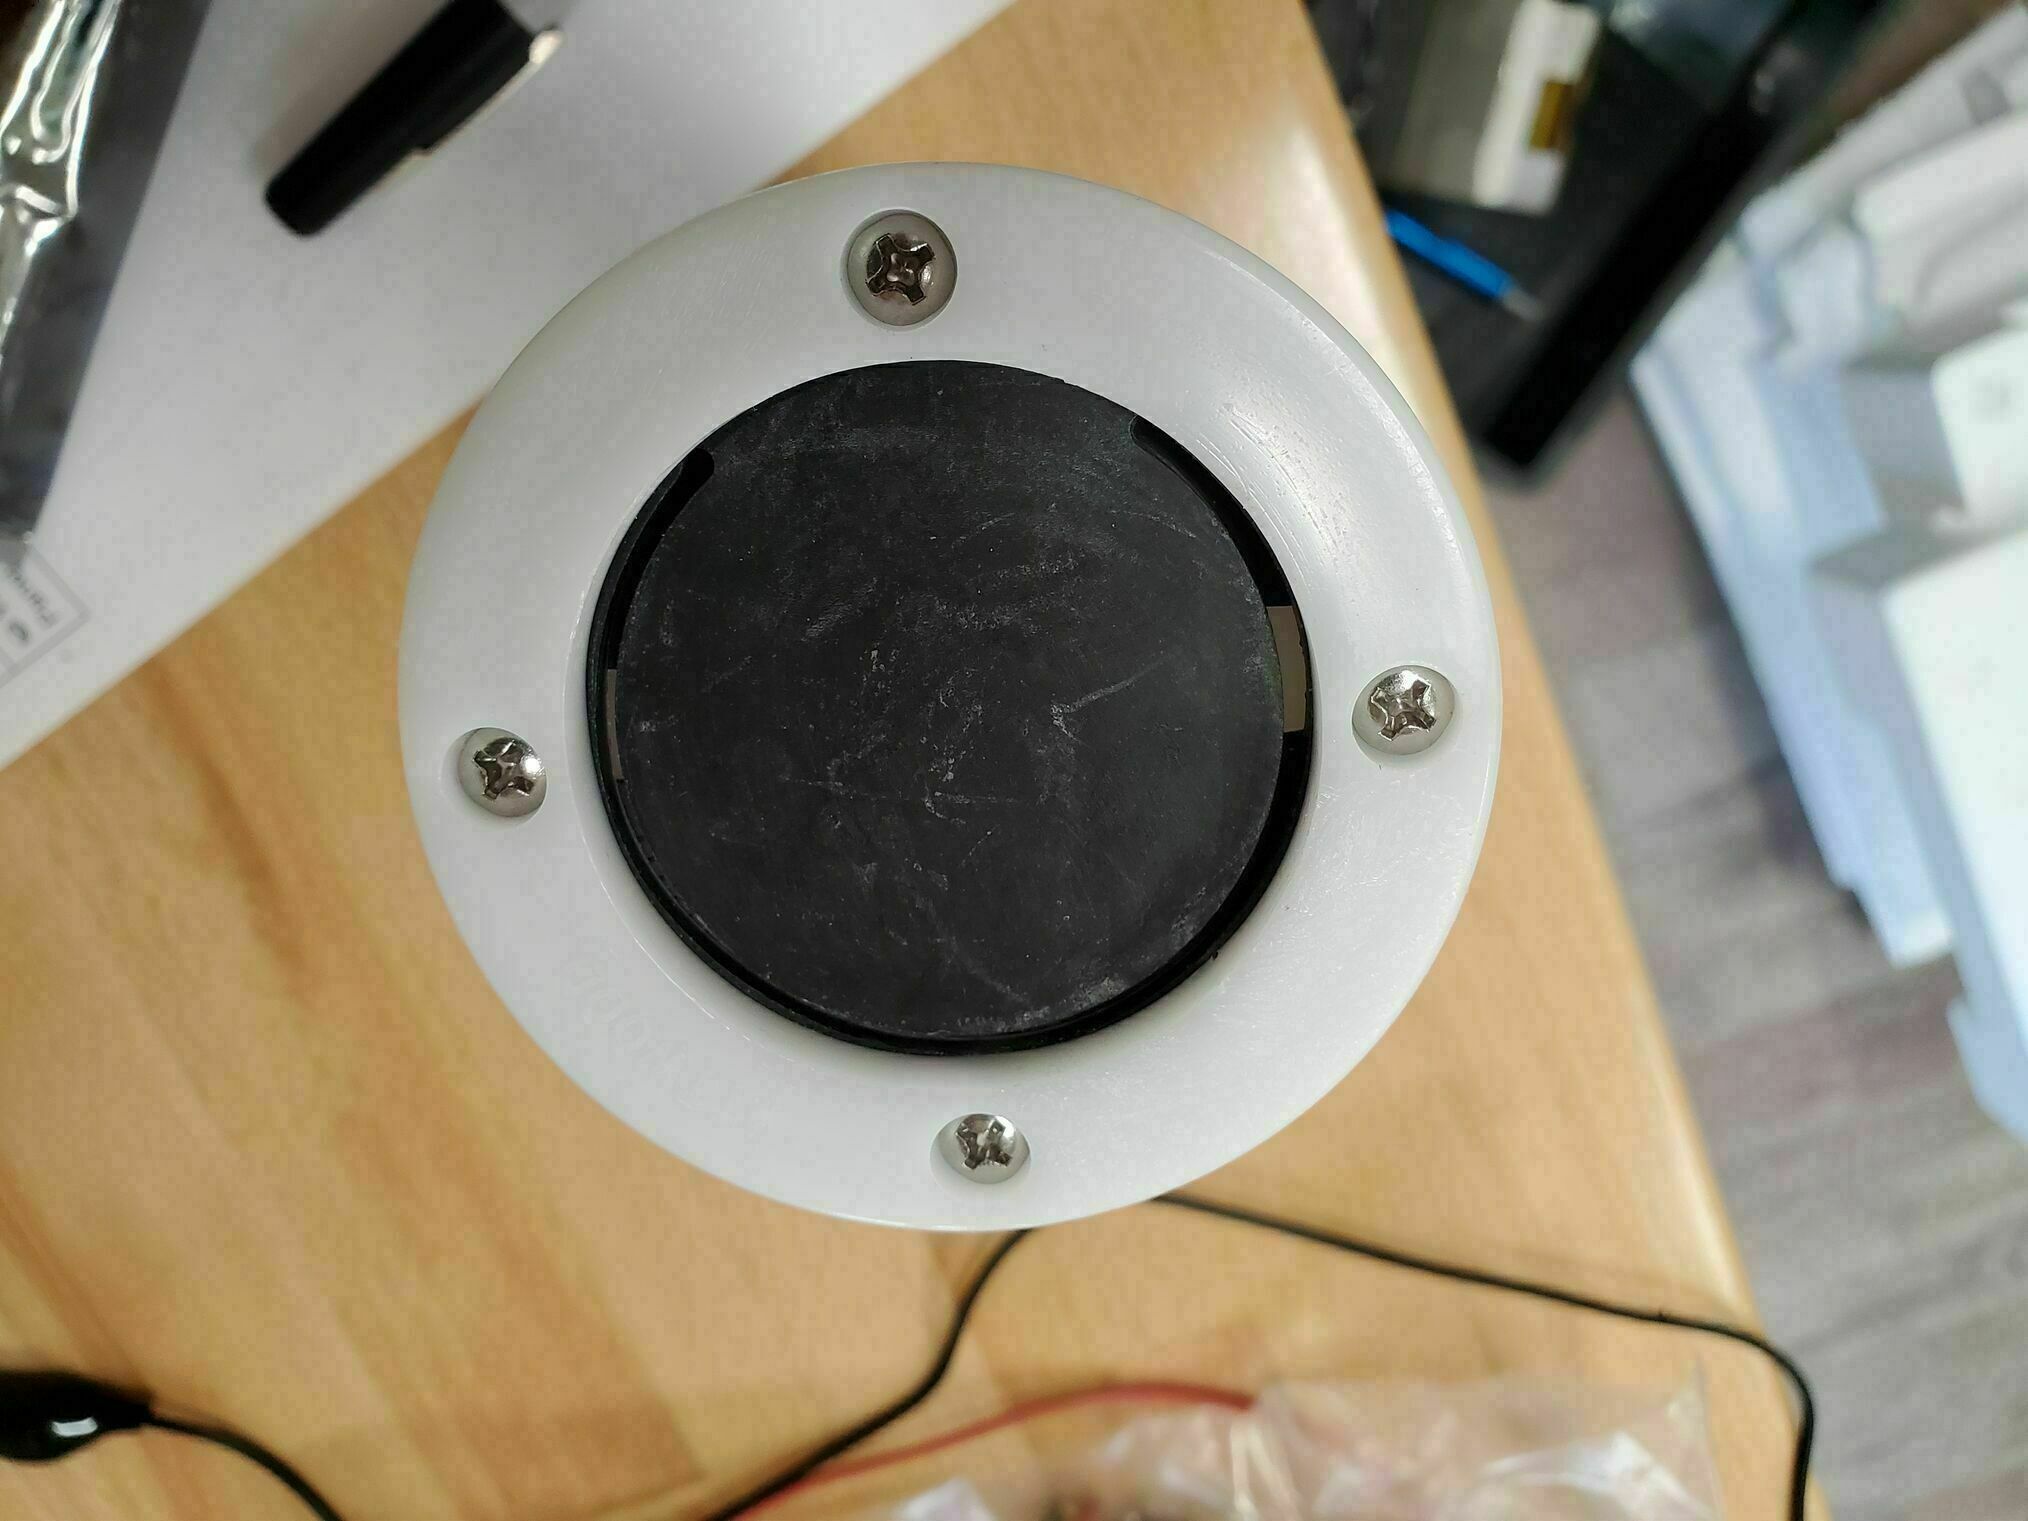

Next item on the scupper. The rubber flap seals very well under vacuum; try and draw air through it, and it seals tight. The only air makeup on the water tank is the overflow hose; as such it needs to be able to draw air in. I cut a few notches in the scupper flap seal so makeup air could easily pass into the tank when you get water out of it (and not create a vacuum). I then also placed a plug of brass wool inside to discourage any insects/etc. In its normal condition the flap is partly open, so no pressure is need to allow water to drain.
Installed
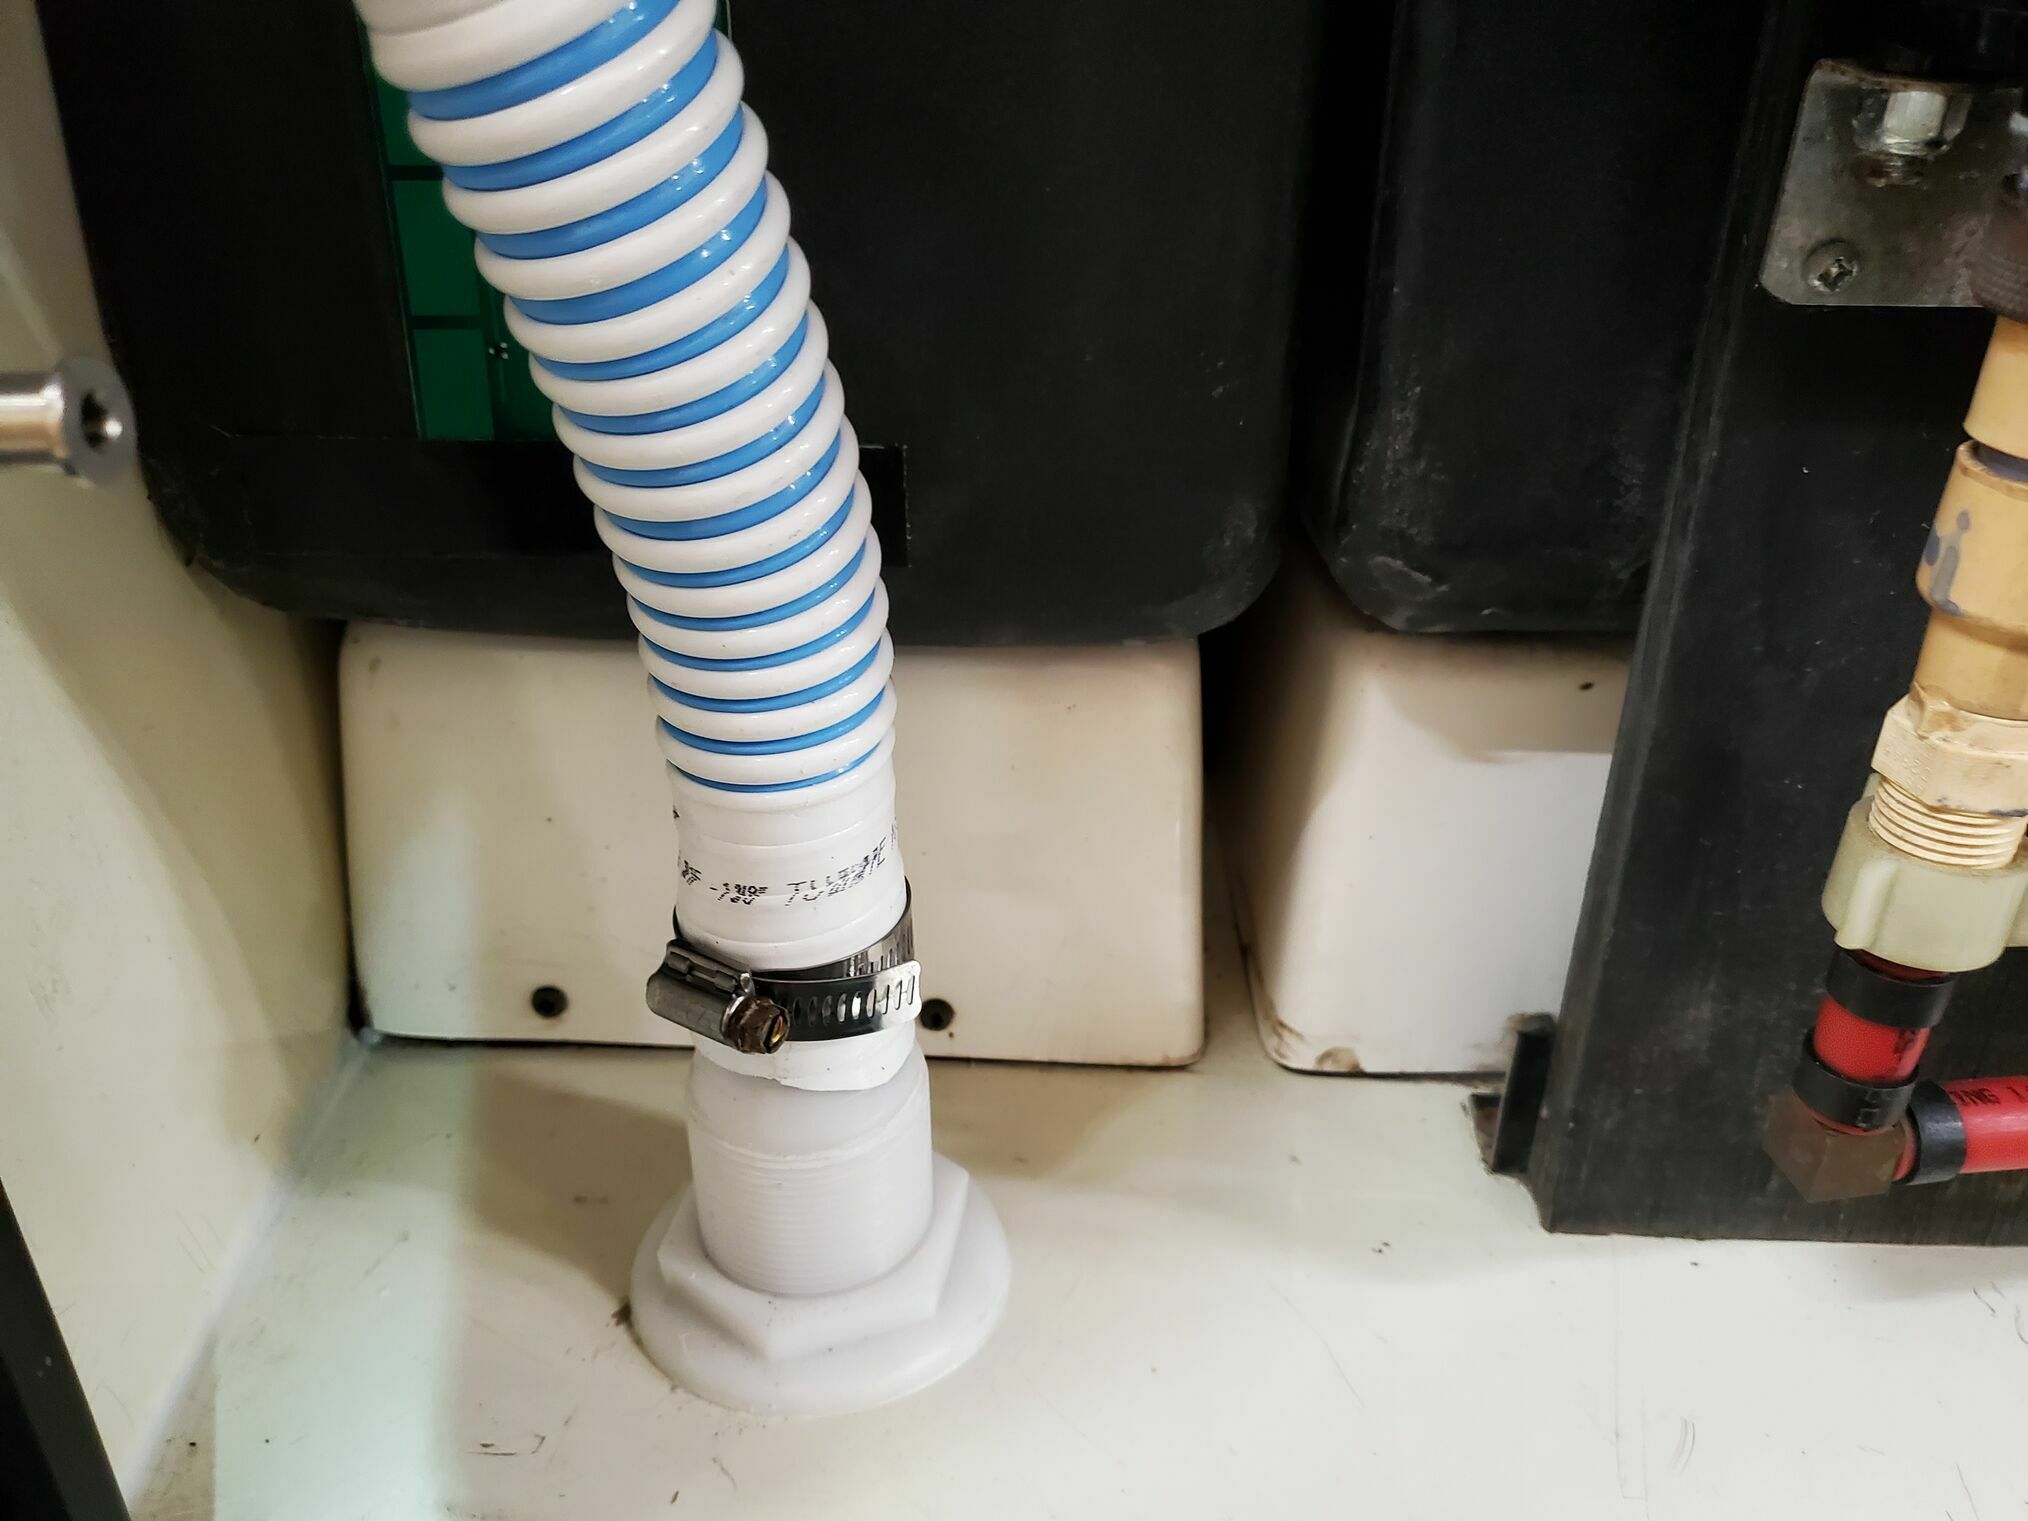

The last thing is to pick a spot to drill a 2” hole through the bottom of your bay floor. I used a magnet to find (and miss) any of the floor beams and chose an area that still allowed the Manabloc vanity panel to be installed. The area I went through was a sandwich of 3/4” ply + 3/4” of foam. I sealed the inside of the hole with silicone and used butyl caulk to water seal the scupper in place. I also added a bead of silicone as a lap sealant on the bottom side.
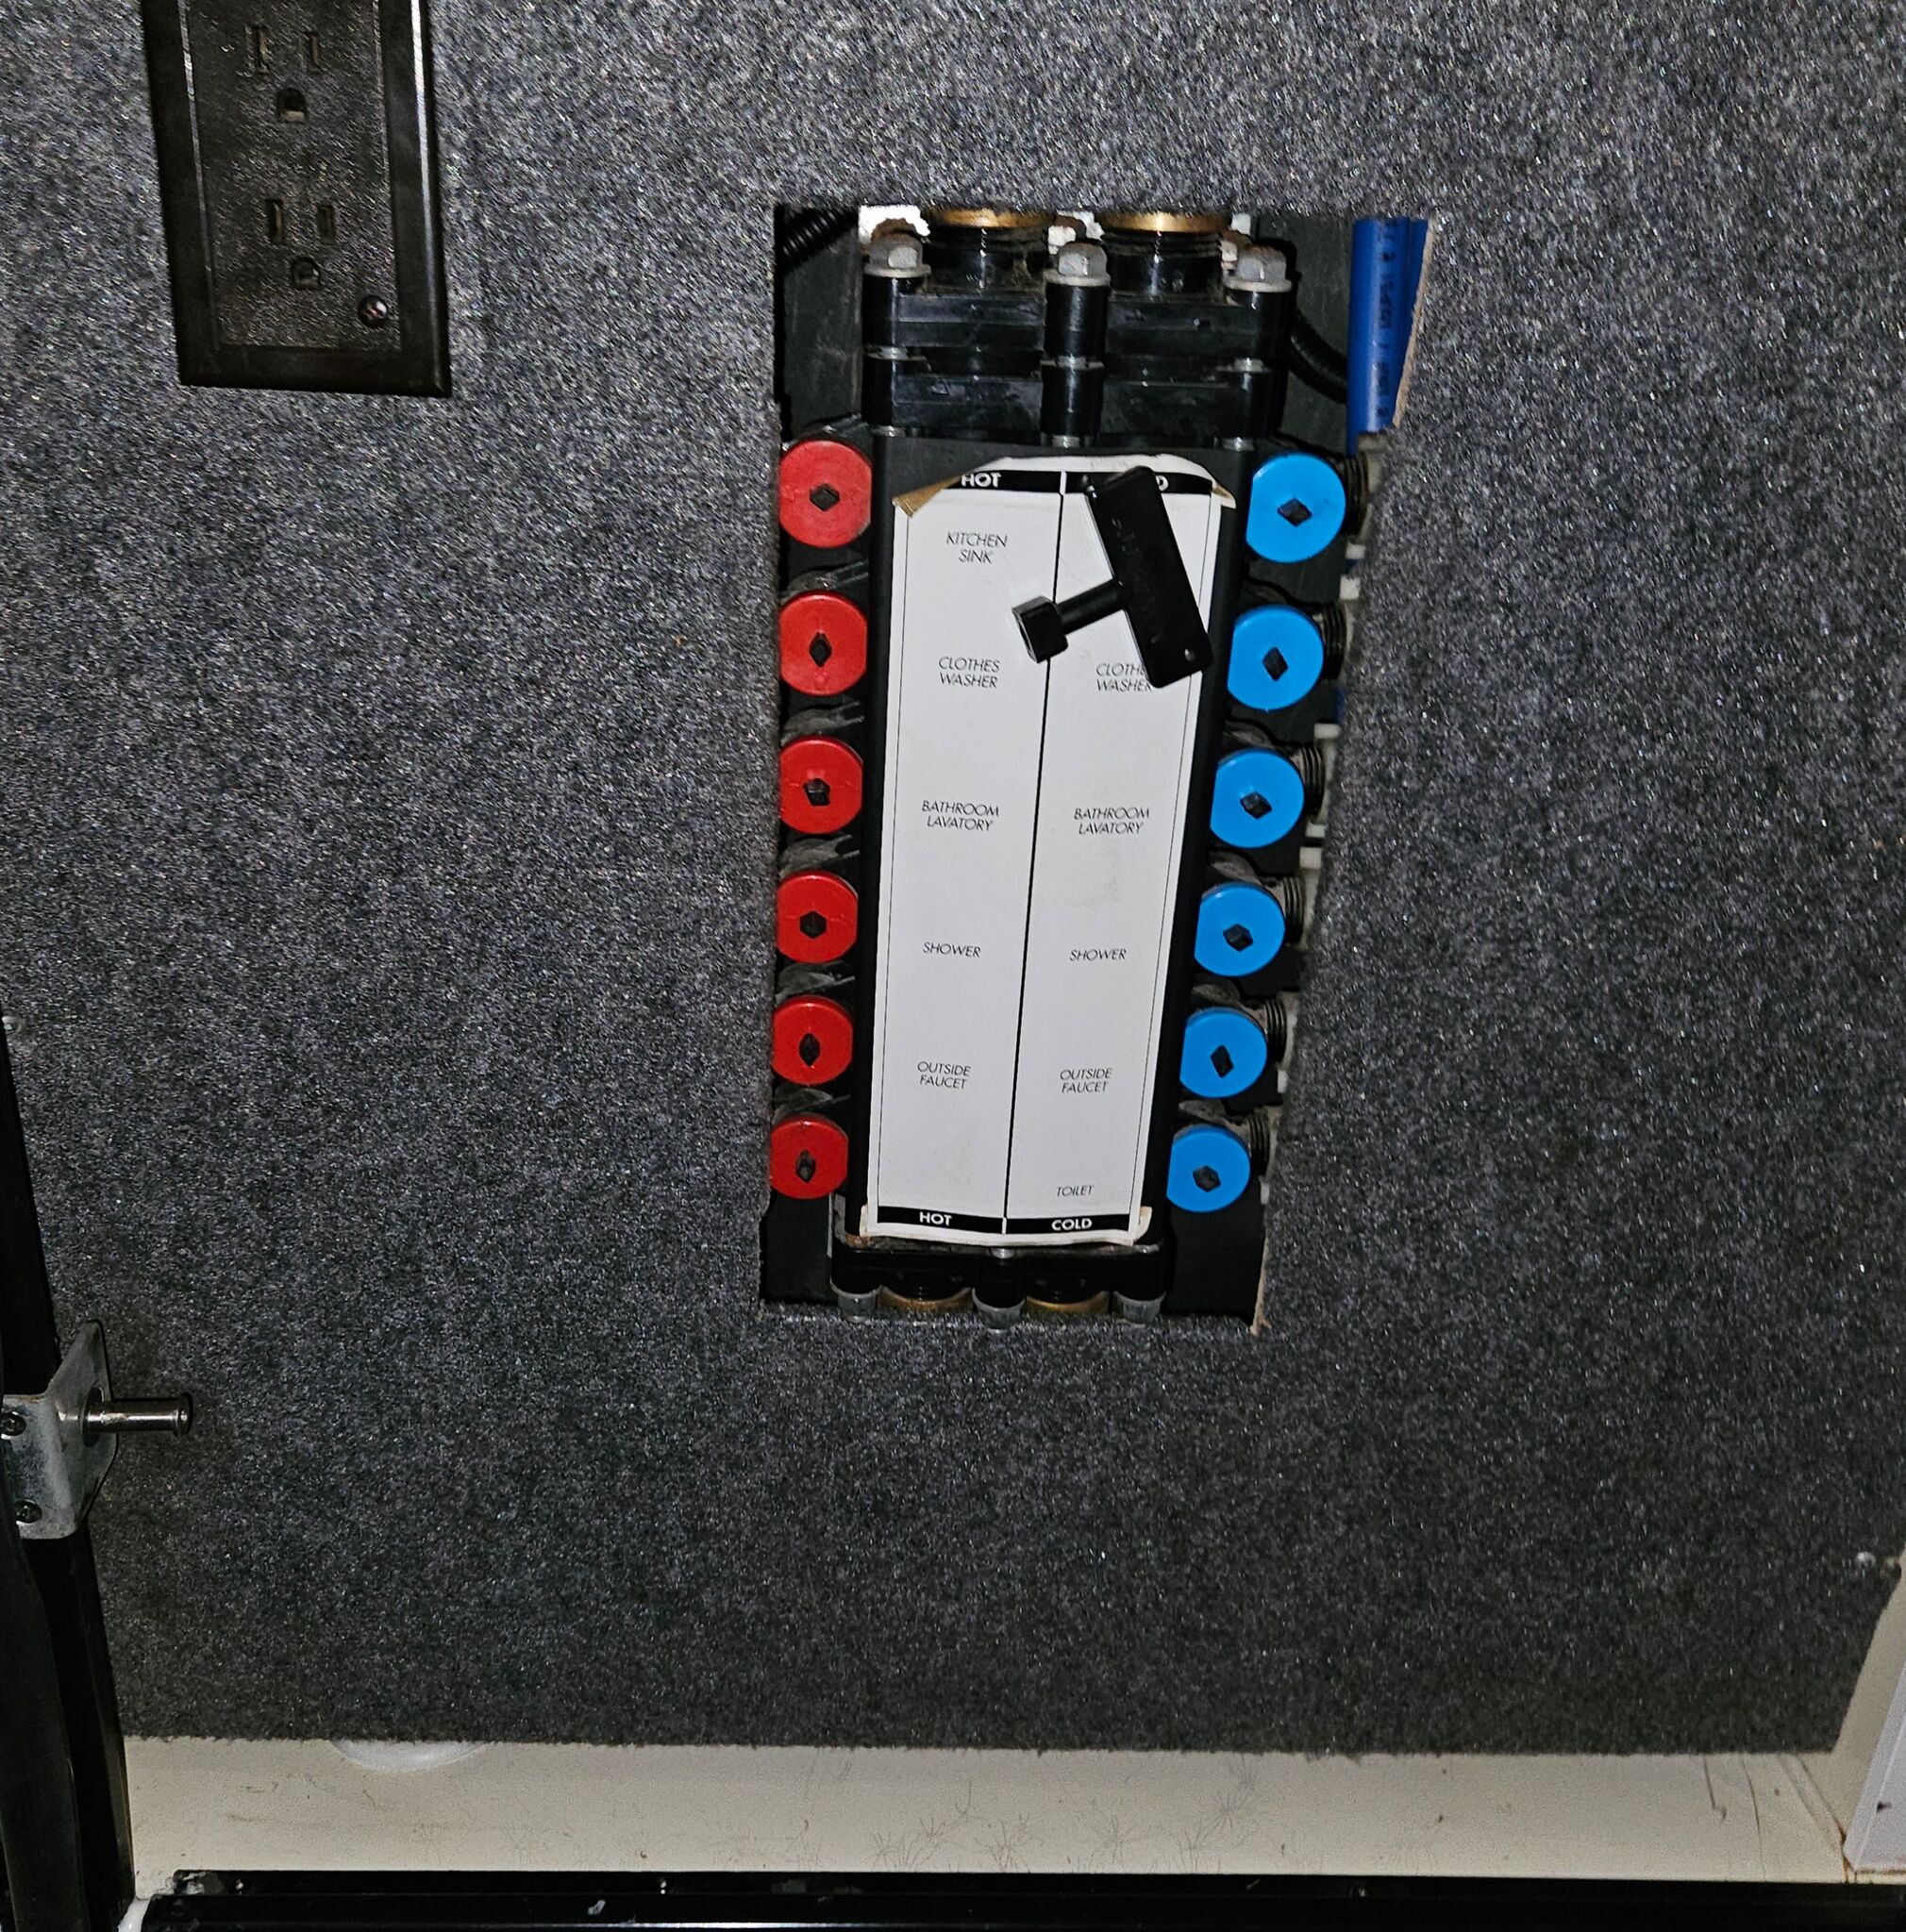
With everything back in place you can just see the top nut under the vanity panel, the hose fits with room to spare behind the panel.


