Passenger Drink Holder
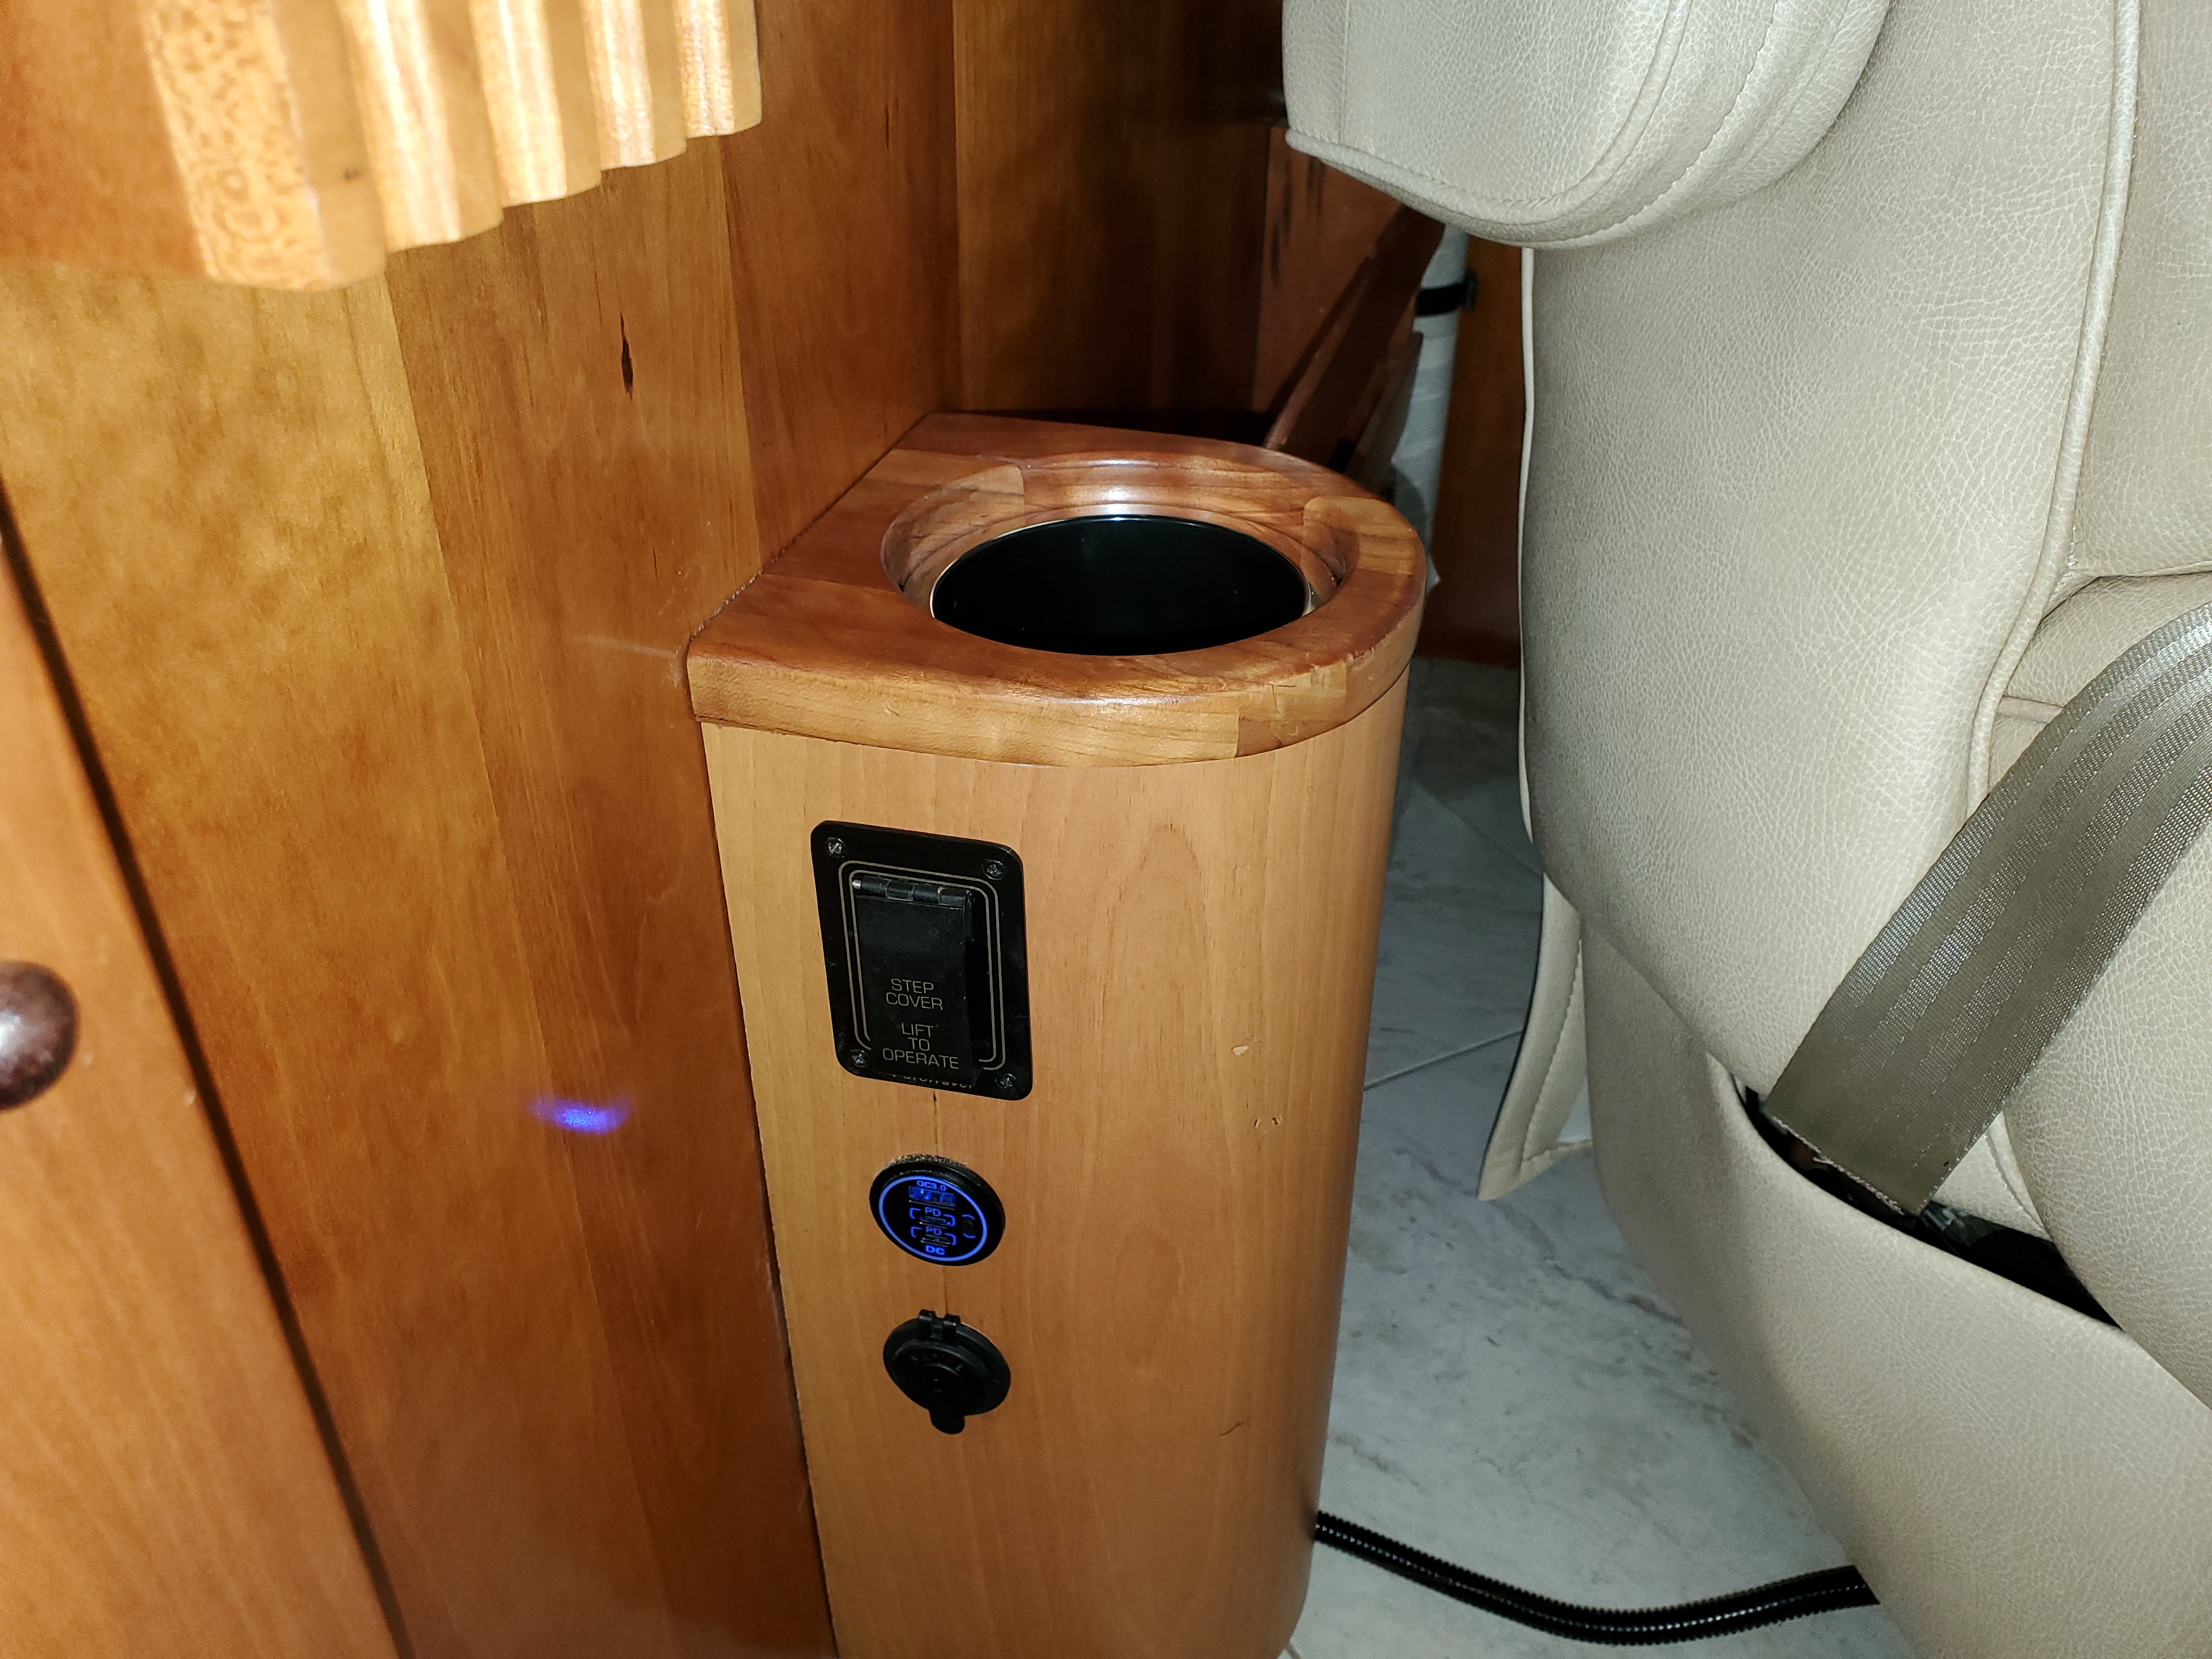
The passenger cup holder in the magazine rack was fairly basic in our 2000, so we decided to make a few improvements. We replaced the existing holder with one that can handle an insulated flask. We also added 12 USB outlets to power/change phones and tablets.
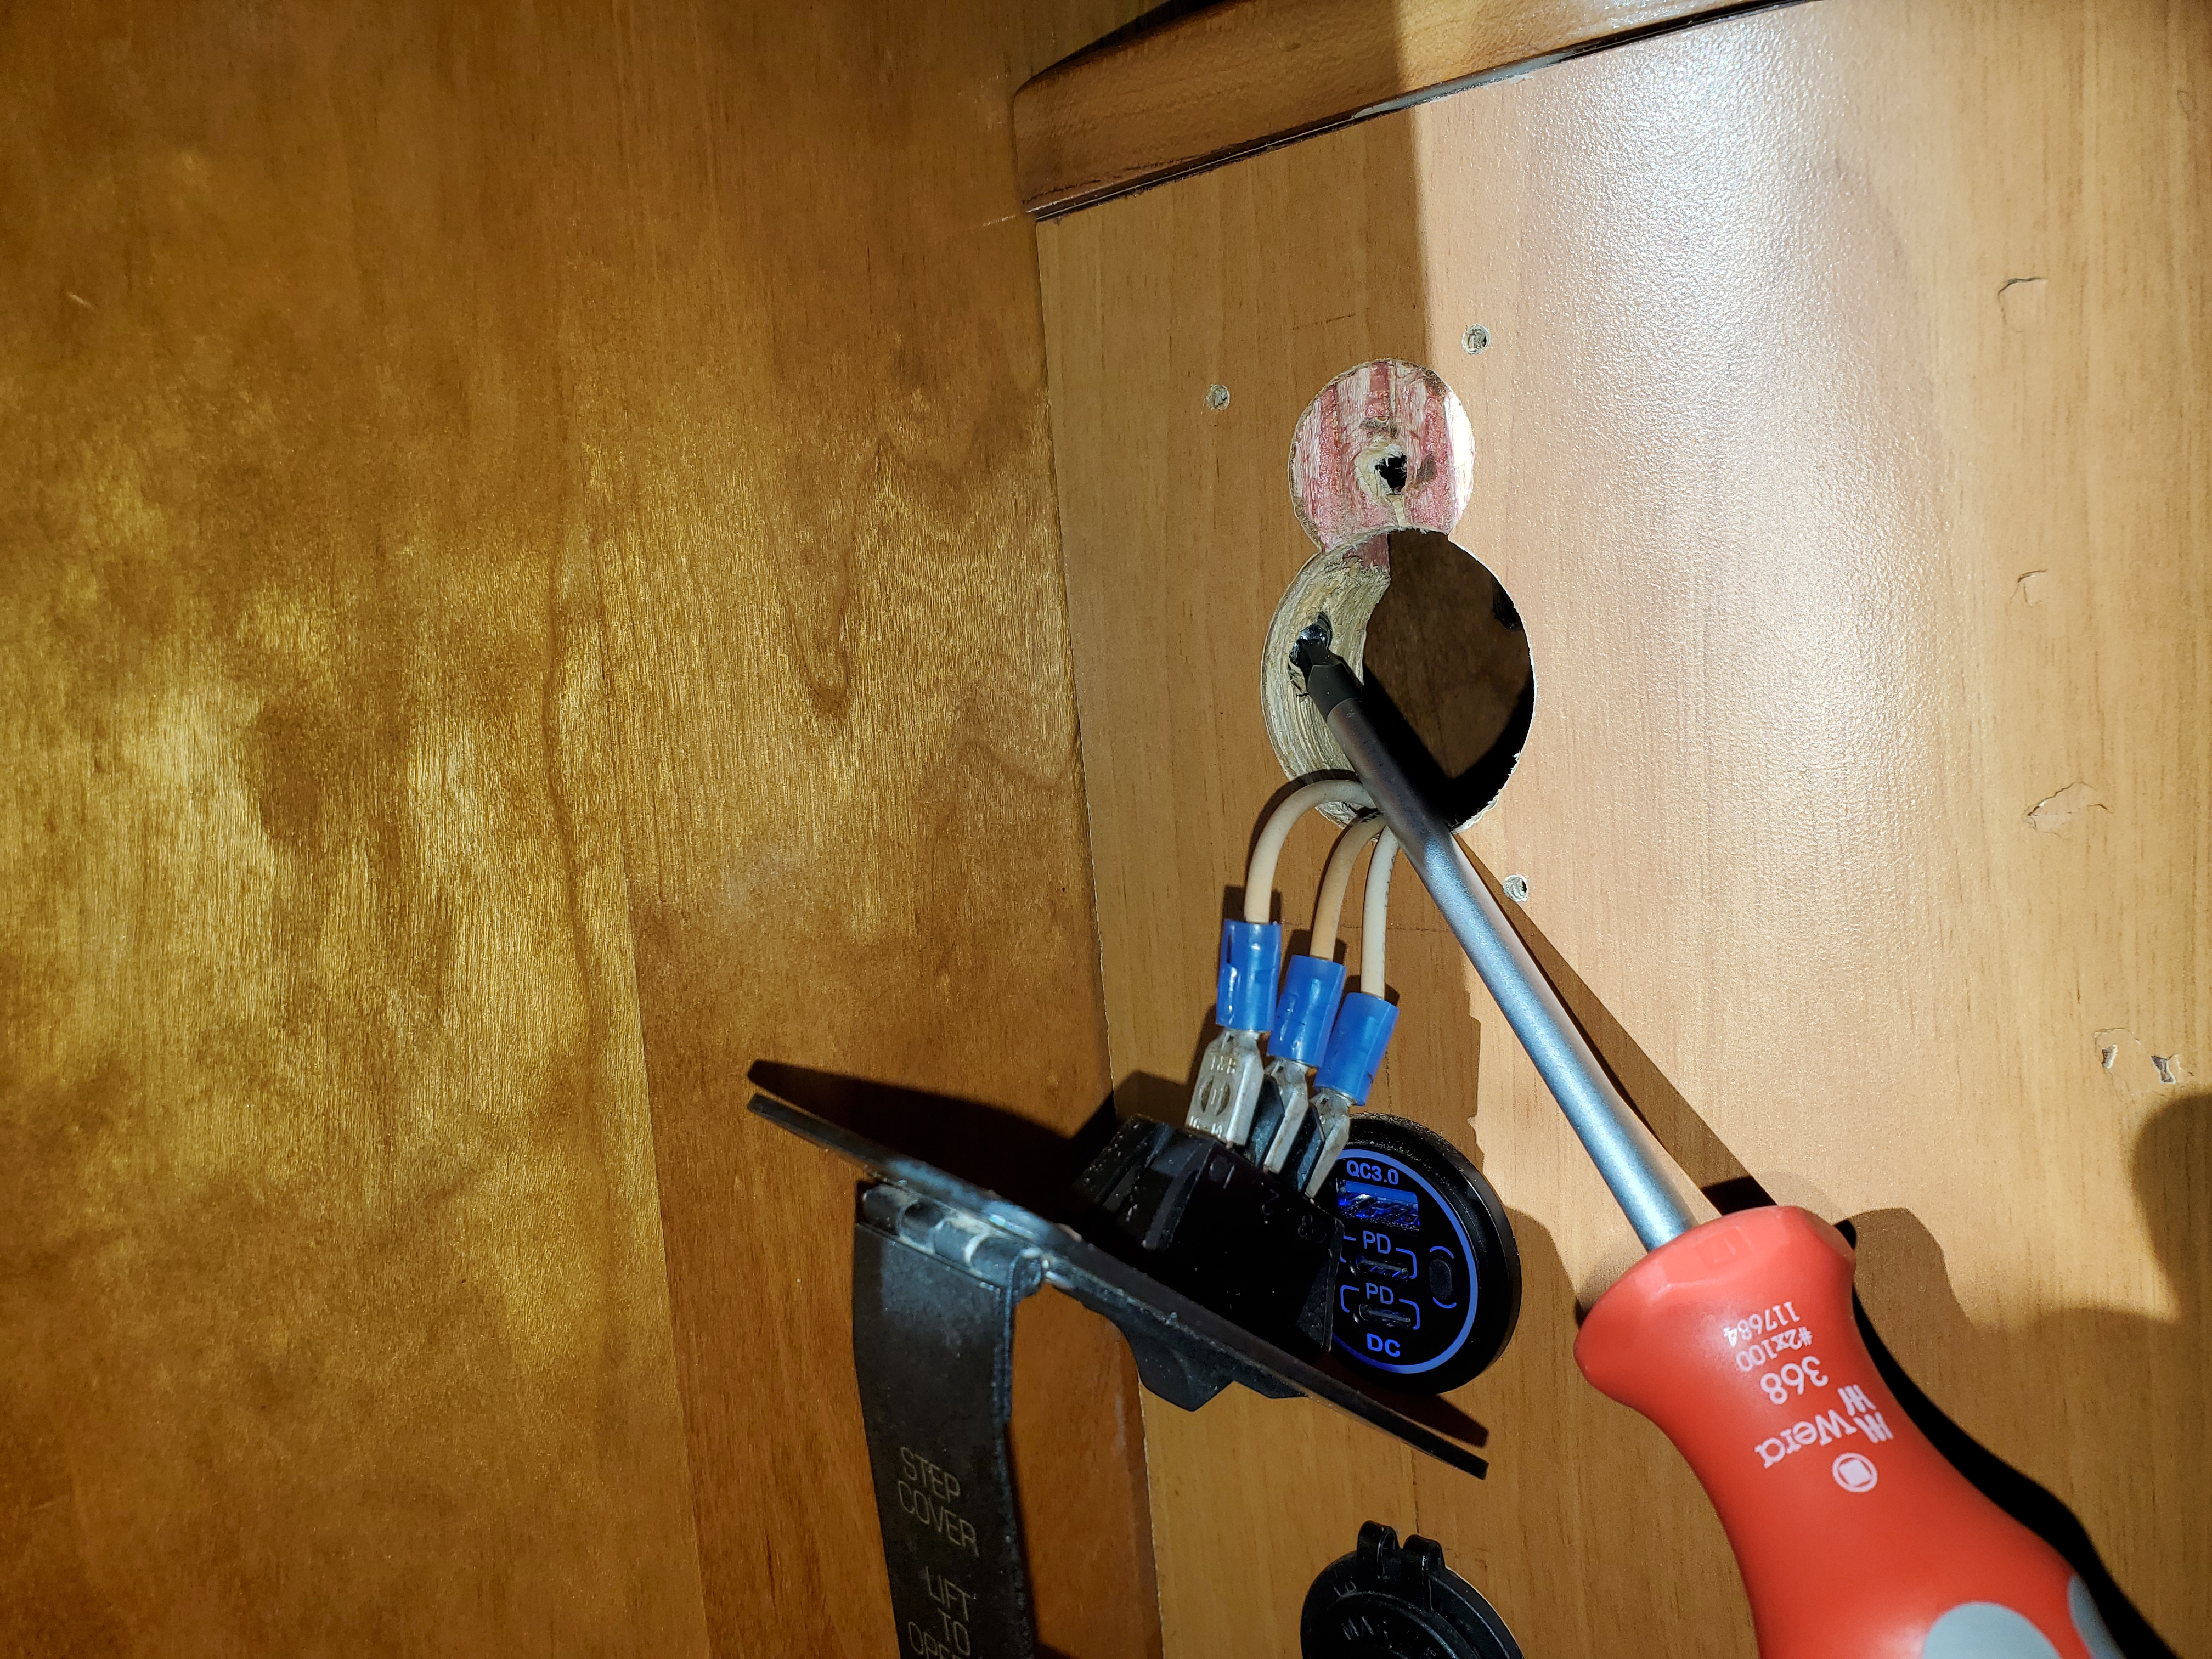
To remove the magazine rack / cup holder there are 4 screws on the magazine rack section (behind those button caps) and one hidden screw that you will find when you remove the step well cover switch. After removing those screws, it just “falls” off.
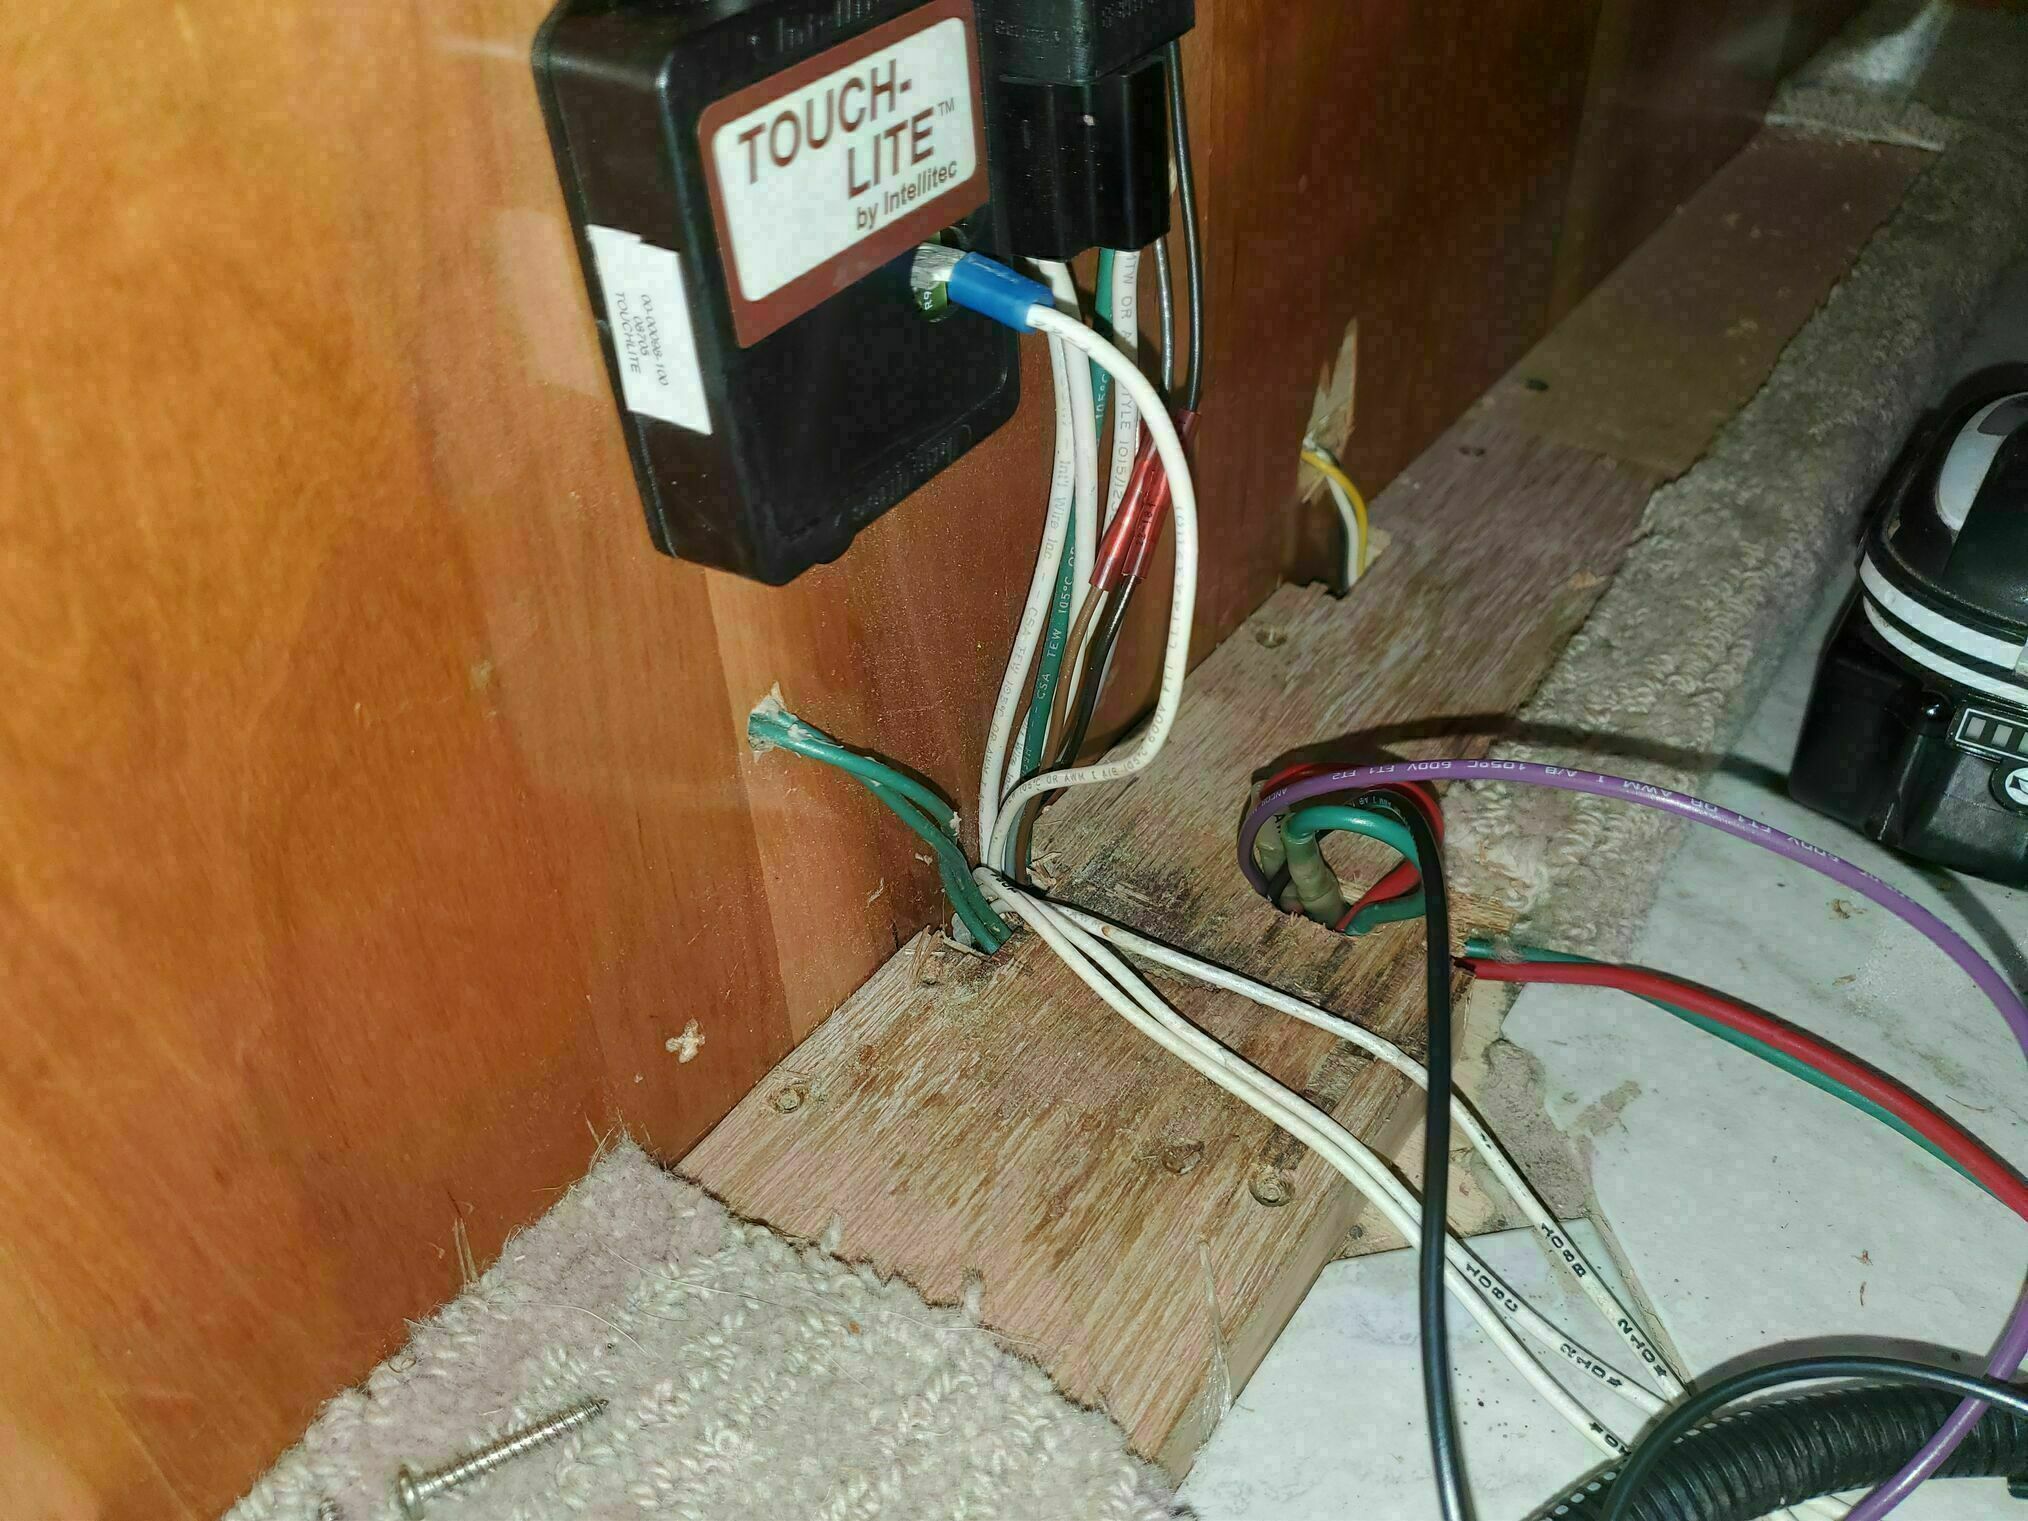
First it had no 12V power outlets/USB available. Fortunately, there is 12V in the area. One source is the line that runs to the 6-way power seat, should you have power seats. The second is a line that runs up to the map light. You can tap into either at the floor level. Note that neither is ignition switched, so if you need that functionality, you will have to tap into something behind the passenger front panel and run a new line.
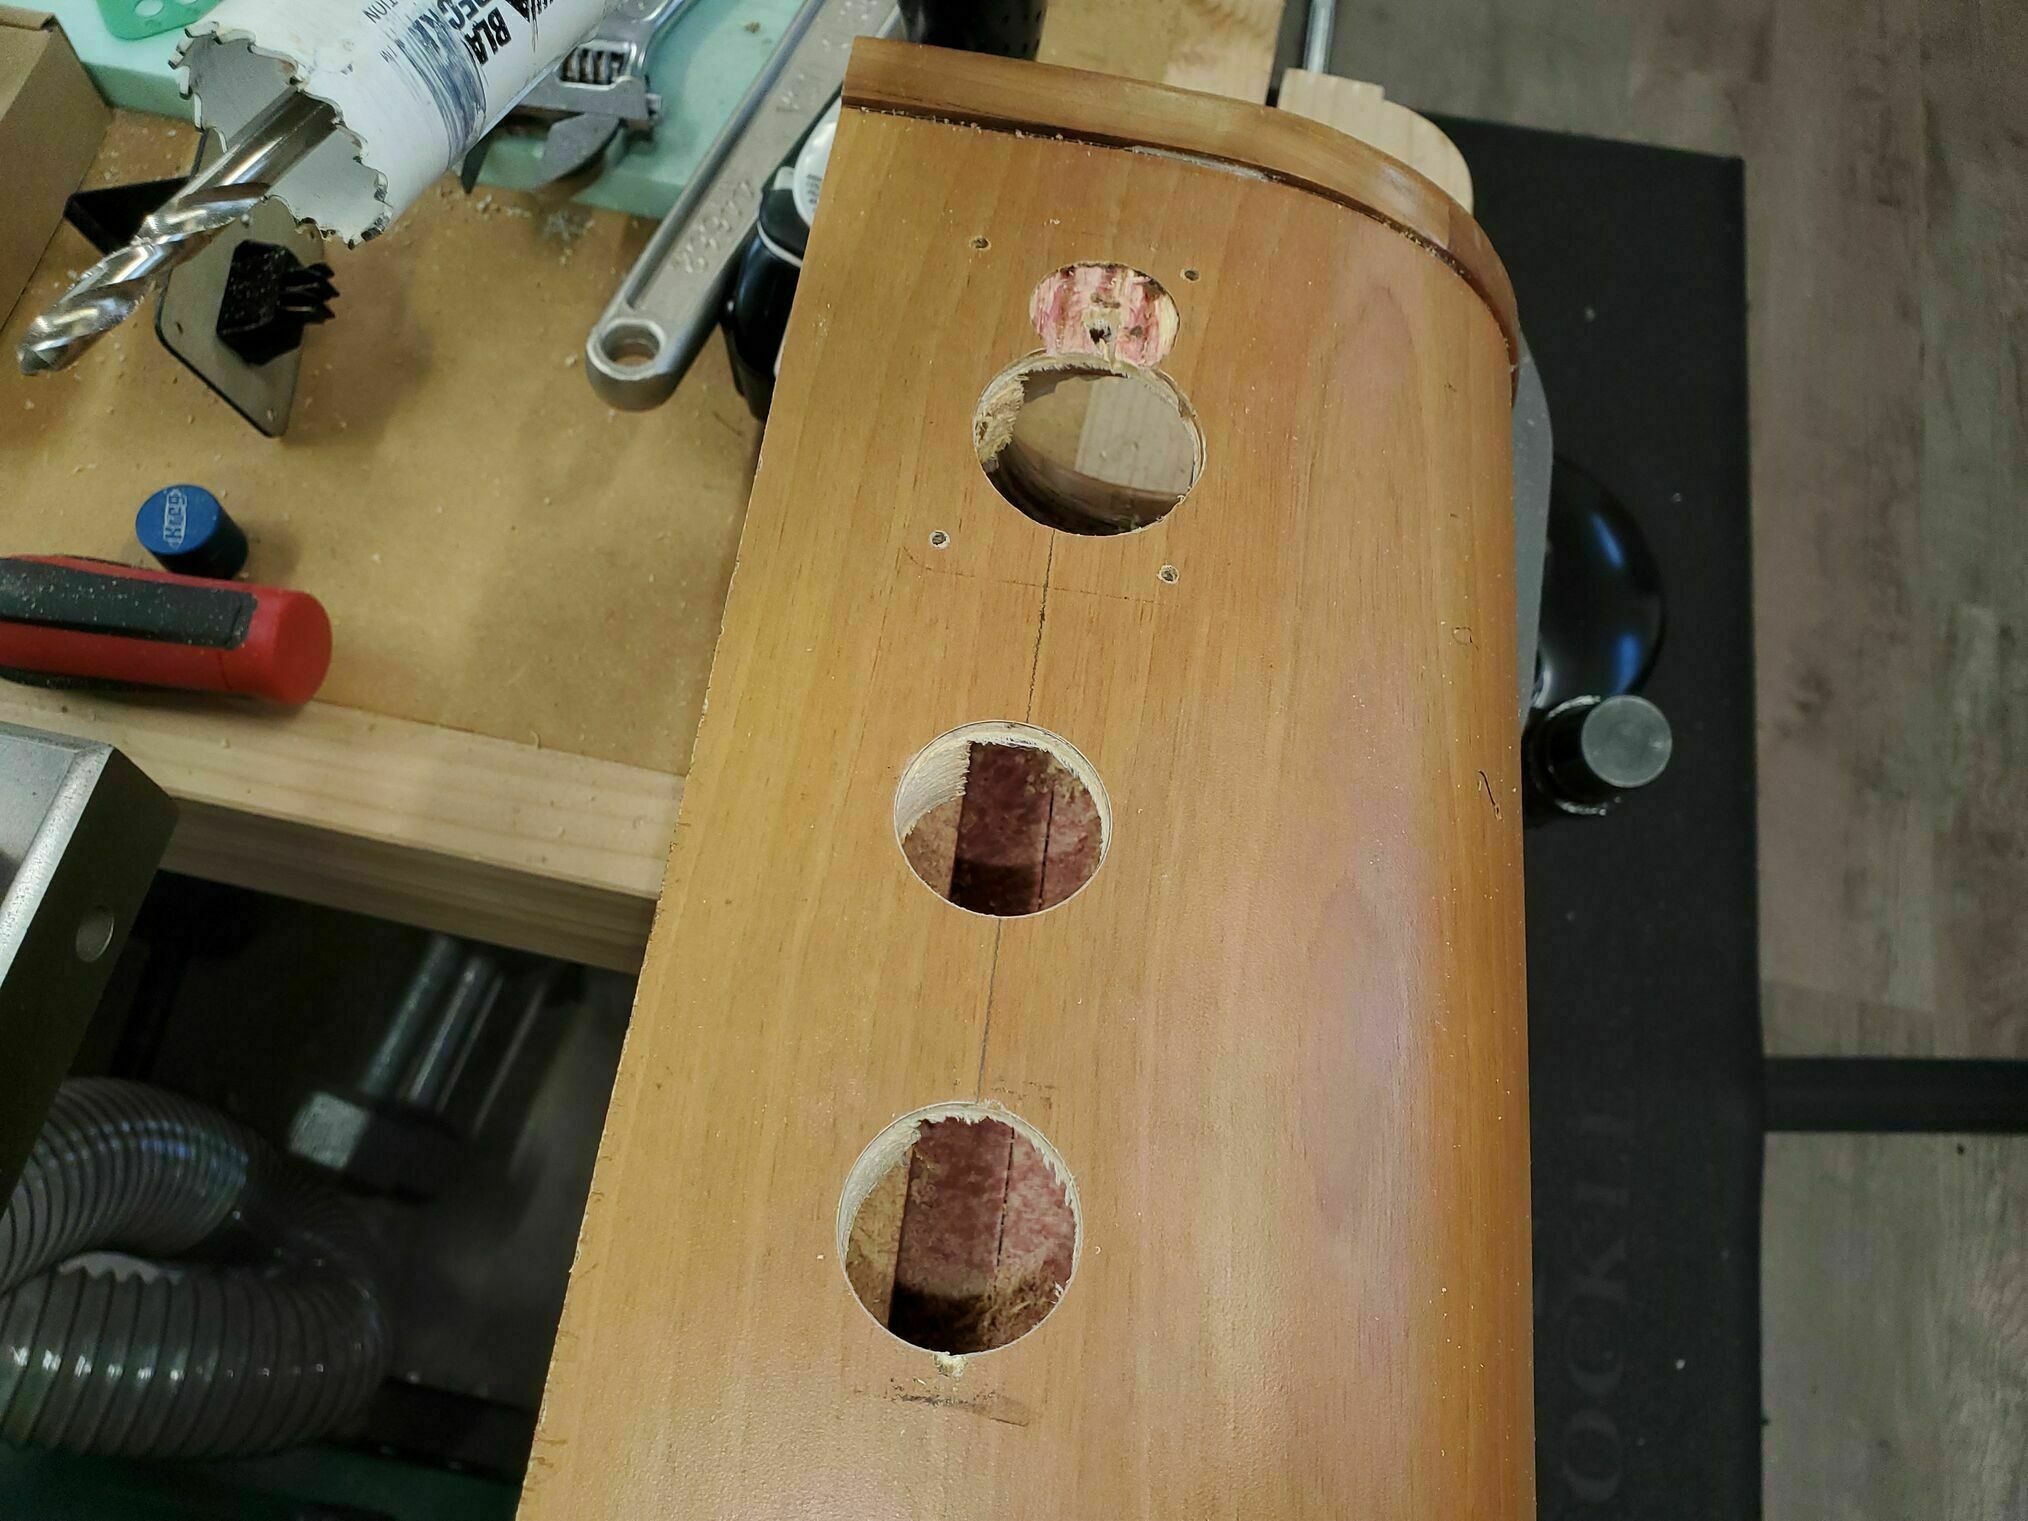
I chose to splice into the 12V going to the power seat pedestal and added (2) 12V outlets, located just below the slide cover switch. One will be a standard 12V outlet, the other is a USB outlet. This is the set I used Cigarette Lighter Socket Qidoe 12V Splitter Panel I did not use the watertight covers or mounting plate, just the sockets. Note The new holes may not look centered in this picture, but they are centered under the switch plate, the hole FT drilled is not in the middle of the switch plate.
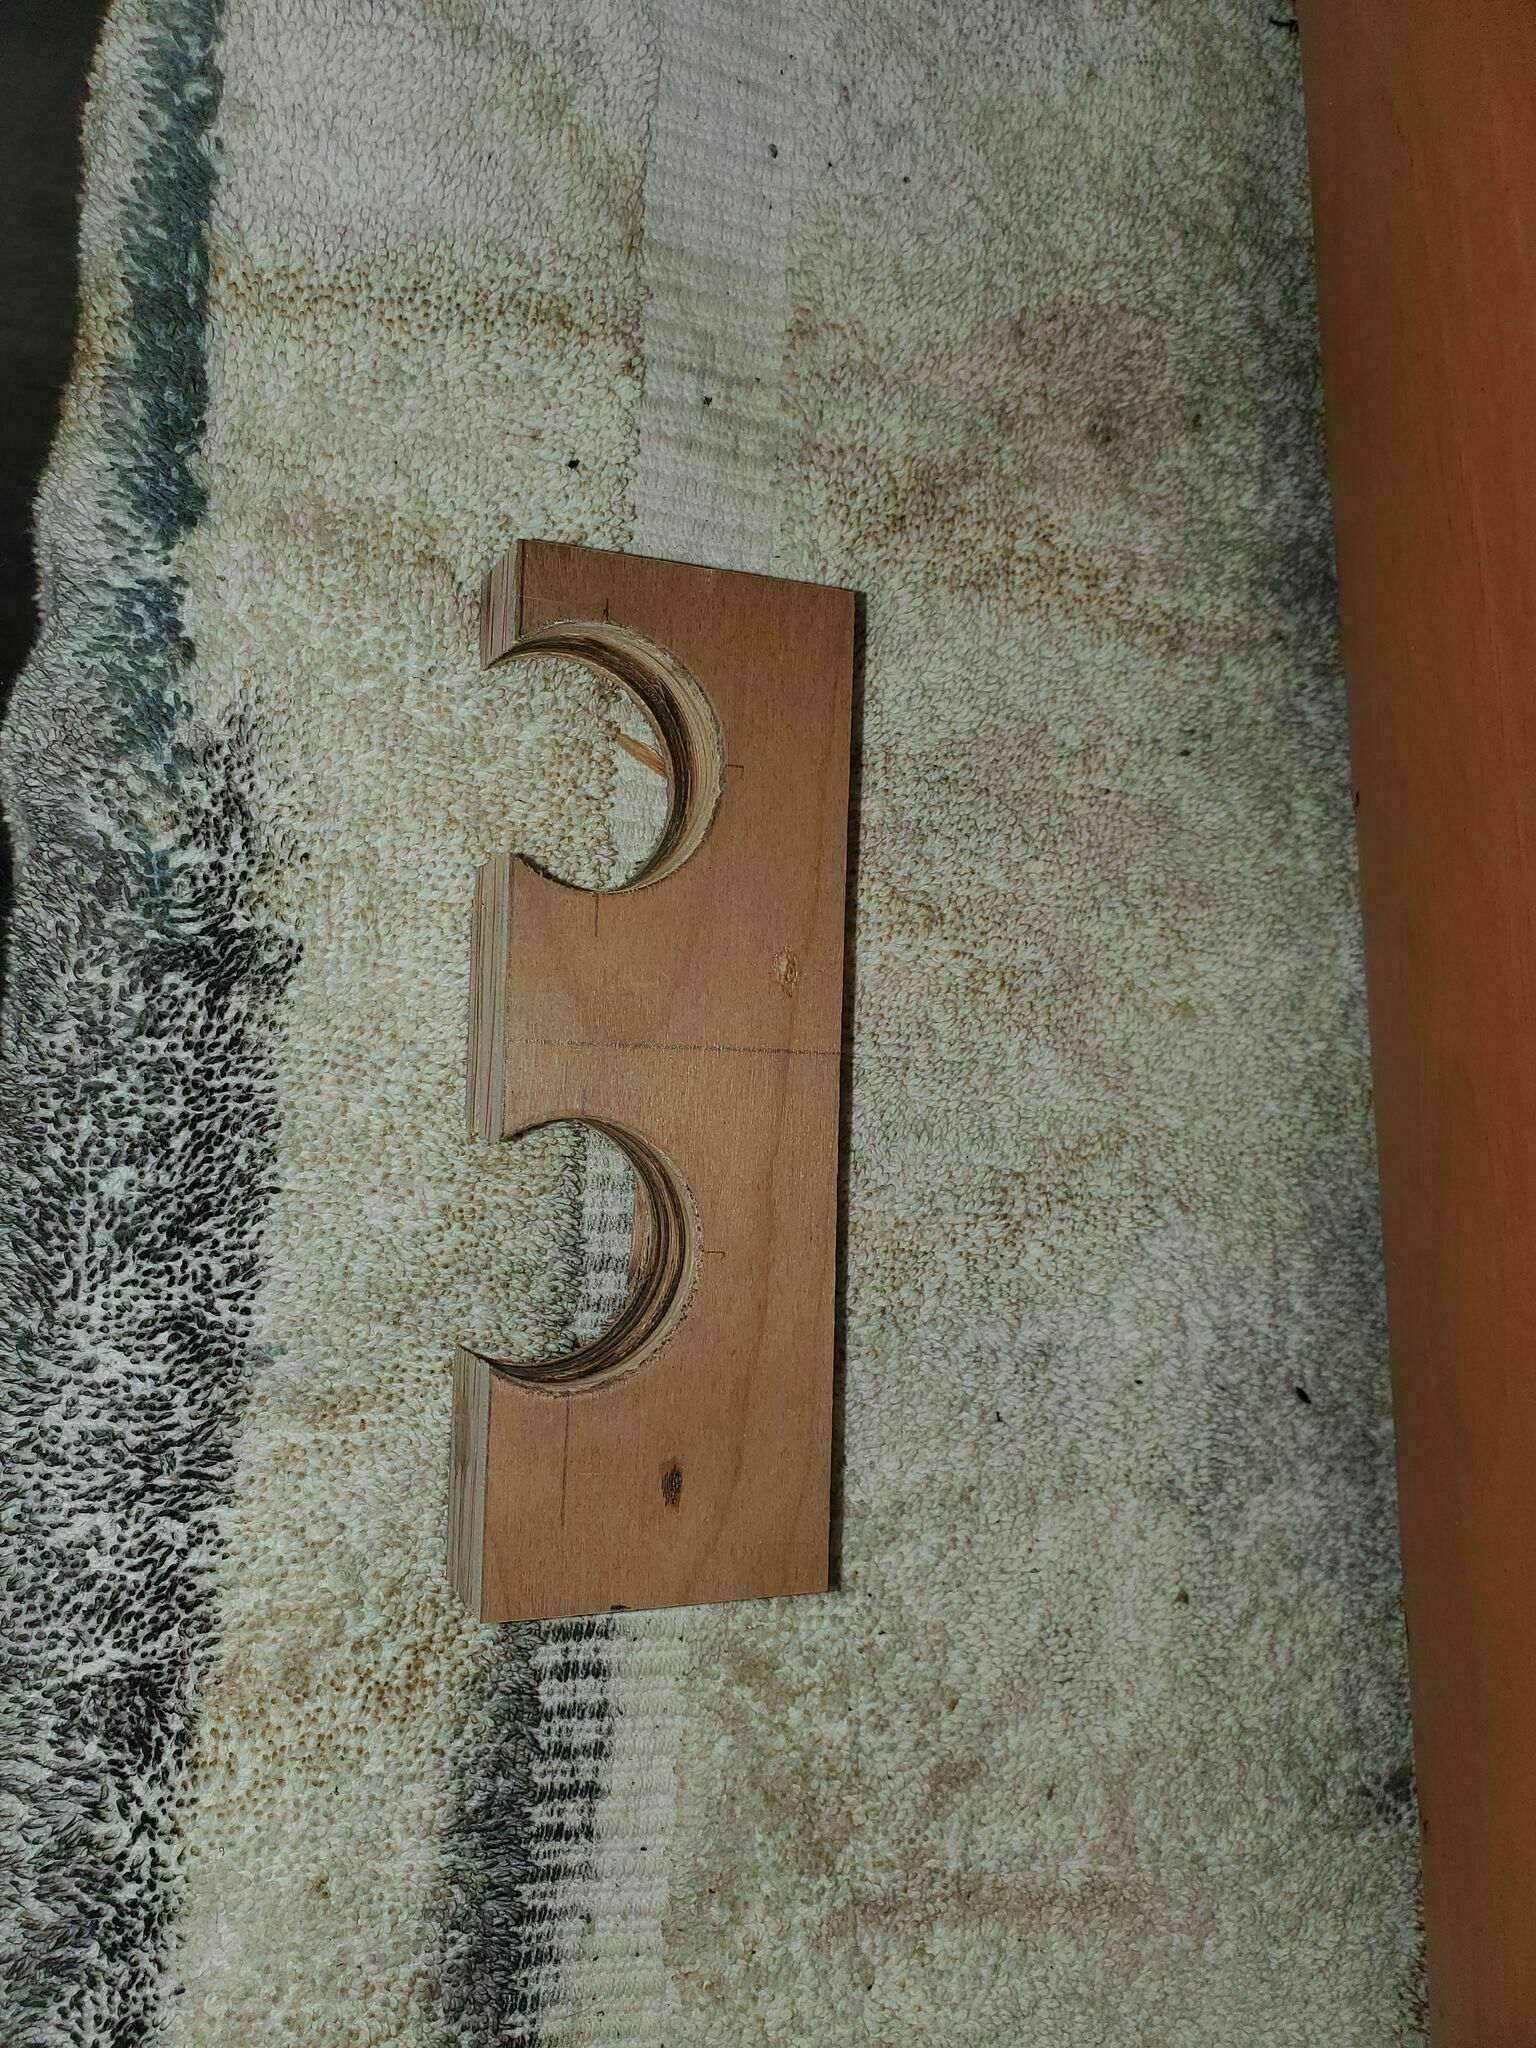
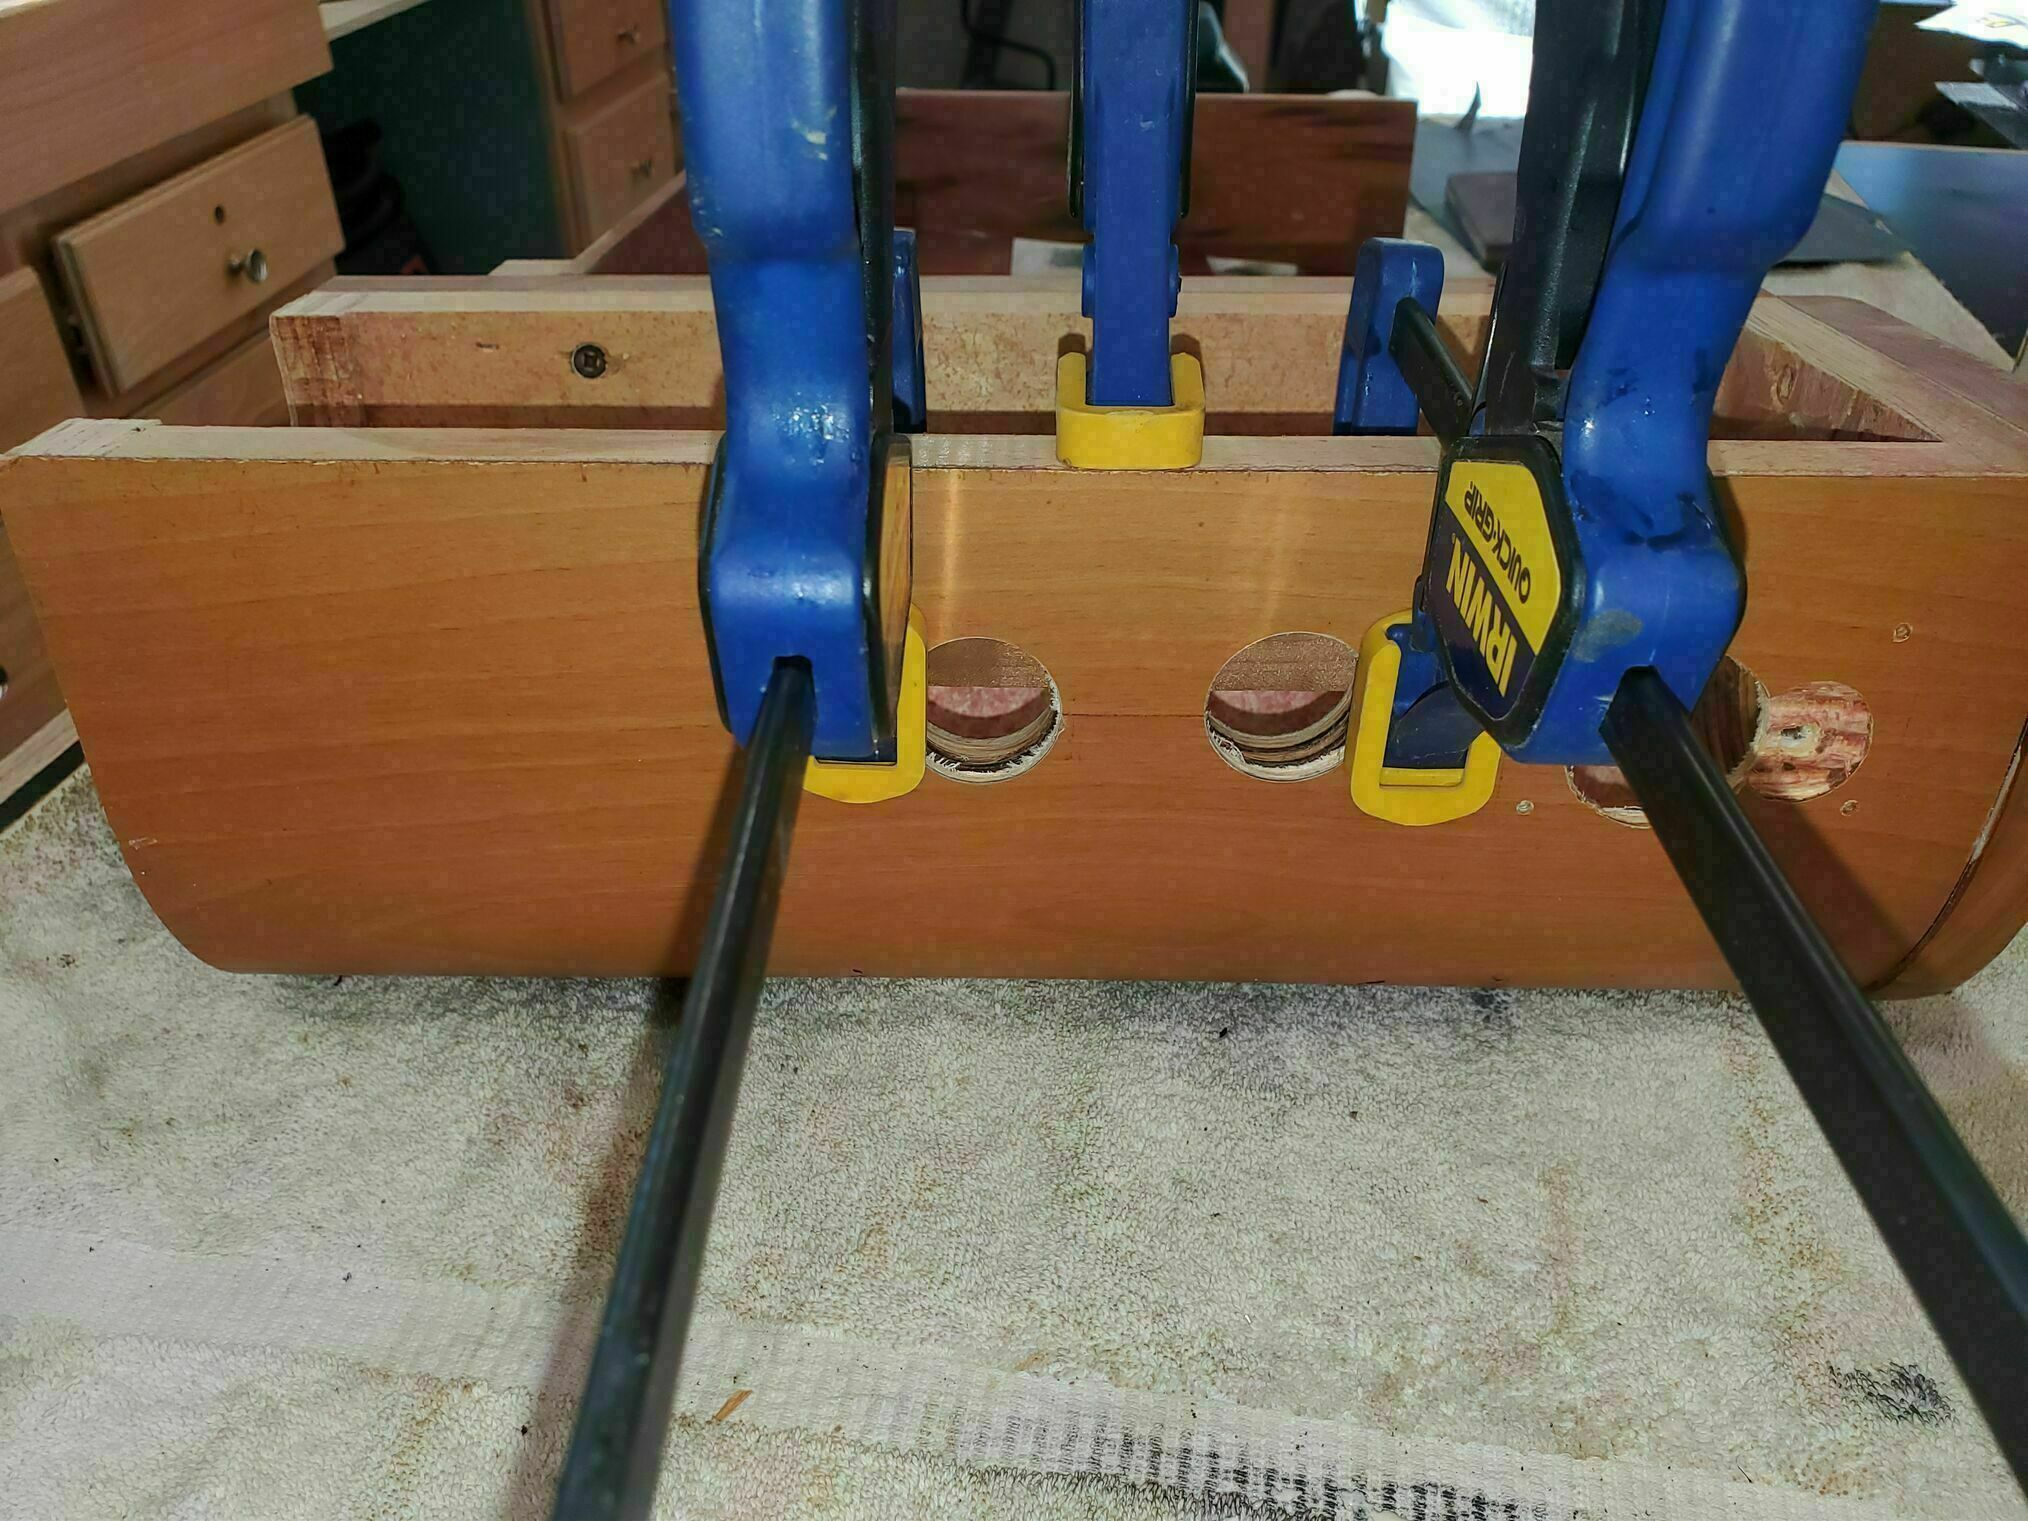
After I drilled the two holes, I saw they clipped the edge of the box frame/structure which prevented the mounting nut from sitting flush. I should have glued in the backing structure first and then drilled the holes, but instead I chose the hard way and made up the backing plate after and then glued it in place, all so the nut could cinch down flush.
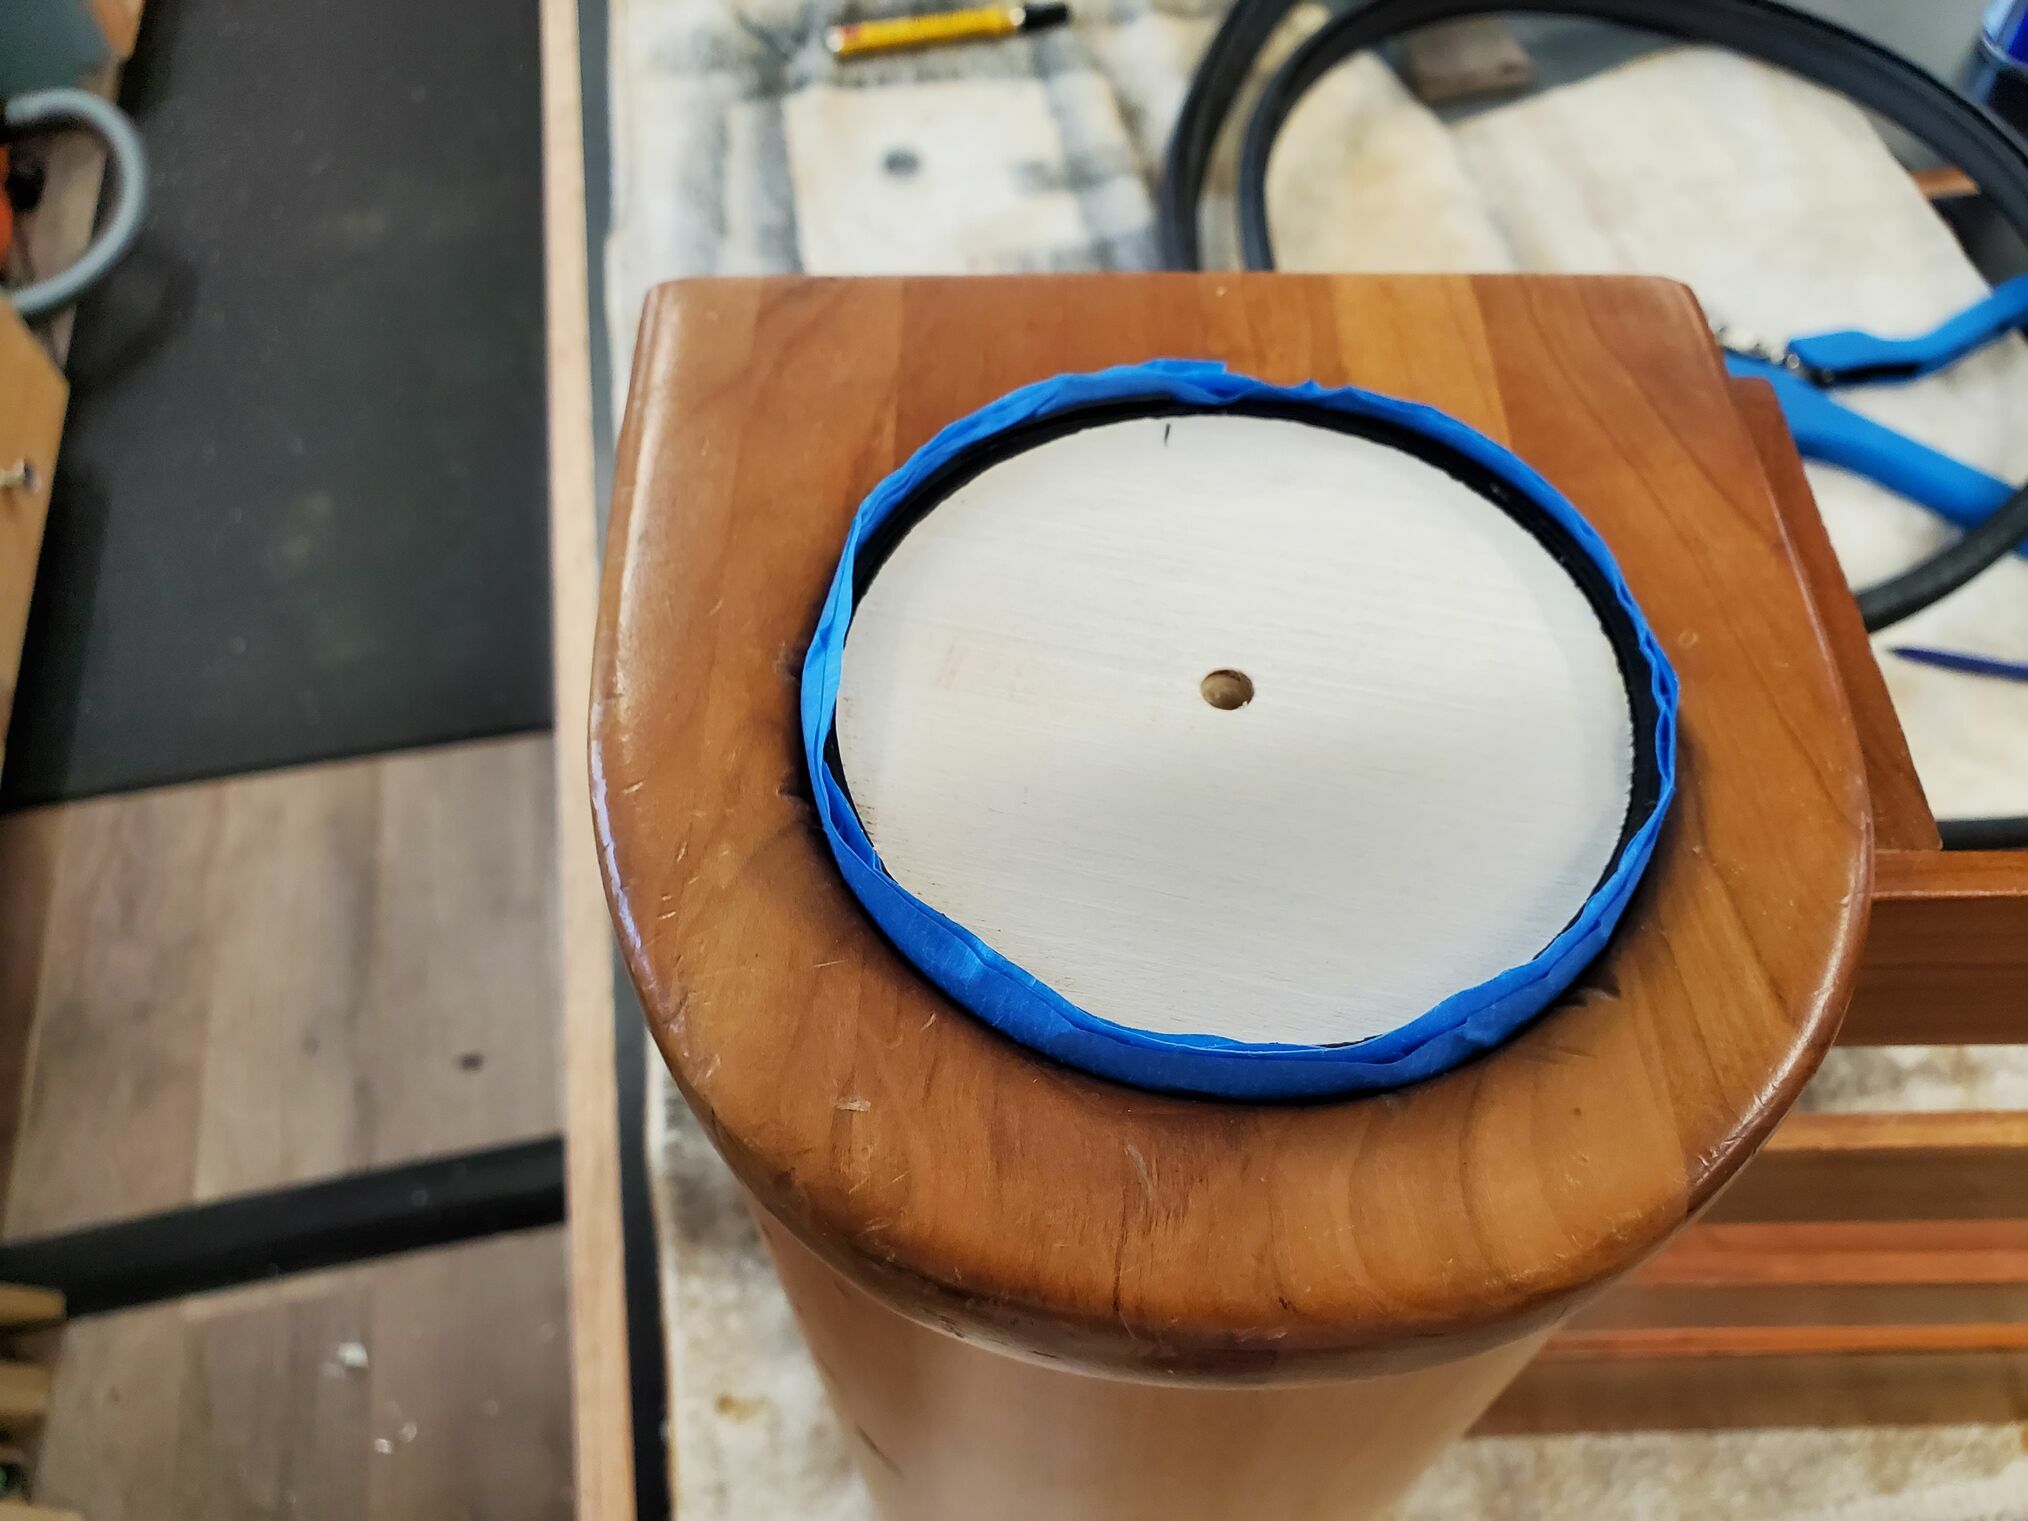
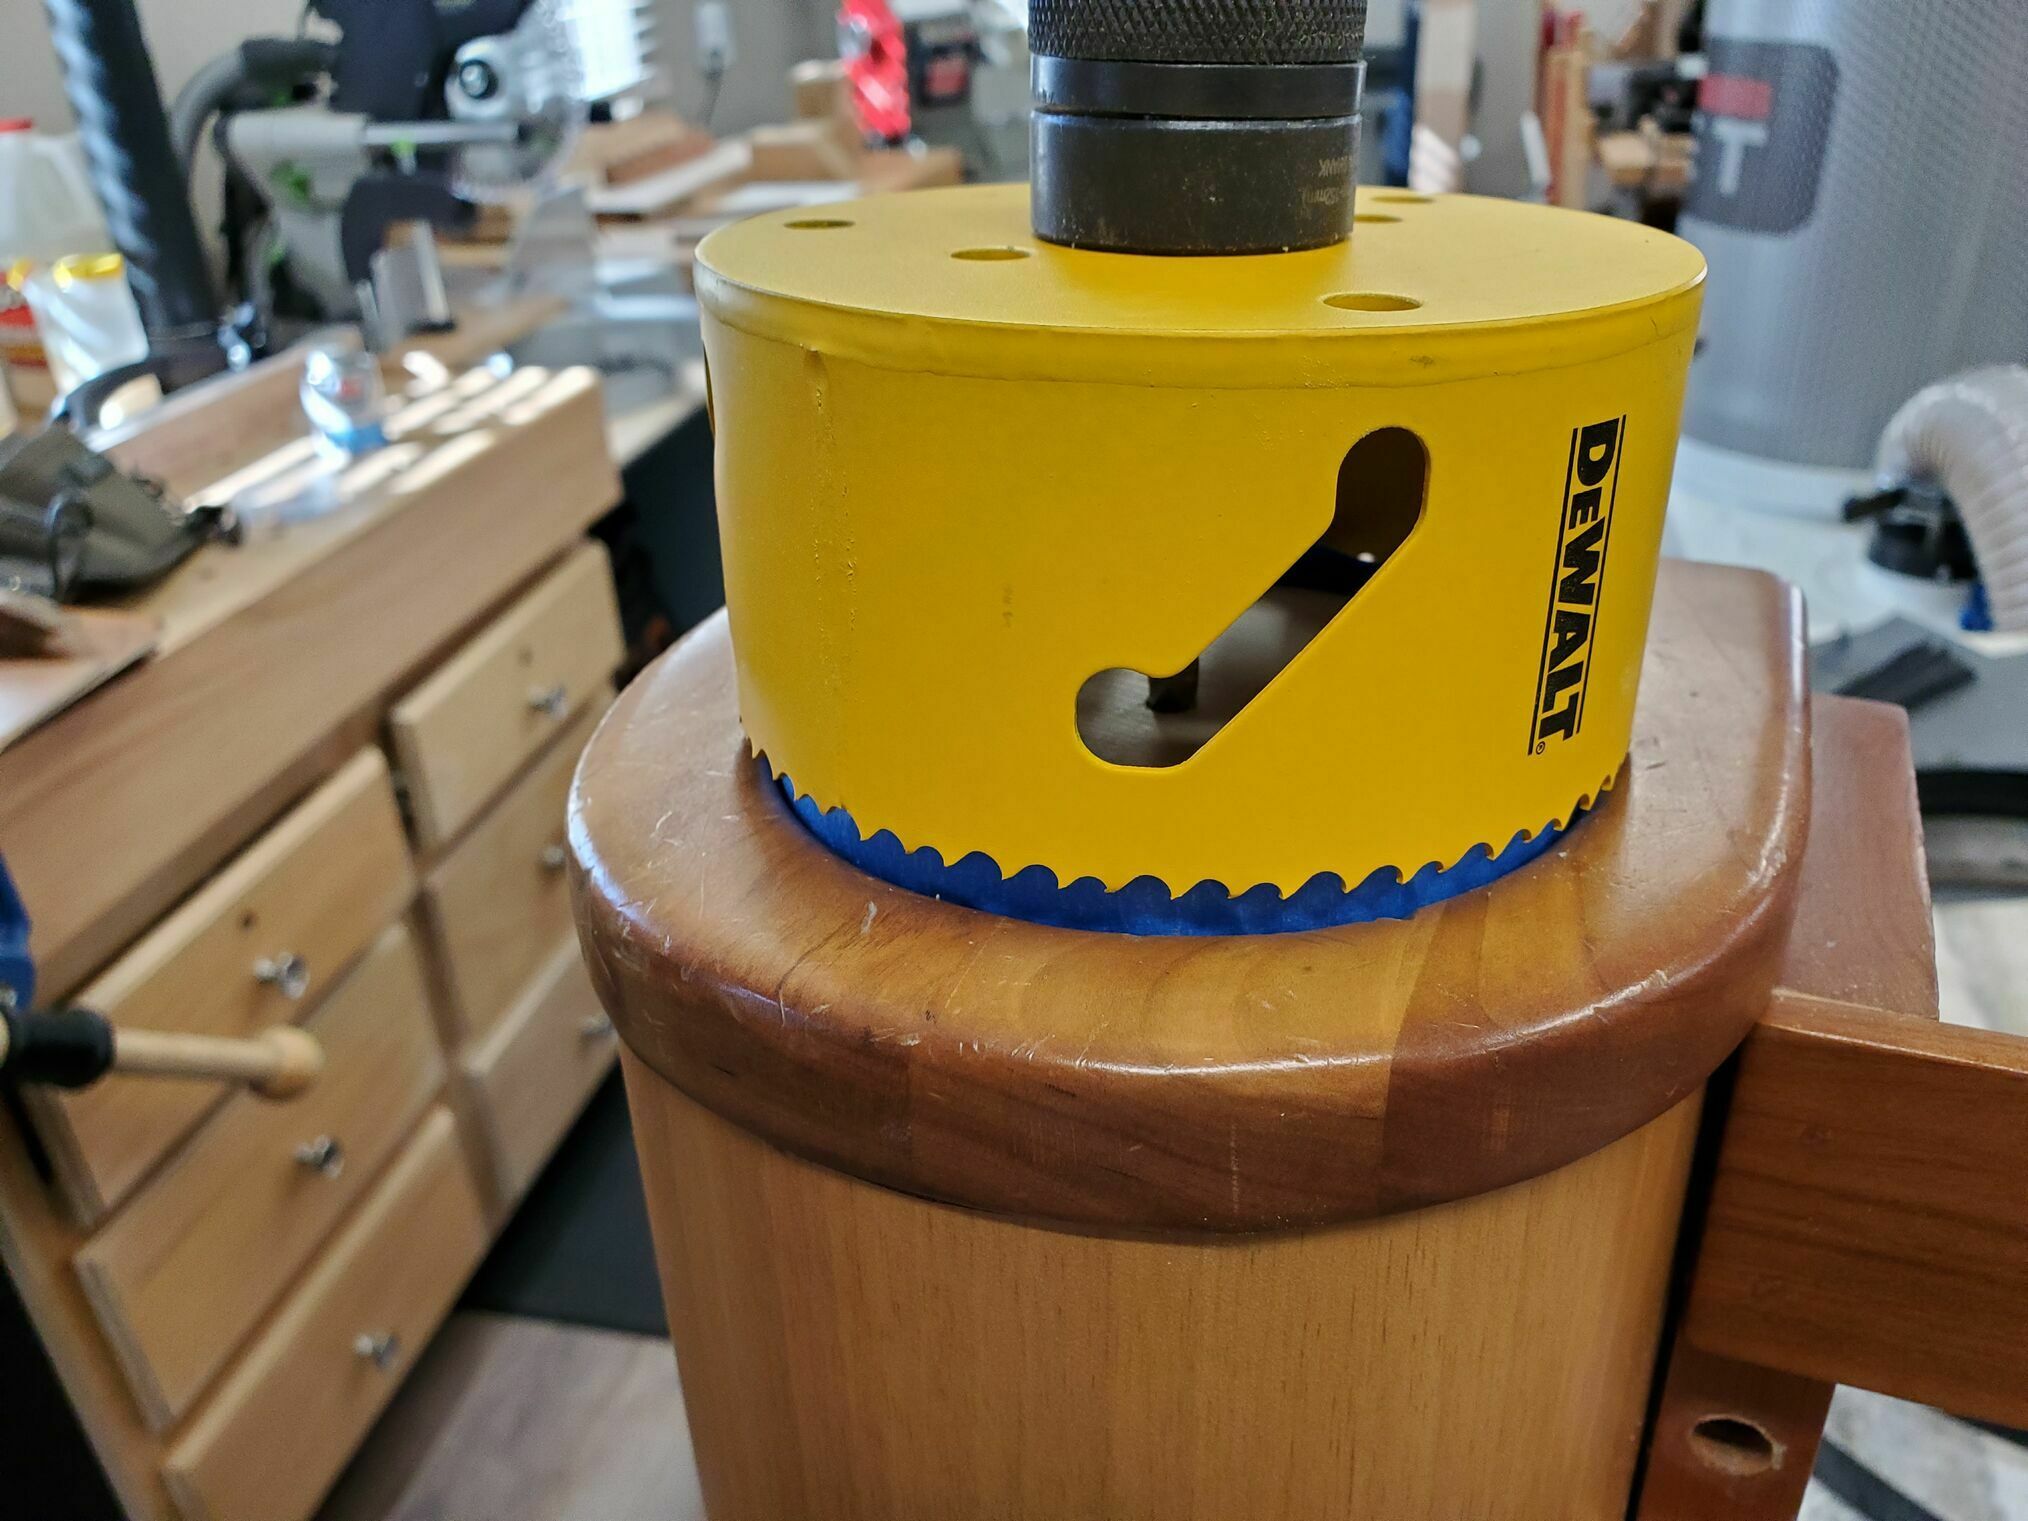
Next up was the cup holder which was just large enough to hold a pop can. I picked out a larger one: JoyTutus Cup Holder Insert and then enlarged the existing hole so it fit like the OEM one (down in the well). There are a few ways to enlarge the existing hole. I cut a 3-3/4” plug that fit in the existing hole, and then added wraps of tape until it fit snug. Once snug, I then used that pilot hole to guide the larger 4-1/4” hole saw. This was done twice, once for the upper hole (the 3/4” deep clearance hole) and then again for the smaller 3-3/4” lower hole. The clearance hole needs just a little sanding, so the cup holder would slide down inside, and to clean up the saw marks.
One thing to note, this part was to awkward clamp on my drill press, so I clamped it in my bench vise and used a hand drill set on the screw (clutch) postilion, not the drill position. When, not if, that 4-1/4” hole saw catches, it will pull the drill out of your hand or damage the cutting surface if you are in drill mode, so leave it in one of the many clutch positions and go slow.
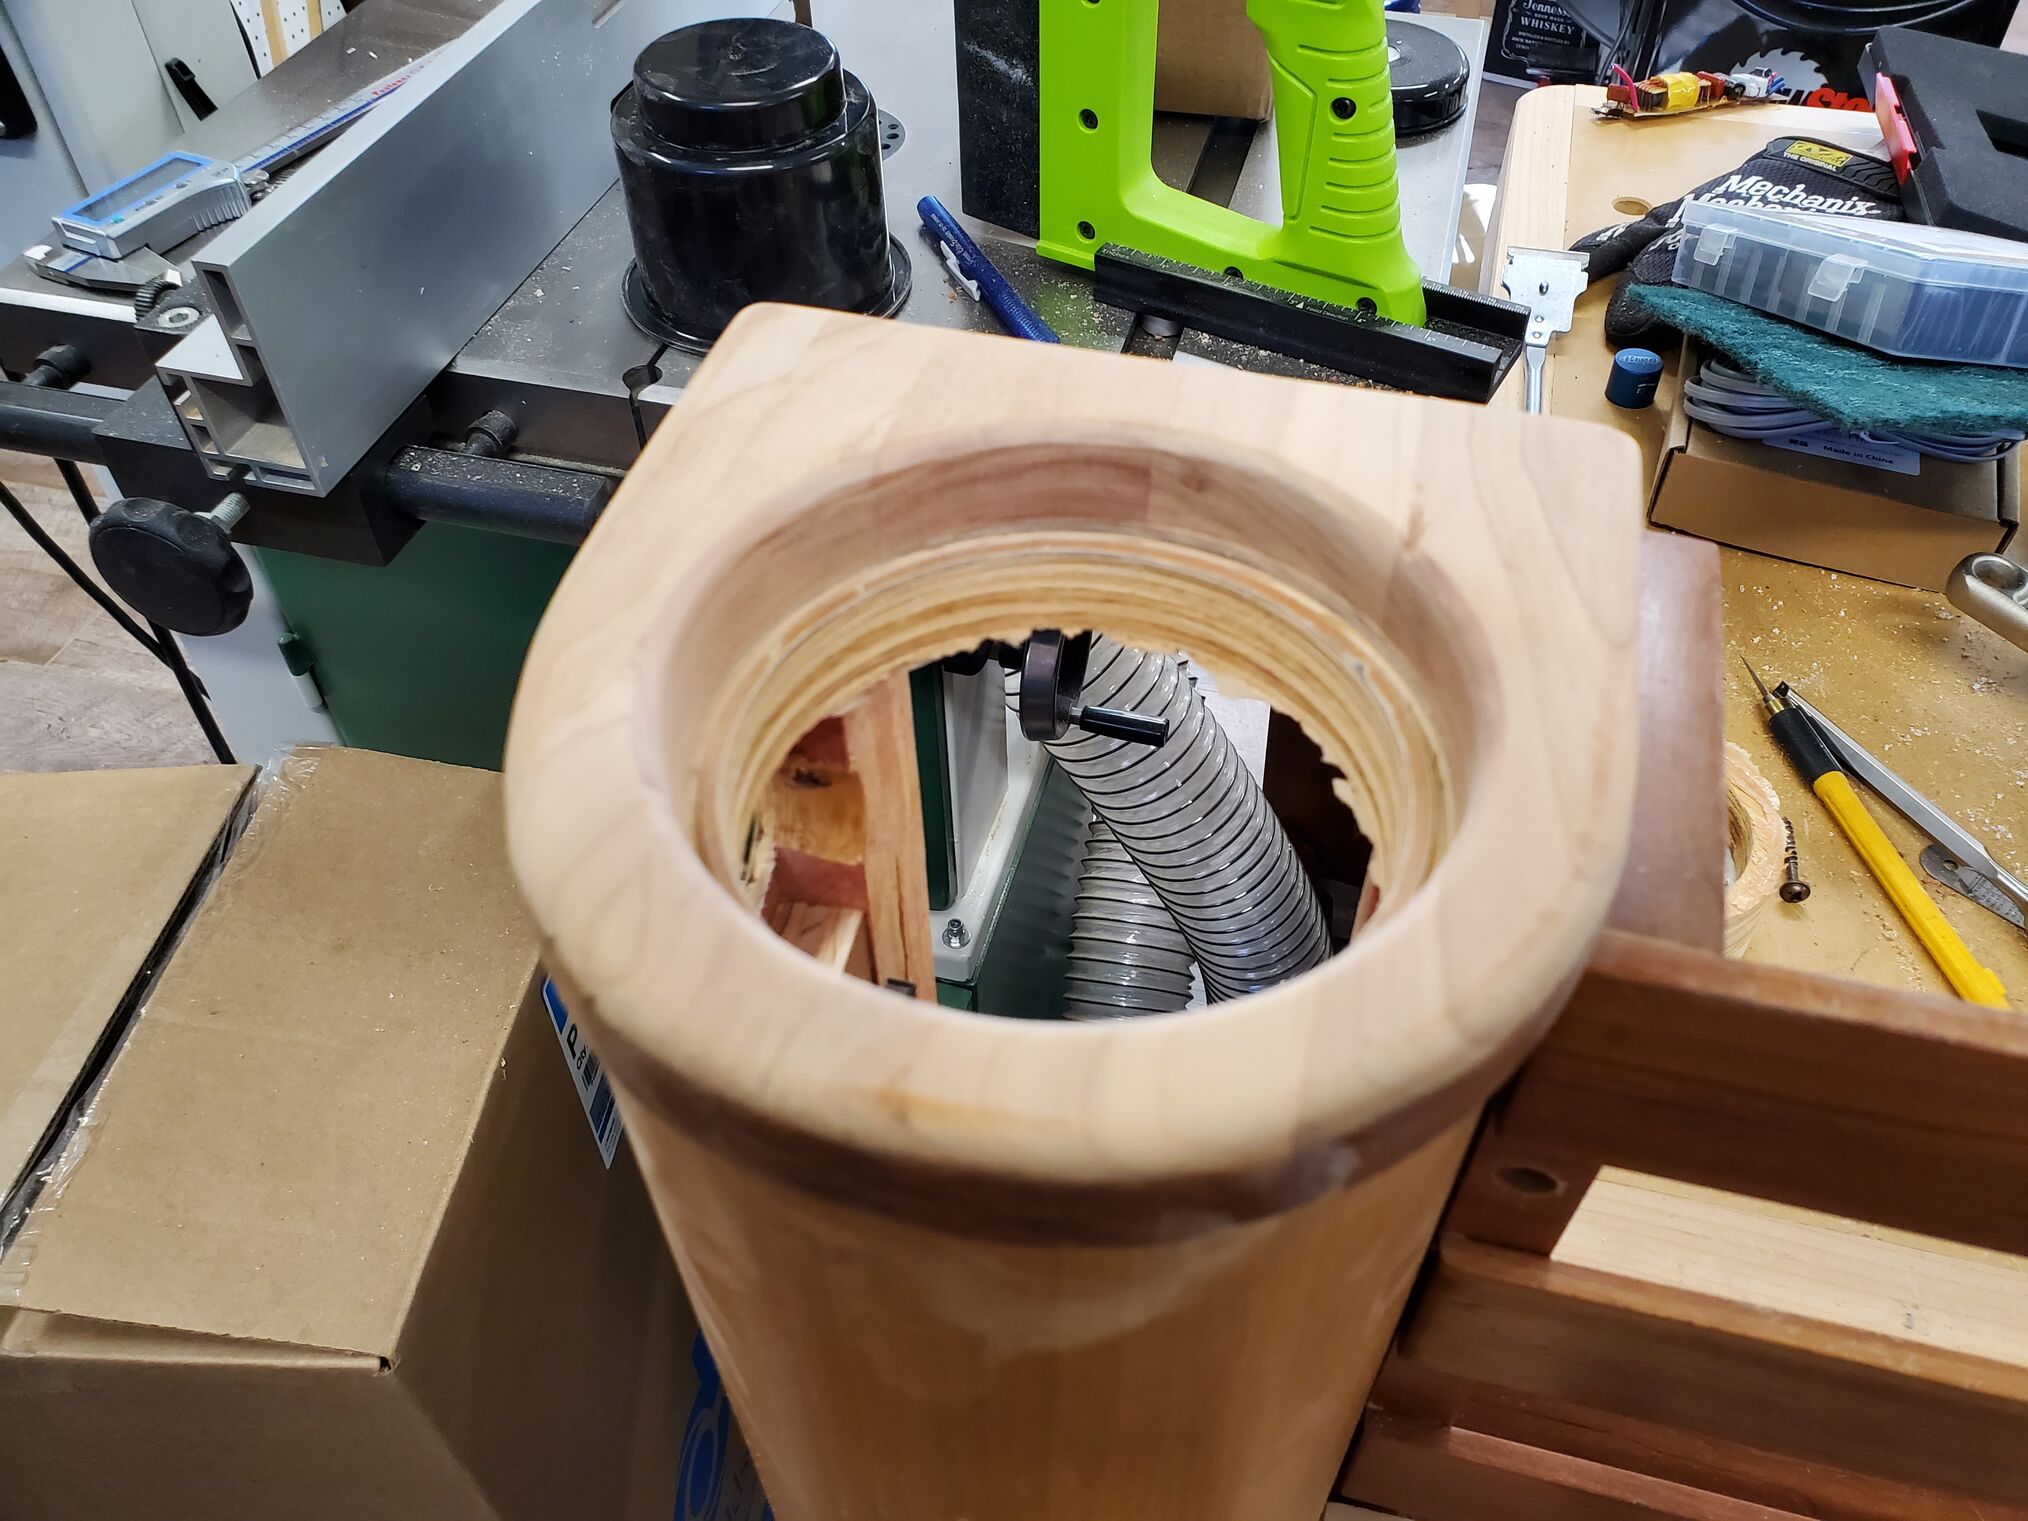
Routed a new round over on the top edge, then sanded the top and used SW sanding sealer to finish the job.
As the new cup holder was large, we also added a cup liner insert: JoyTutus Cup Holder Insert, so now your Hydro Flask or Yeti cup will fit and be secure. You may not need the insert depending on what drinking vessel you choose.


