Engine Thermostat
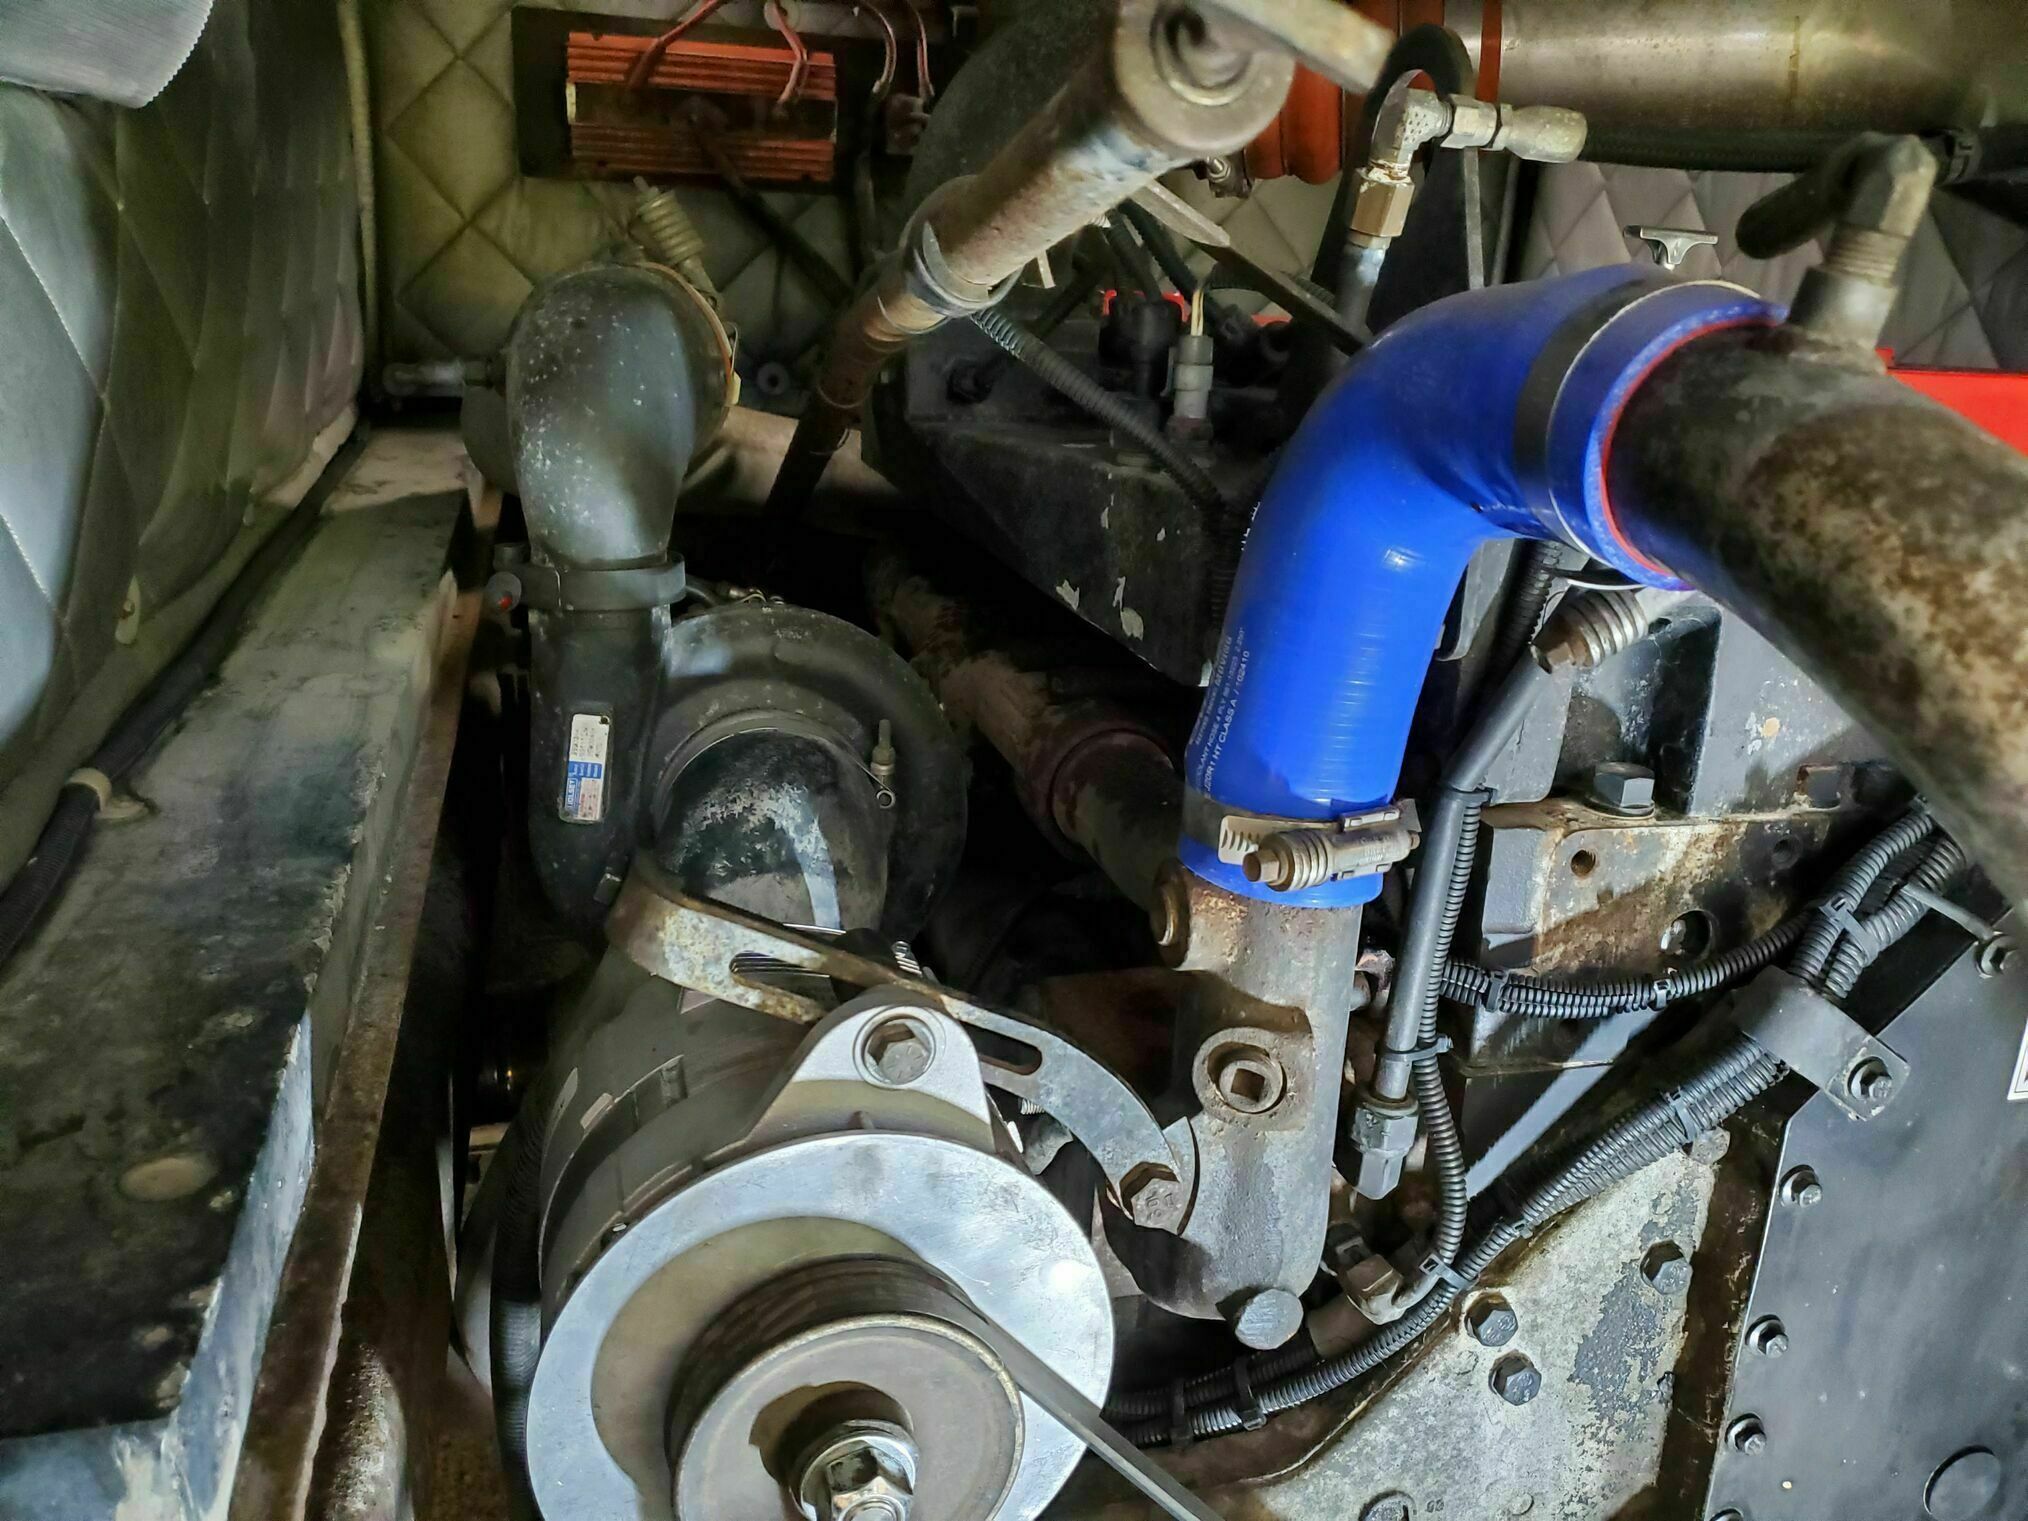
We did a cooling system flush and fill, and as part of this decided it was a good time to replace the engine thermostat. This led us to discover other items that needed to be updated and fixed in the water pump area.
The first task was finding the current part number for the thermostat (180-201 full open / non vented) for a 2000 U320 ISM450, engine. Using Cummins Quick Serve the P/N lineage is 3335550 Obsolete > 4973373 Obsolete > 2882757 Obsolete > 4318197 Obsolete > TSB 4318947 Current. The very helpful members over at ForeForums confirmed this as the currently correct P/N.
Thermostat Housing
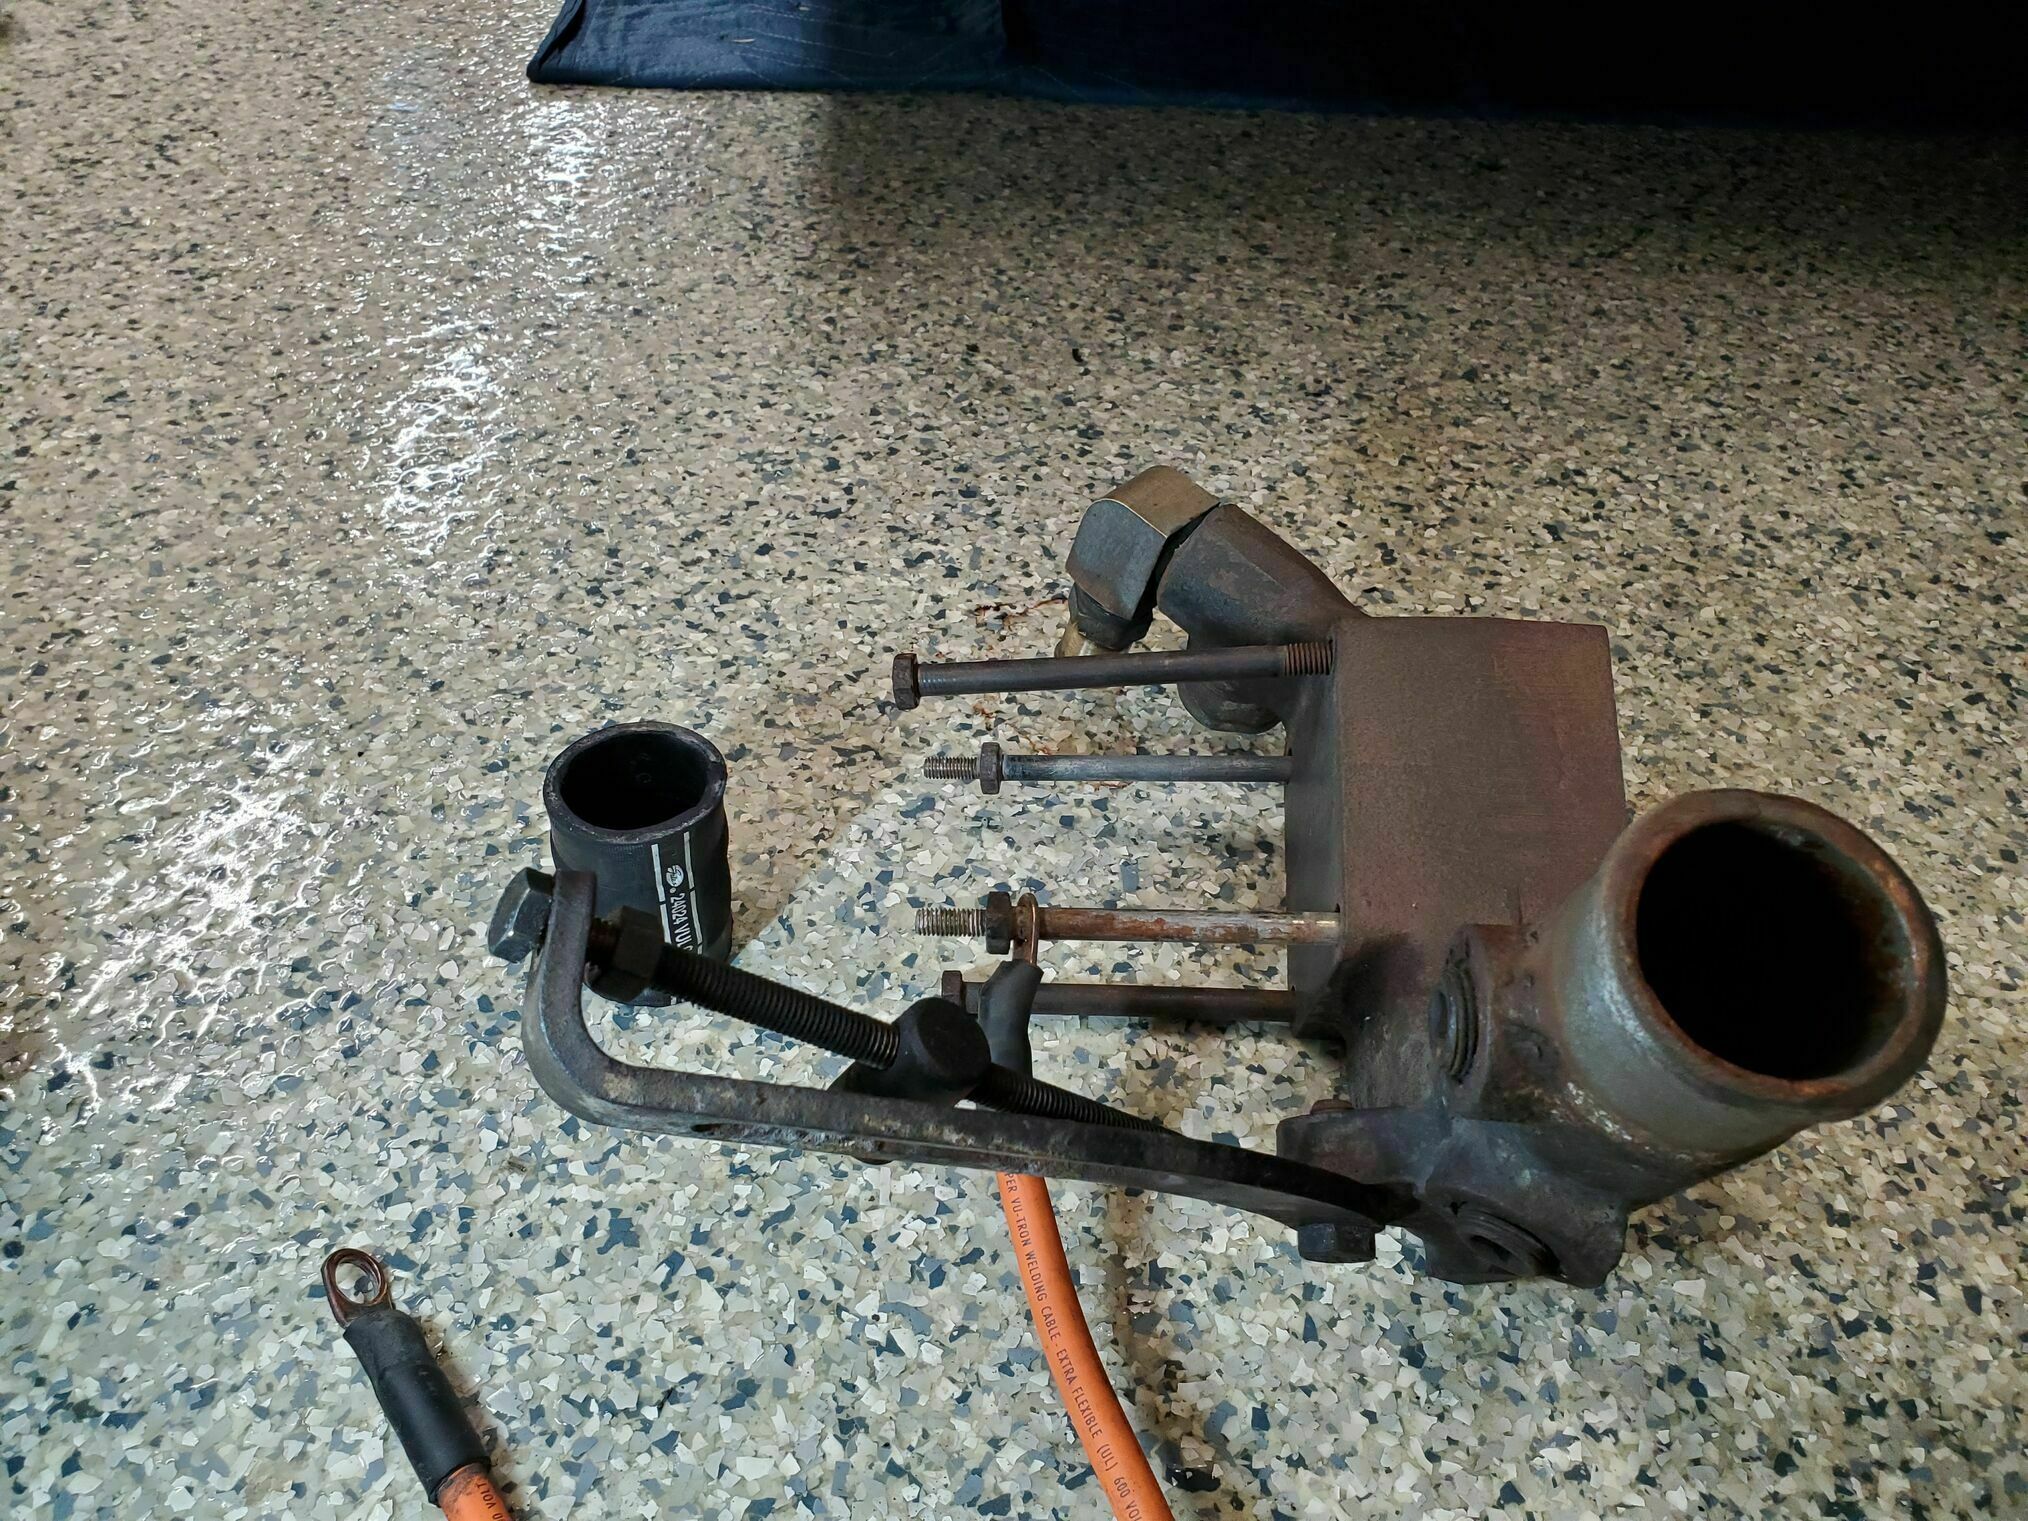
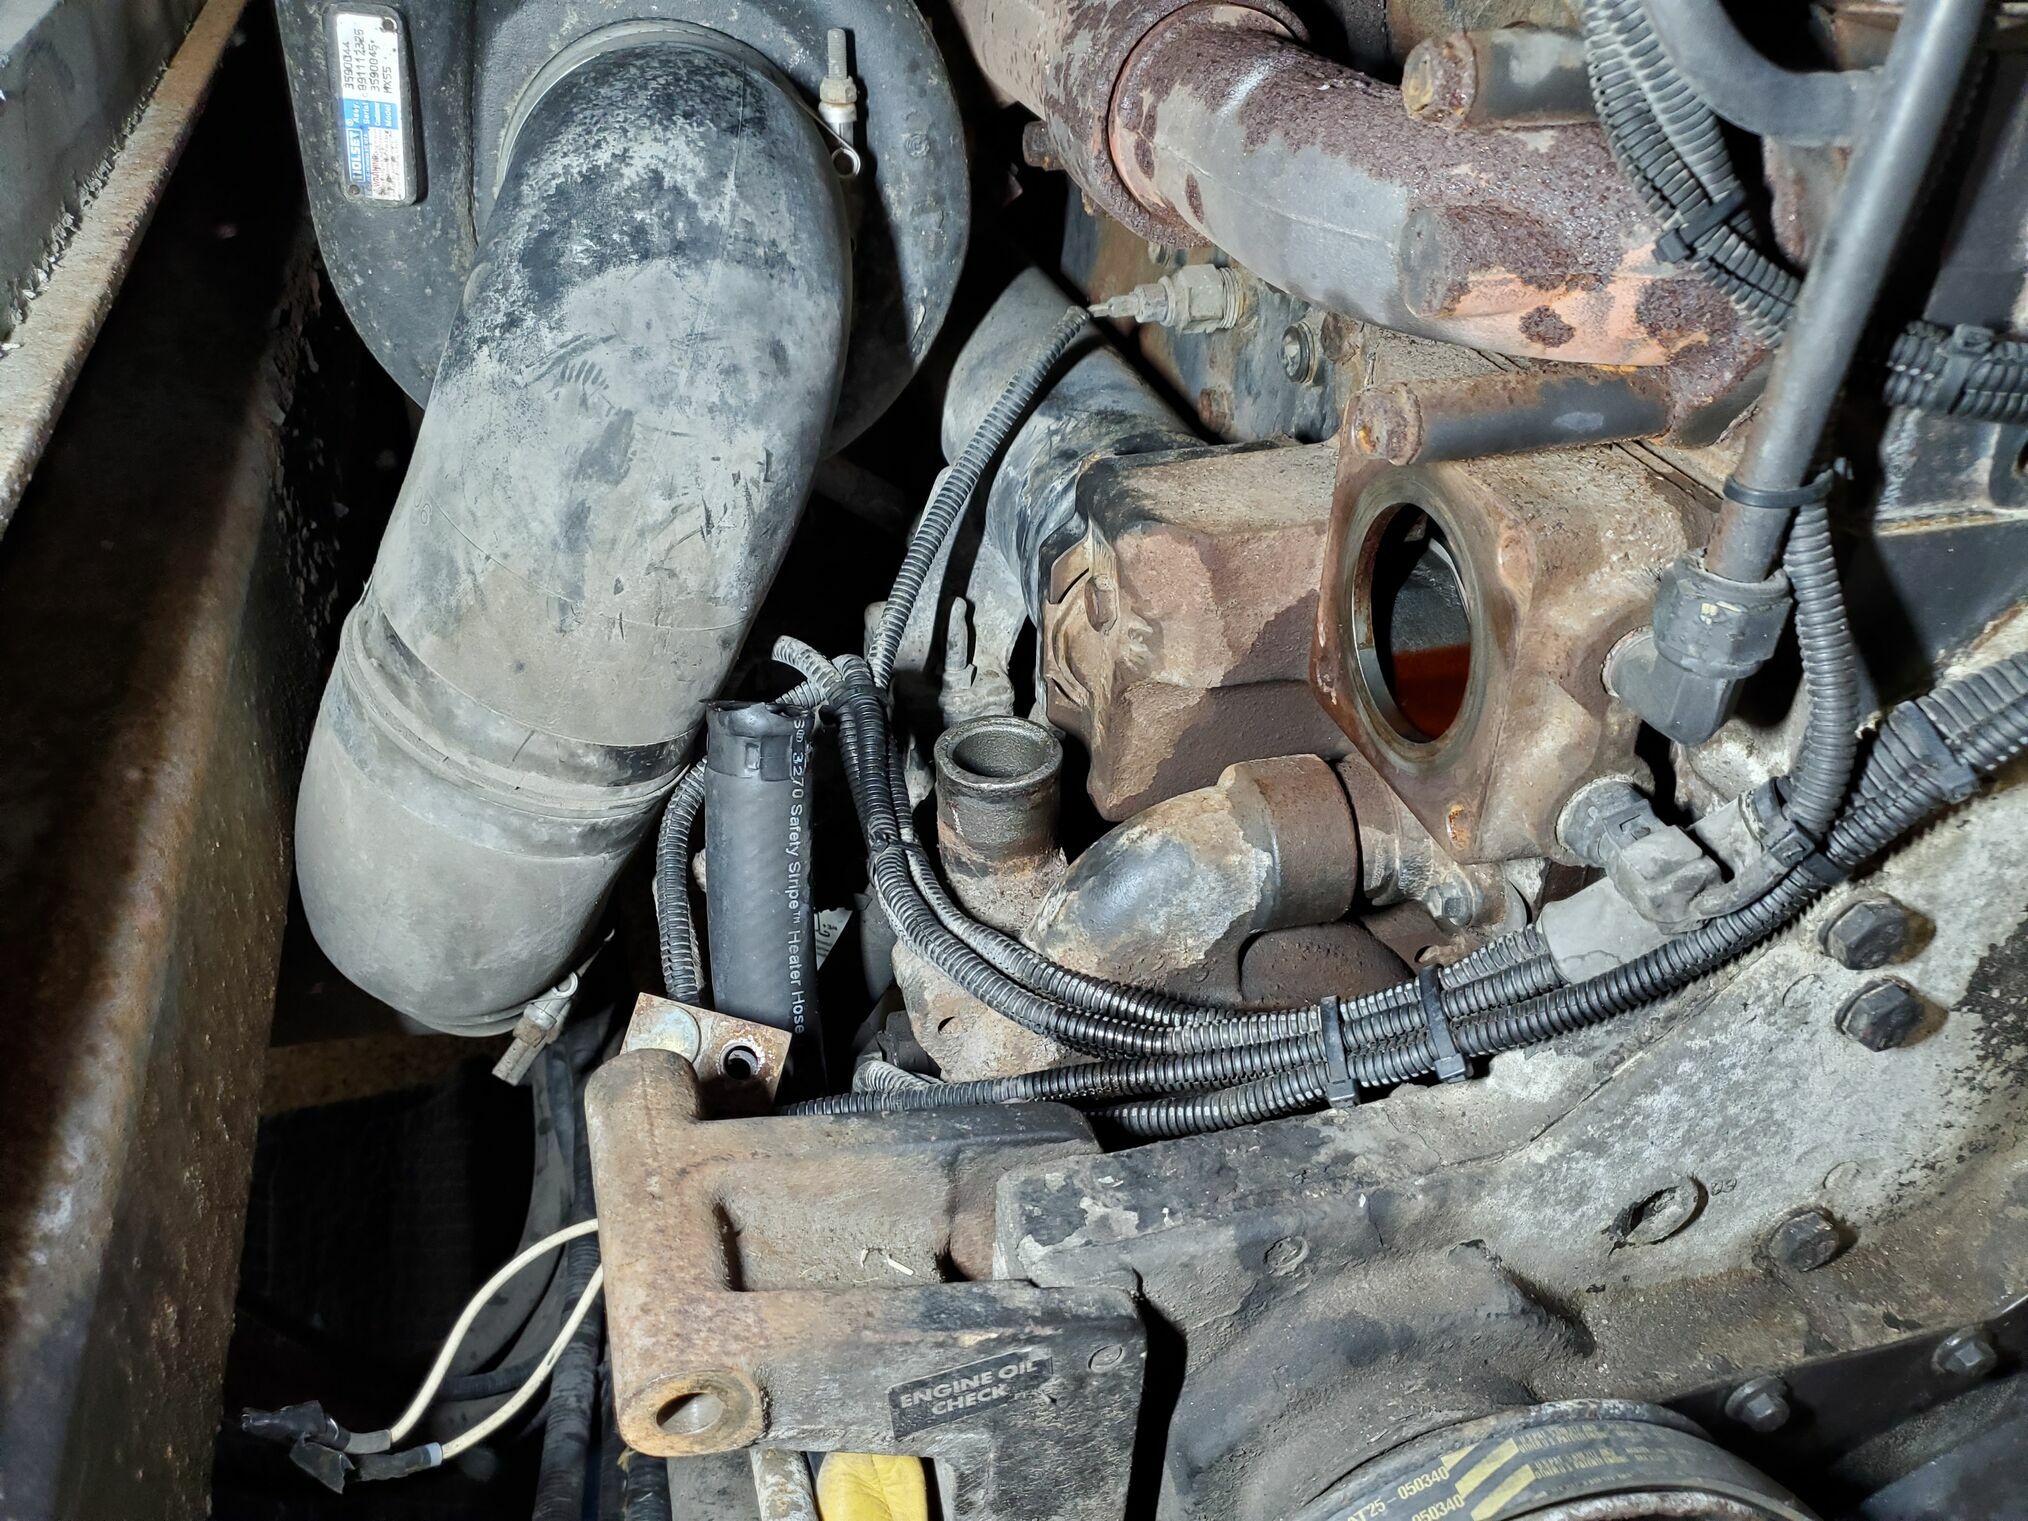
At first I thought I could do it by just loosening the alternator and rotating it to the left to gain the clearance needed to loosen the hose clamps and bolts. After trying this for a bit, I decided that having to work around the alternator was making things to difficult and decided to remove the alternator to get best access.
With the alternator out of the way, you will have excellent access to easily remove the 4 bolts and 4 hose clamps that hold the thermostat housing in place.
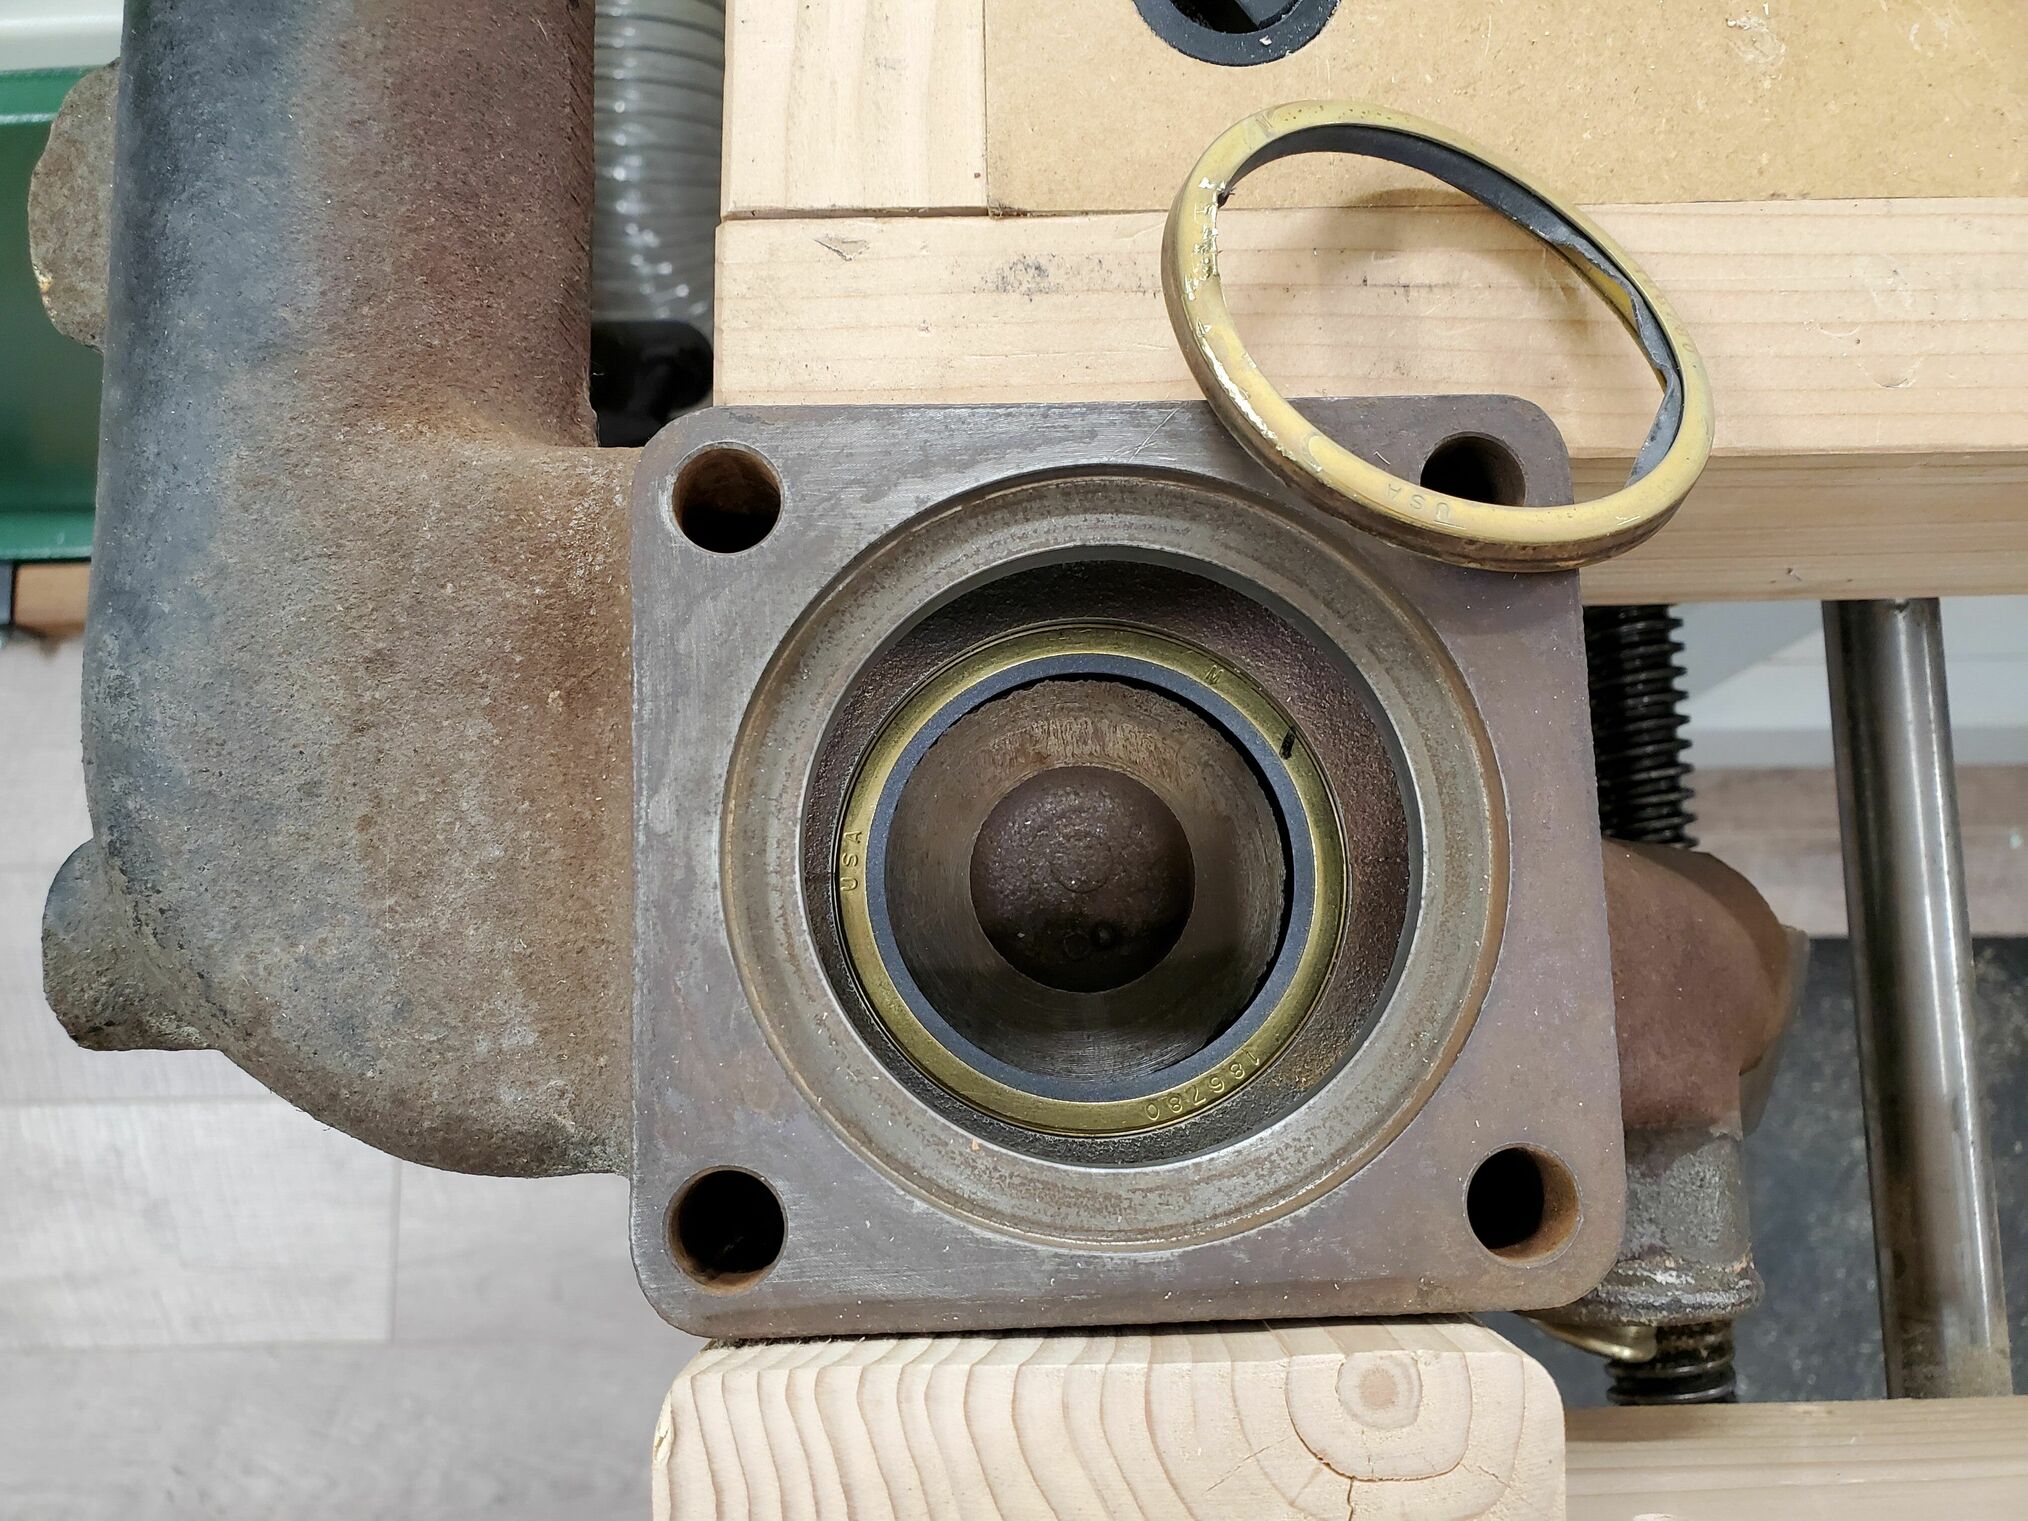
The thermostat housing contains a press-in seal that you should replace, its Cummins P/N 186780. There is no step that the gasket rests/seats on, it is simply a straight through hole in the casting. So the easy way to remove it is to tap it down into the housing, then you can wrap a finger around it and pull it out. Its beyond thumb pressure to insert the new one, I used a block of wood that just fit in the opening and used the quill on my drill press to set the new one in place. You can also use a small block of wood and slowly tap your way around the perimeter, just do not let the gasket get off plane.
O-Ring in transfer connection
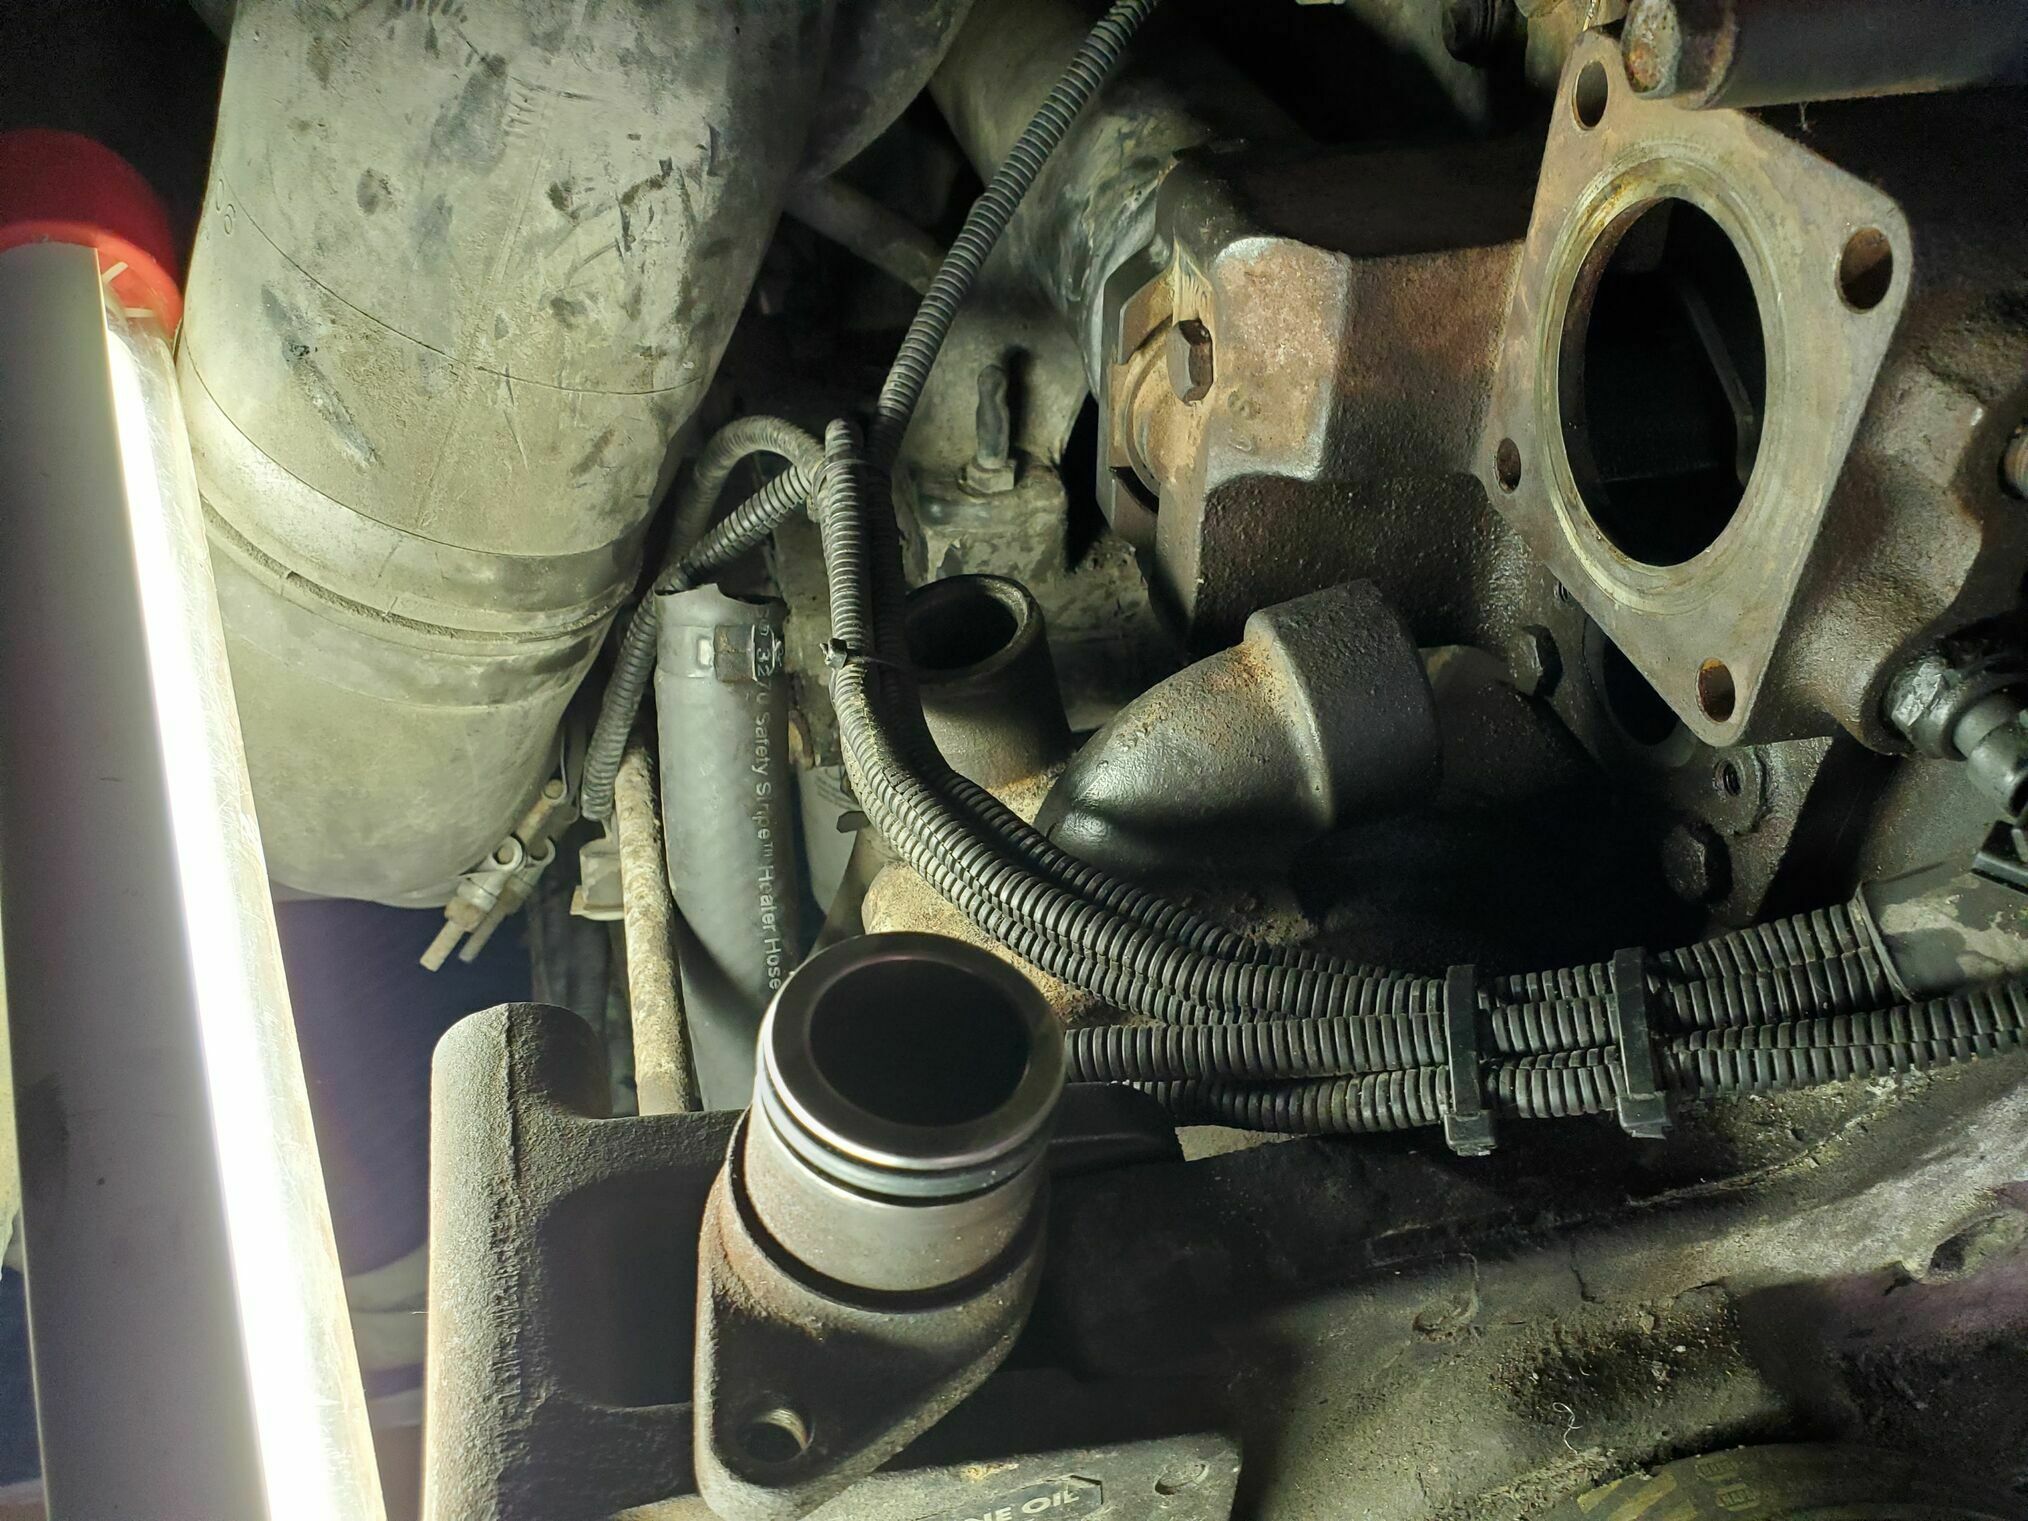
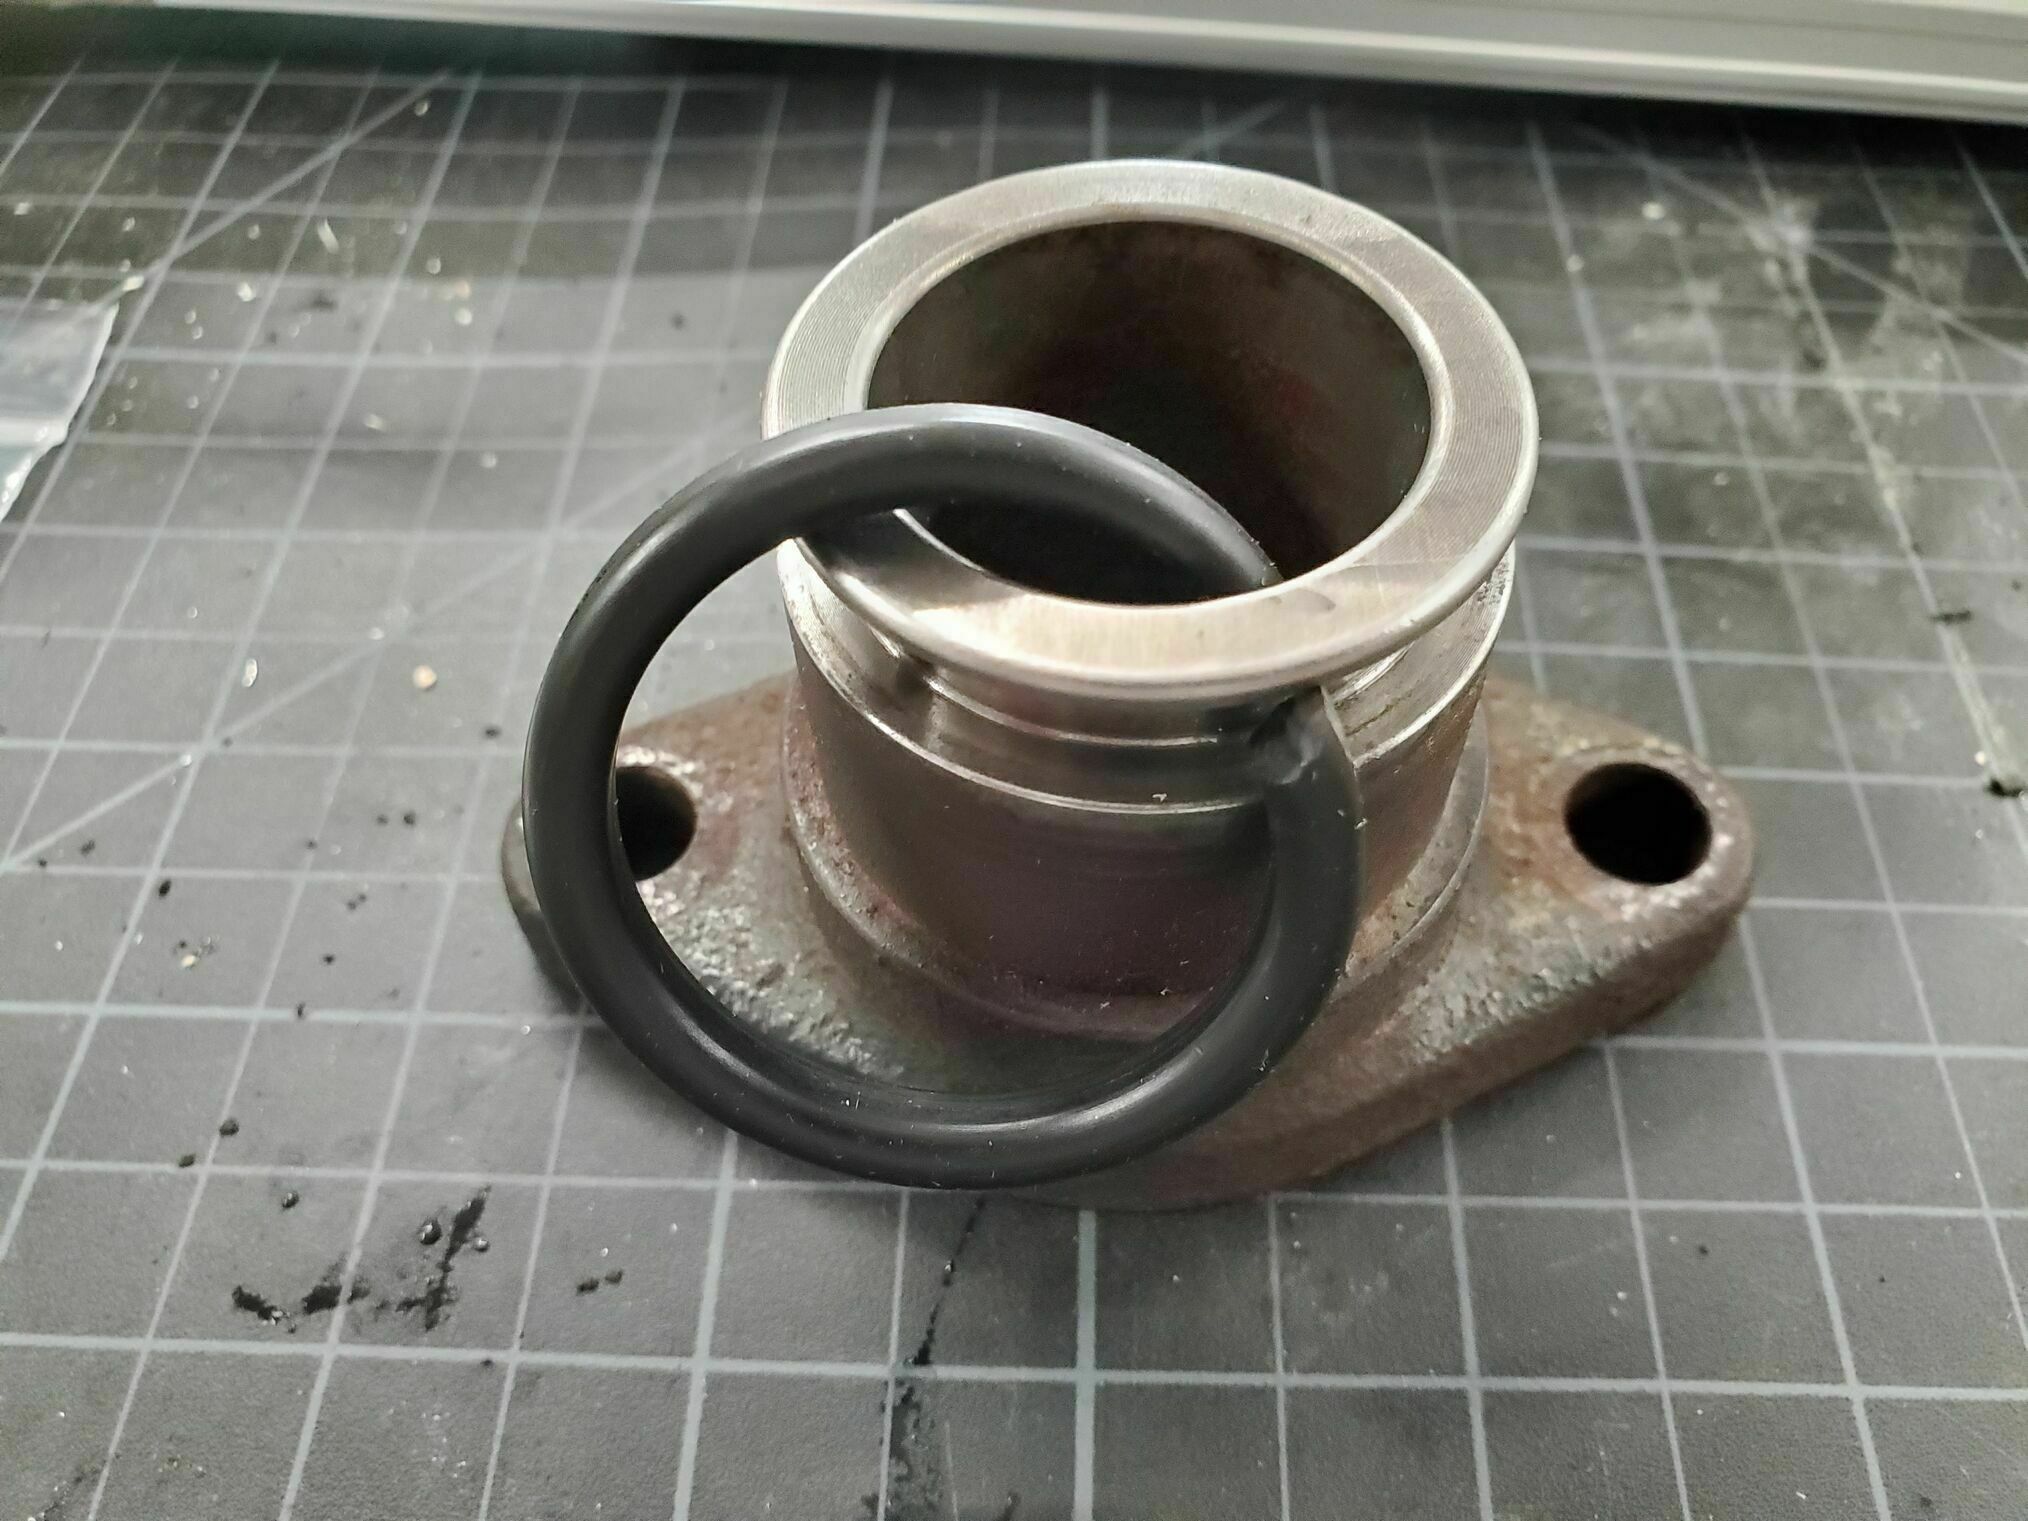
The 90 pipe on the water pump is connected to the engine block with a slip joint. You should give this some thought while you are in the area. There will be a “O” ring in the slip joint that may need to be changed as they begin leak as they age. The O-Ring P/N is 3892095 and you will also need a new flange gasket P/N 3027924. In my case I found the original O-ring to be crusty, went to remove it from its groove and it just snapped. The flange gasket (still stuck on the block) was also dried-up and came off in little chunks.
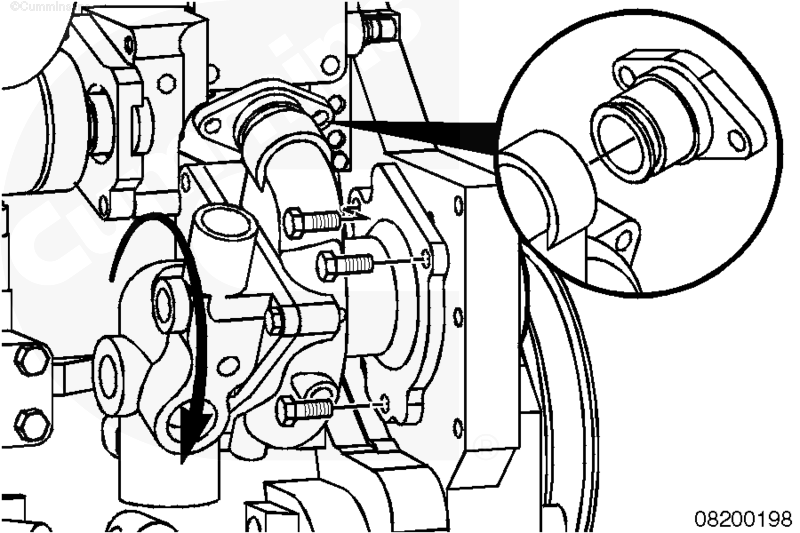
- Remove the two water pump water transfer connection bolts from the engine block.
- Remove the three water pump mounting bolts.
- Rotate the water pump outward so the water transfer connection can be removed from the water pump. There will be just enough room to rotate this and free the transfer tube. To rotate the pump you need to remove the lower radiator hose/tube
- Remove the water transfer connection.
Then to replace:
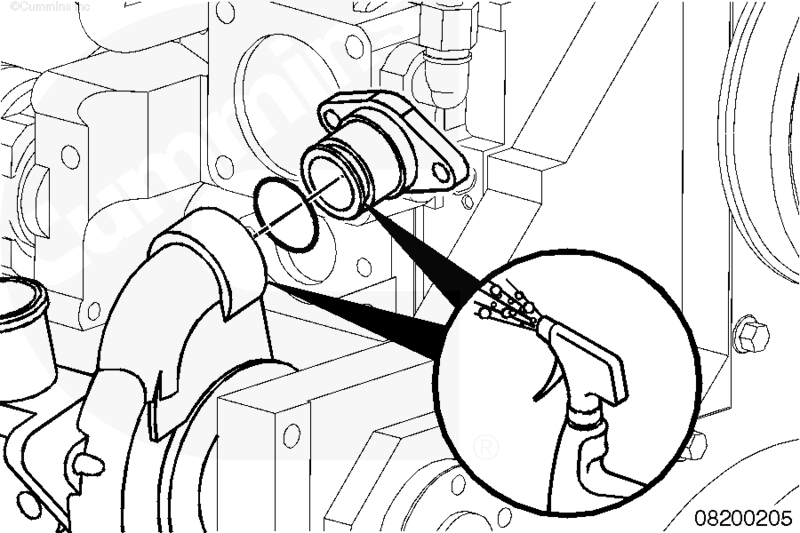
- Install the water pump water transfer connection into the water pump.
- Install a new o-ring on the water pump mounting flange.
- The water pump must be twisted outward from the top until the transfer outlet clears the thermostat housing support during installation.
- Twist the water pump inward and install the three water pump mounting bolts.
- Install a new gasket on the water pump water transfer connection. Install and torque the water transfer connection bolts.
Cooler Orifice
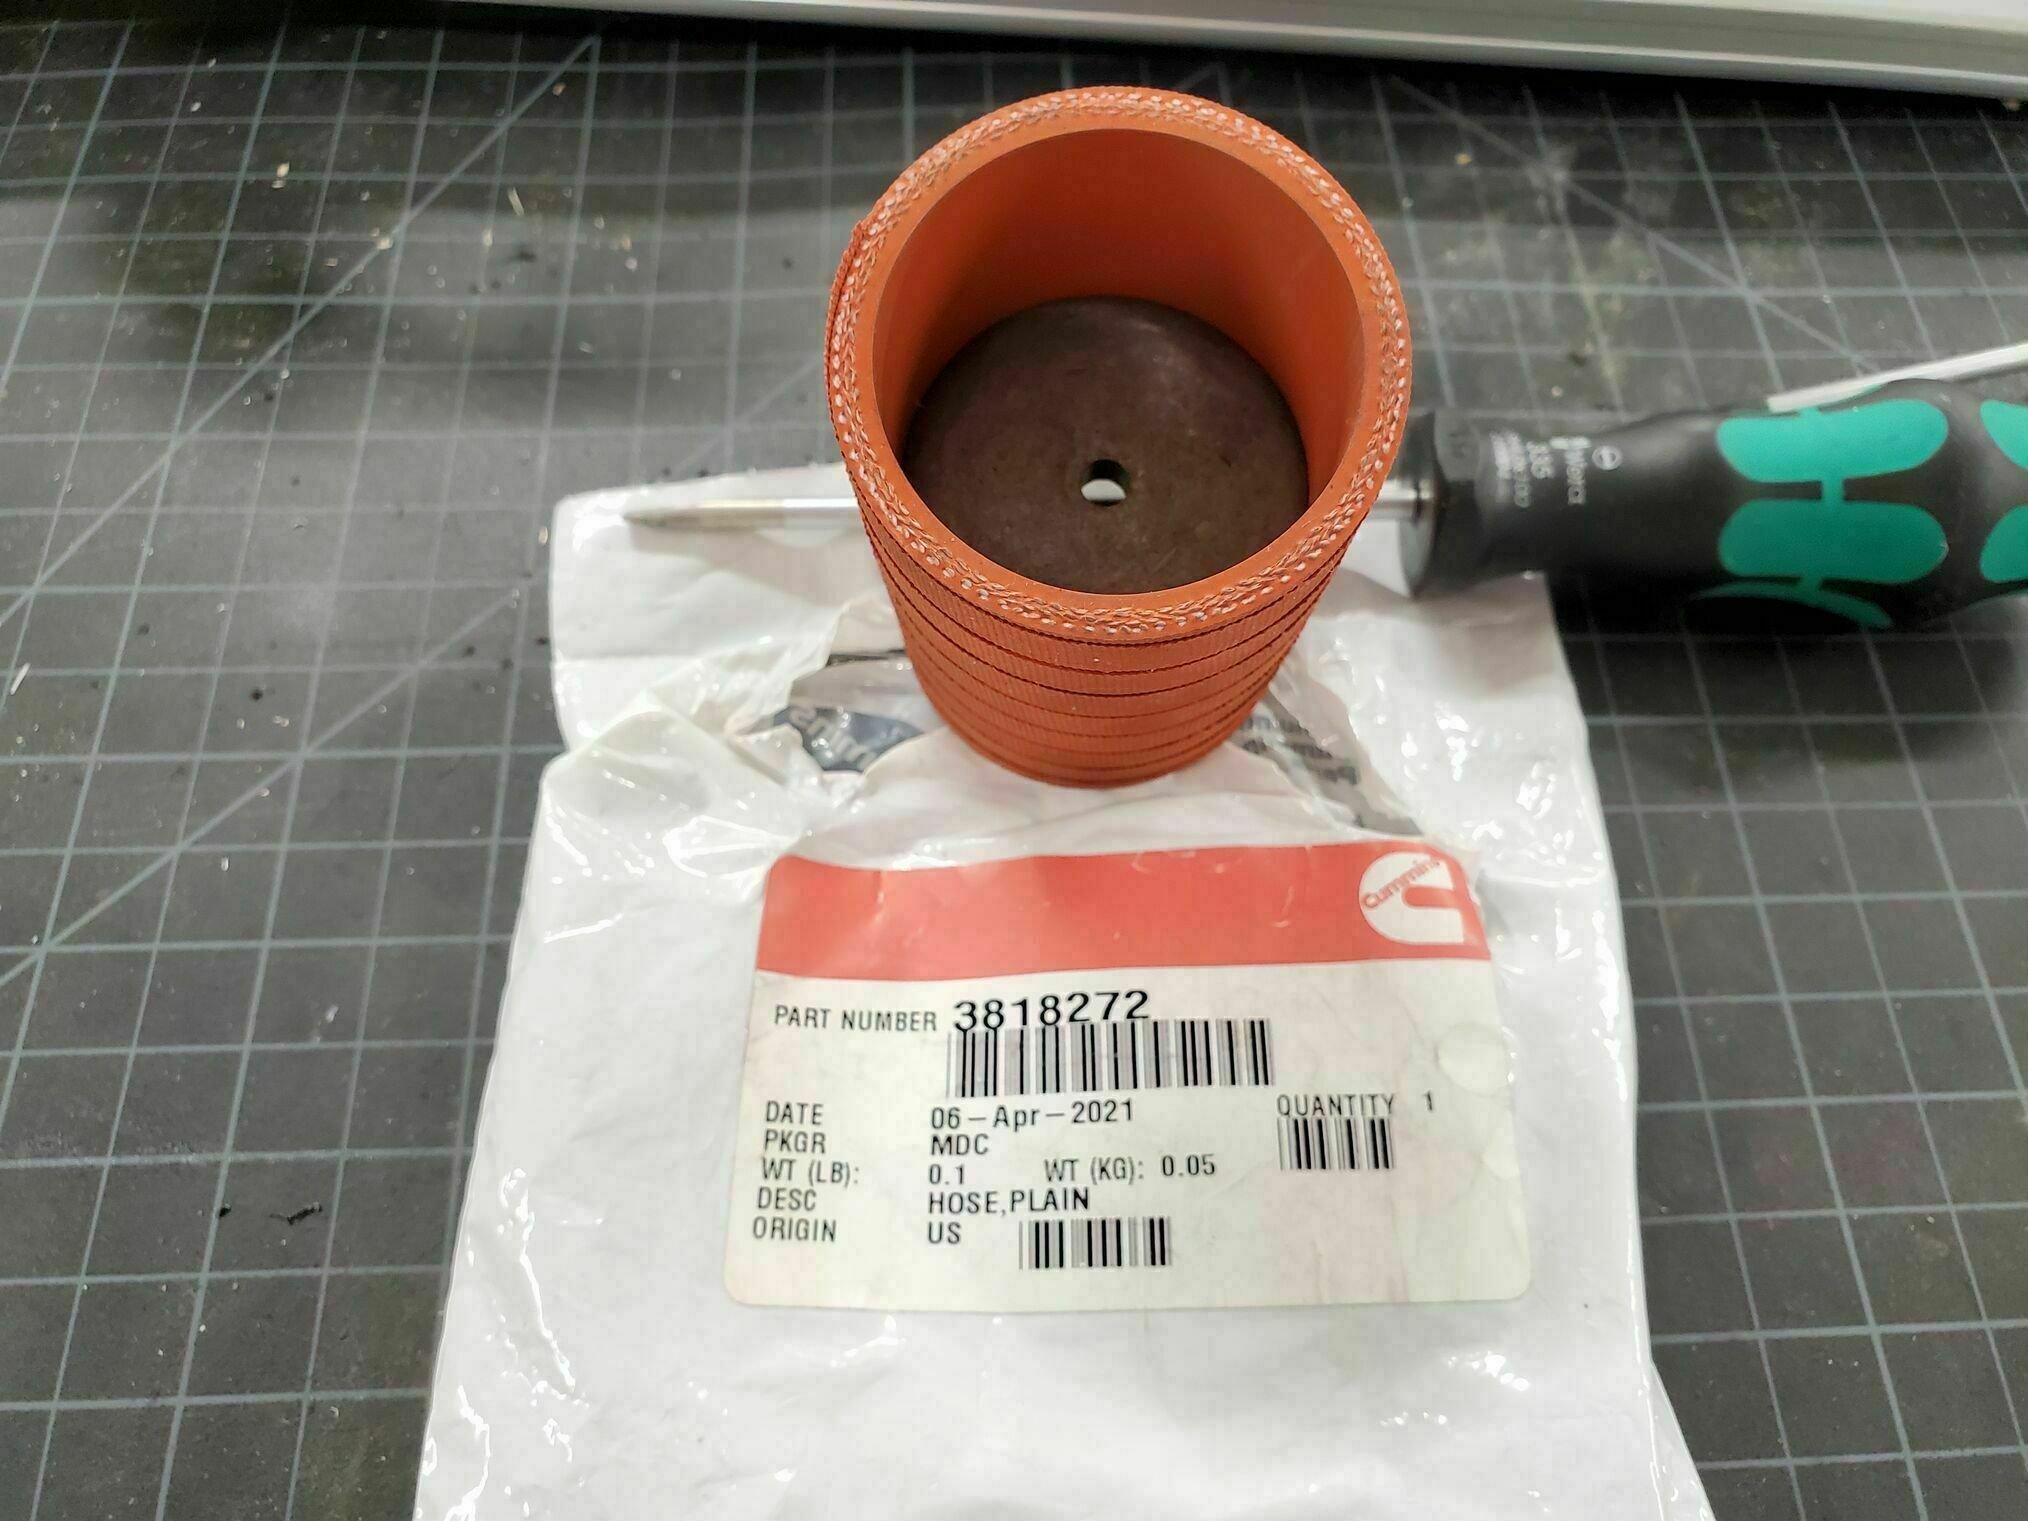
In some installations there may be a limiting orifice disc that goes in the bypass hose, don’t loose this. These will be found if you have a transmission retarder. The disc is required to restrict coolant flow within bypass from thermostat housing to water pump when the thermostat is closed. The orifice disc diverts bypass coolant through remote mounted torque converter oil cooler. The engine option is TK2008 and the orifice P/N is 3027971.
My setup should have had this installed but it was missing. Either never installed or lost during some previous thermostat replacement. I purchased a new one and installed it as part of this project.


