Updating the Storage Bay Lighting
We updated all of our bay lights to LED strip lighting. I know others that have done this upgrade as well, but it’s always fun to write down what you did.
Existing Fixtures
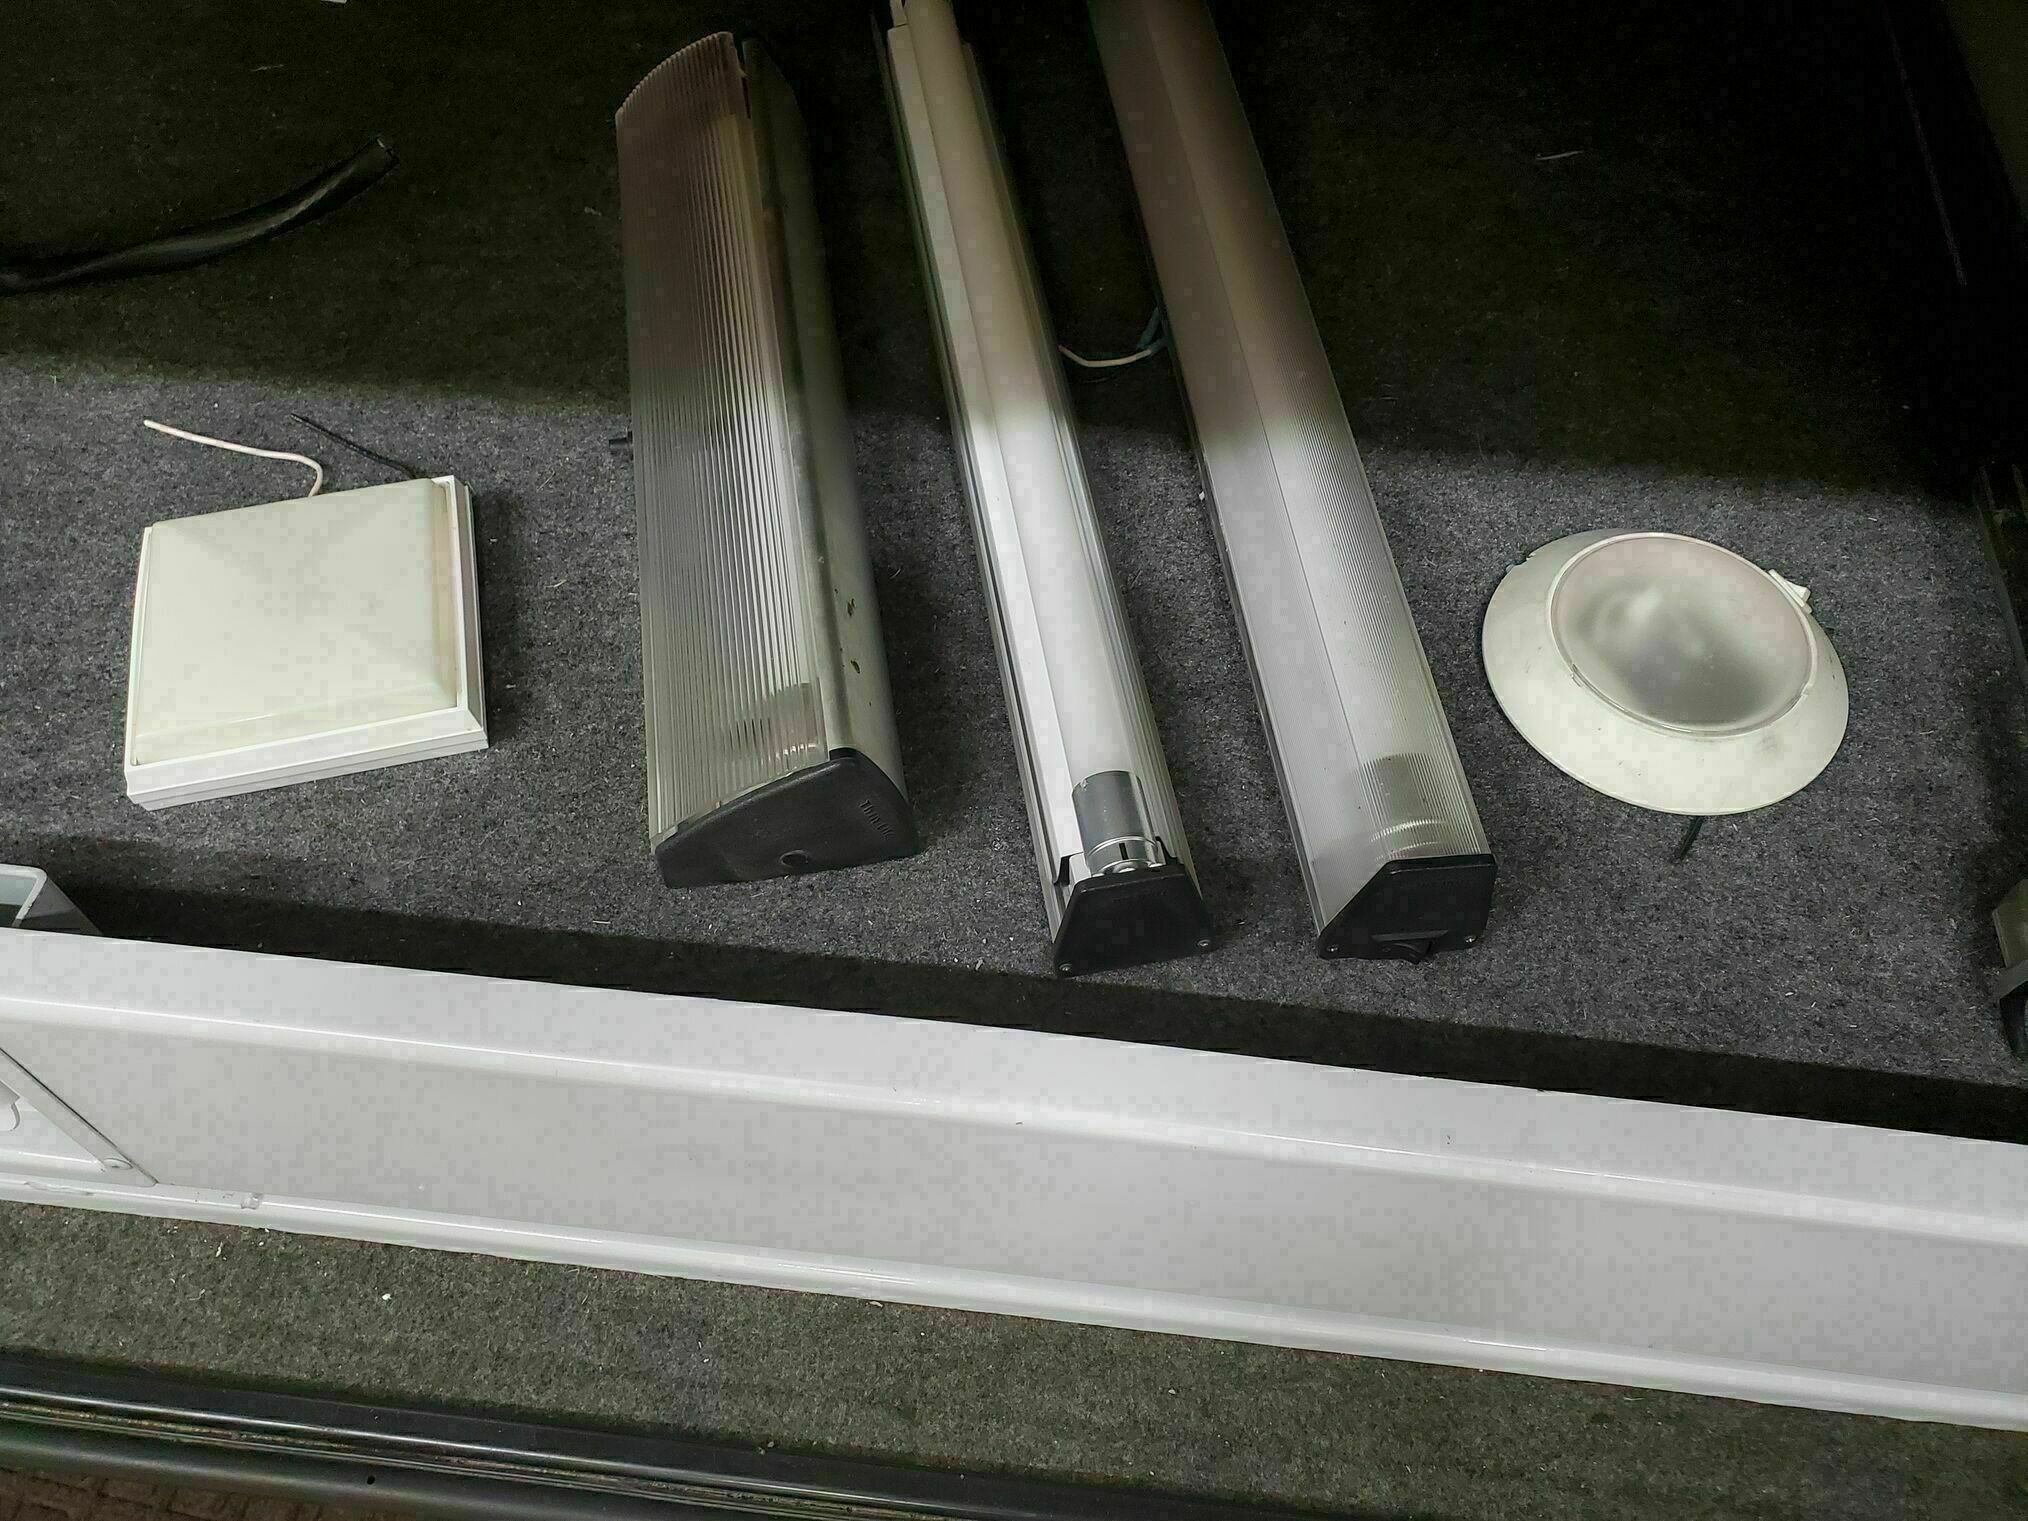
We had a wide variety of existing fixtures in the bays.
- Round-shaped fixtures that held halogen bulbs.
- As above but in square-shaped fixtures.
- V shaped fluorescent fixtures that placed the light right in your eyes and hung down far enough that they were a nuisance.
LED Strips
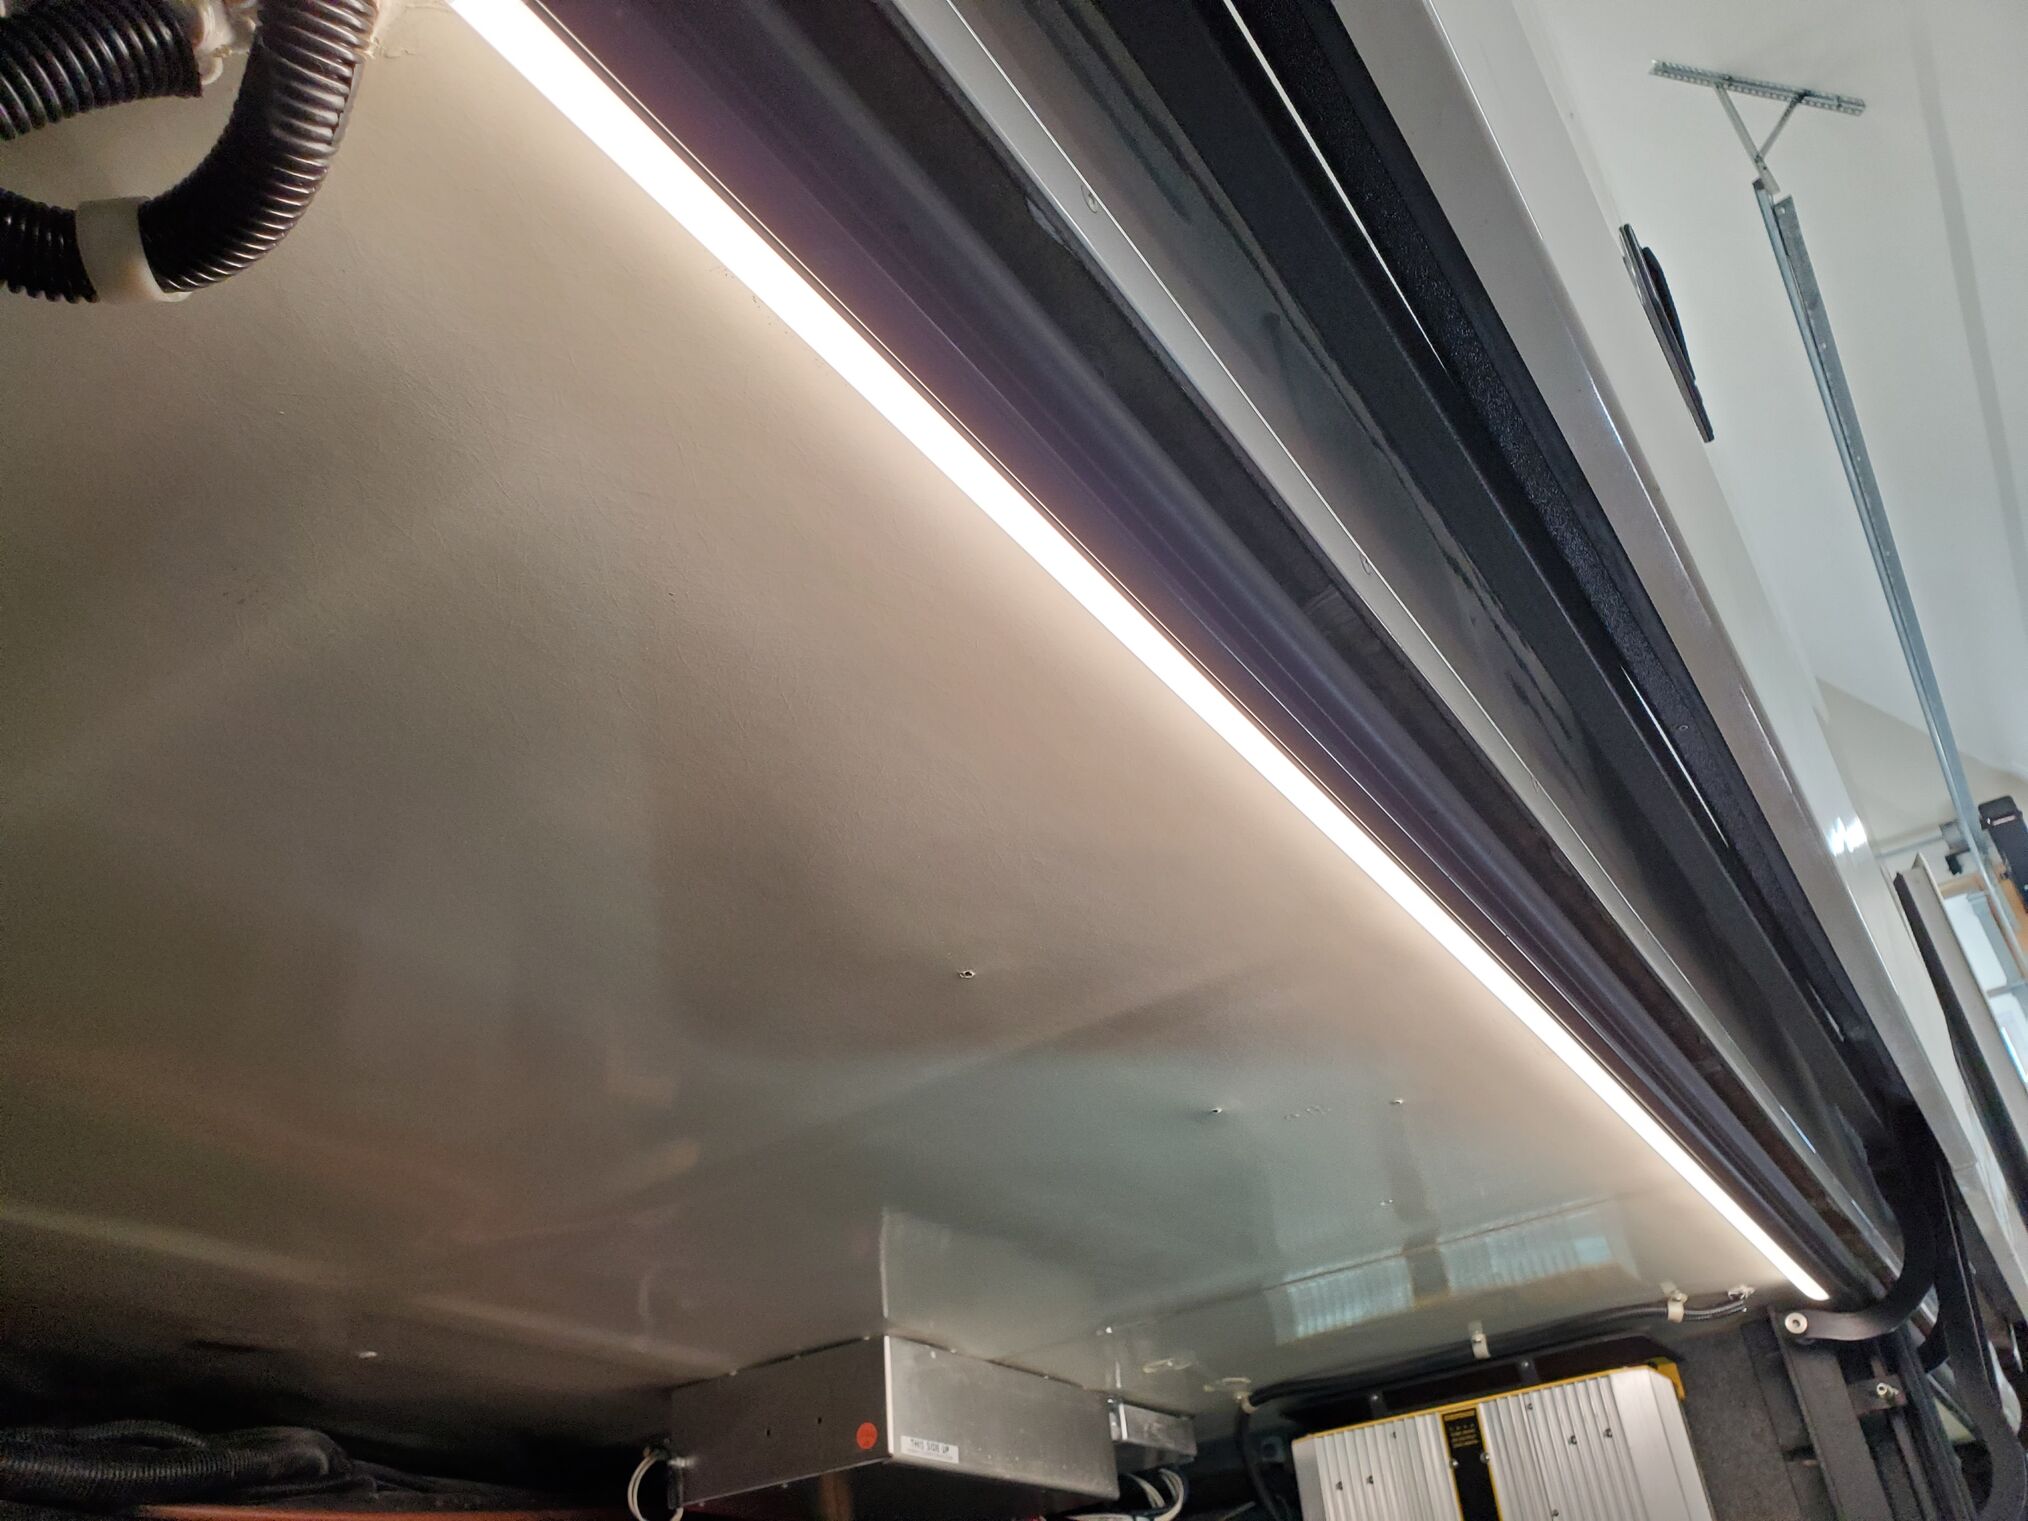
We wanted to have the full opening illuminated so choose to use cut to length LED strip tape. We purchased ours from Flexfire. We have used them before, and although they are not the least expensive supplier (they offer 20-25% discounts a few times a year), they provide excellent support, product variety, quality, efficiency, and documentation. In the past, I’ve had mixed results with less expensive reels, but have used them, so do what makes you happy. We went with white, but you could do a color-changing RGB and be the talk of the park!
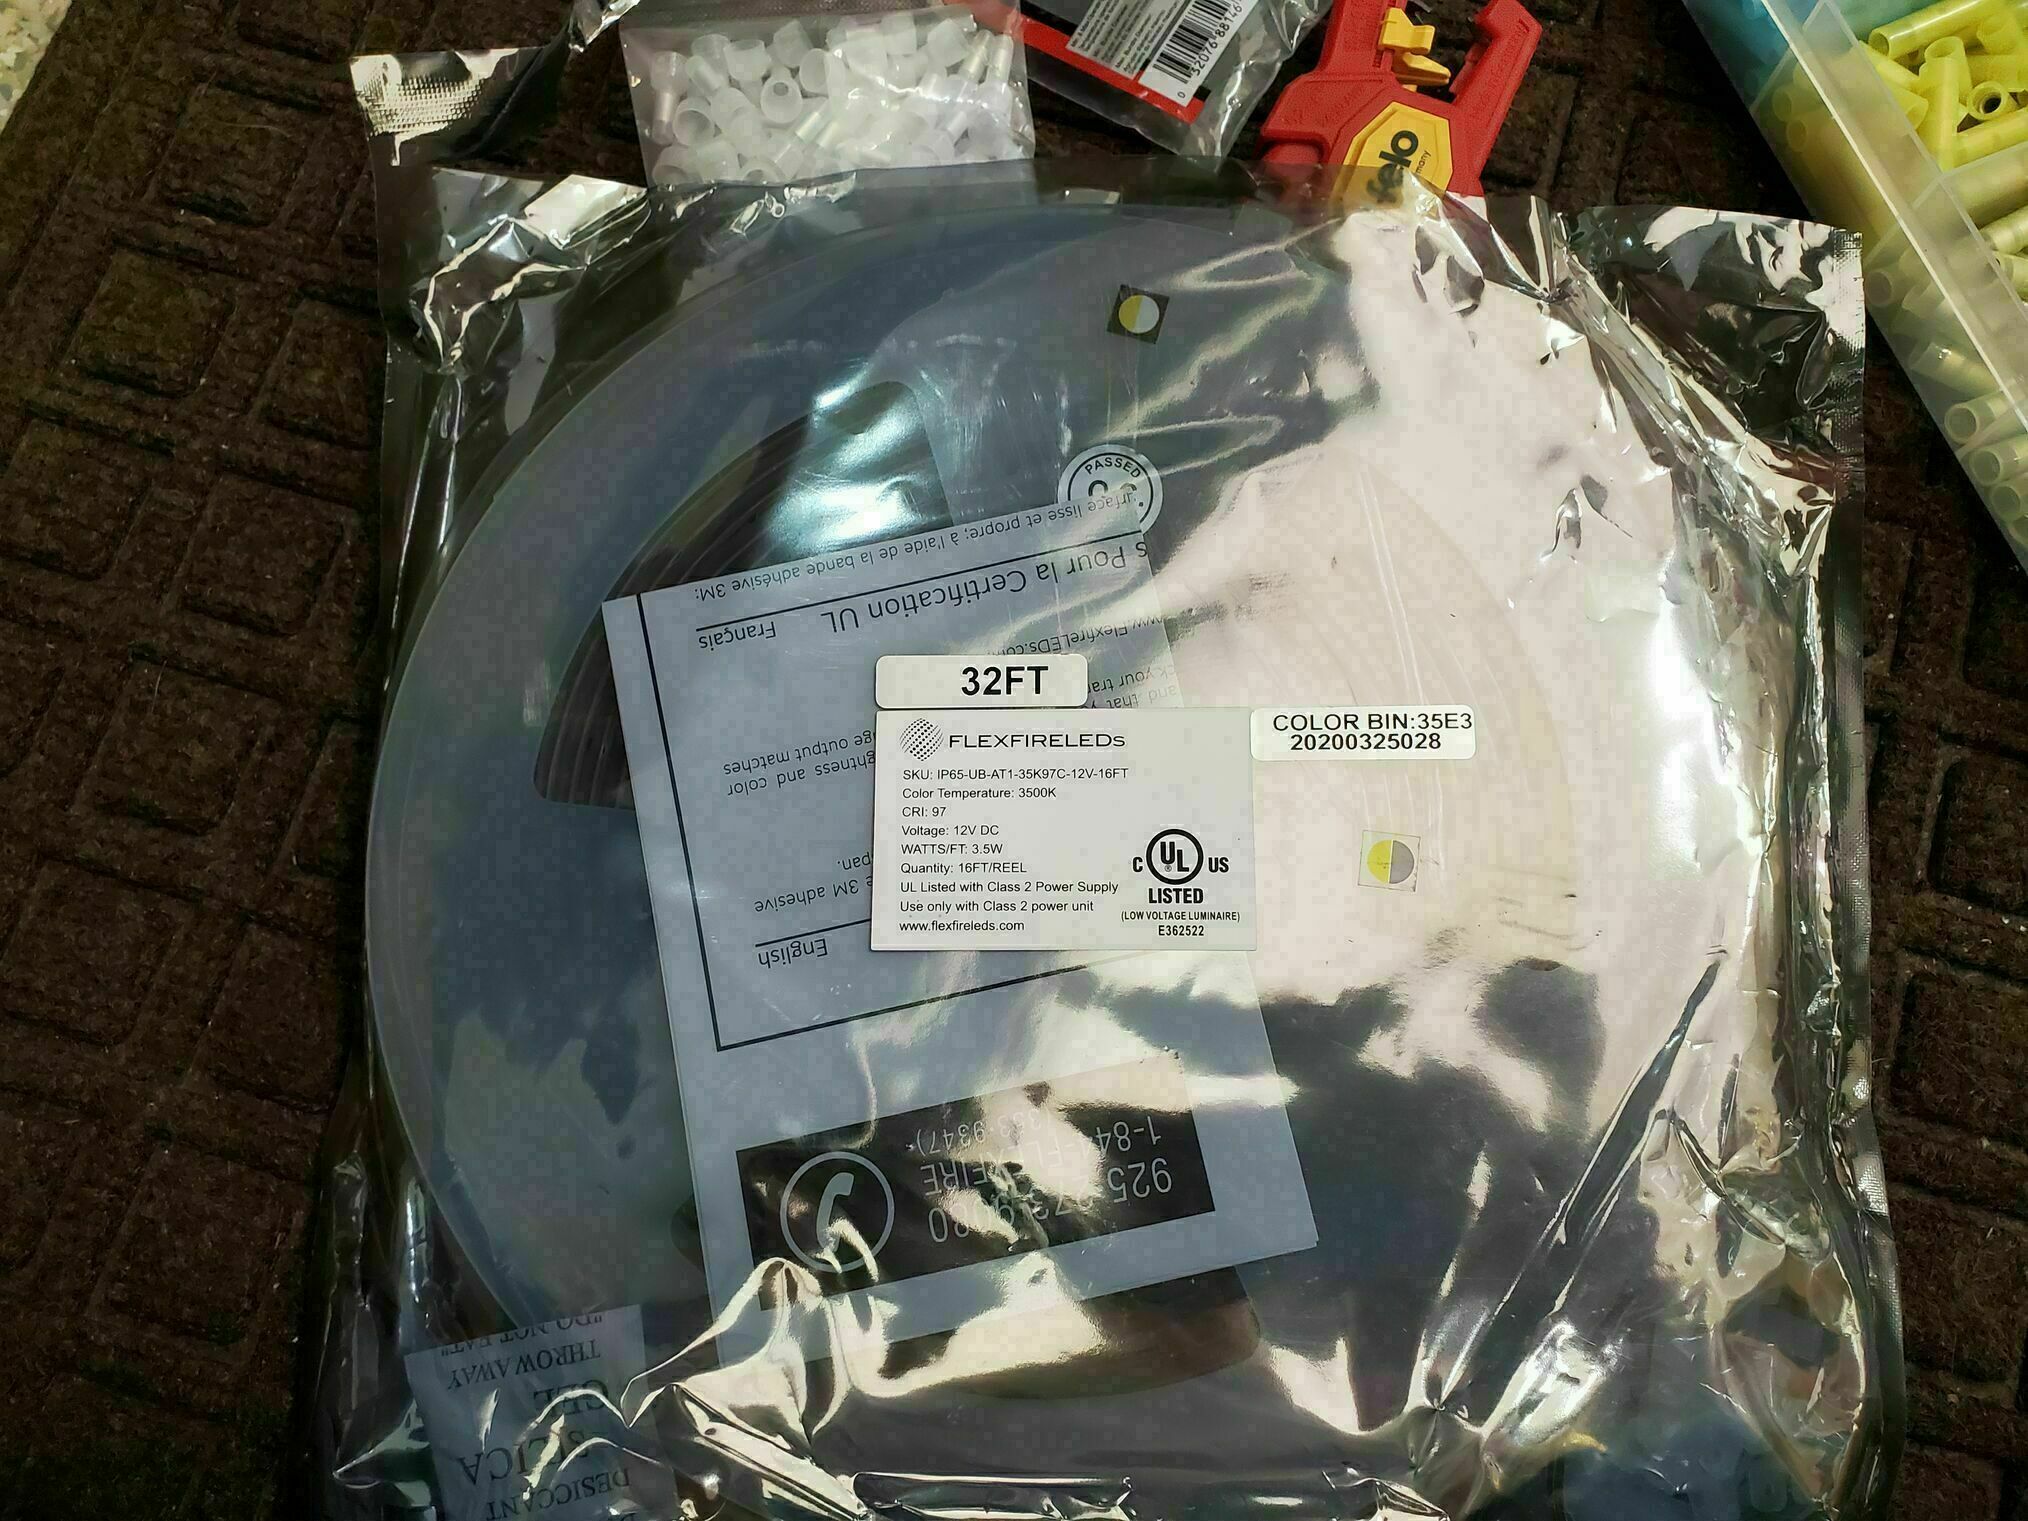
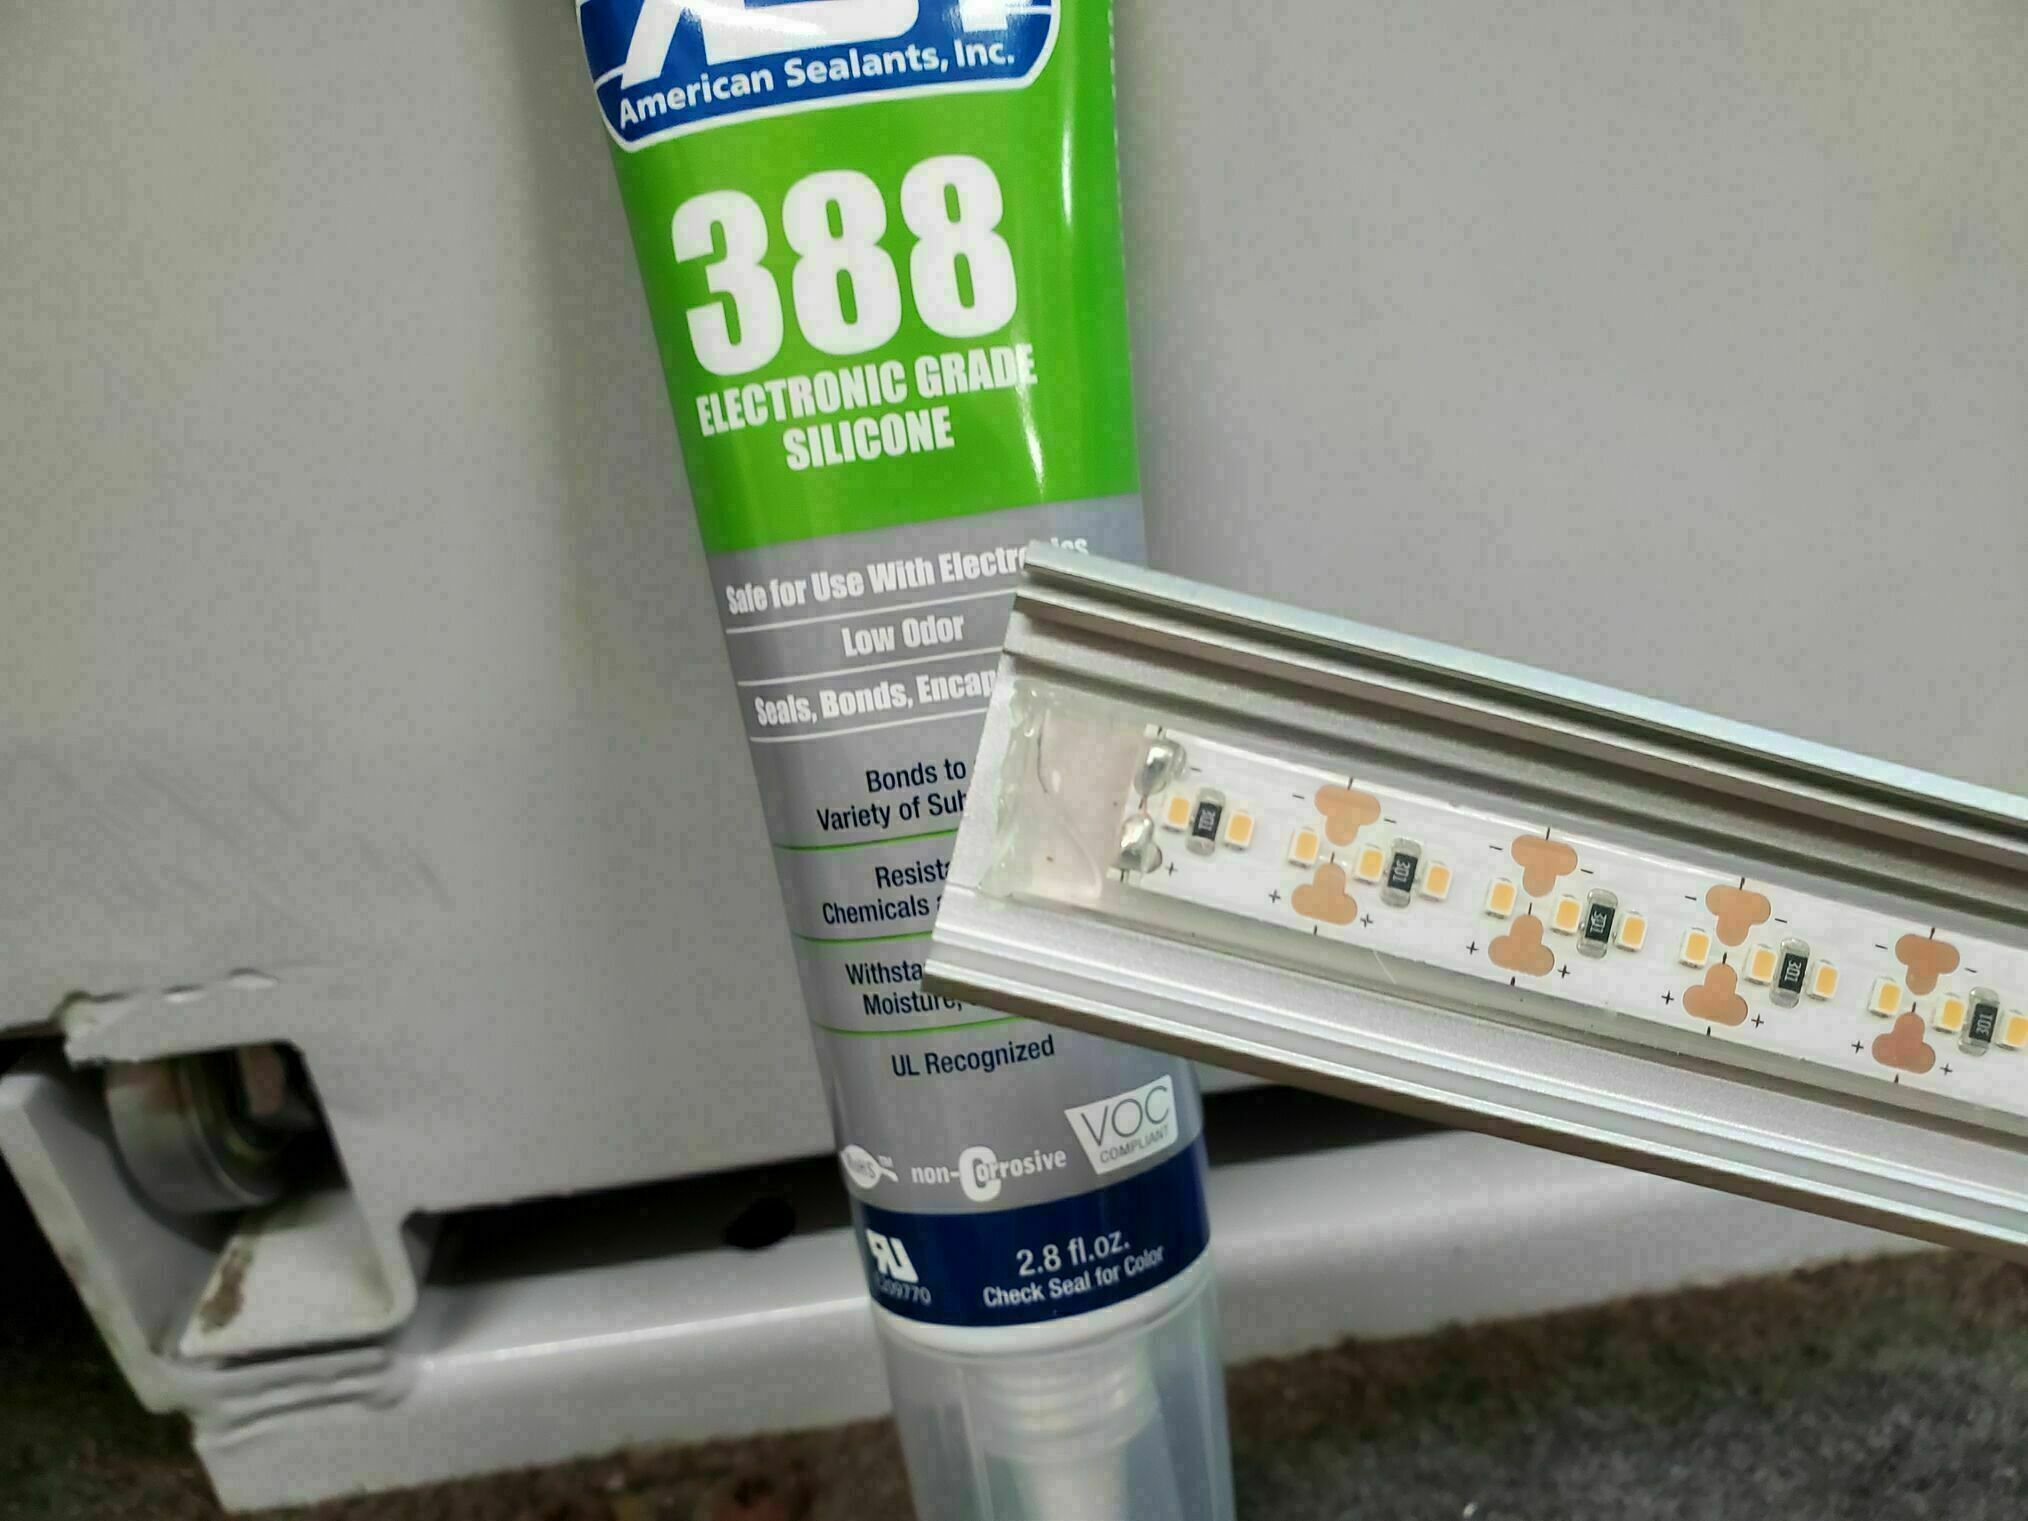
We Specifically used Outdoor (IP65) UltraBright Accent Series, which is their normal accent series inserted in a silicone sleeve to protect them from the elements. When you cut these to length (every inch). You will want to seal the cut ends with Electronic Grade Silicone Sealant to maintain the IP65 rating.
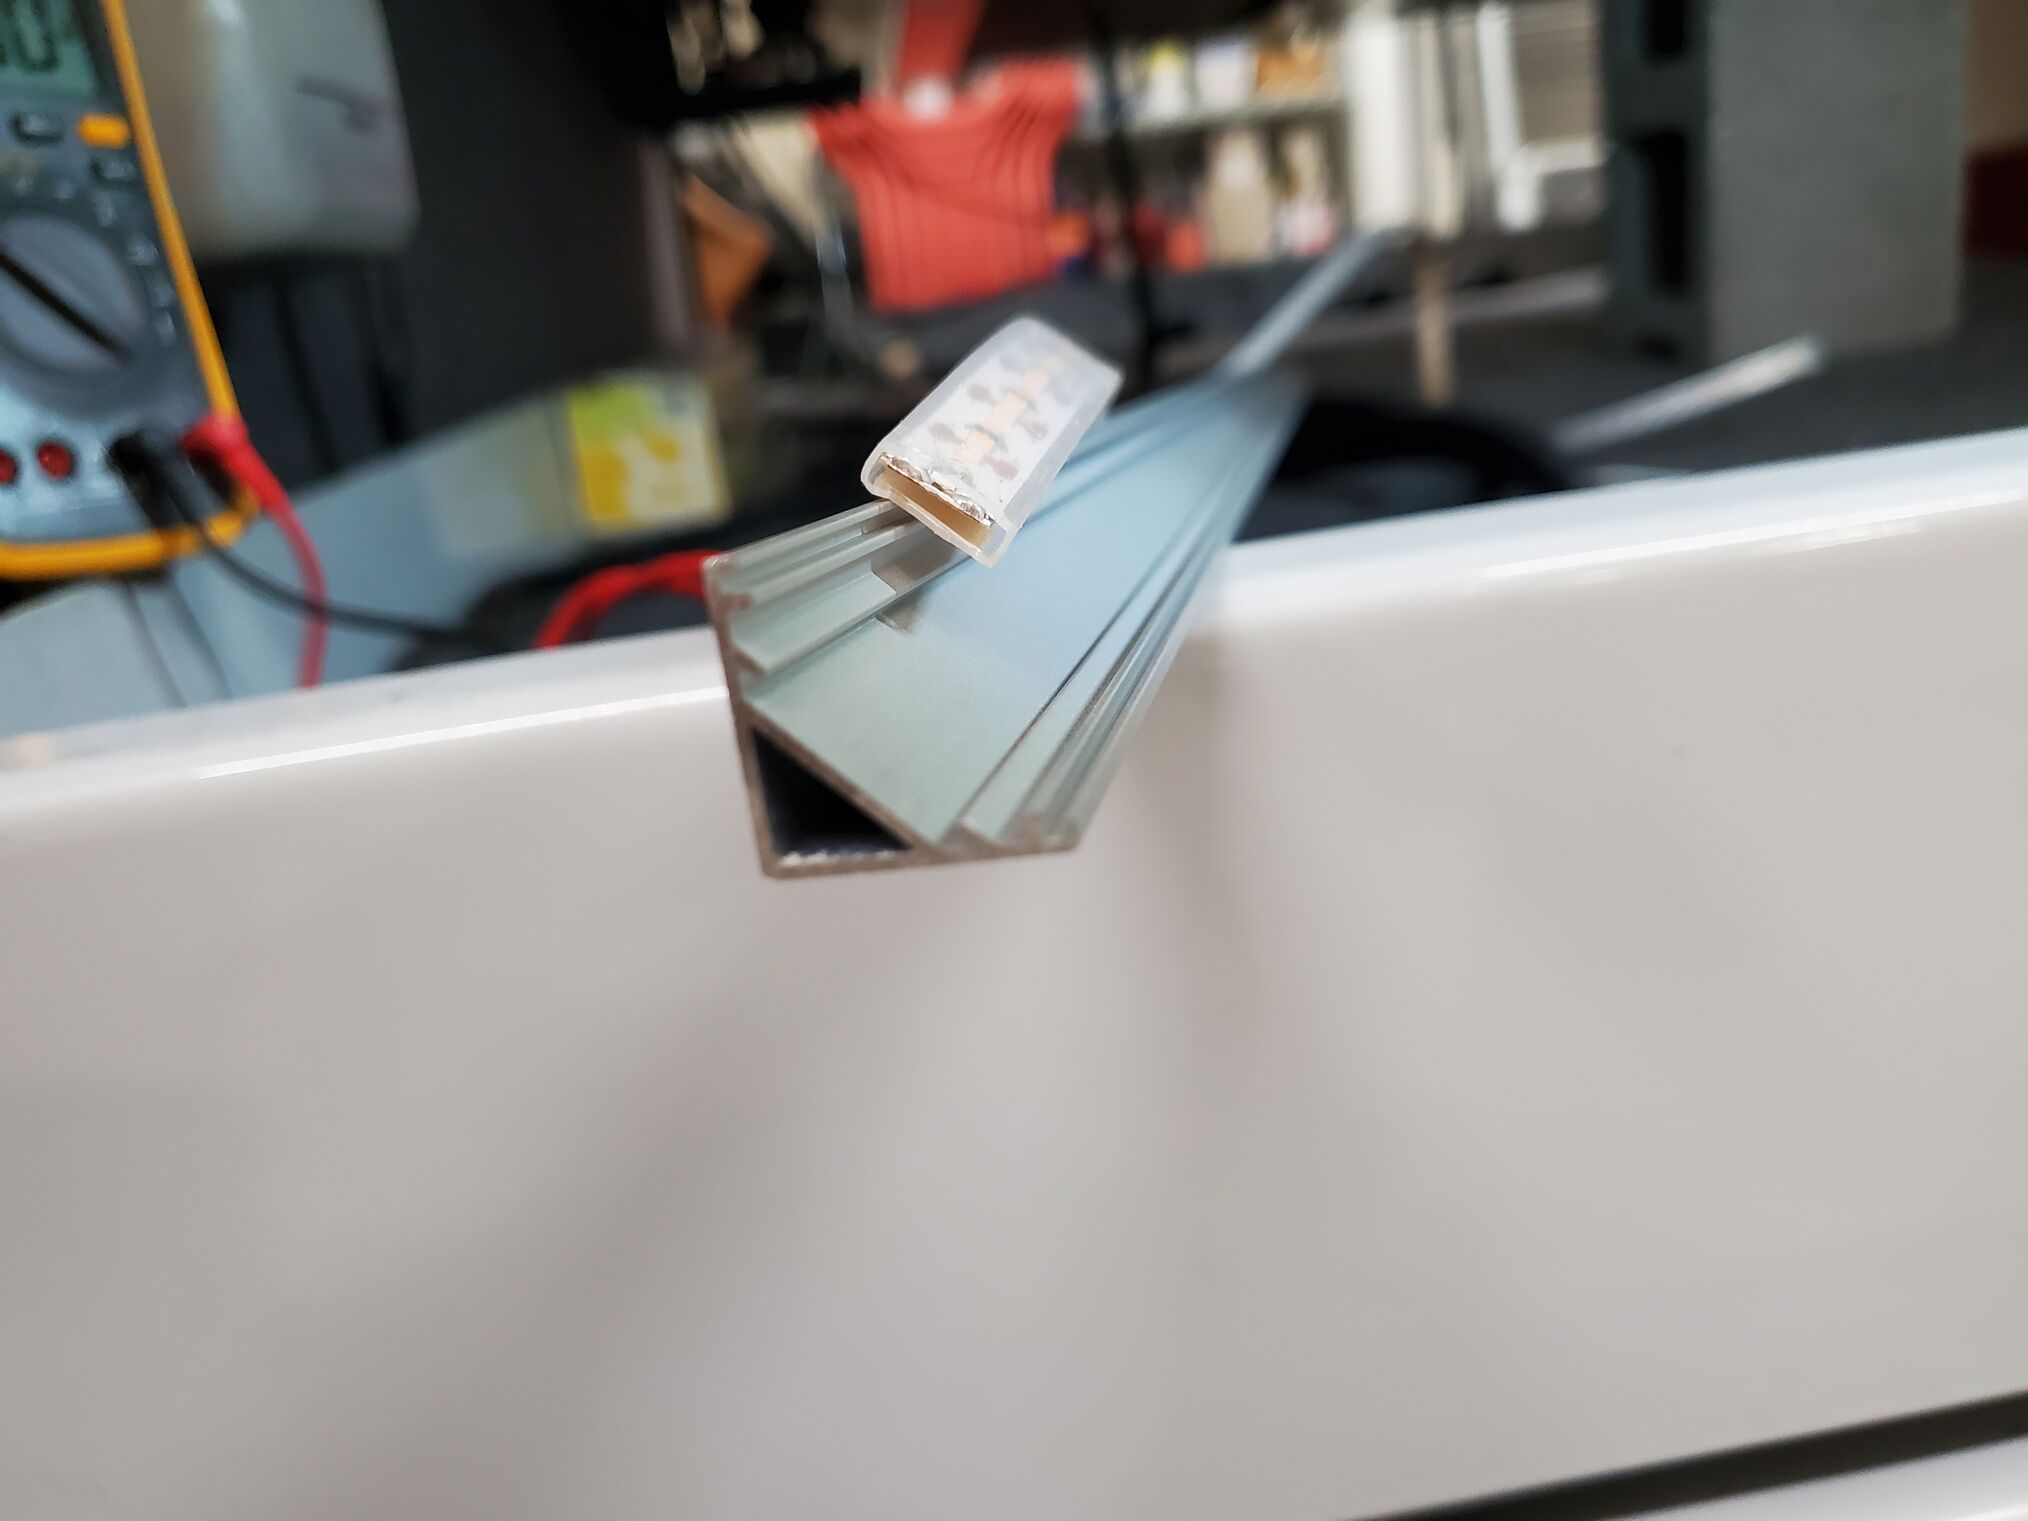
We also used the Angled surface mount channel, secured to the bay with VHB tape. The channel fits behind the bay opening; you can just see the edge when you look into the bay. You can add diffusers to those channels or leave them plain. The angle really helps to direct the light into the bays for the best illumination.
Actuator Switch
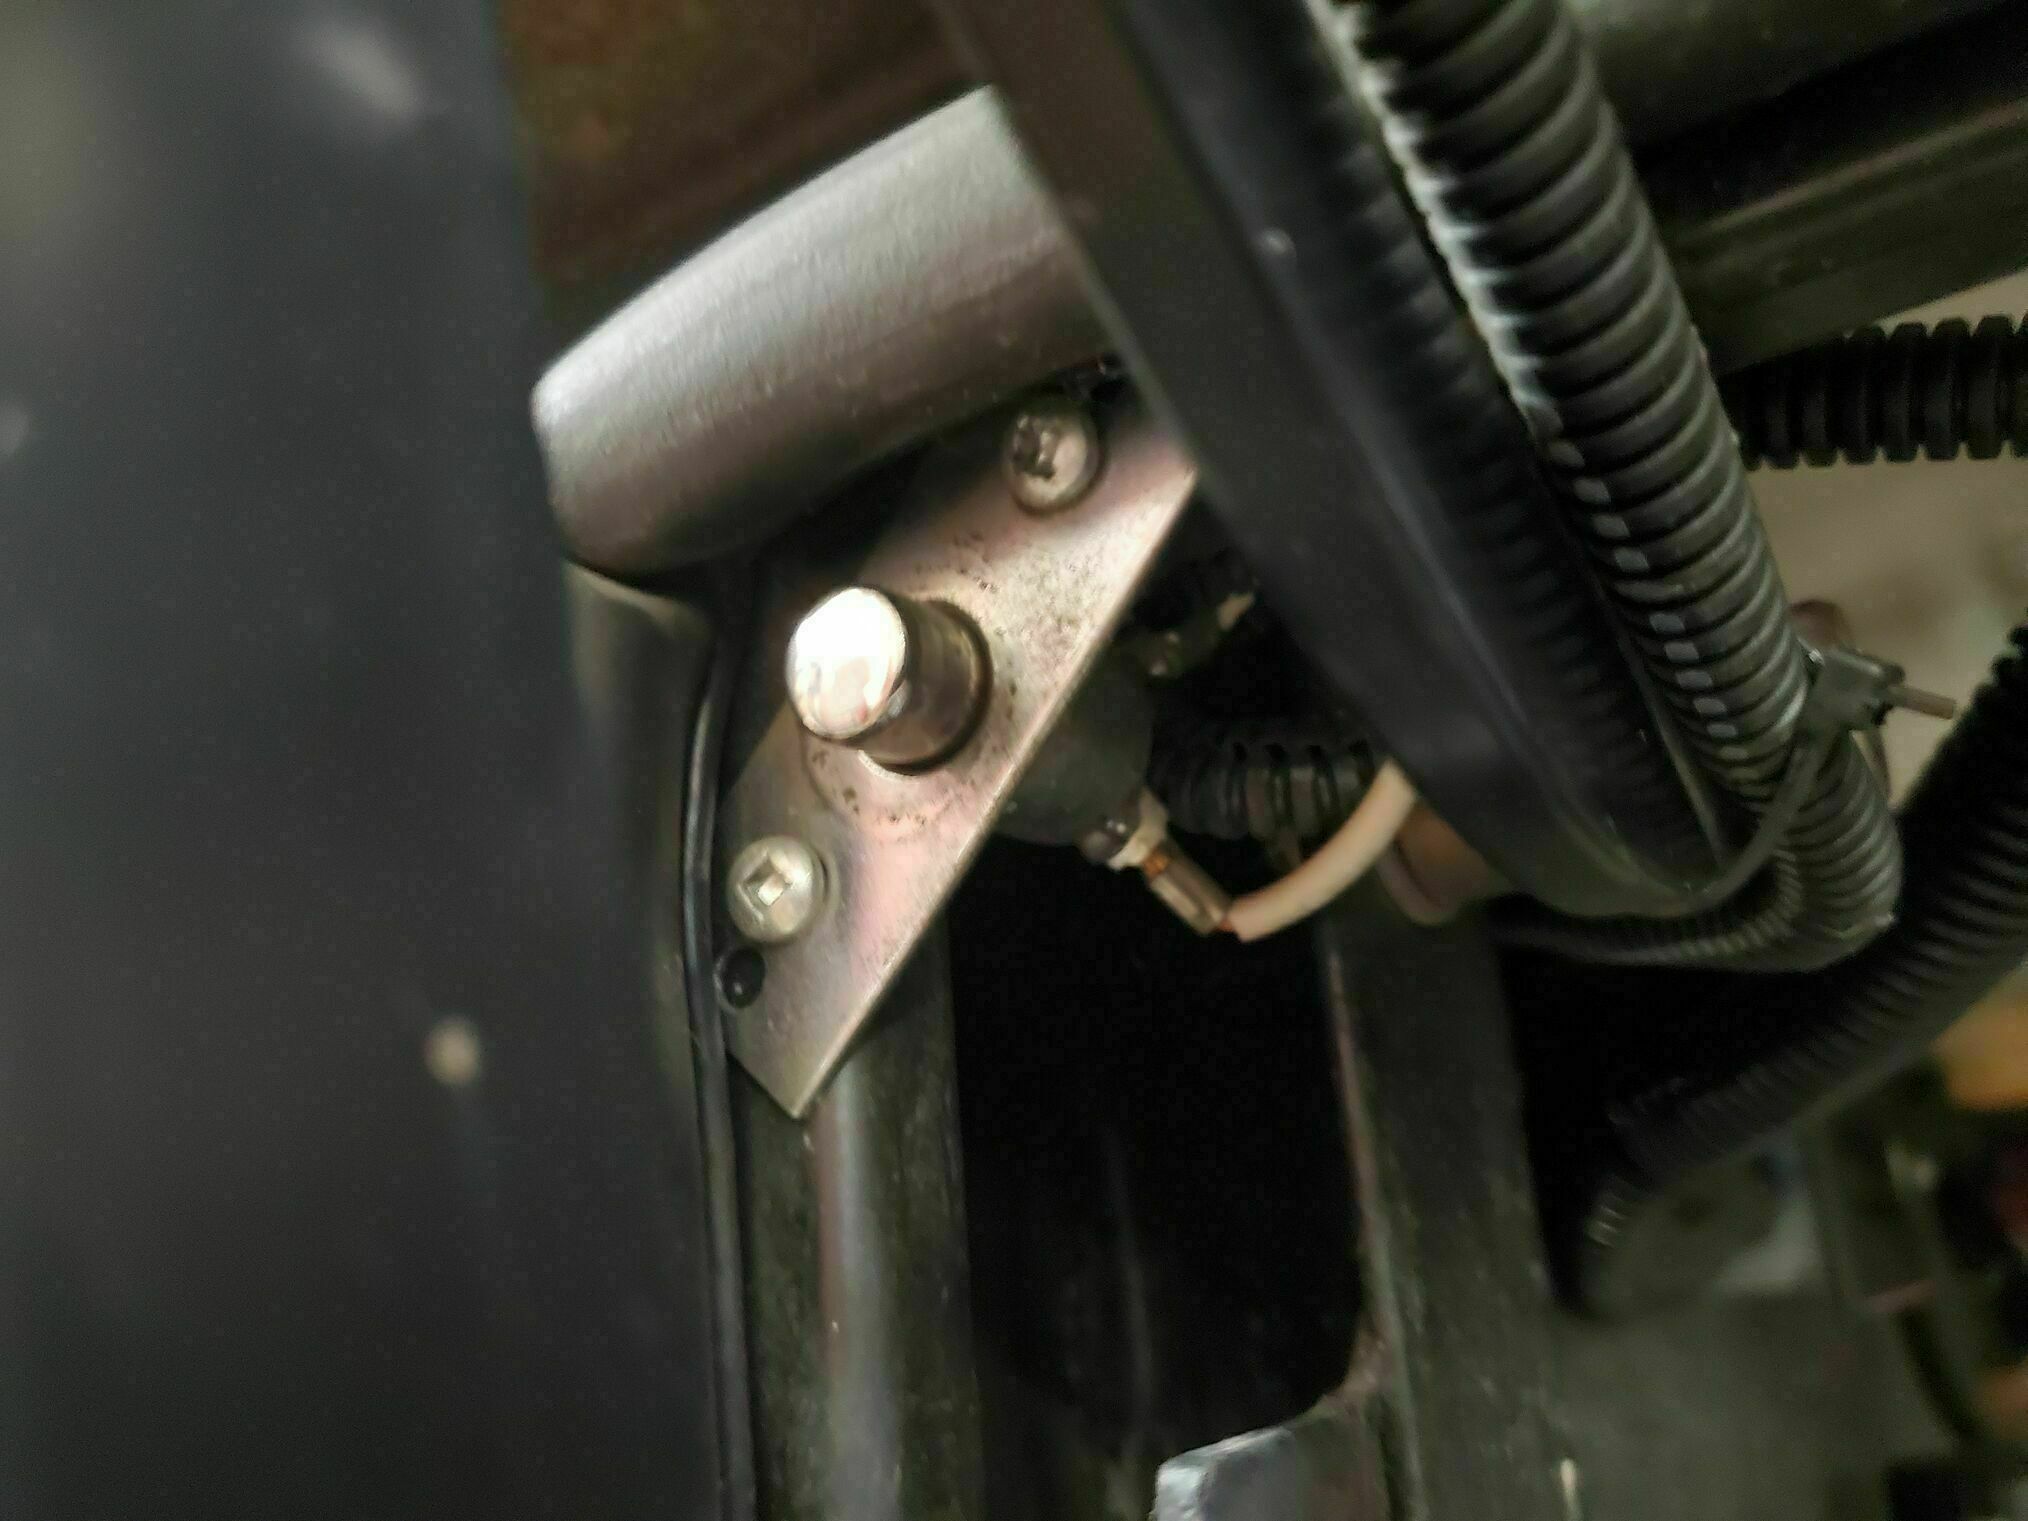
The next decision was how to switch them on/off. You could use the existing plunger/pad that the original fixtures used. For me, these are somewhat problematic as they are not sealed, so you often have to nudge them to get them to make contact (and yes, I’ve cleaned them and used Cx). There are other mechanical pin switches available but instead I went with magnetic reed switches.
The reed switch was mounted in the same area of the bay as the original plunger (with VHB tape), and the magnet went on the door, replacing the extension pad/bumper. When choosing a reed switch, make sure you get one that can carry a few amps of current and not just an alarm sensor switch. For the lights we used, and based on our longest run, it required 1.5amps.
Power
The next item was how to power them. LEDs use constant current to provide the rated output and life. Strip lights are just a sequence of LEDs with series resistors. The resistors are sized to accept a specific input voltage, which then delivers the proper current to the LED. You can read more about how they work here: Led Light Basics
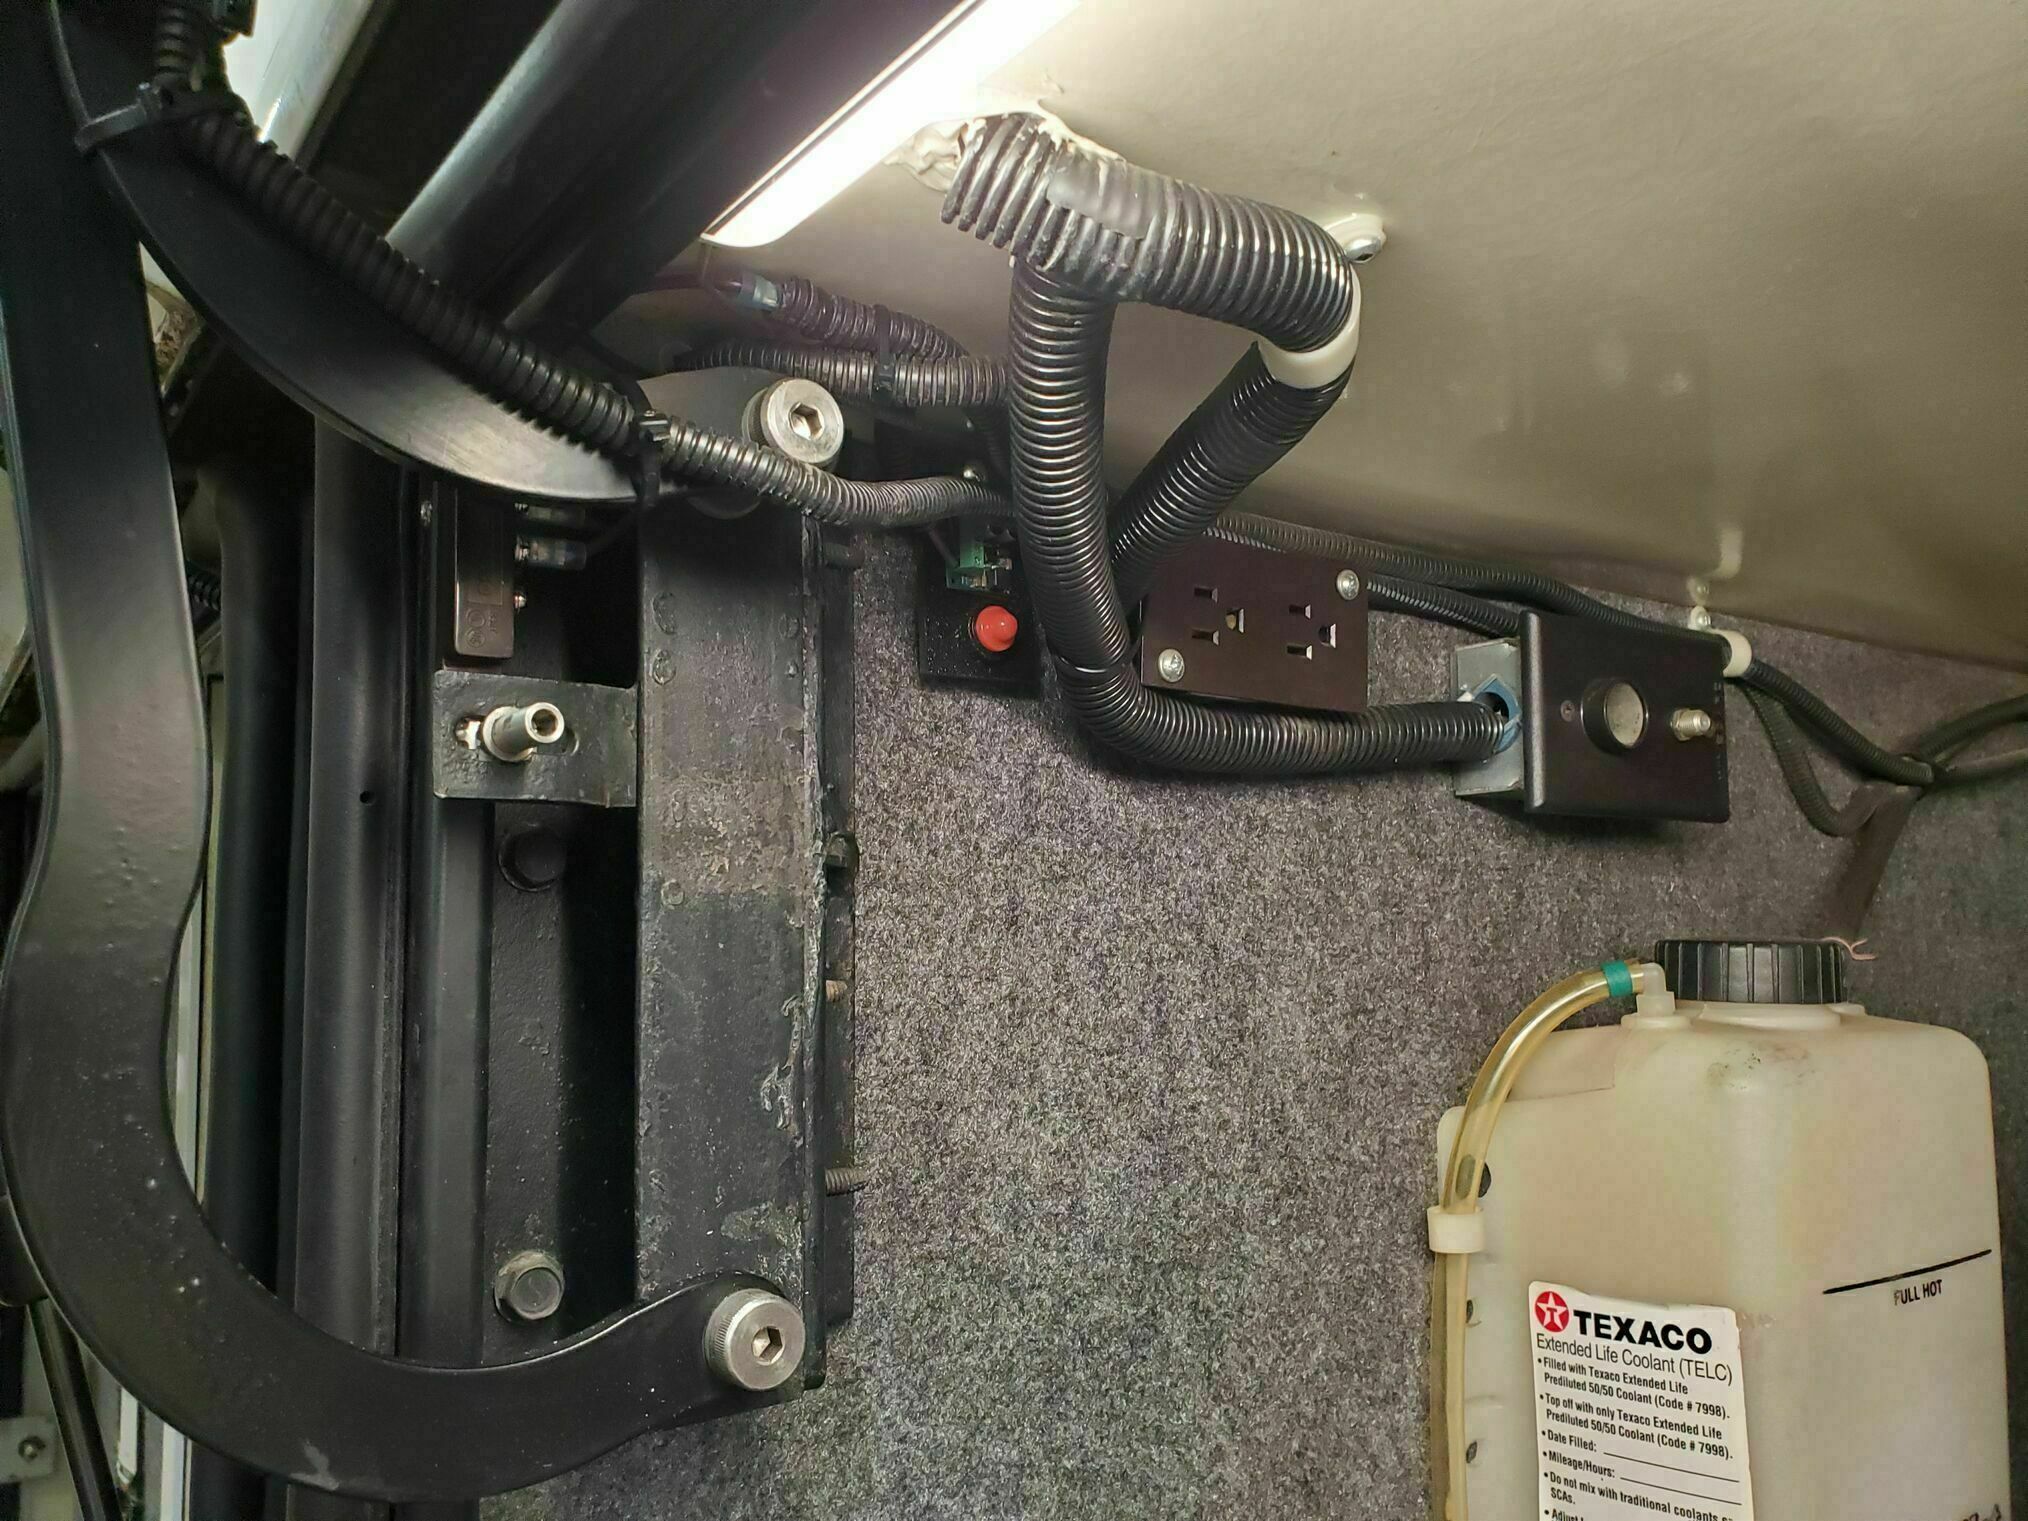
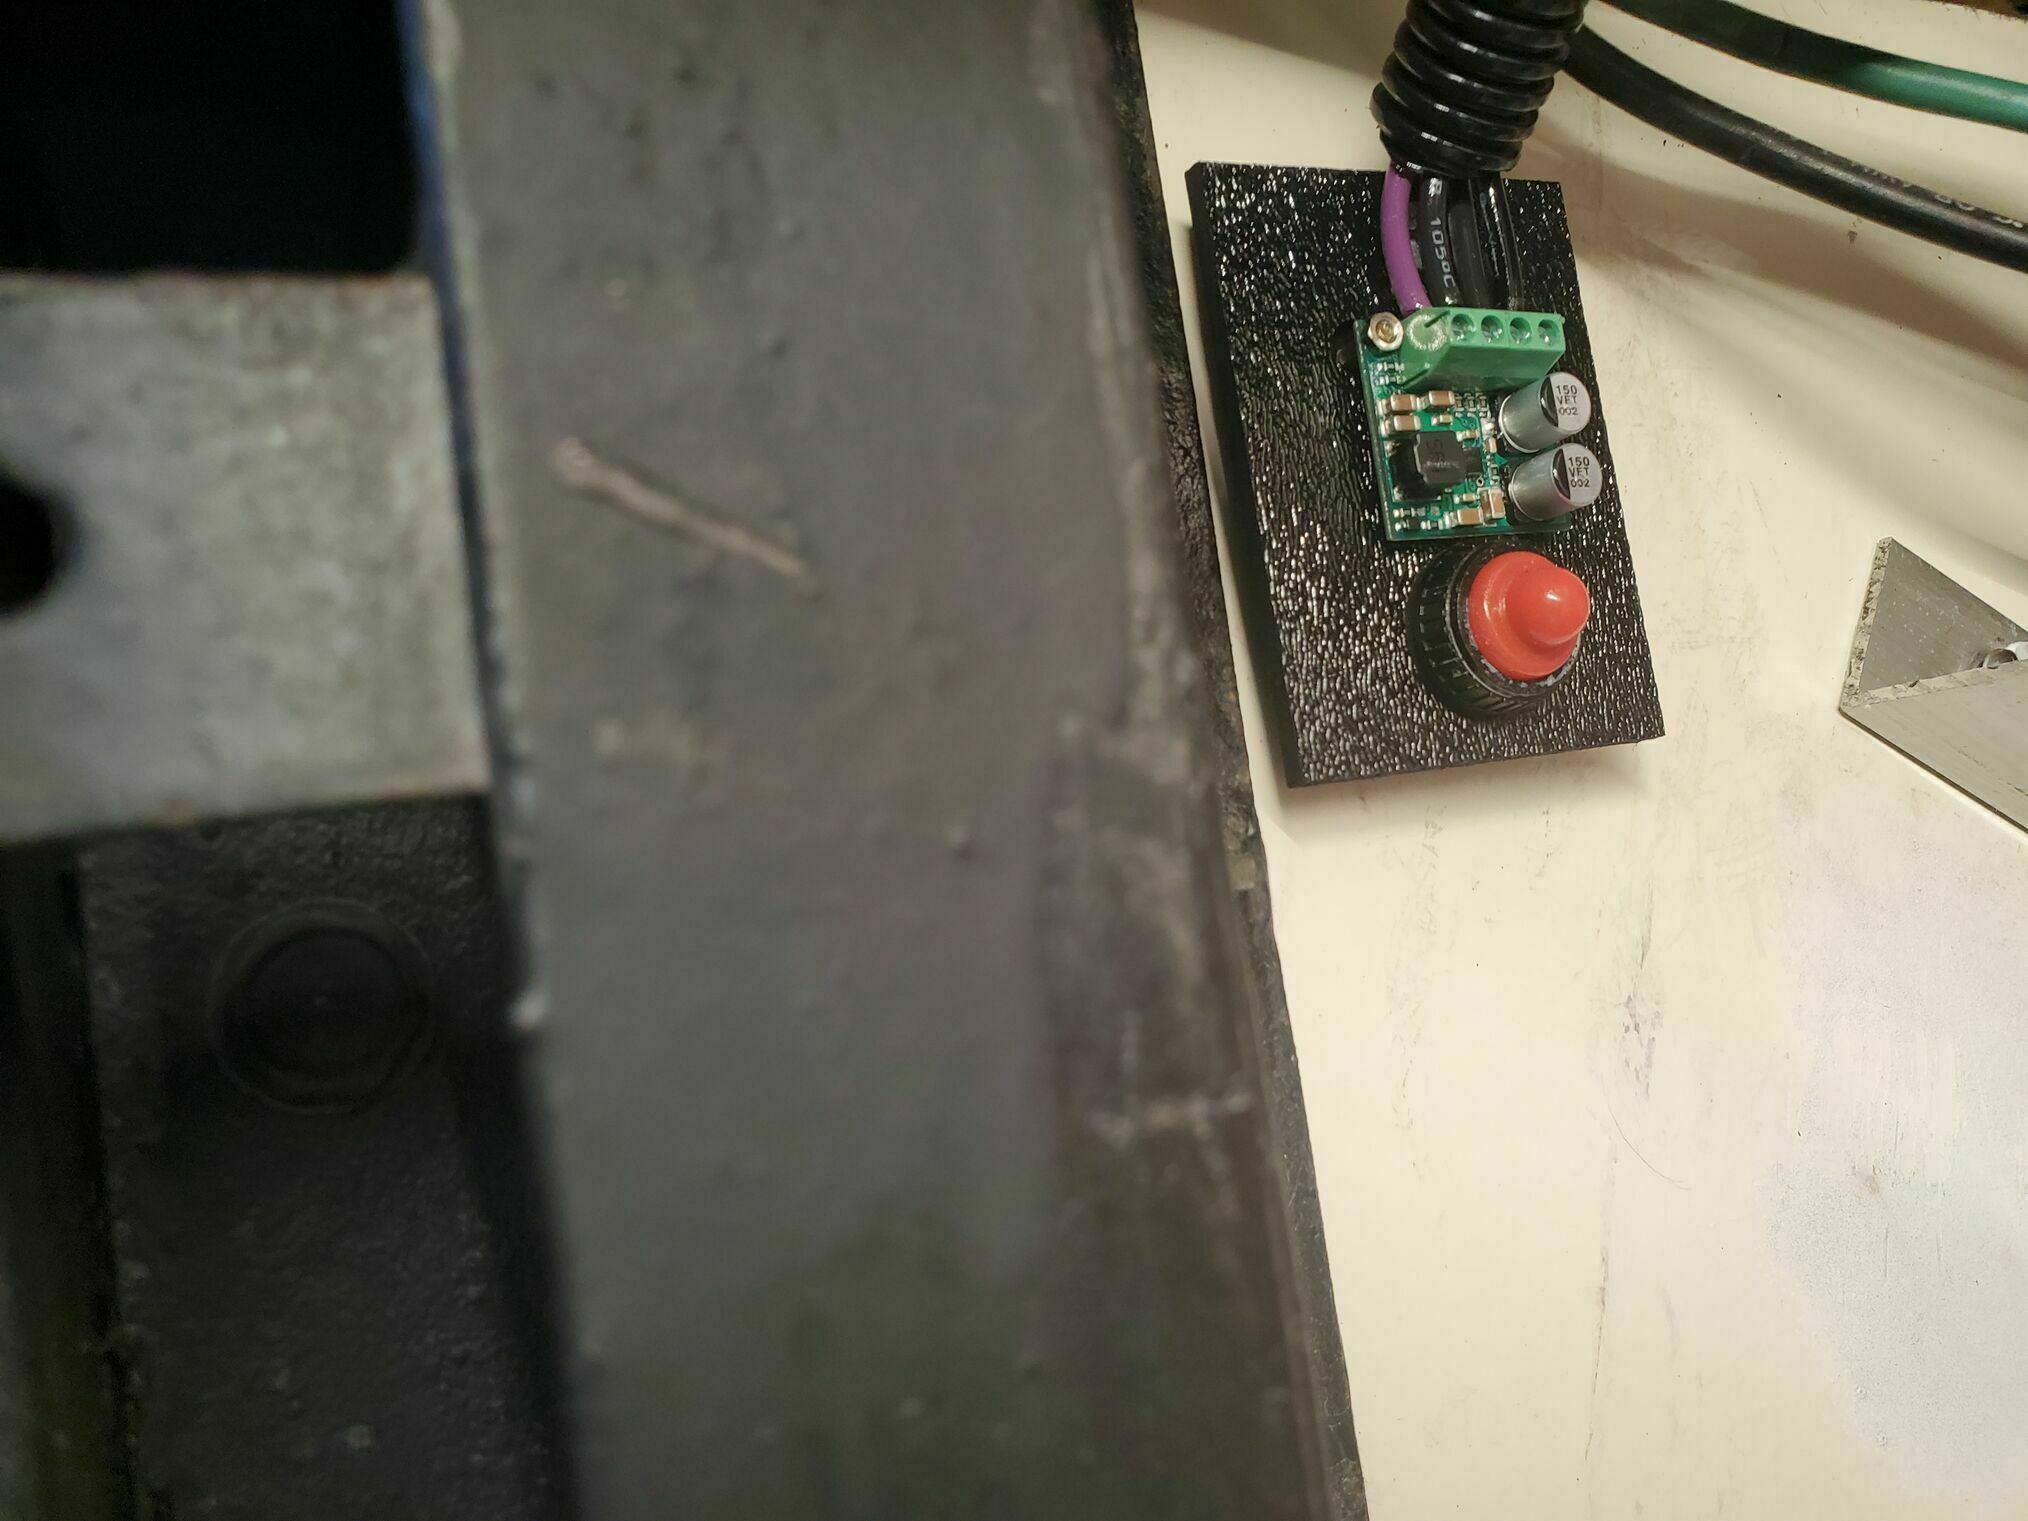
The LED strips we used specify a constant 12V input, so we used individual step-up/down voltage regulators to deliver the correct voltage at each strip location. These are simple devices that have Vin/Ground and provide Vout/Ground for use on the strips. I also coated them with a conformal spray to seal/protect them; a little CorrosionX would work just as well.
I had a couple of reasons why I used a regulator at each location. First was, I had several in my parts bin from another project, so when something is already on hand, it’s going to get used! The other reason is, for the bays that had lights, there were (3) different voltage taps. Of the (6) lighted bays, (4) used the same tap; the other (2) were spliced in elsewhere. I know one of our storage bays was added (drivers rear) so that it was wired separately, and I think one bay had the light added by someone.
Anyway, if you have all OEM, the power should all come from the same breaker; ours is located under the white panel in the storage bay (labeled storage lights). Then, instead of using spot regulators, you could use a single larger regulator at the breaker to provide a constant 12V for all the lights. Something like Buck Converter 9V-36V to 12V 20A … would do very nicely.
One could just use the existing 13.5-14 VDC house voltage, saving time and money. The strips would be a bit brighter, use more current, and generate more heat, all resulting in a shorter life. Given the amount of time these are actually on/used, that may not be a factor, or it may. Again, do what makes you happy.
Manual Control
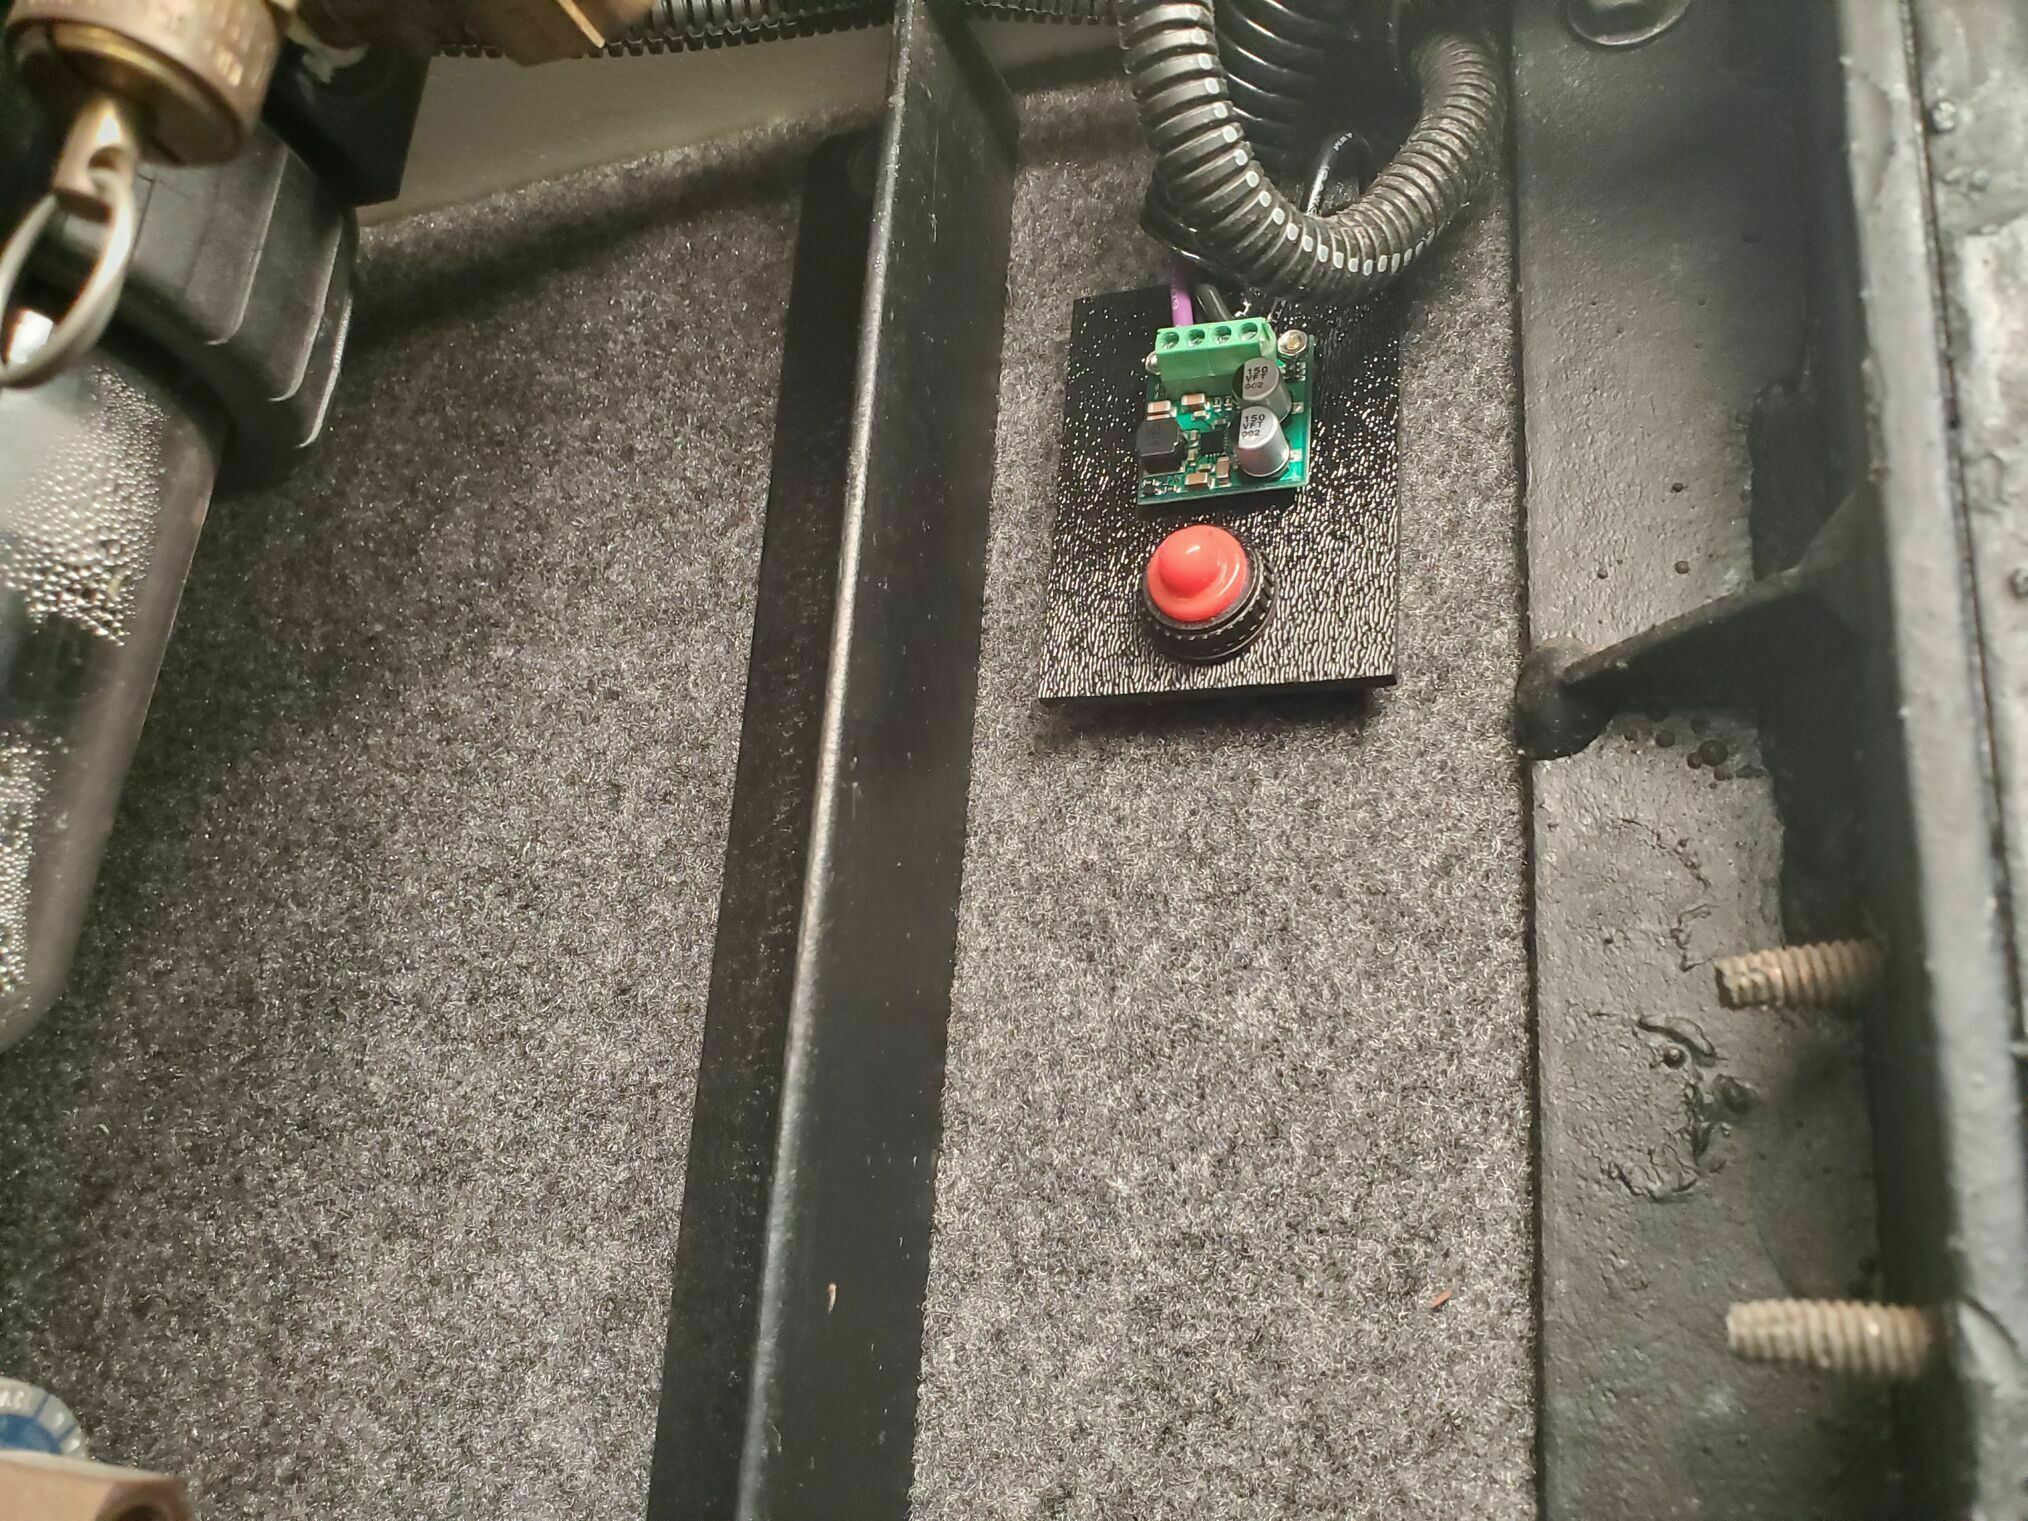
There will always be times when you will want to override the lights, allowing you to leave them off when the bay door is open. Easy enough to wire in a rocker or push-button on/off switch; really, any switch will do the job. I used a simple water proof push button switch mounted to the same section of ABS that holds the voltage regulator. These are mounted up high to keep them safe.
Engine Bay
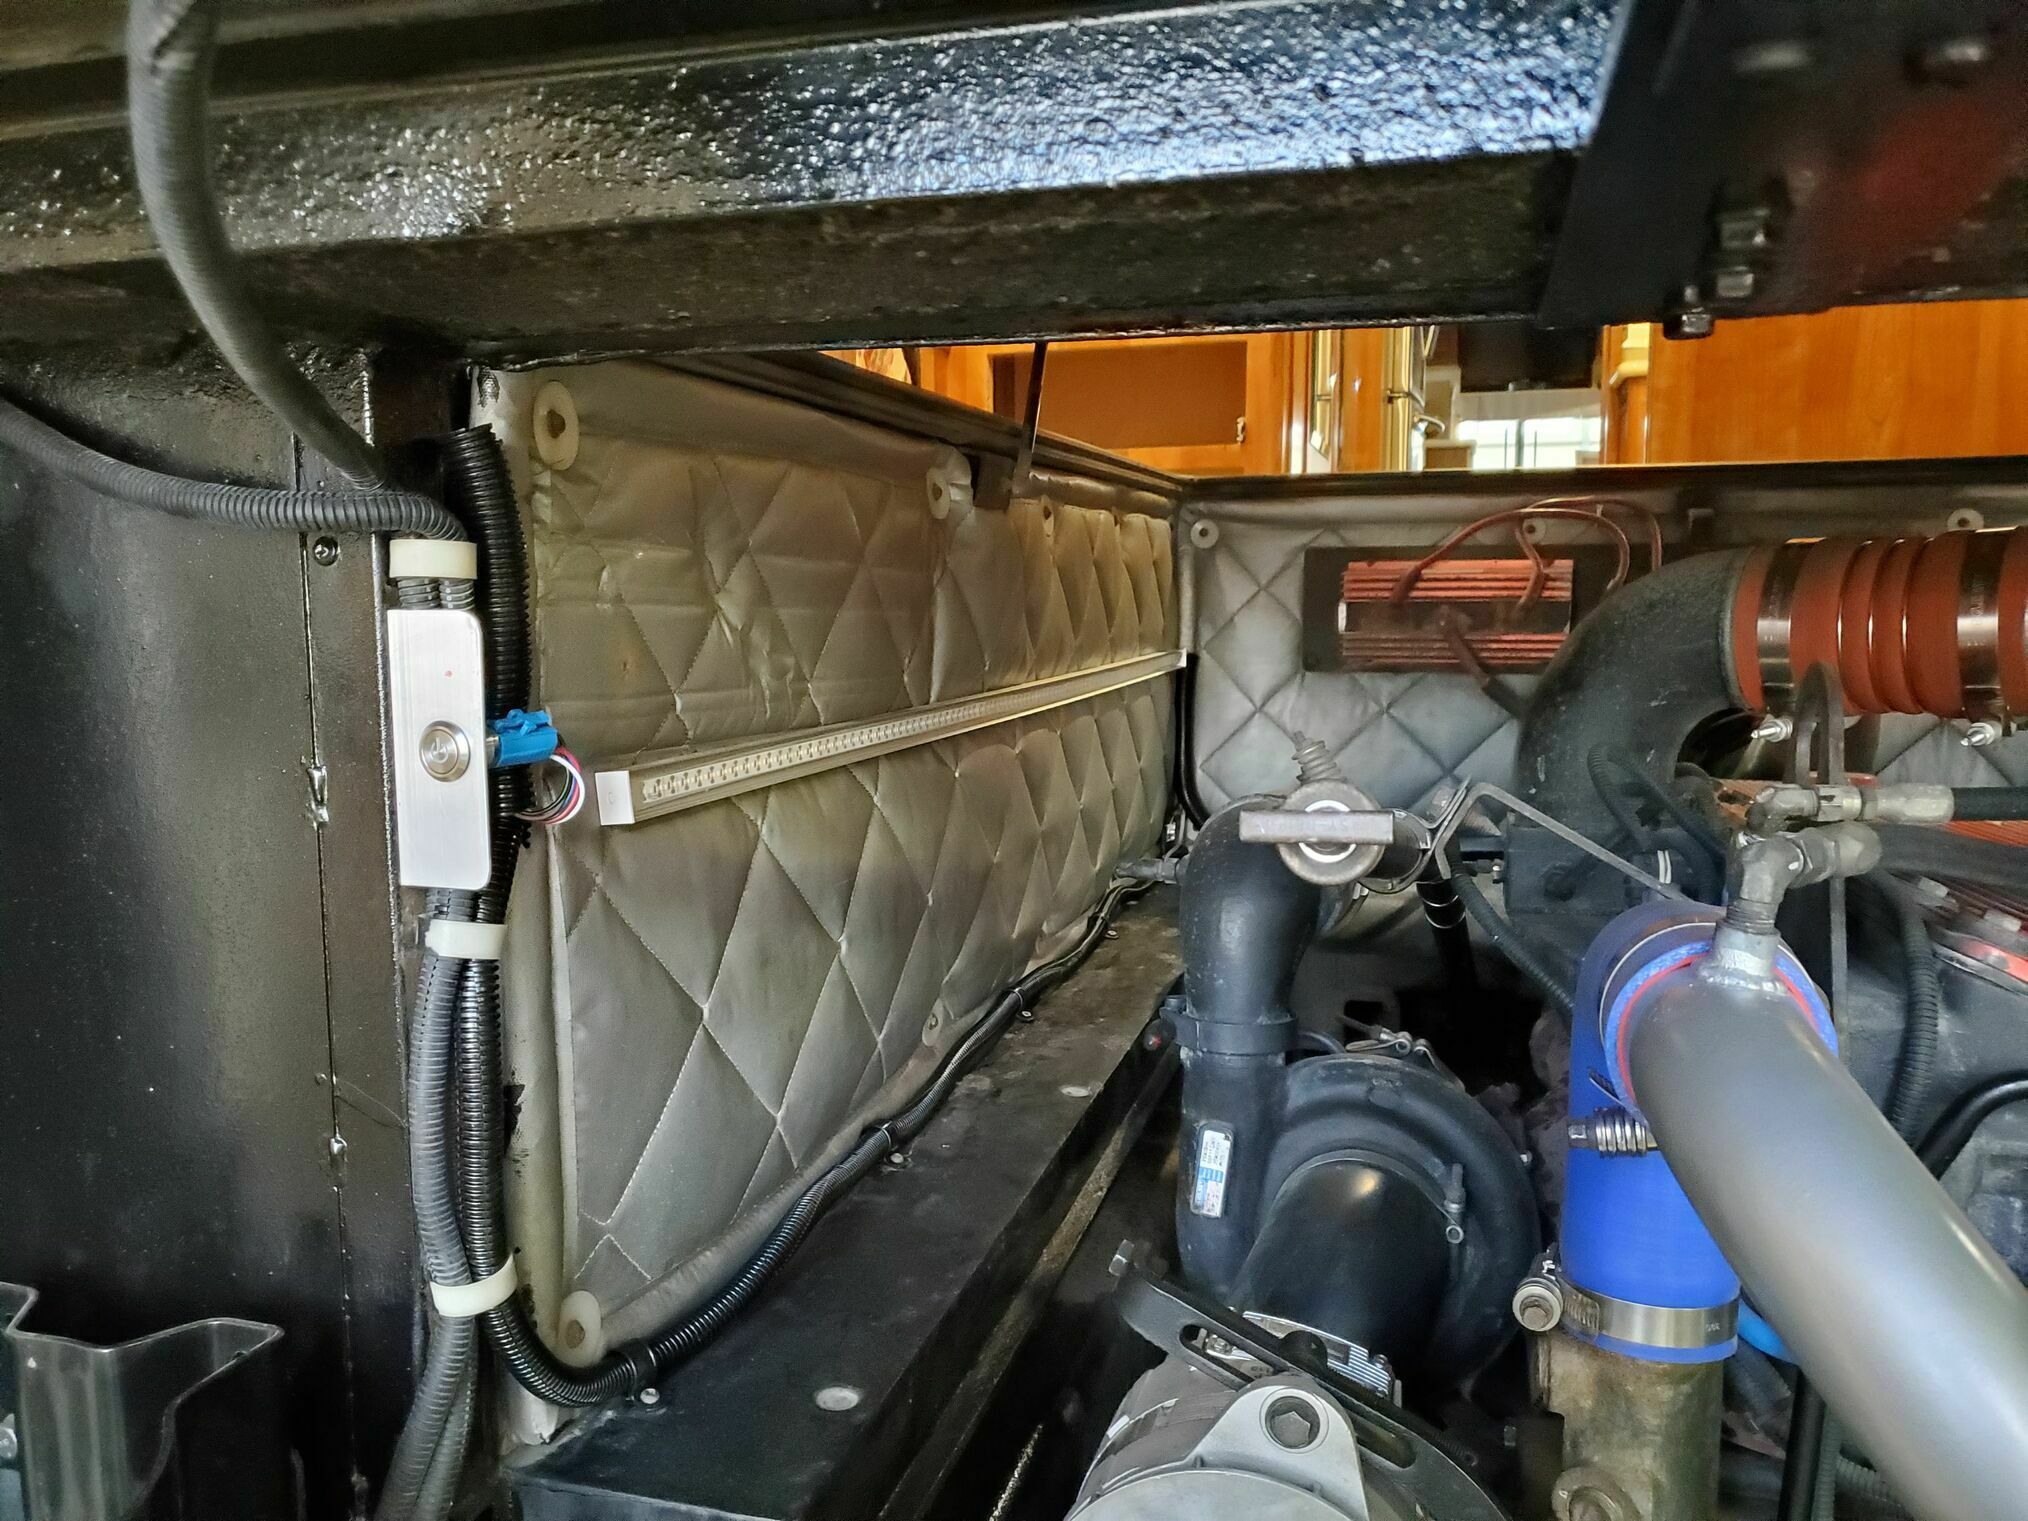
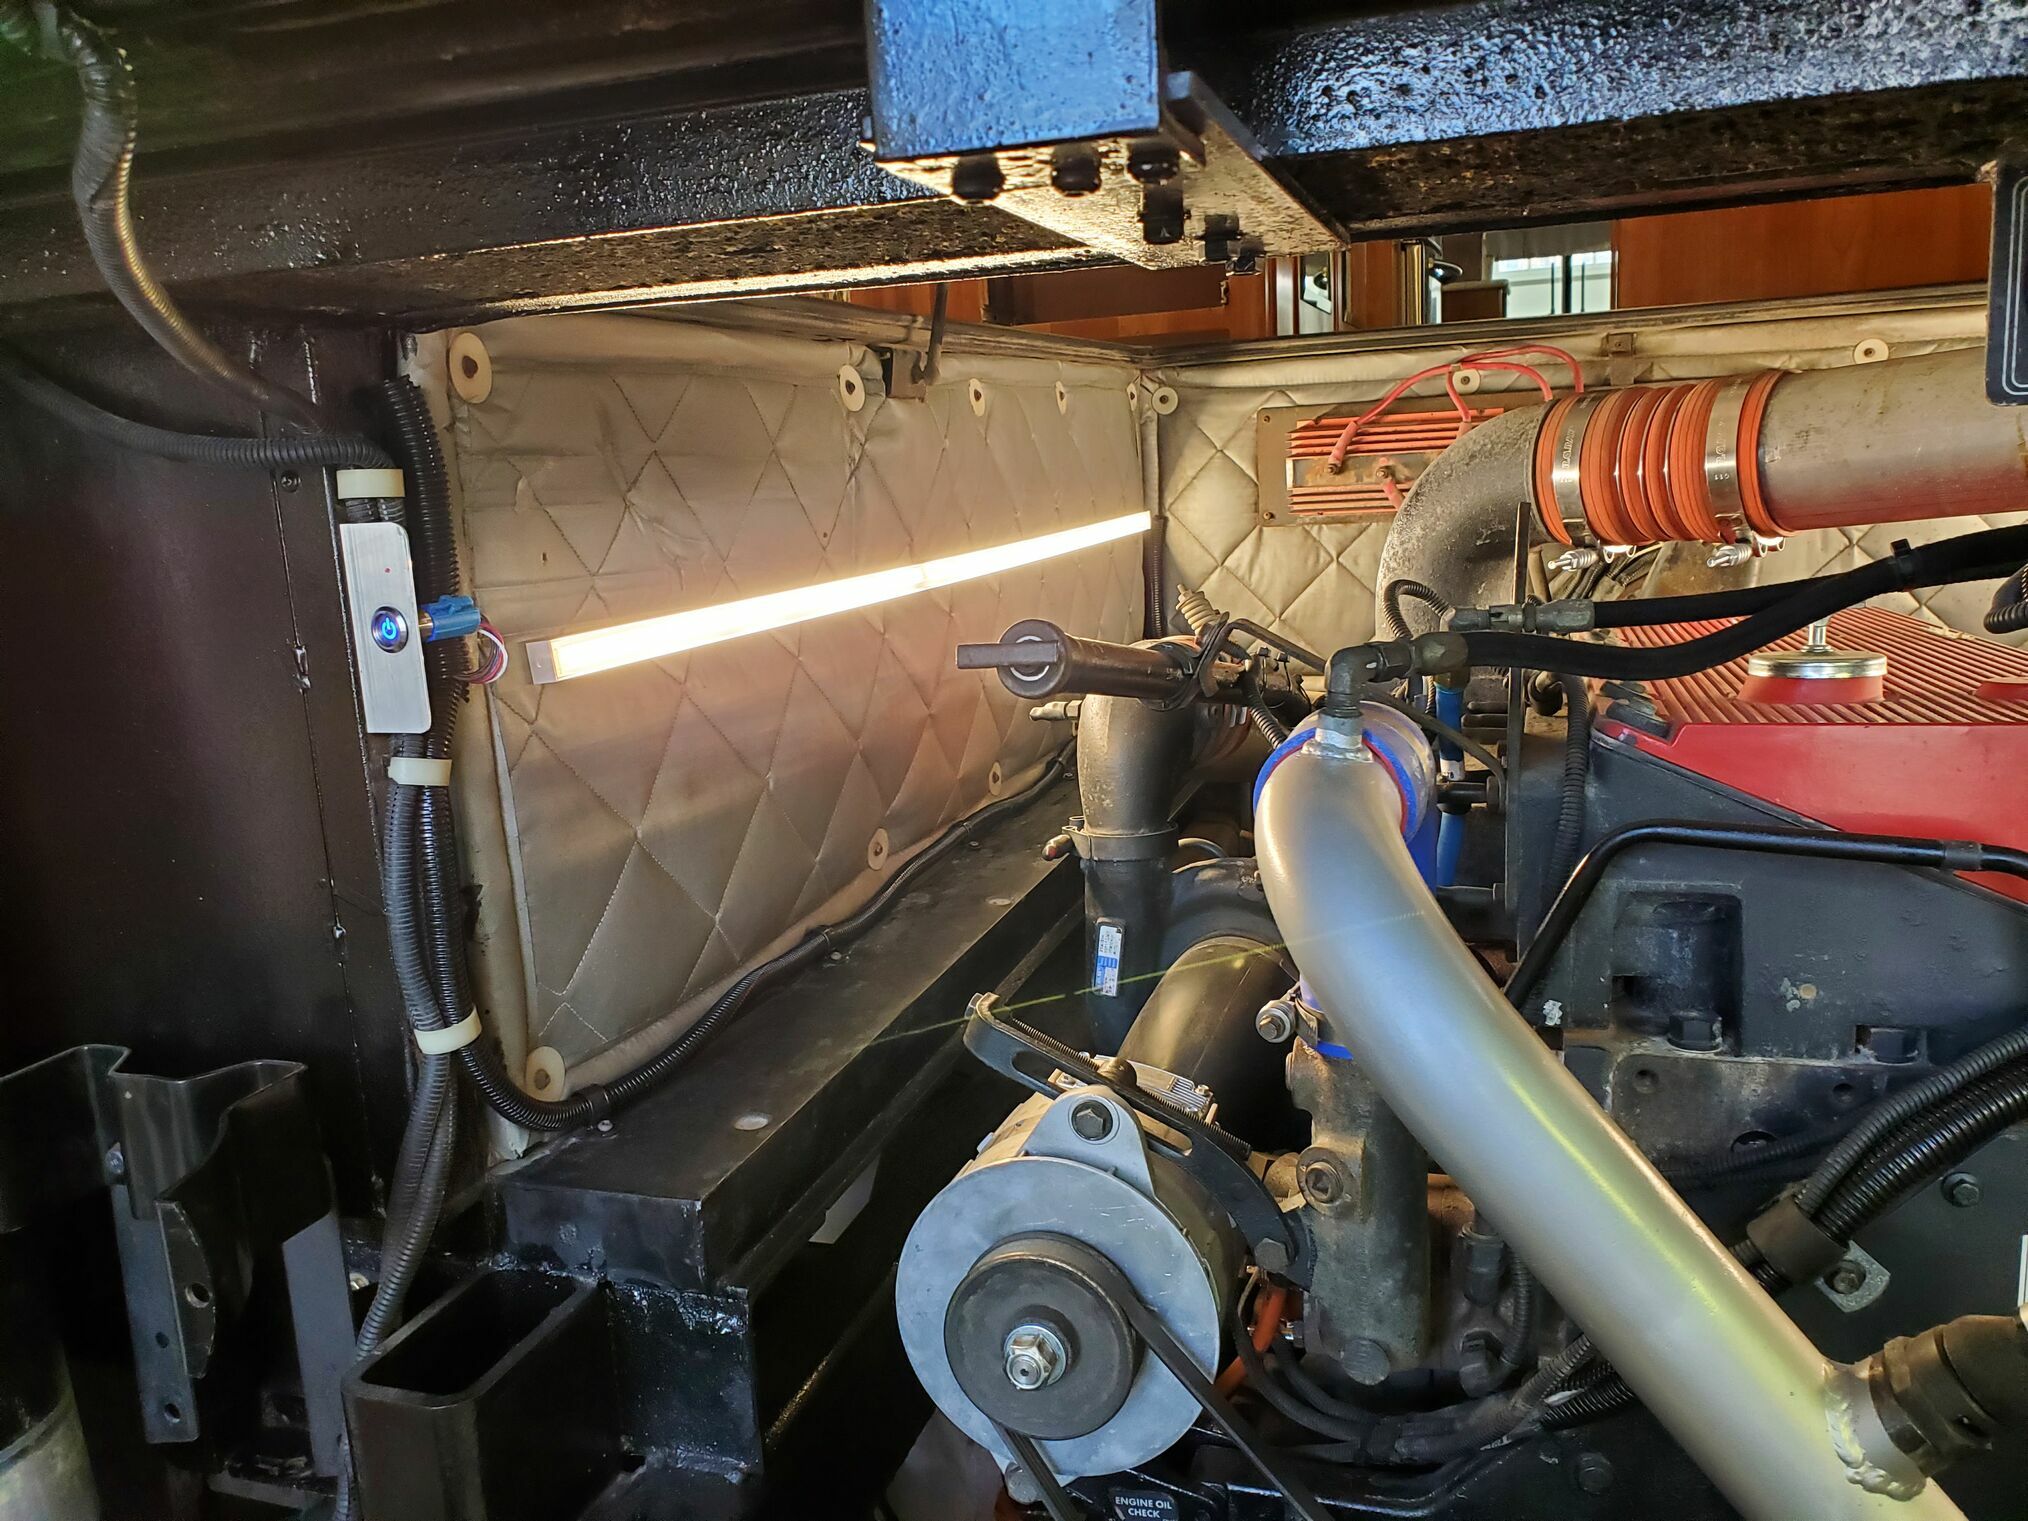
Much the same as above, but using a manual on/off (illuminated) switch and a straight mounting channel. I used this switch: Quentacy Latching Push Button Switch. This provides a lot more light than the single fixture that was in there and, in our case, was broken anyway. There is a strip mounted on each side of the engine bay for great illumination.