Victron Cerbo
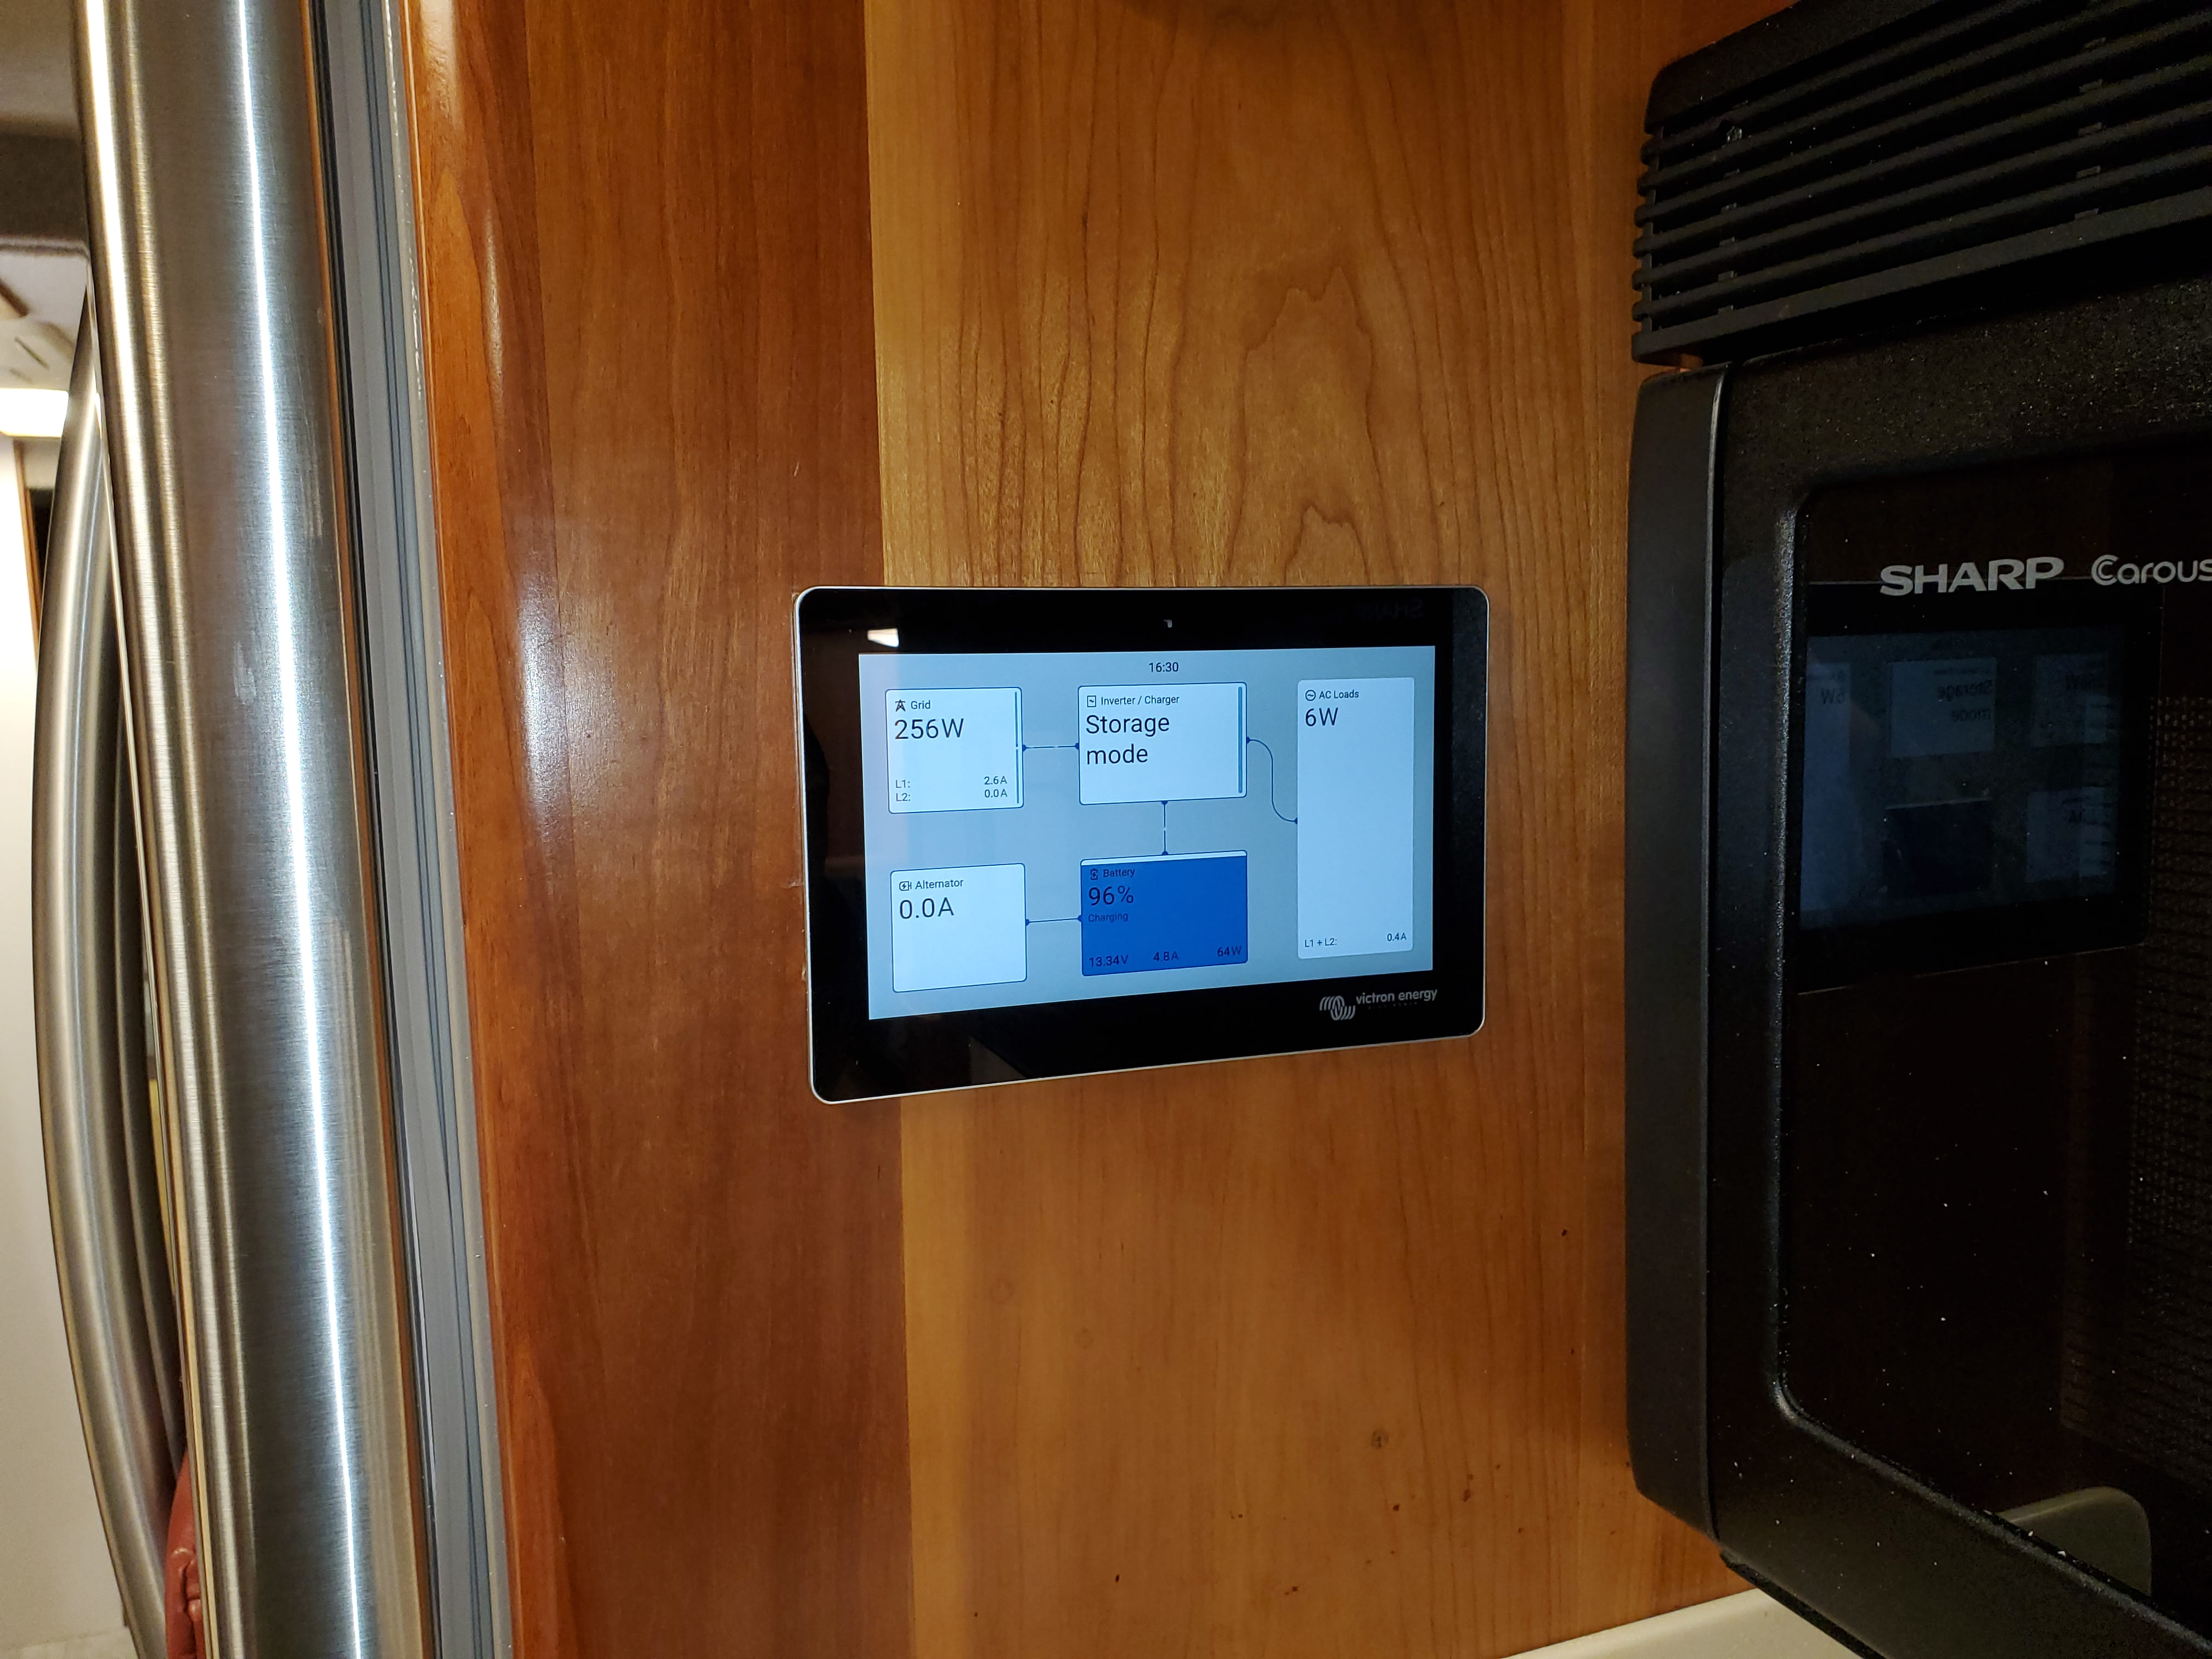
The heart of the monitoring system is the Victron Cerbo GX, which links all components together. The Cerbo provides monitoring and control via a 7” touchscreen. You can also access it through Victron’s VRM Portal as long as the Cerbo has a WiFi connection.
It communicates directly with the SmartShunt, MultiPlus, Orion and MPPT, giving us full visibility into power flow, battery health, and inverter status — whether we’re on-site or away.
Mounting

We installed the Cerbo in a central location—in our case, behind the drawer bank under the cooktop in the kitchen. Cables run from the front battery bay, the mid passthru bay, and the engine compartment directly to this location and then to the Cerbo.
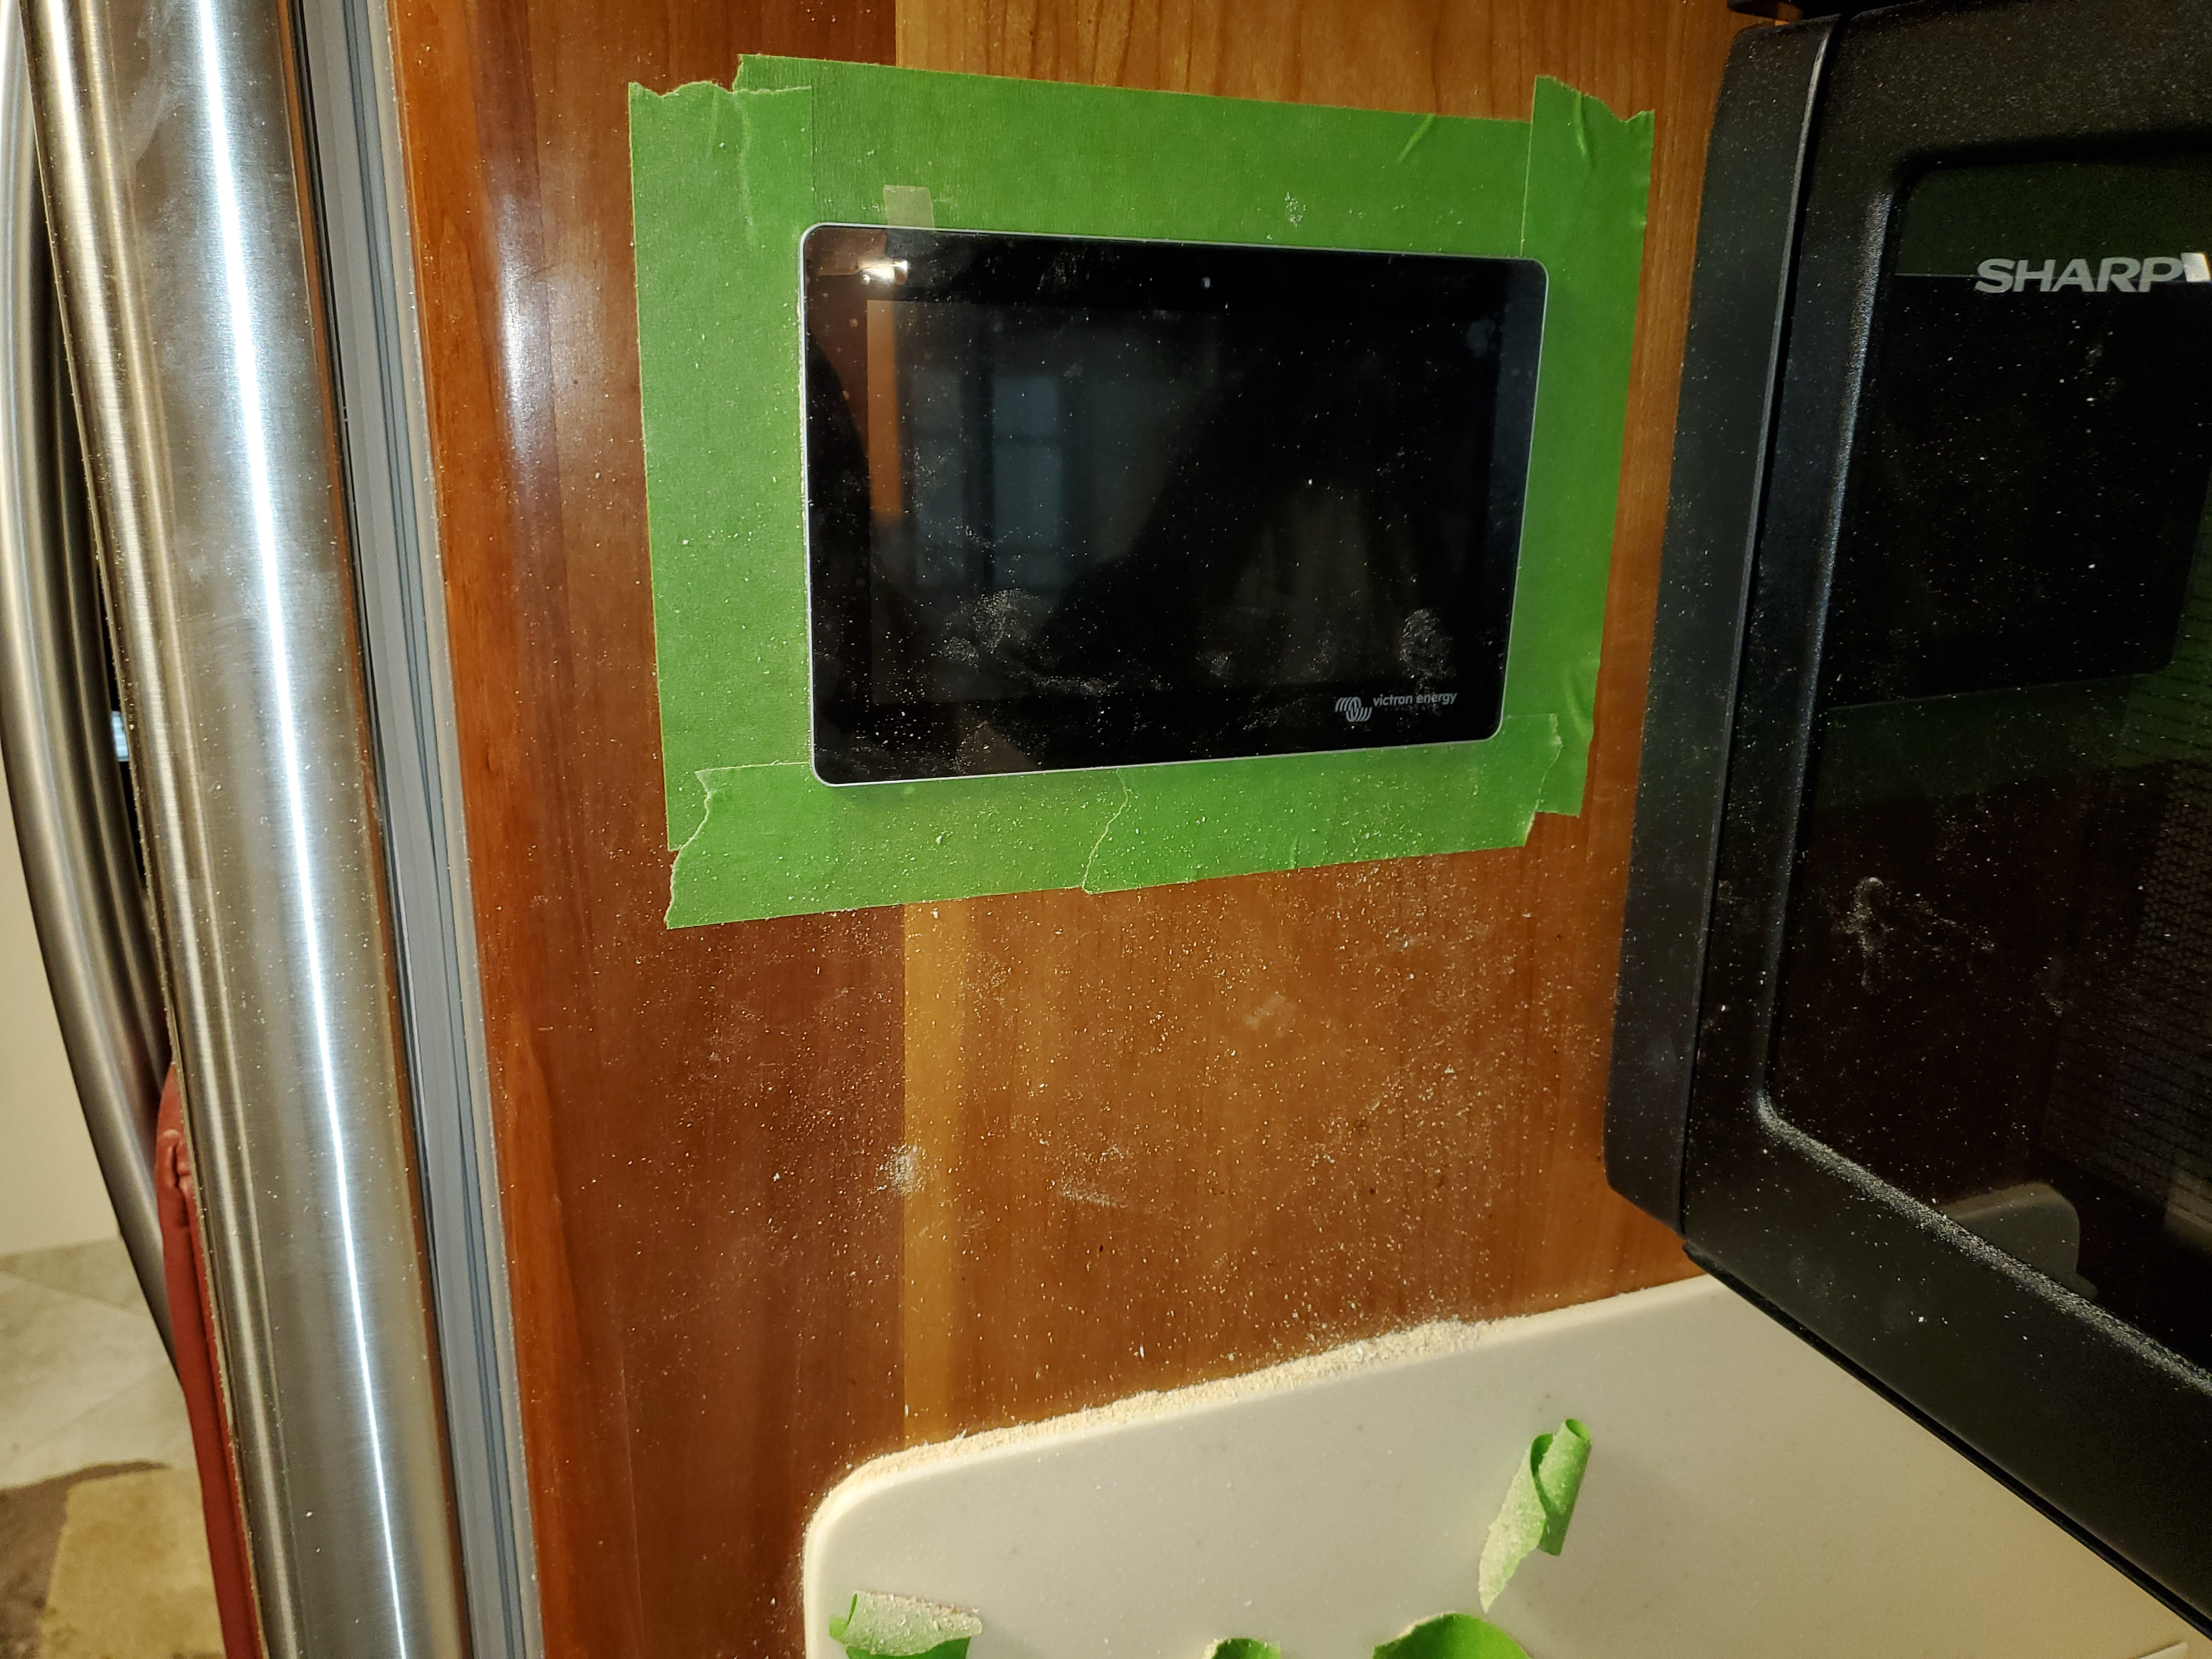
Another reason for selecting this area was due to the spot formerly occupied by the Heliotrope RV-30DE charge controller. Its installation in the wall next to the cooktop left a rough cutout, which the 7” touchscreen fits in and covers. Although we needed to enlarge the height of the cutout, the adjustment actually improved the overall appearance of the area. This arrangement keeps the screen and the Cerbo close enough together that the HDMI and USB cables reached without any extensions.
Note that the wall paneling has a very thin, and brittle veneer. Be sure to score through it with a sharp blade when enlarging the opening to prevent splintering. I traced the outline on painters tape and scored through that. The Cerbo comes with a cutout template for you to use.
Communication Wiring
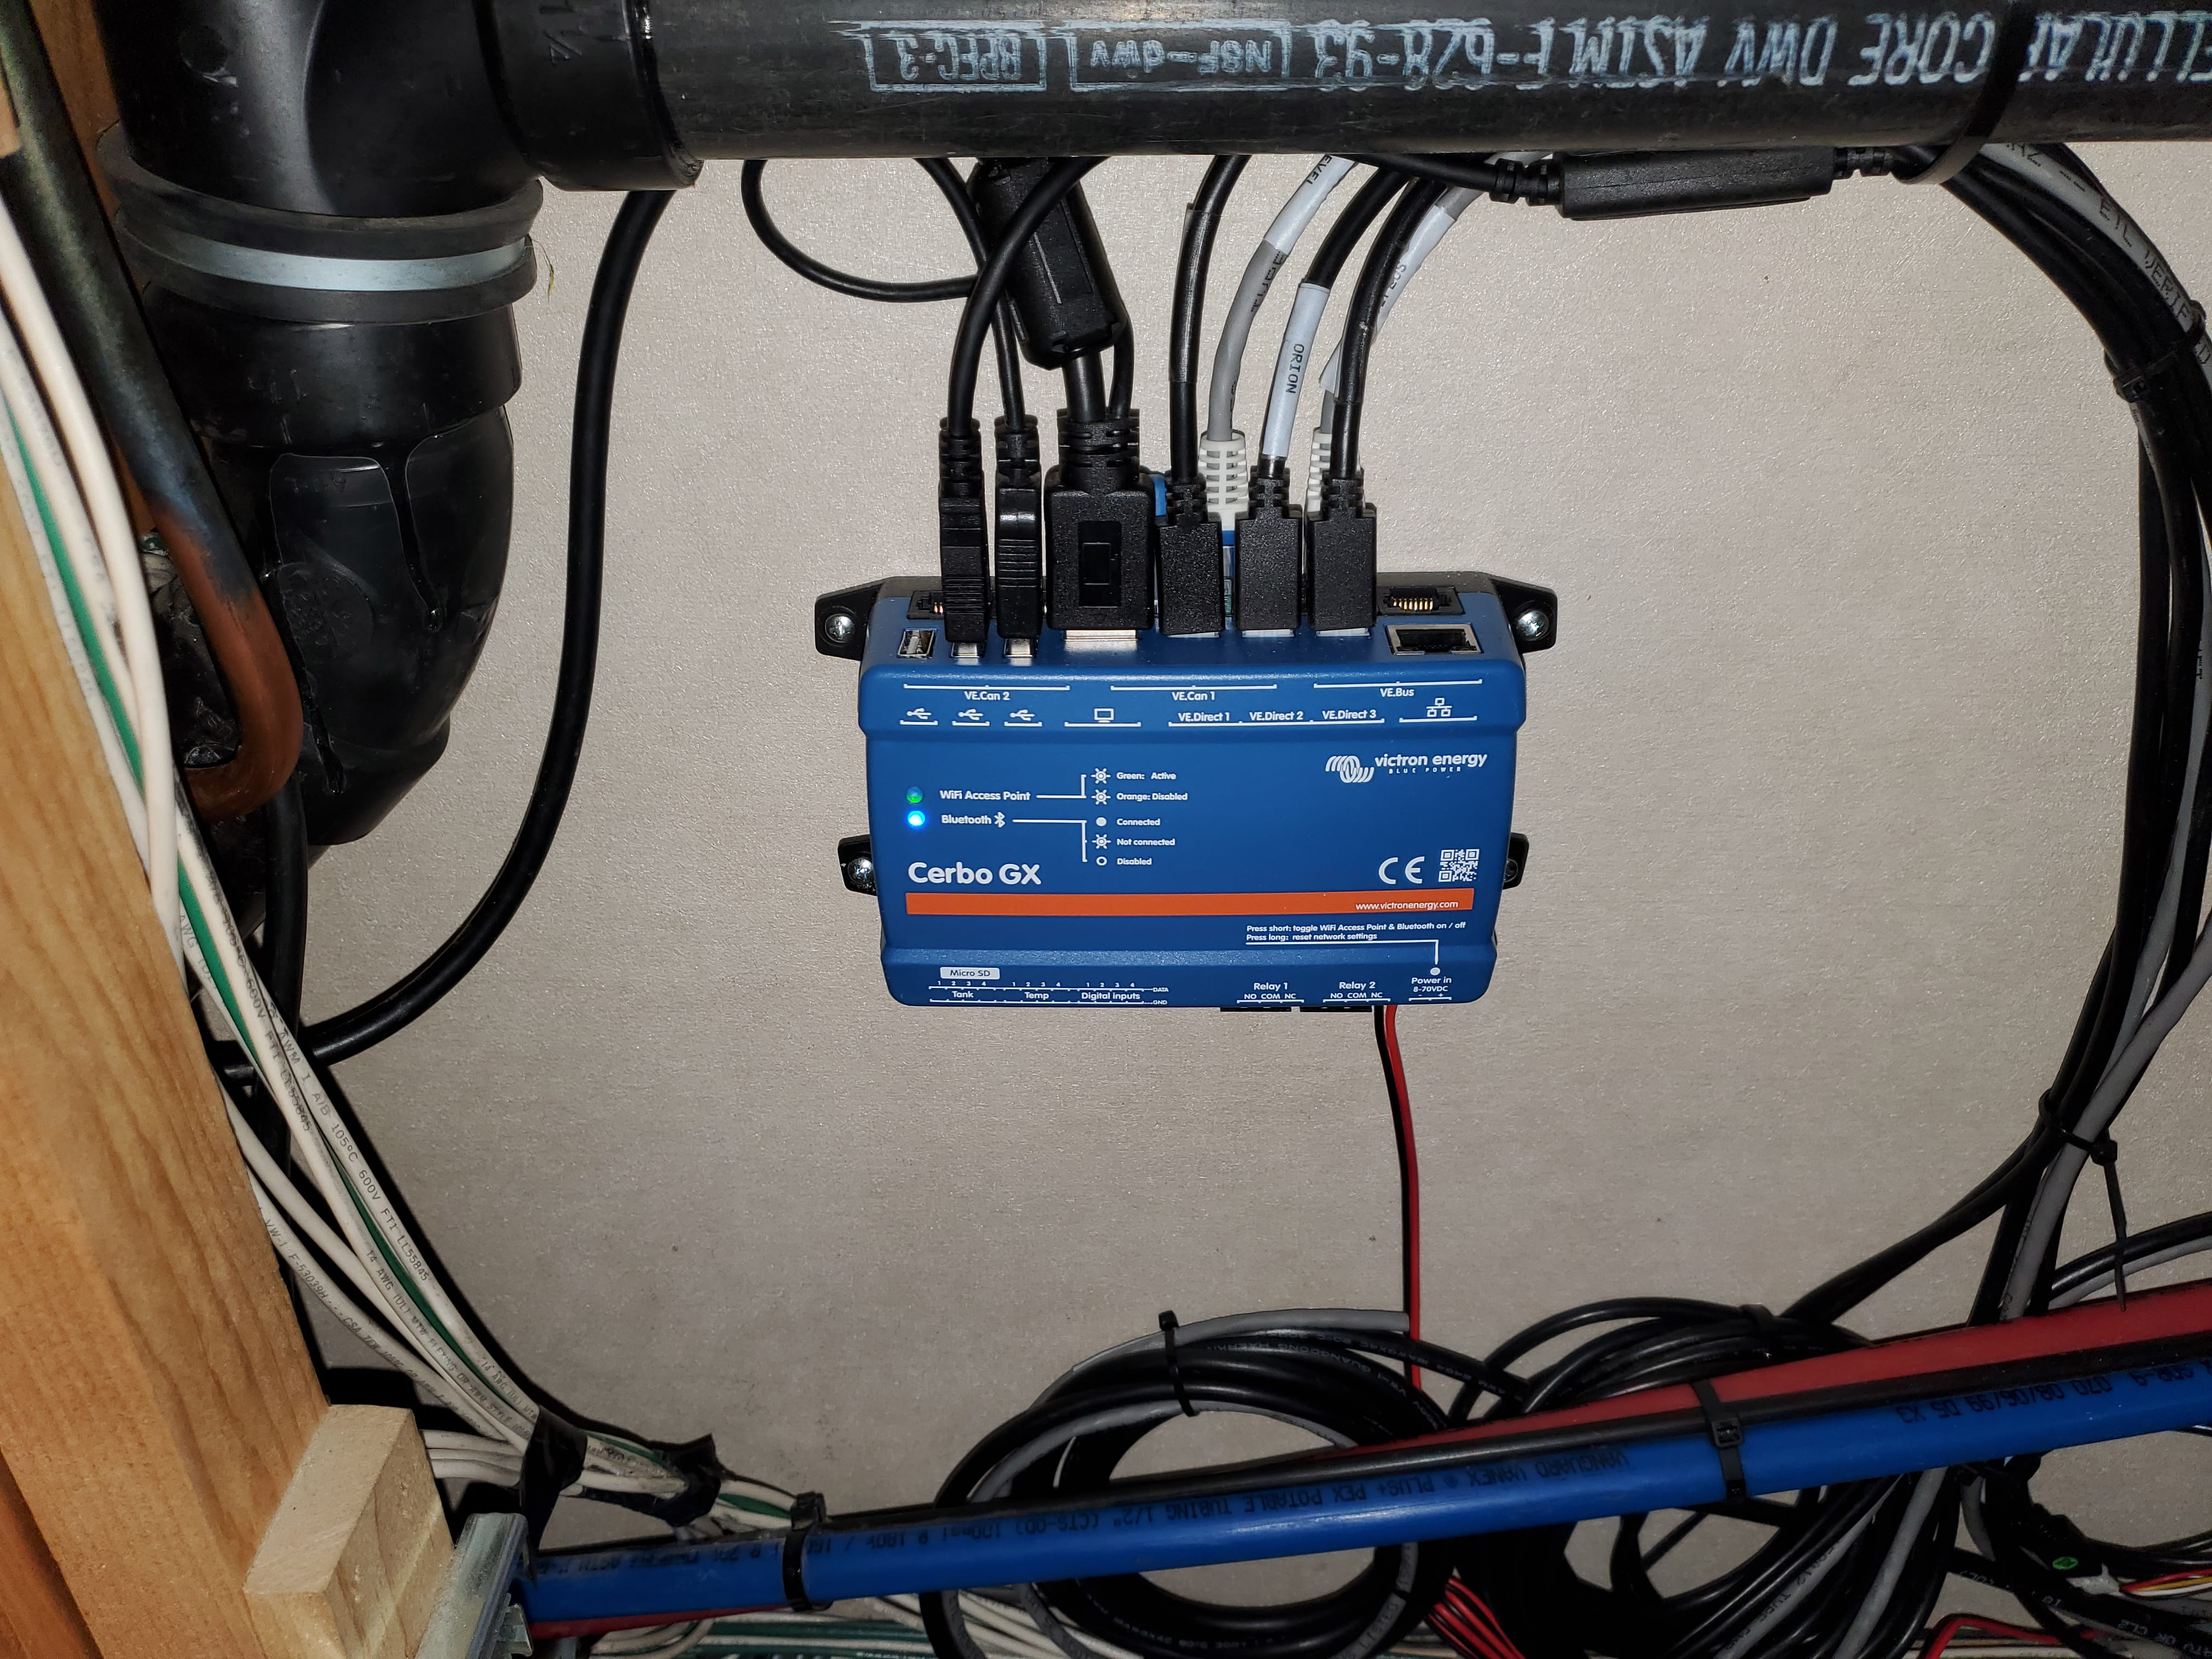
We have “a bunch” of communication lines running to the Cerbo. They meet in the passthru bay and then come up through the floor inside the kitchen drawer stack. From there they plug into the Cerbo which is mounted to the outside wall.
Cable Connections
- Orion XS <-> VE.Direct <-> Cerbo
- Chassis Smart Shunt <-> VE.Direct <-> Cerbo
- House Smart Shunt <-> VE.Direct <-> Cerbo
- MPPT <-> VE.Direct <-> Cerbo
- Smart Dongle <-> VE.Bus <-> Multiplus
- Multiplus <-> VE.Bus <-> Cerbo
- SeeLevel <-> VE.Can <-> Cerbo
- GPS <-> USB <-> Cerbo
- Touch Screen <-> USB <-> Cerbo
- Touch Screen <-> HDMI <-> Cerbo
- Spare to battery compartment
- Spare to engine compartment
We need more VE.Direct Ports

We had more components using VE.Direct than the Cerbo provided ports for. Although combiners are available, they can be difficult to source. An alternative solution is the Victron VE.Direct to USB Interface, which converts one of the USB connectors into a VE.Direct port.
Depending on your installation, you might need to work around a few quirks. Victron’s solution comes with a cable that is approximately 5 feet long, with one end plugging into the Cerbo’s USB port and the other directly into the component.
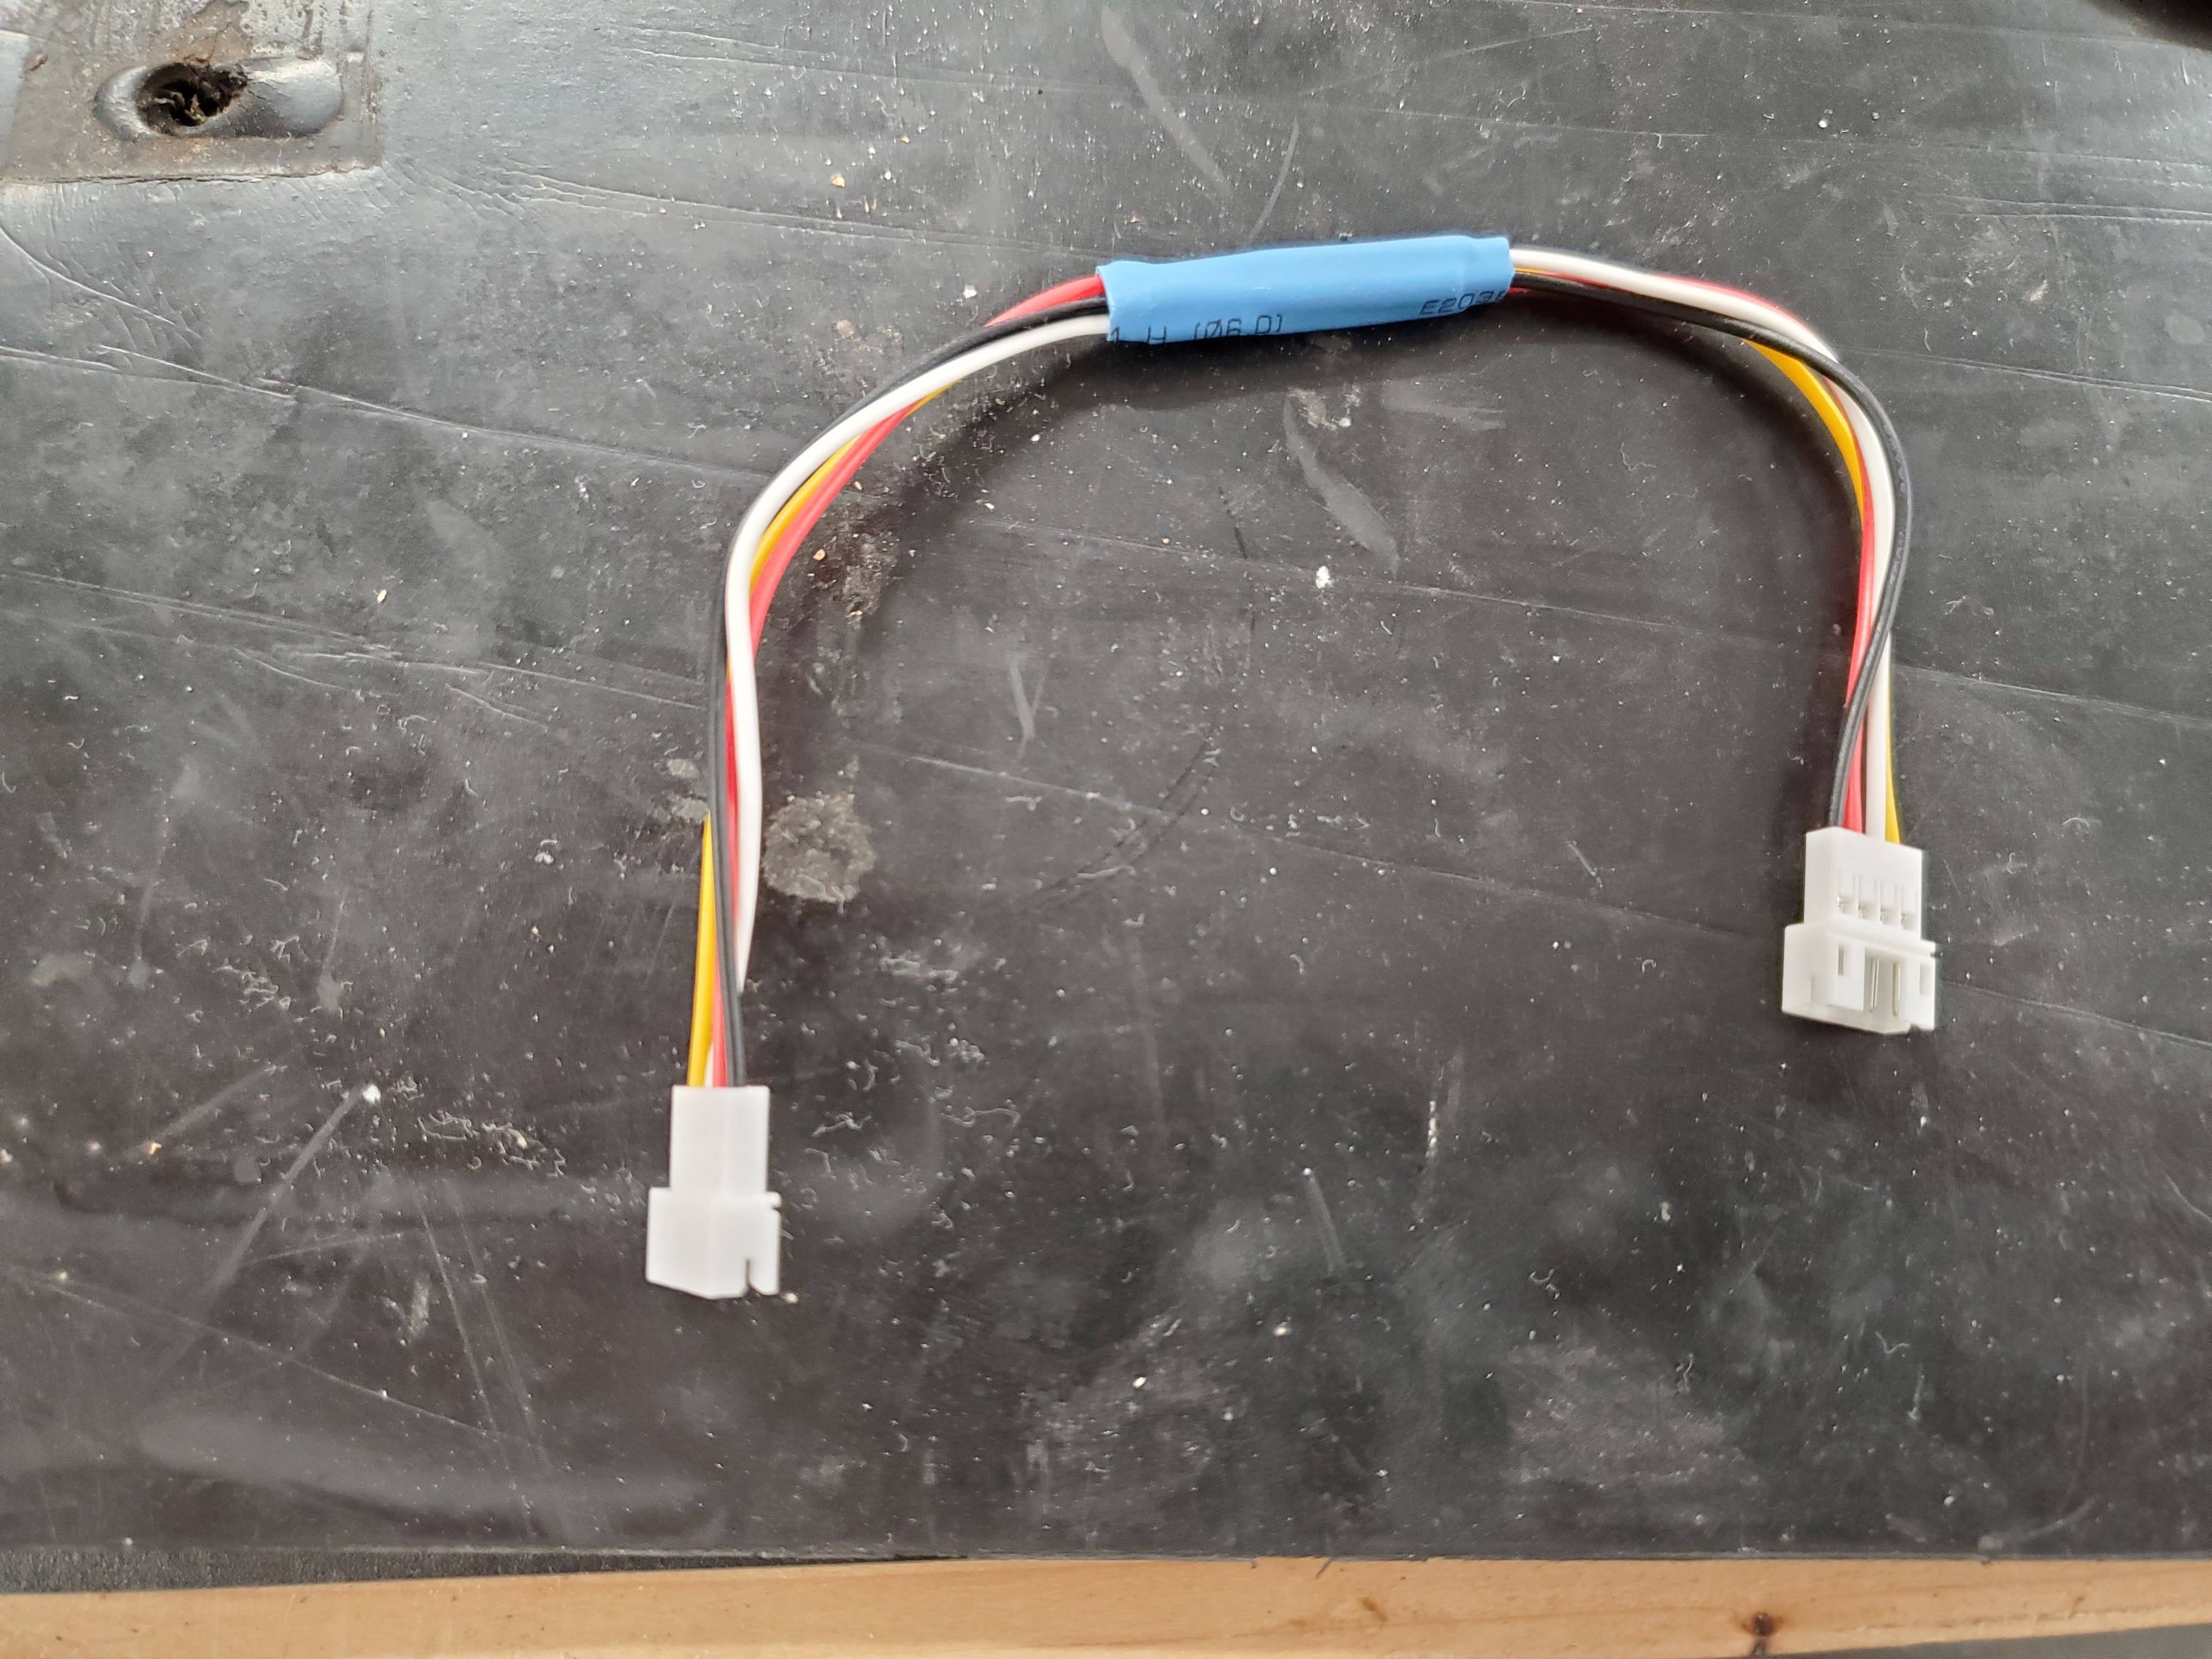
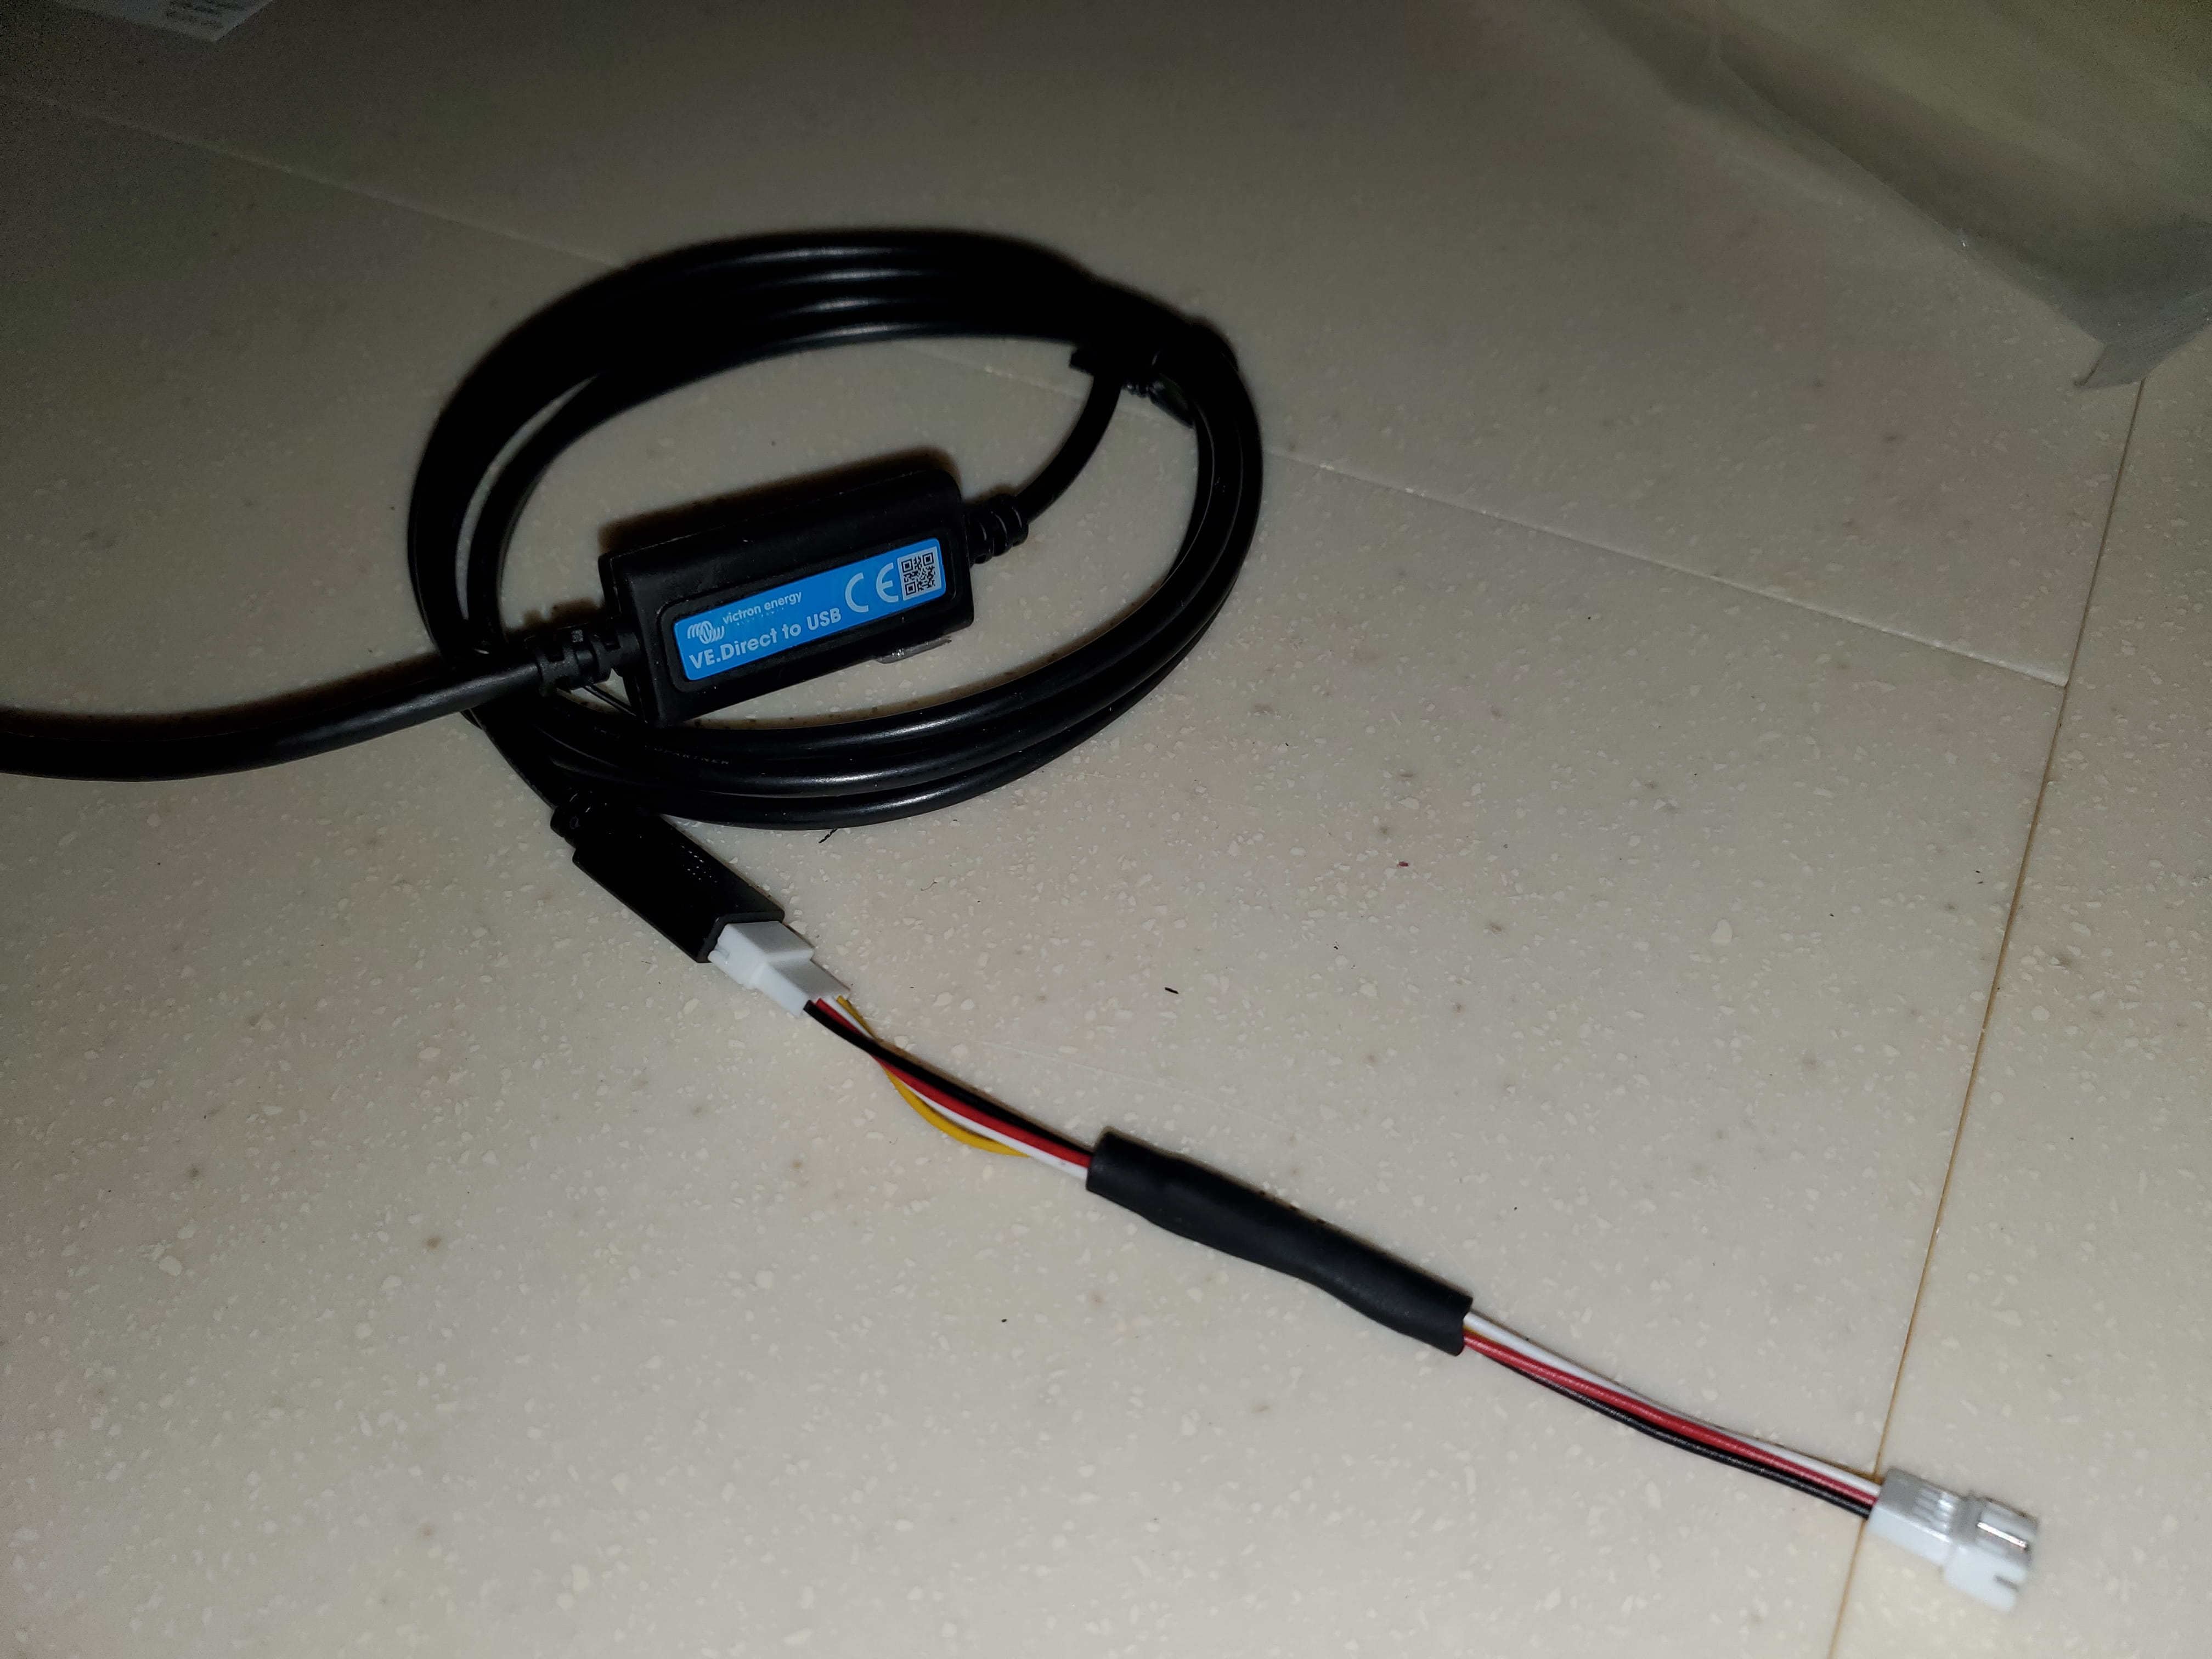
In our case, the components were located more than 5 feet away from the Cerbo, and we already had a dedicated VE.Direct cable running to it. Since both cables end in male connectors, a coupler was necessary. However, a straight coupler did not work—wires 2 (RX) and 3 (TX) had to be swapped (basic RS232 null modem) in the coupler to ensure proper VE.Direct communication.

With the cabling figured out, the Cerbo fired up and was able to communicate with all the devices, including the Seelevel tank monitor. 👌