Replacing the Hydraulic Reservoir
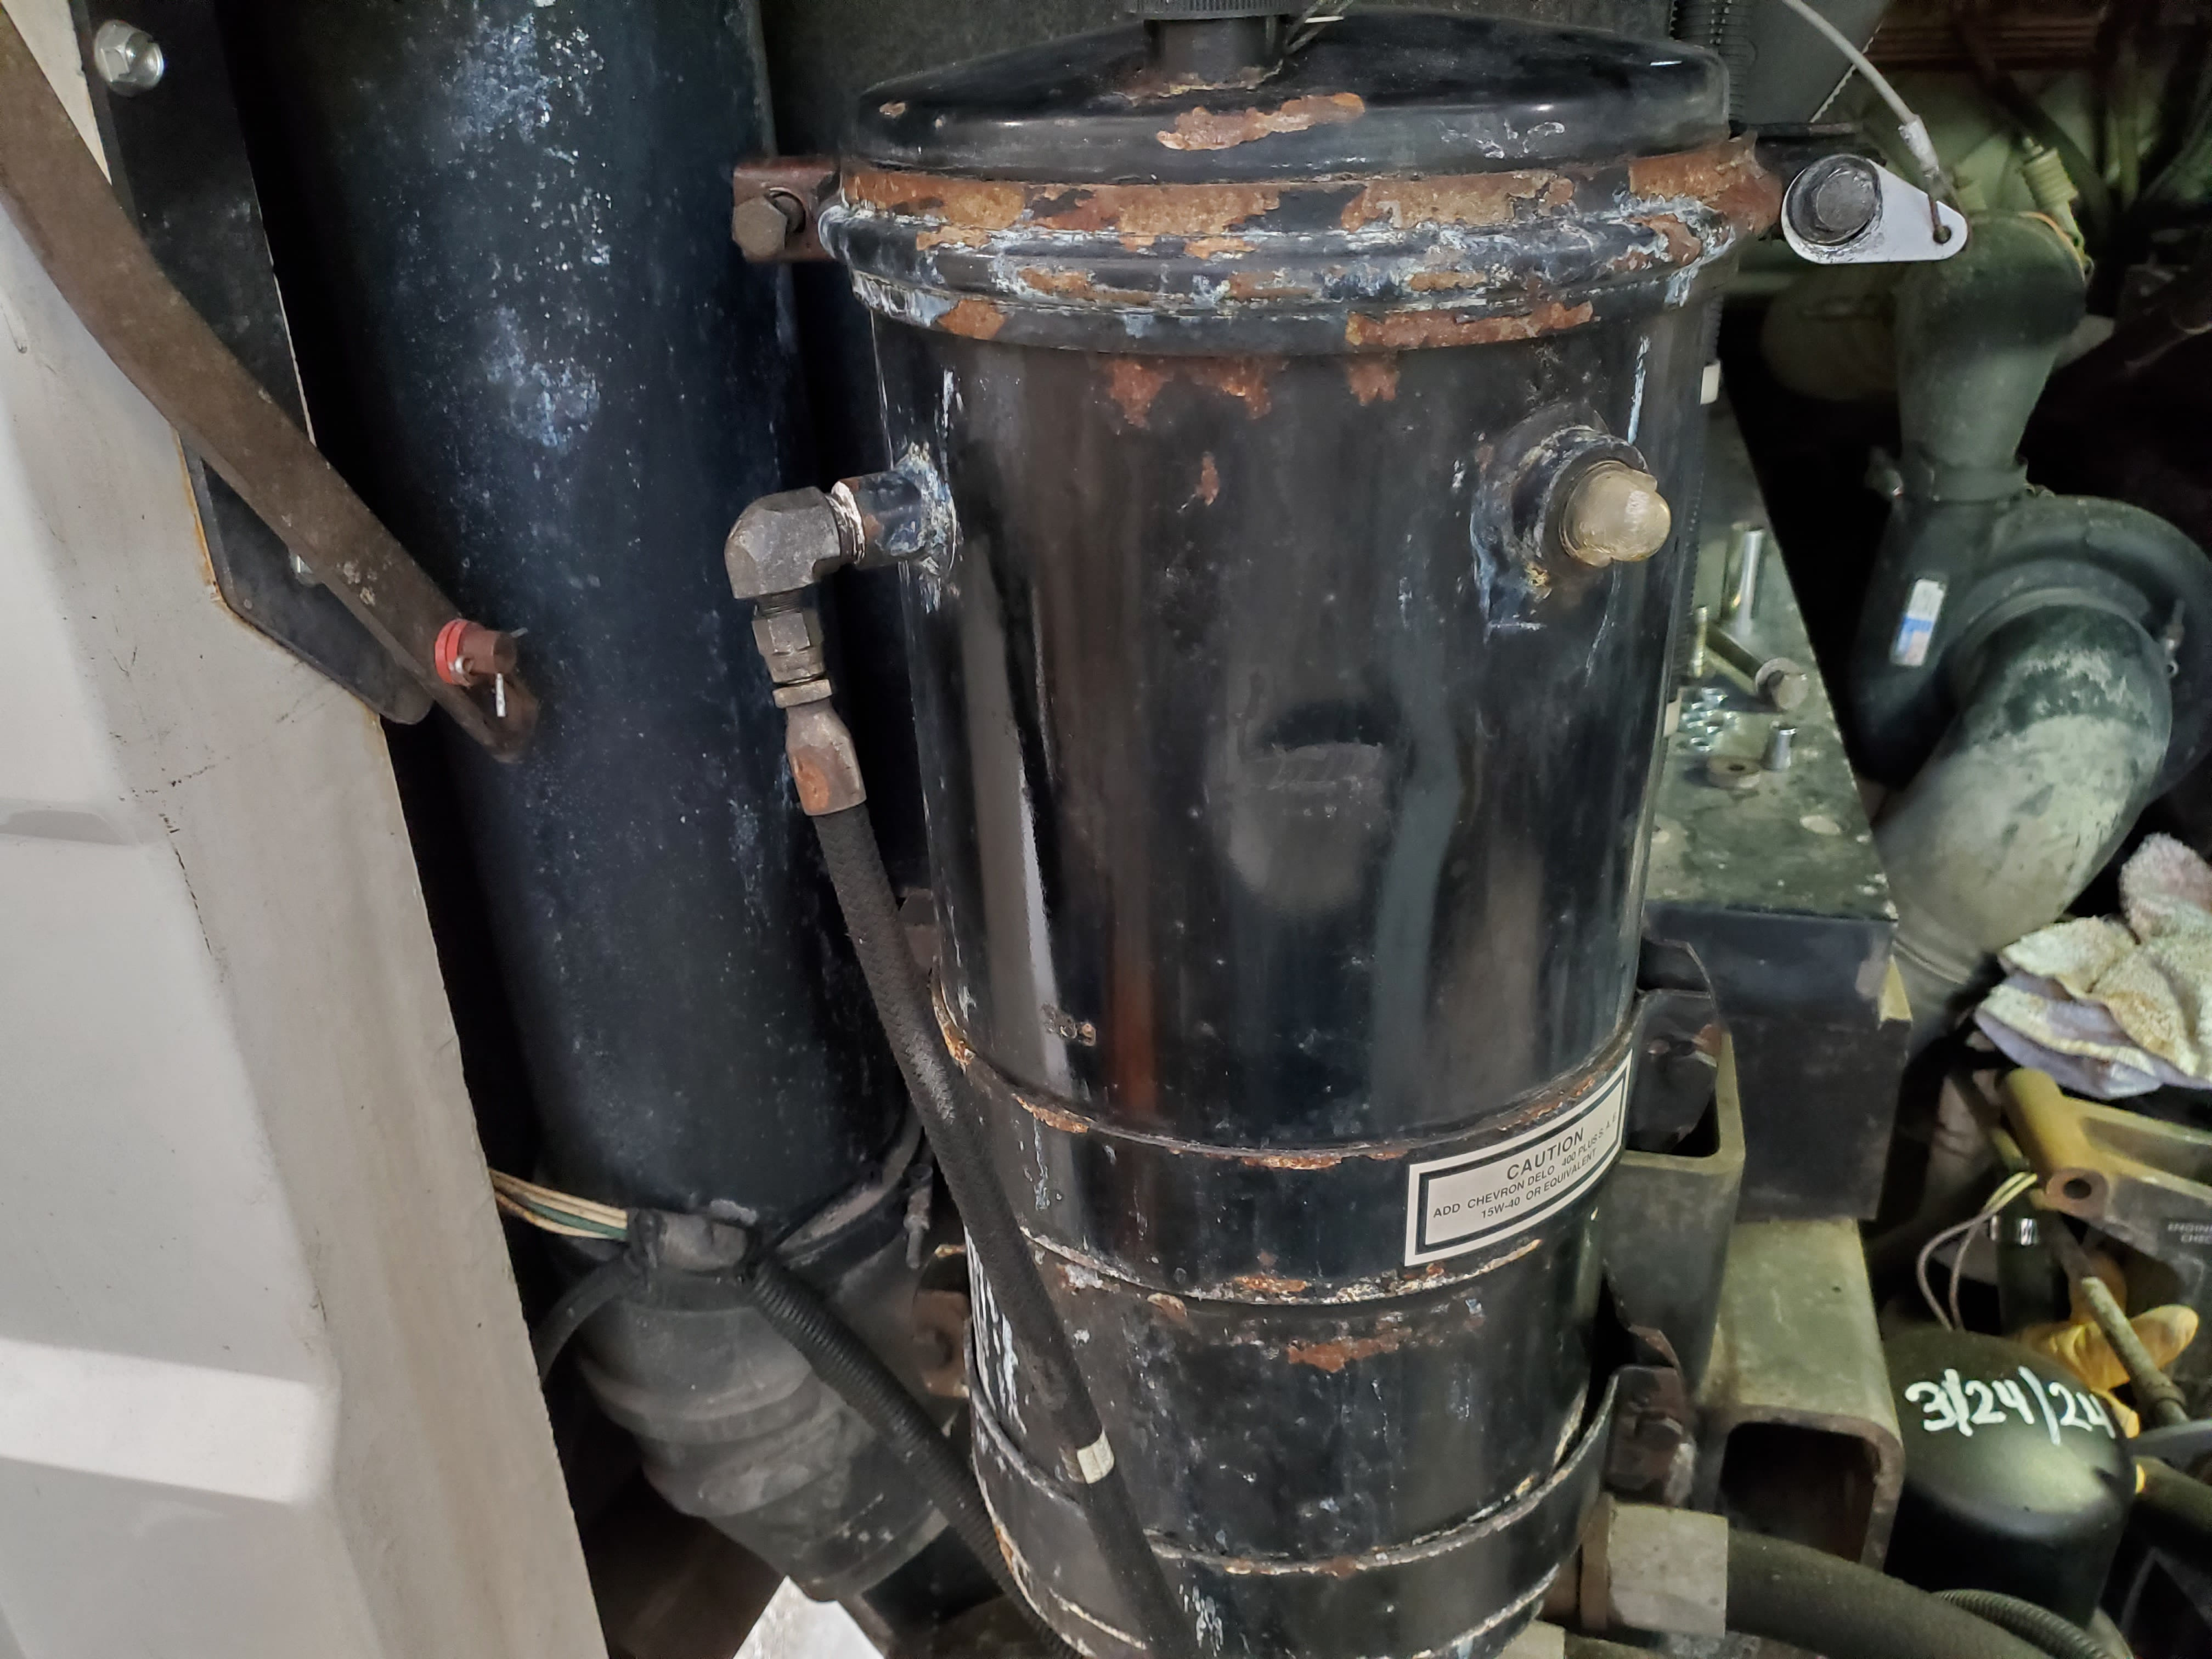
When we purchased the coach, we noted there was a small dent in the face of the tank, about the size of a golf ball indent. It was felt that it was likely caused by the engine door hitting it or hitting/pinching the hose. There is not much room between that tank and the door so any mis-adjustment could have been an issue, and it was just cosmetic.
There were other cosmetic issues, mainly flaking paint and rust on both the cover clamp and the mounting clamps. I looked like someone had applied some Ospho or similar and then did nothing. Anyway this is something we wanted to clean up.
Going through the service records we received with the coach, we could not find anything that showed the hydraulic fluid or filters had been changed. Granted it is a sealed system, but 25 years is enough service life. We decided it was time to do its oil/filter change and while doing that clean up the cosmetic issues as best we could.
Drain the Oil
To empty the reservoir we purchased an inexpensive ($8) harbor freight Multi-Use Transfer Pump. That pump worked fine but its an arm workout after you have pumped 4 or so gallons of oil. Once empty I decided to fully remove the tank, so I could give it a proper spa treatment and paint job.
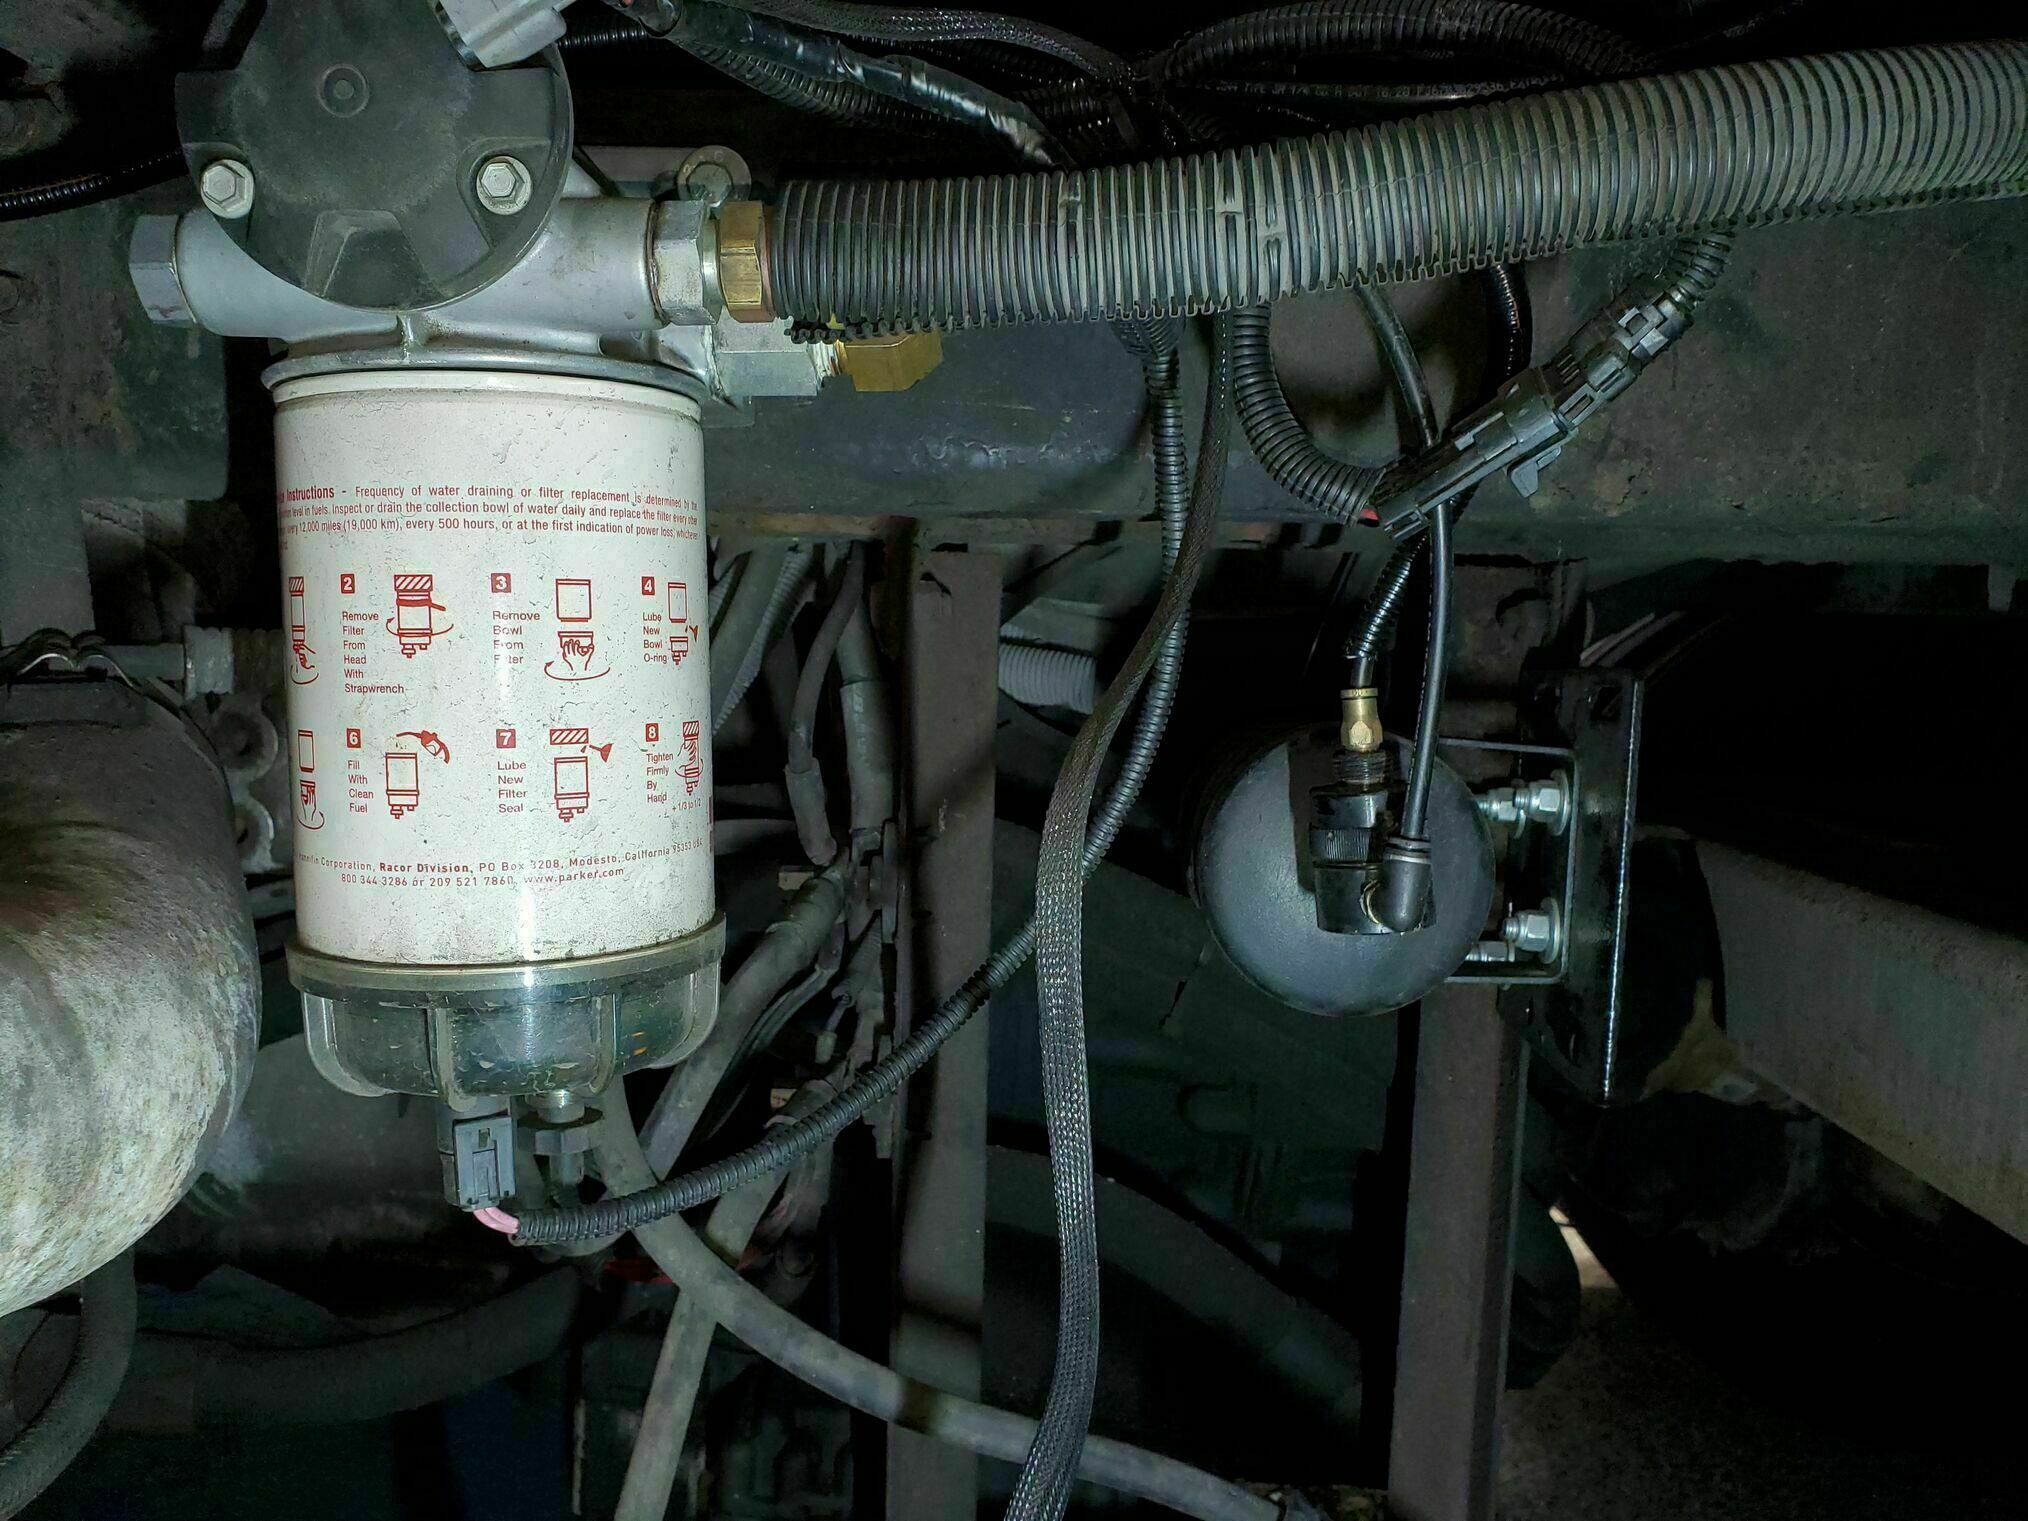
Here is a Full Hydraulic Oil and Filter Change Walk Through that will help guide you through the steps.
Sourcing the replacement filters can be a challenging. The original P/N is a Nelson 84101B (10 Micron), and the only cross ref I could come up with (that was available) was Main Filter MF0066241.
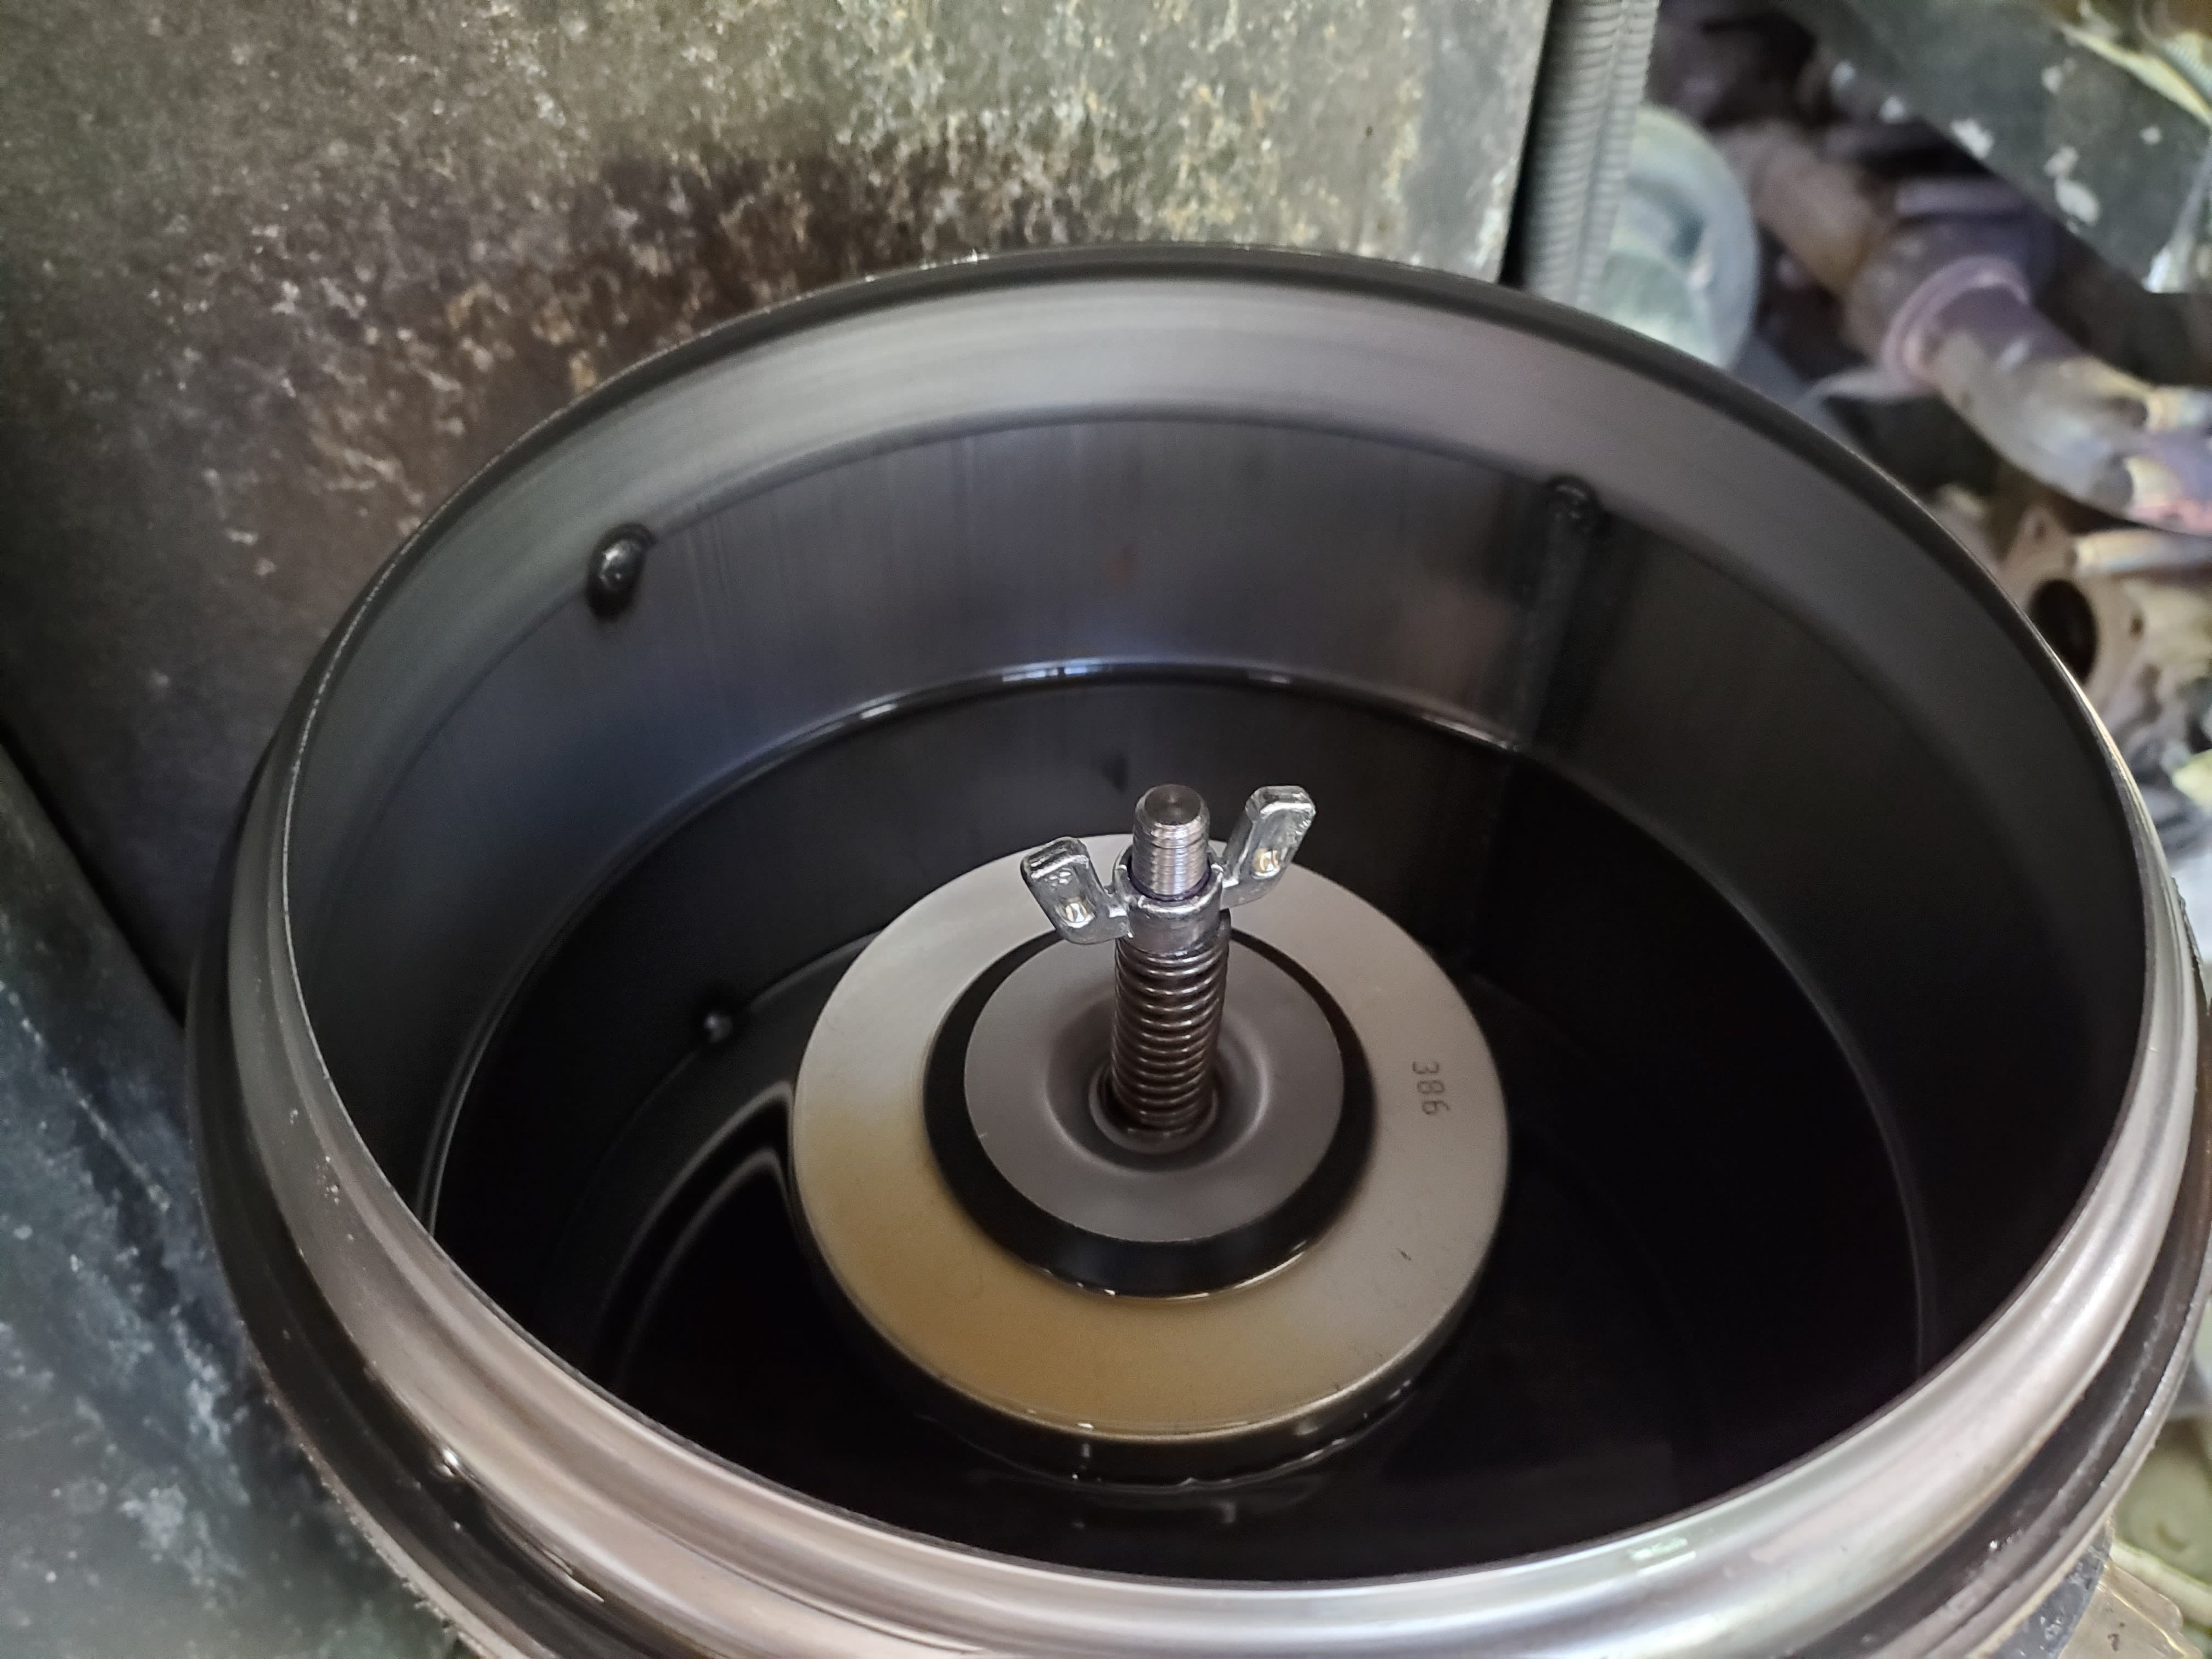
When installing the top cone washer, be sure it does not shift the filter stack, instead just let the washer push things straight down. If it shifts you can open gaps between the filters allowing some bypass.
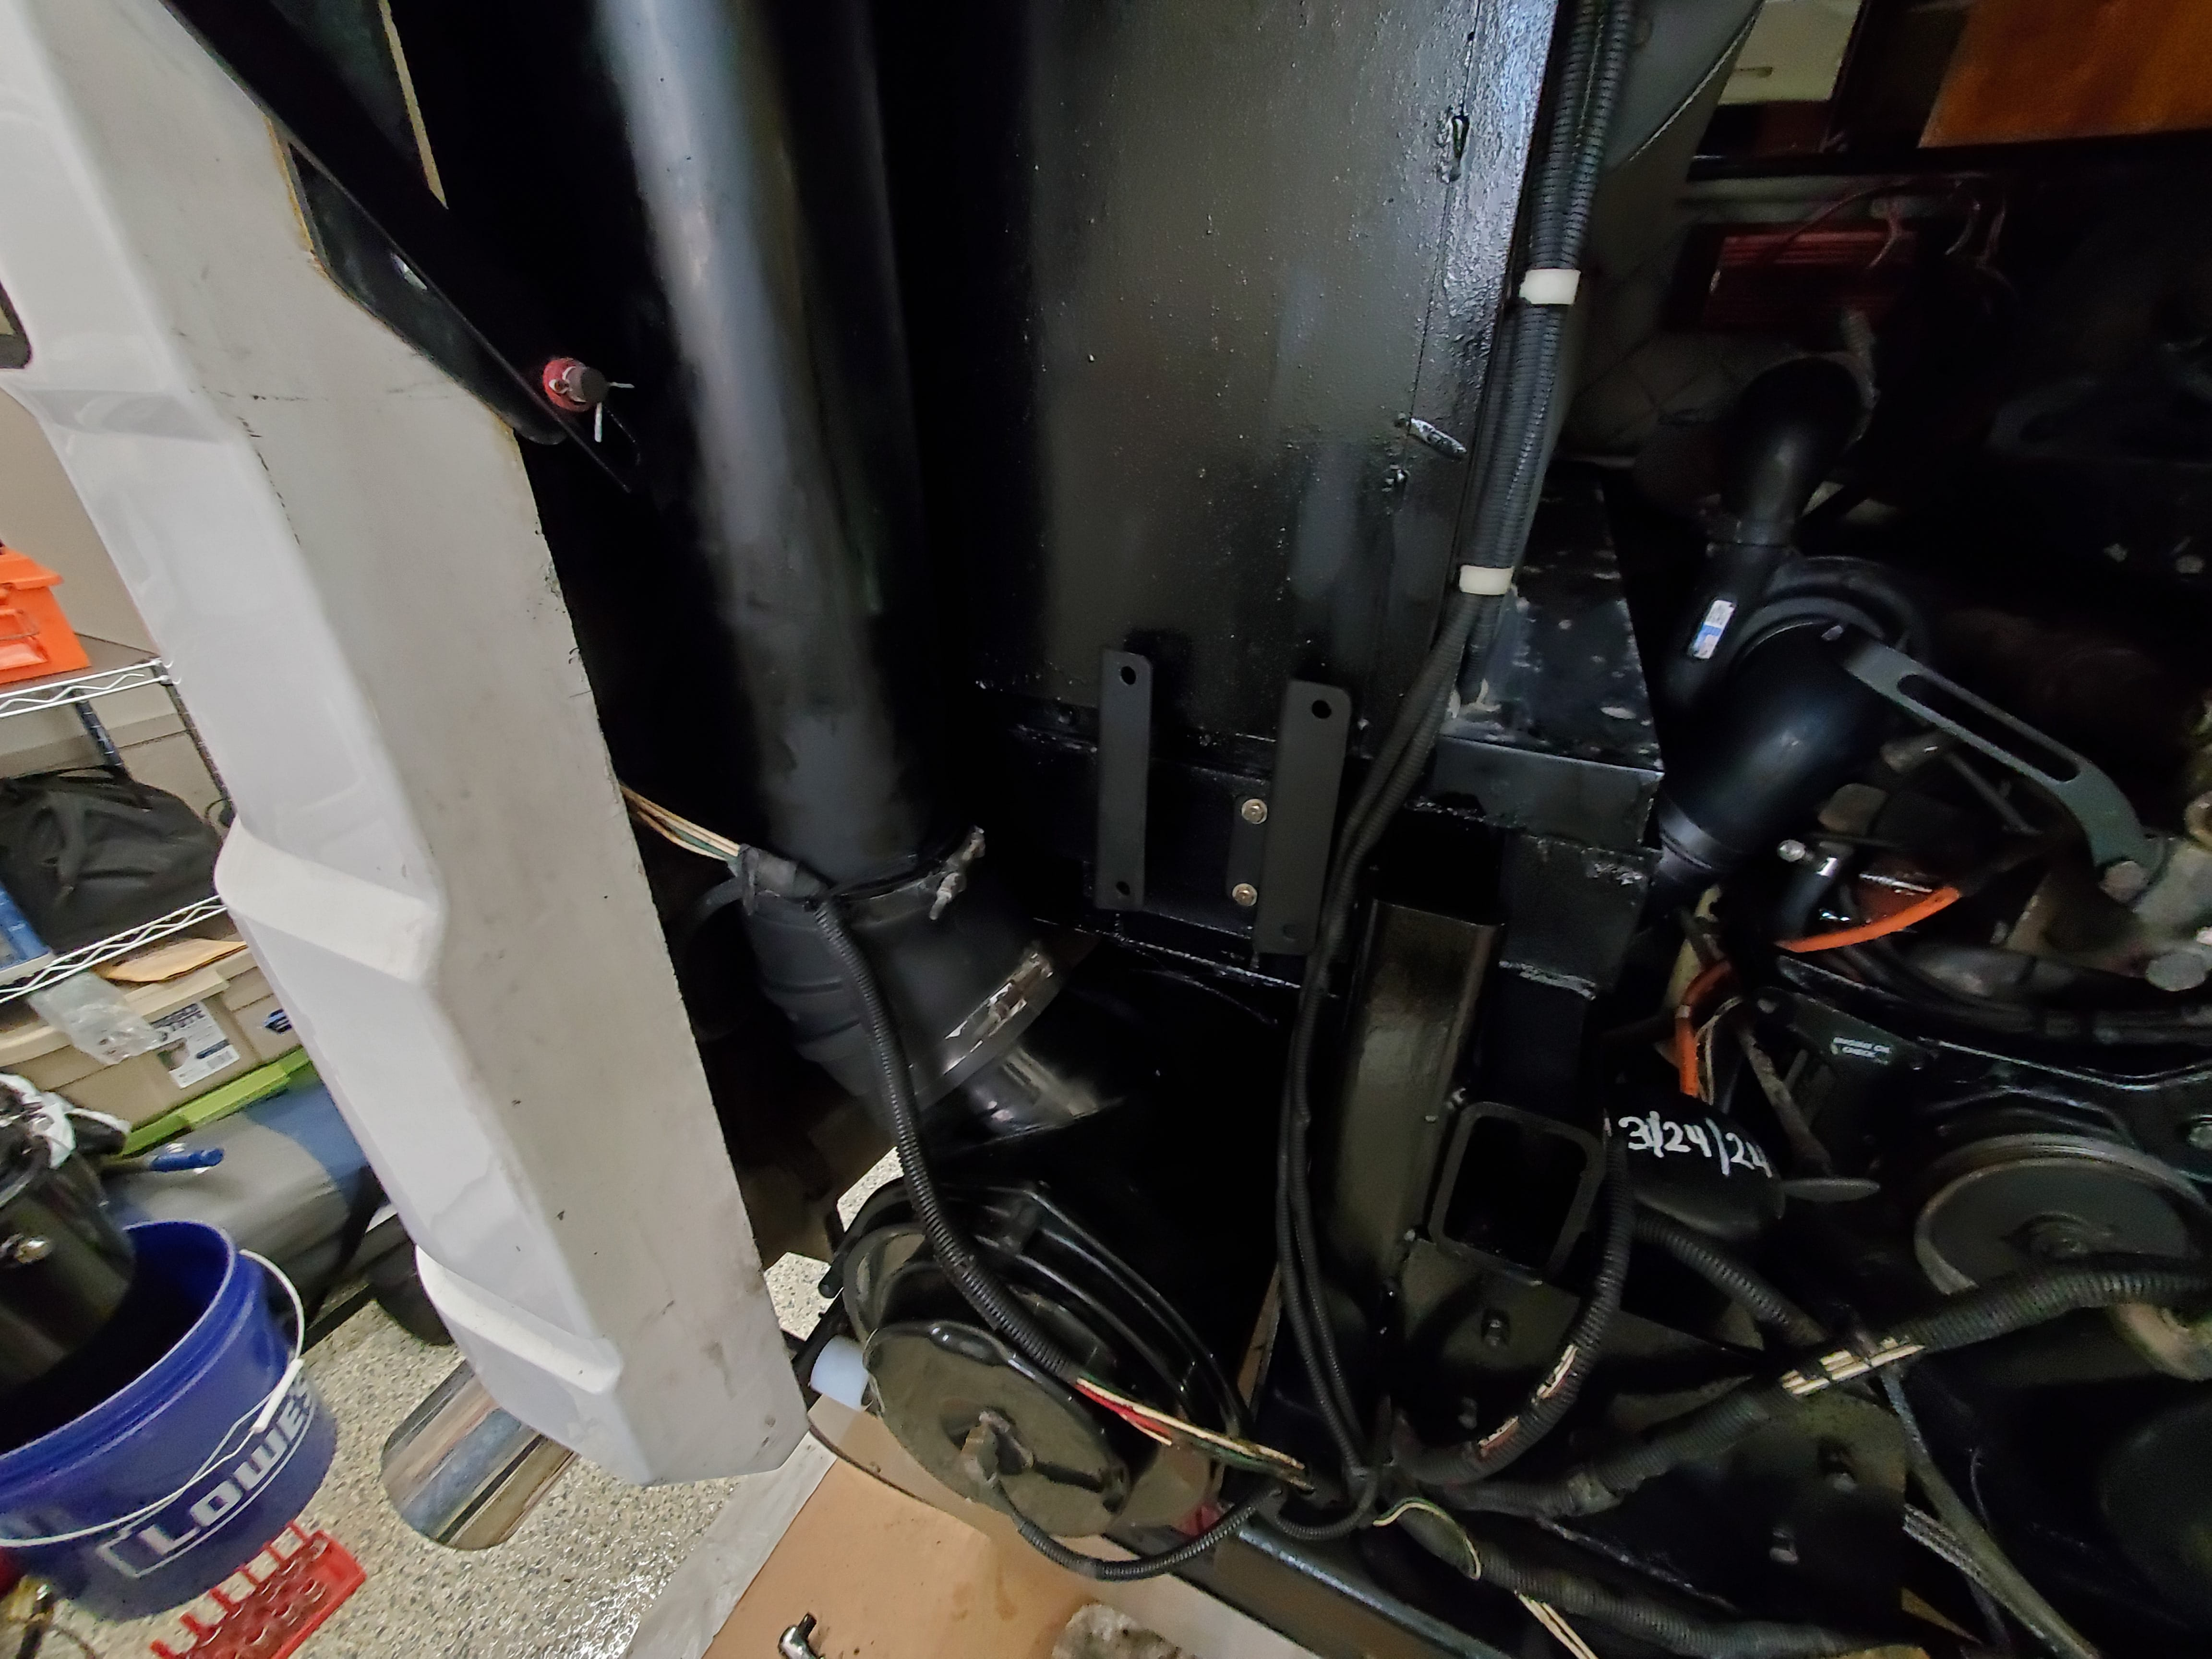
Tank Removal

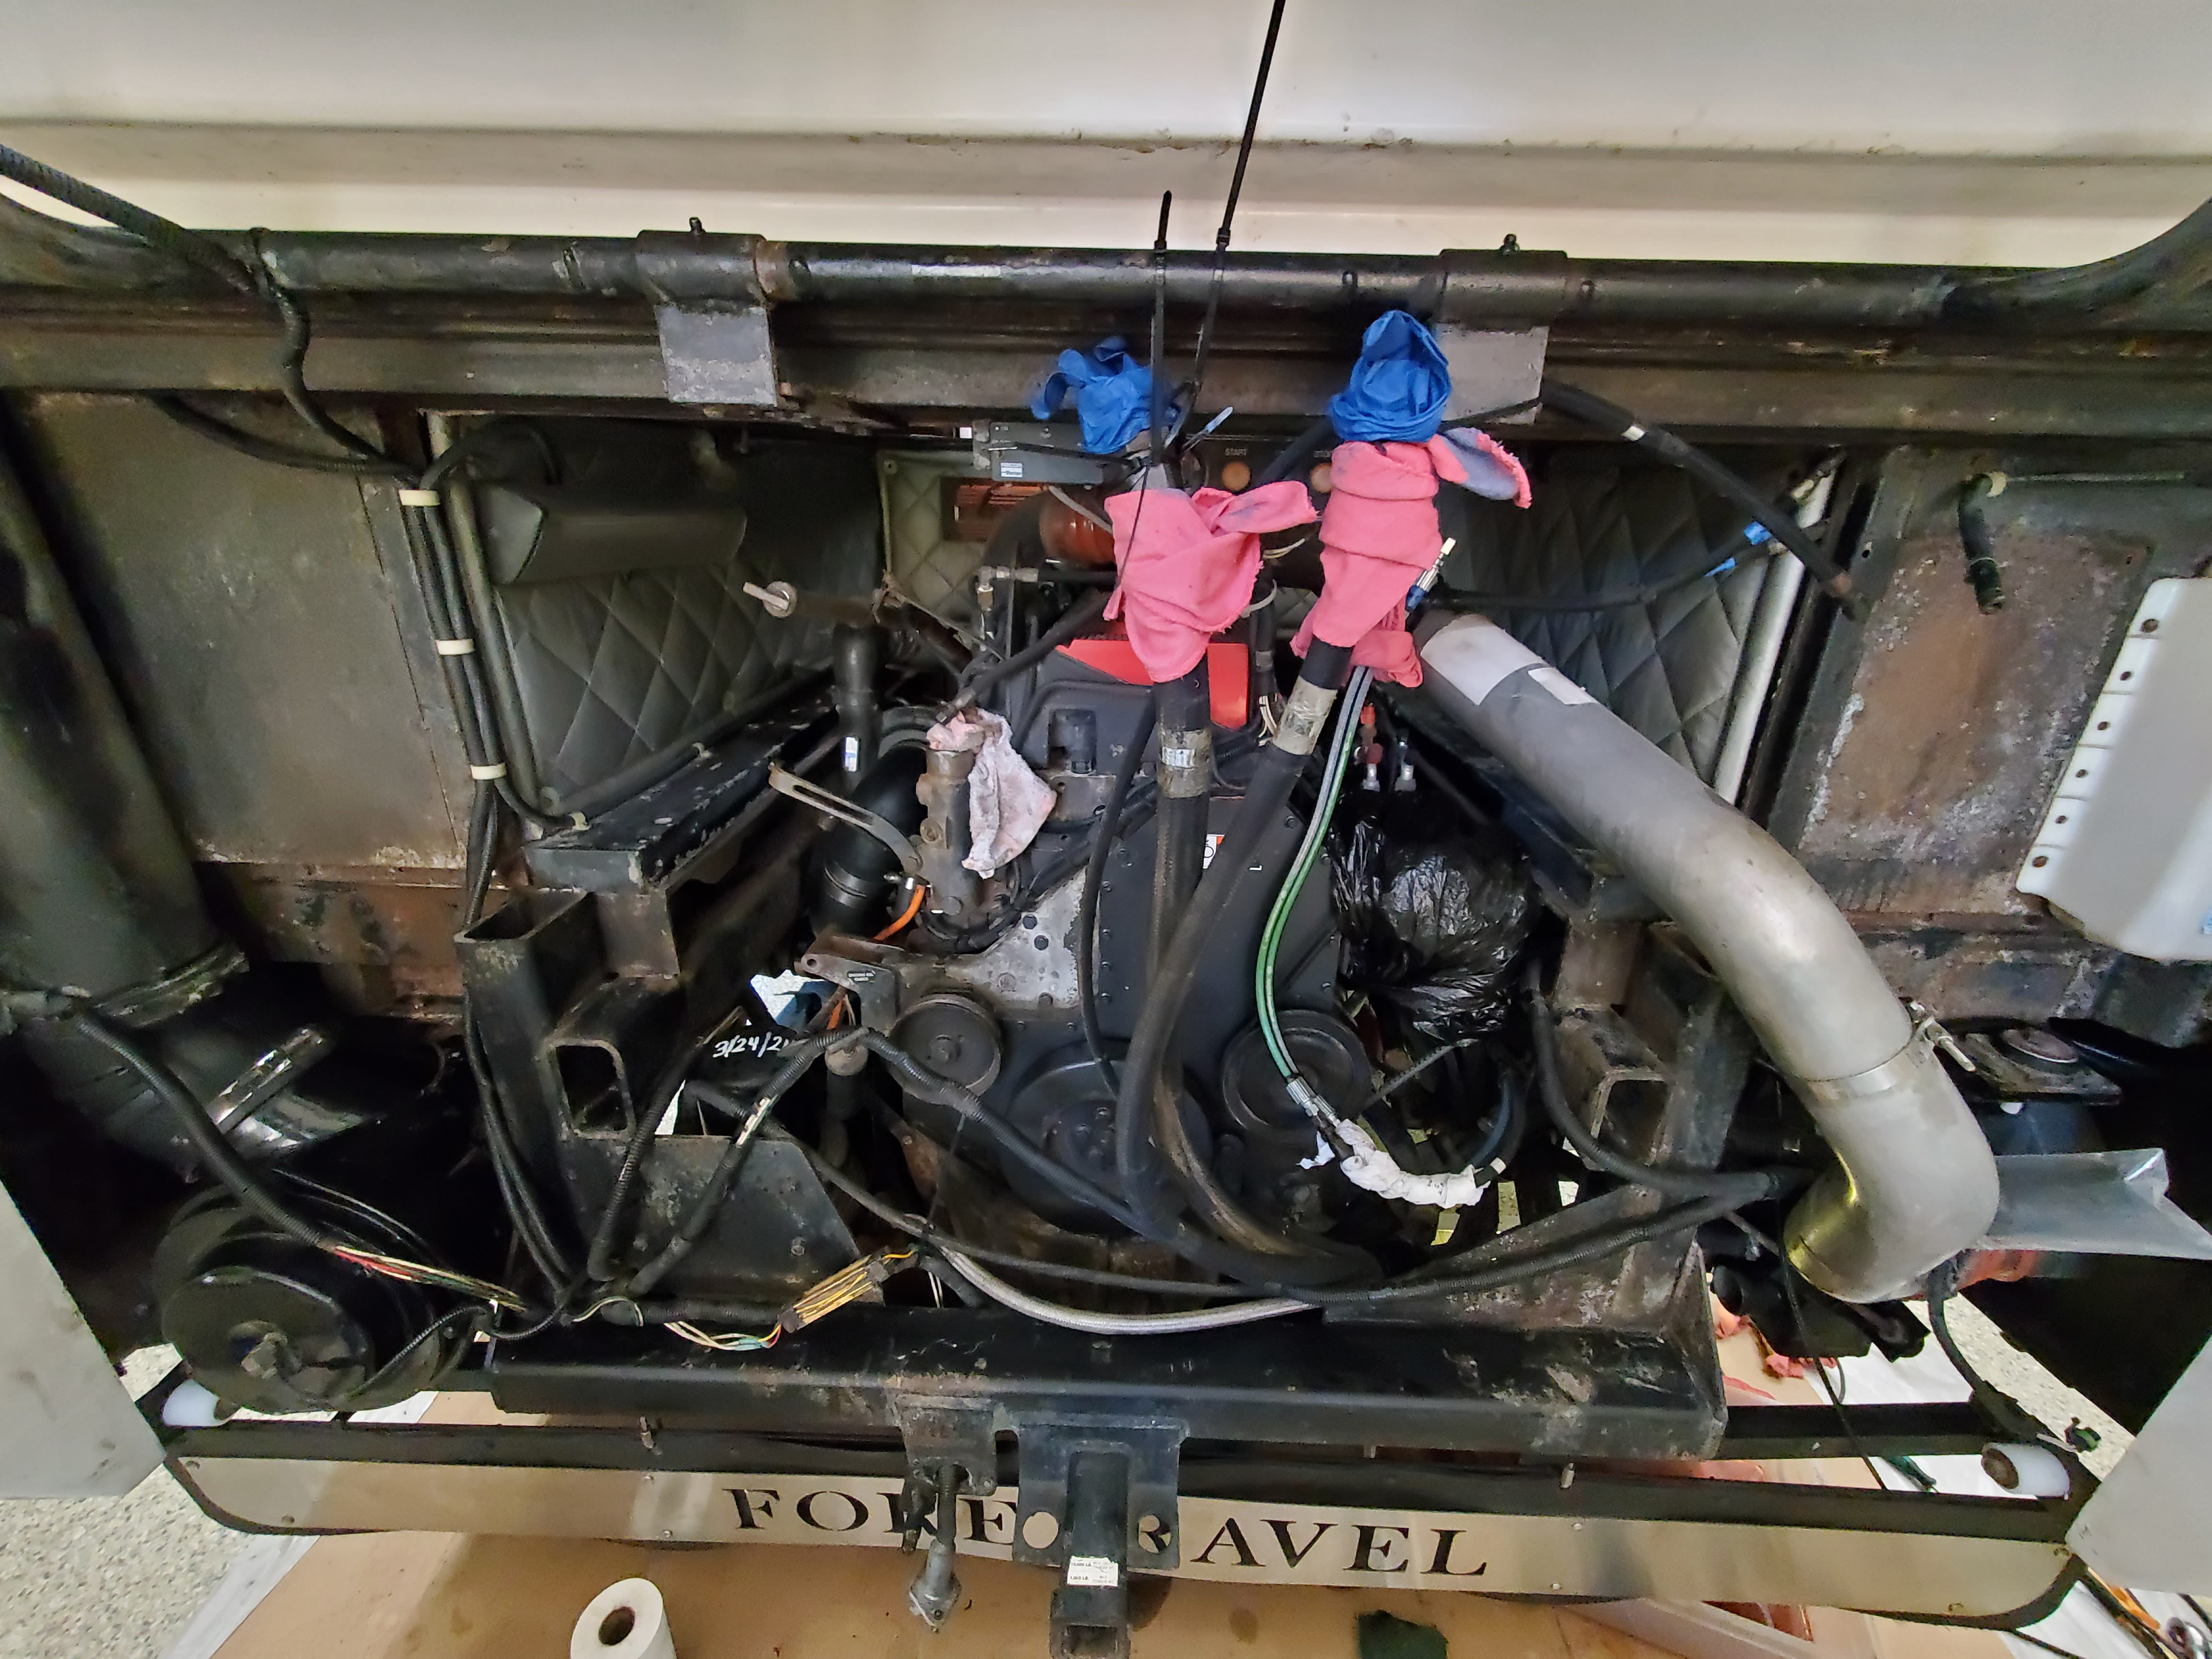
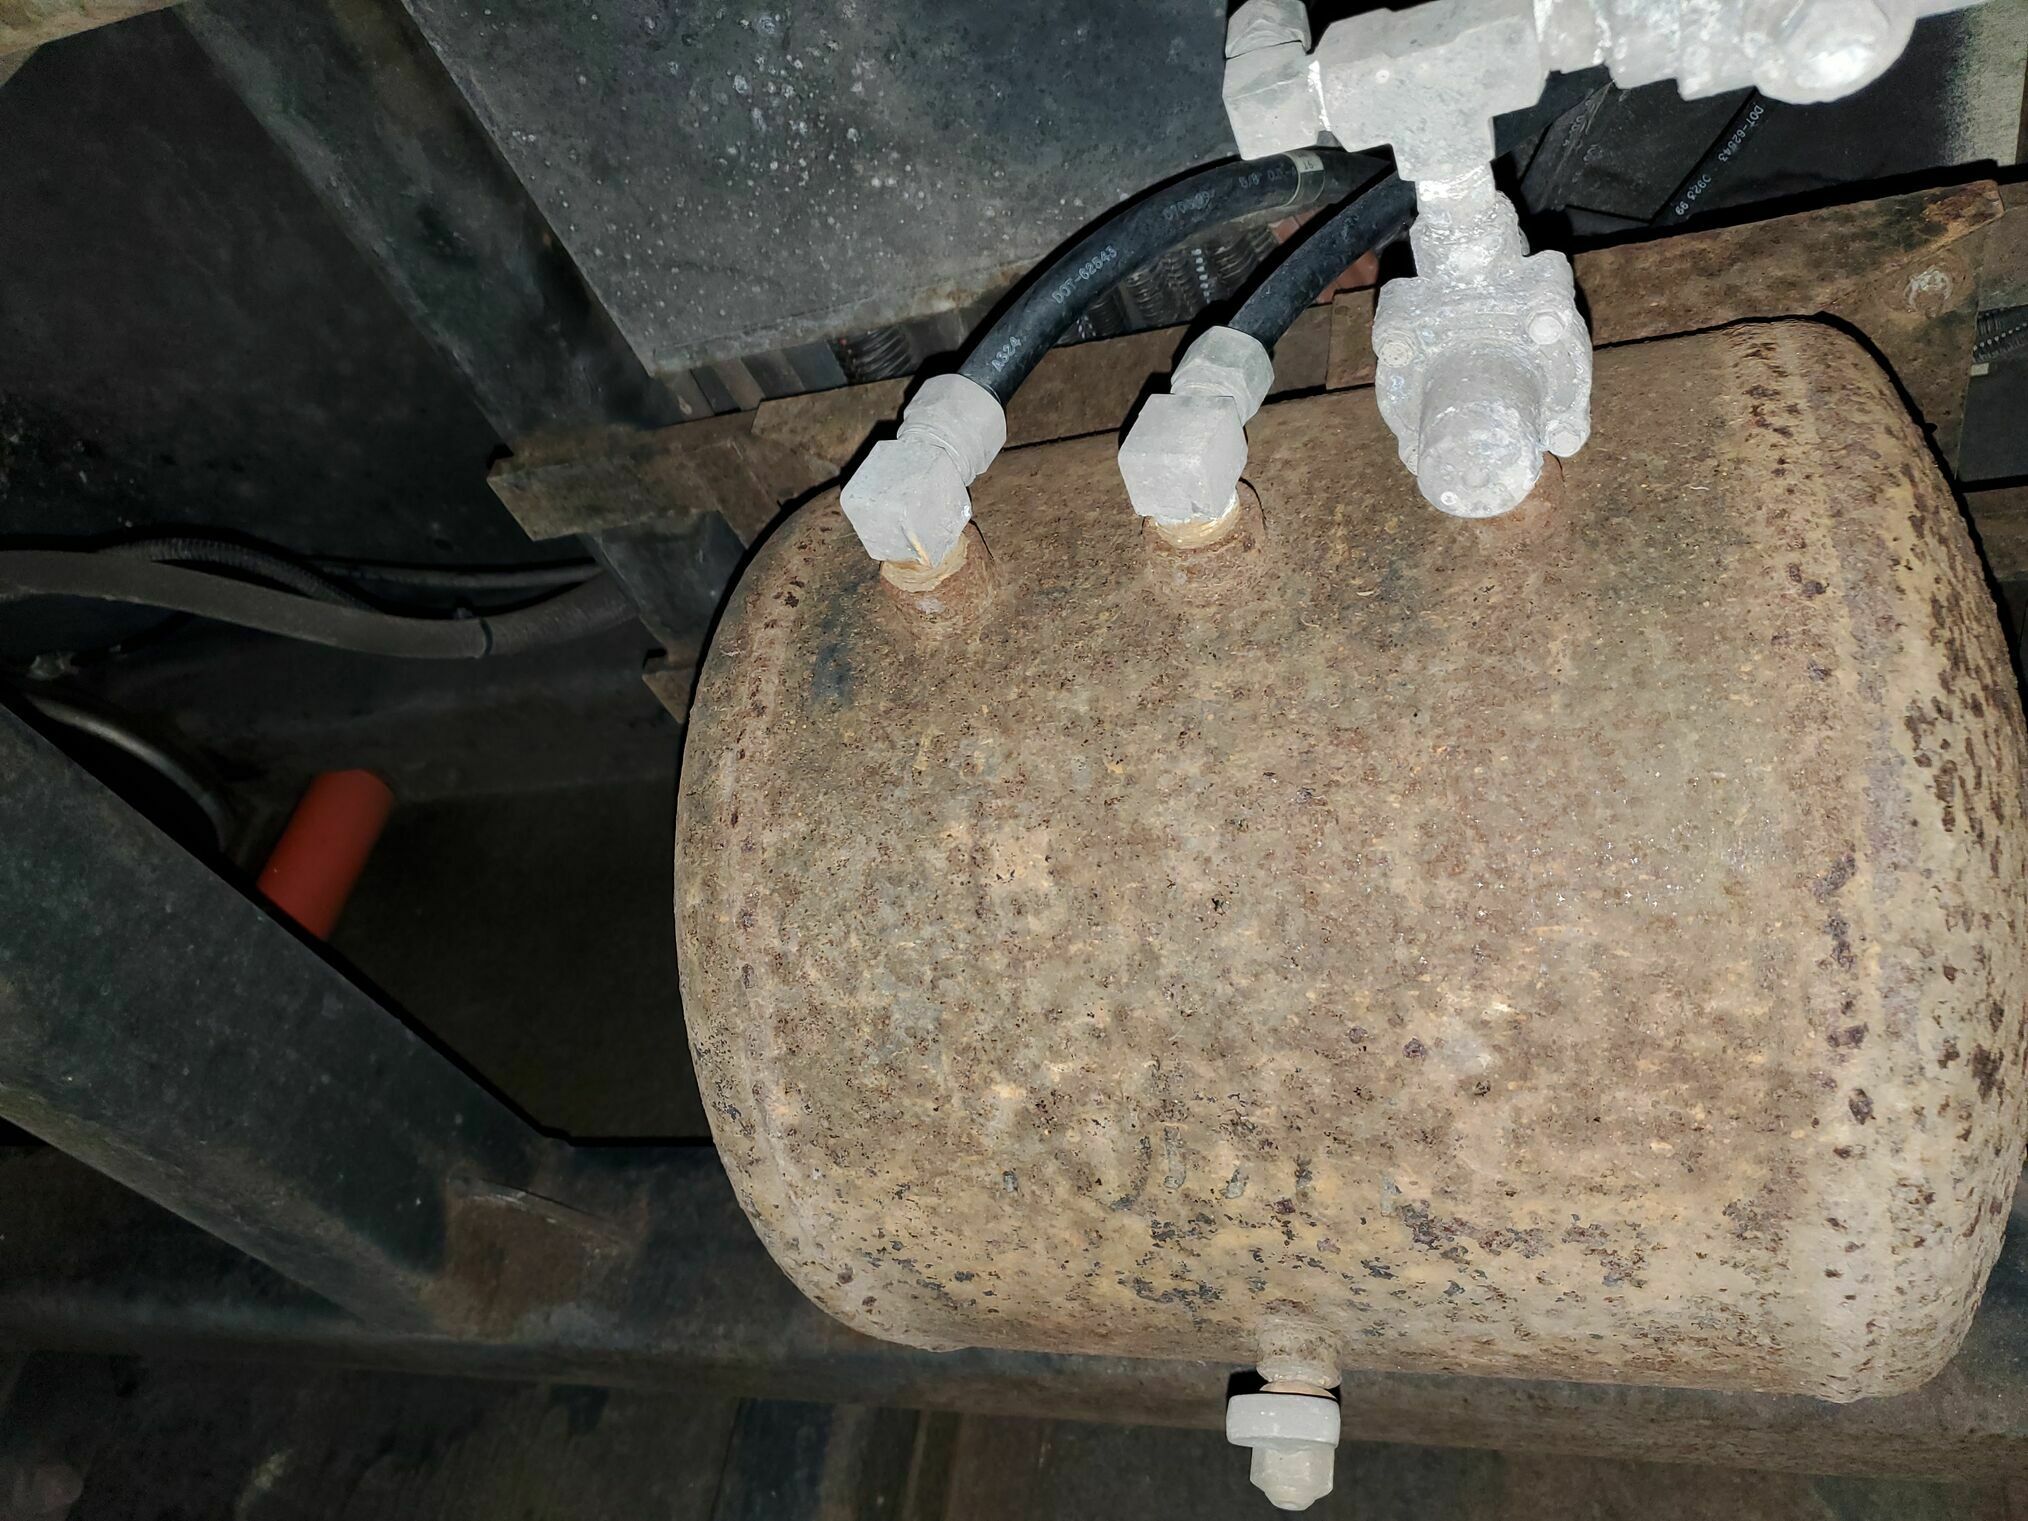
The hydraulic hoses loosen without much fuss as long as you have some jumbo combination wrenches. I had a good set of them from when we had our 870 Deere Tractor. Once removed, the end of the hoses were covered and secured up high so they would not drain.
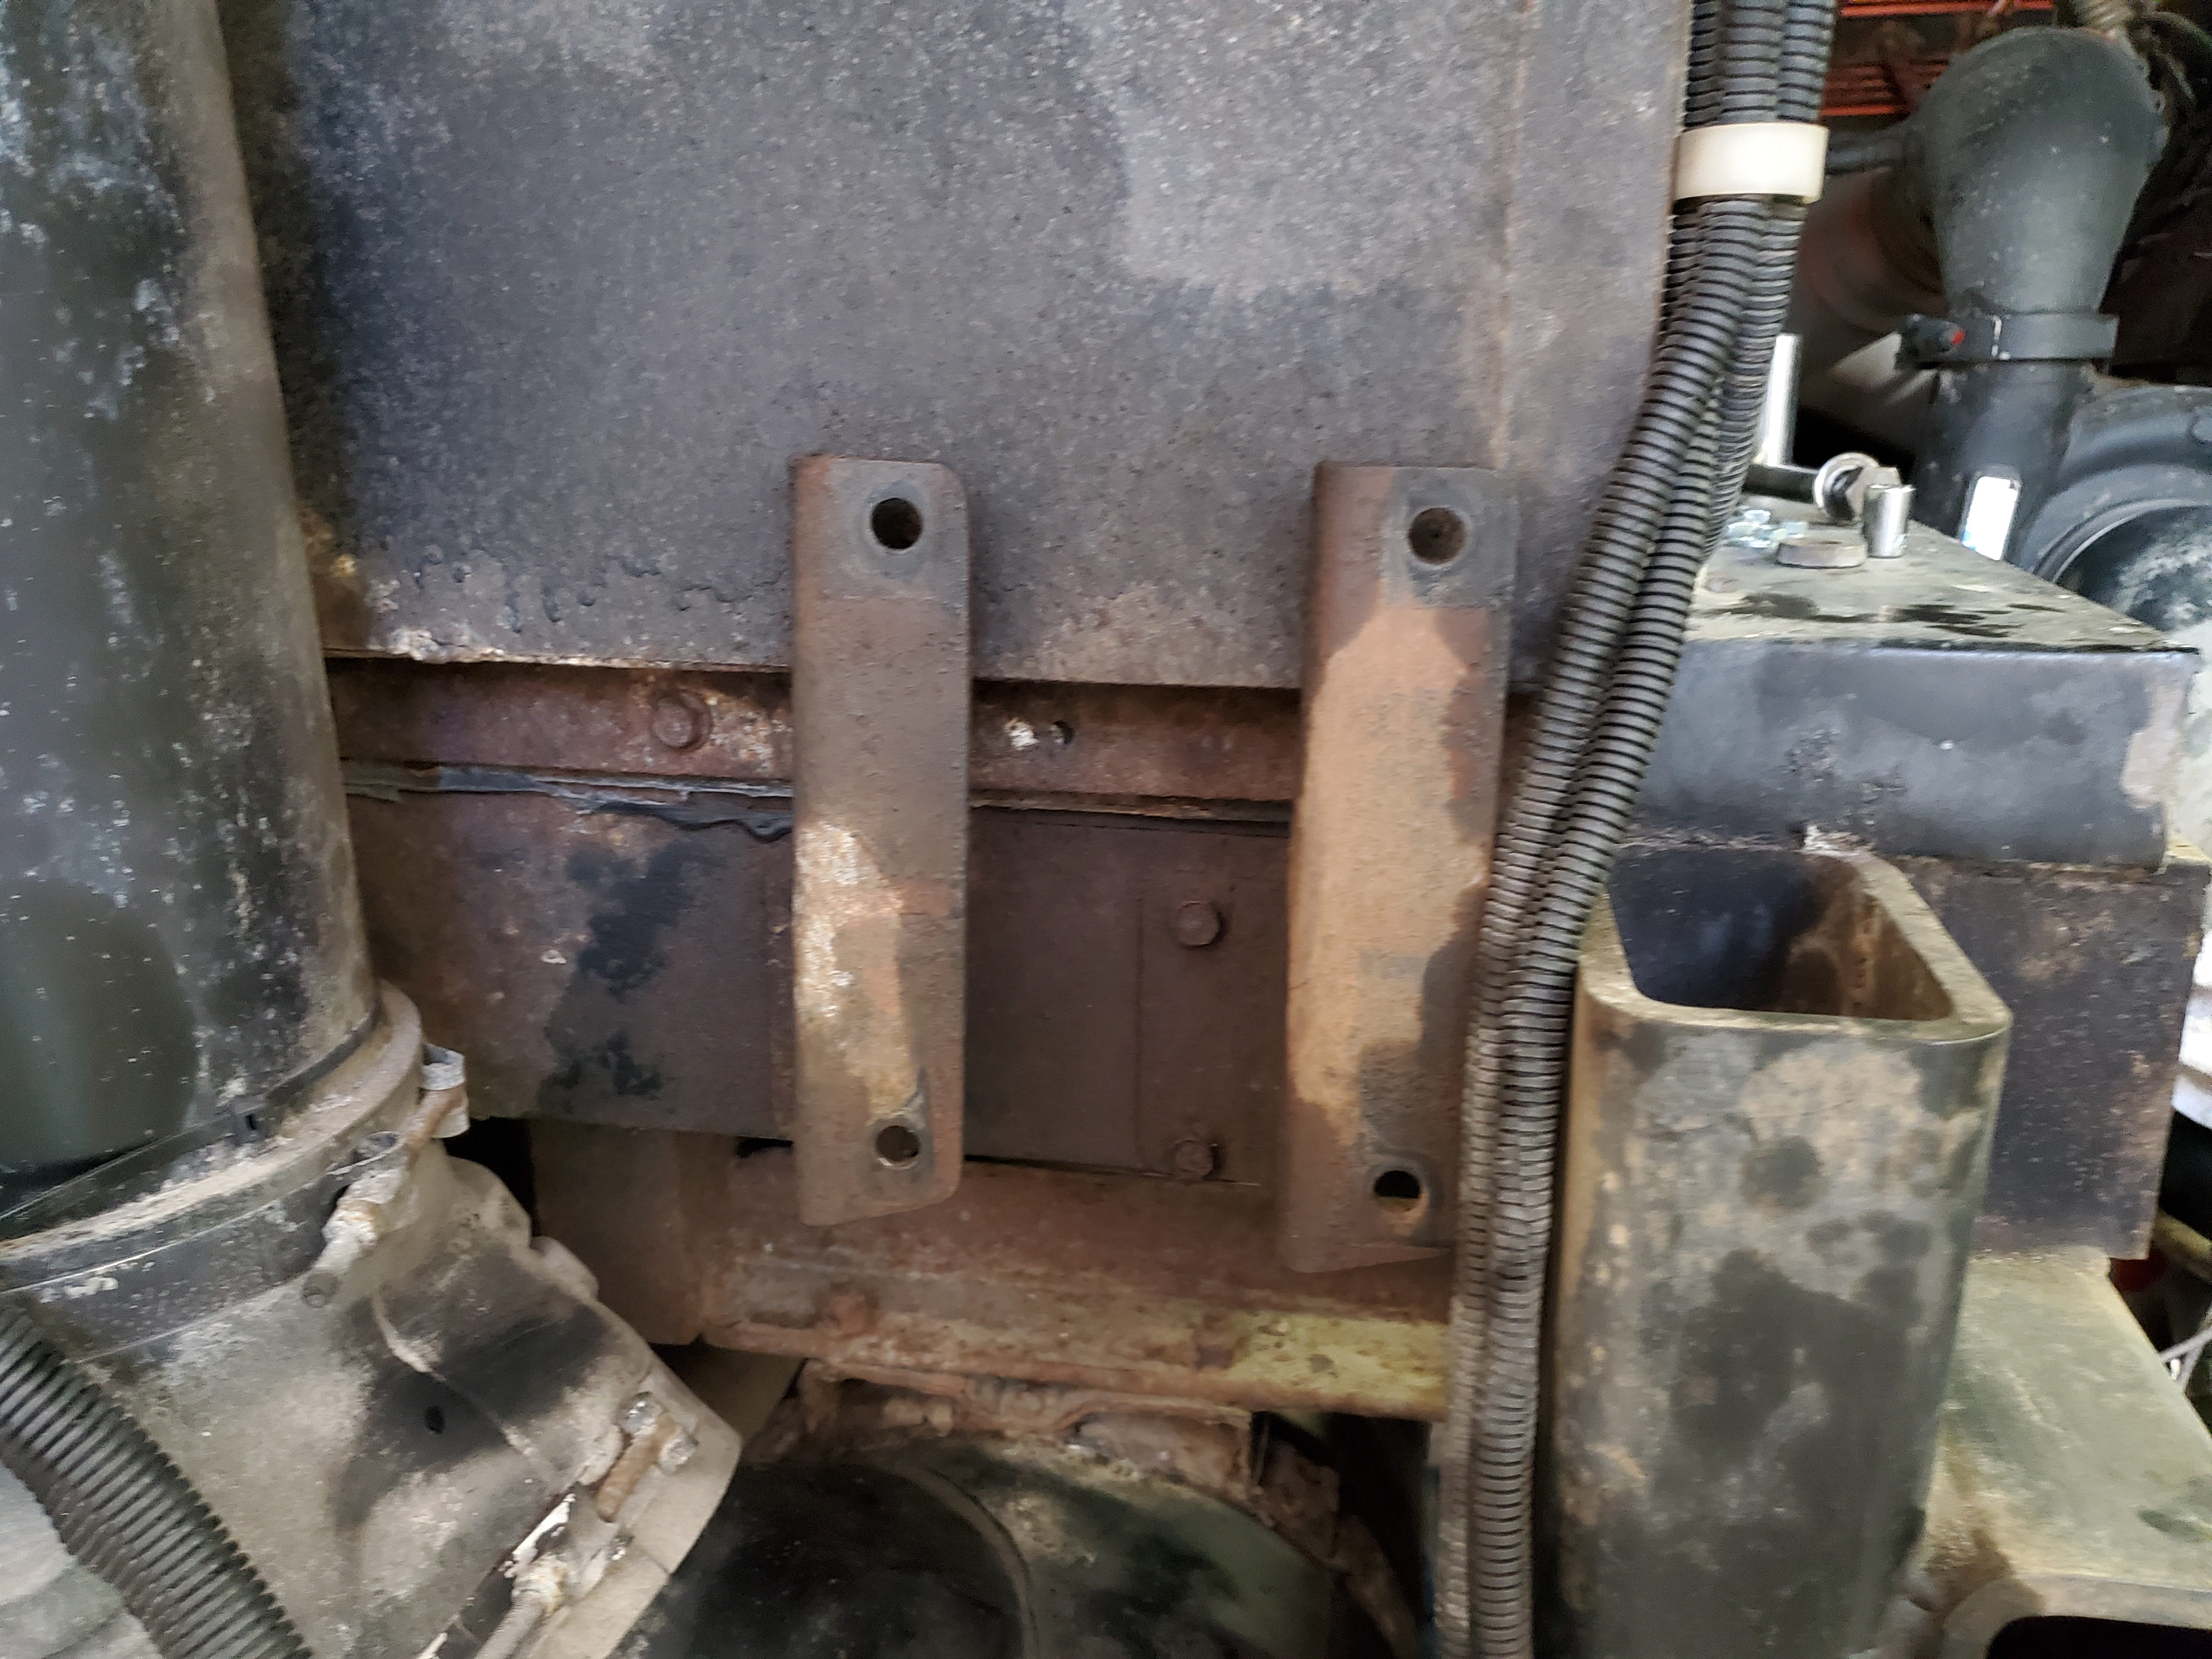
With the tank on the ground, and the filters removed we noticed another problem. Looking inside the tub you could see the lower end bell seam was “pooched” away from the side of the tank. In that same area on the outside there was a ~1.5” gash running vertically that was nearly through the tank. Extrapolating the obvious, it was not the door that caused the dent, it was the immovable object that someone had backed into. Looking at the coach, the two “Z” brackets that go between the tank mounting clamp and the rear wall were deformed over and back.
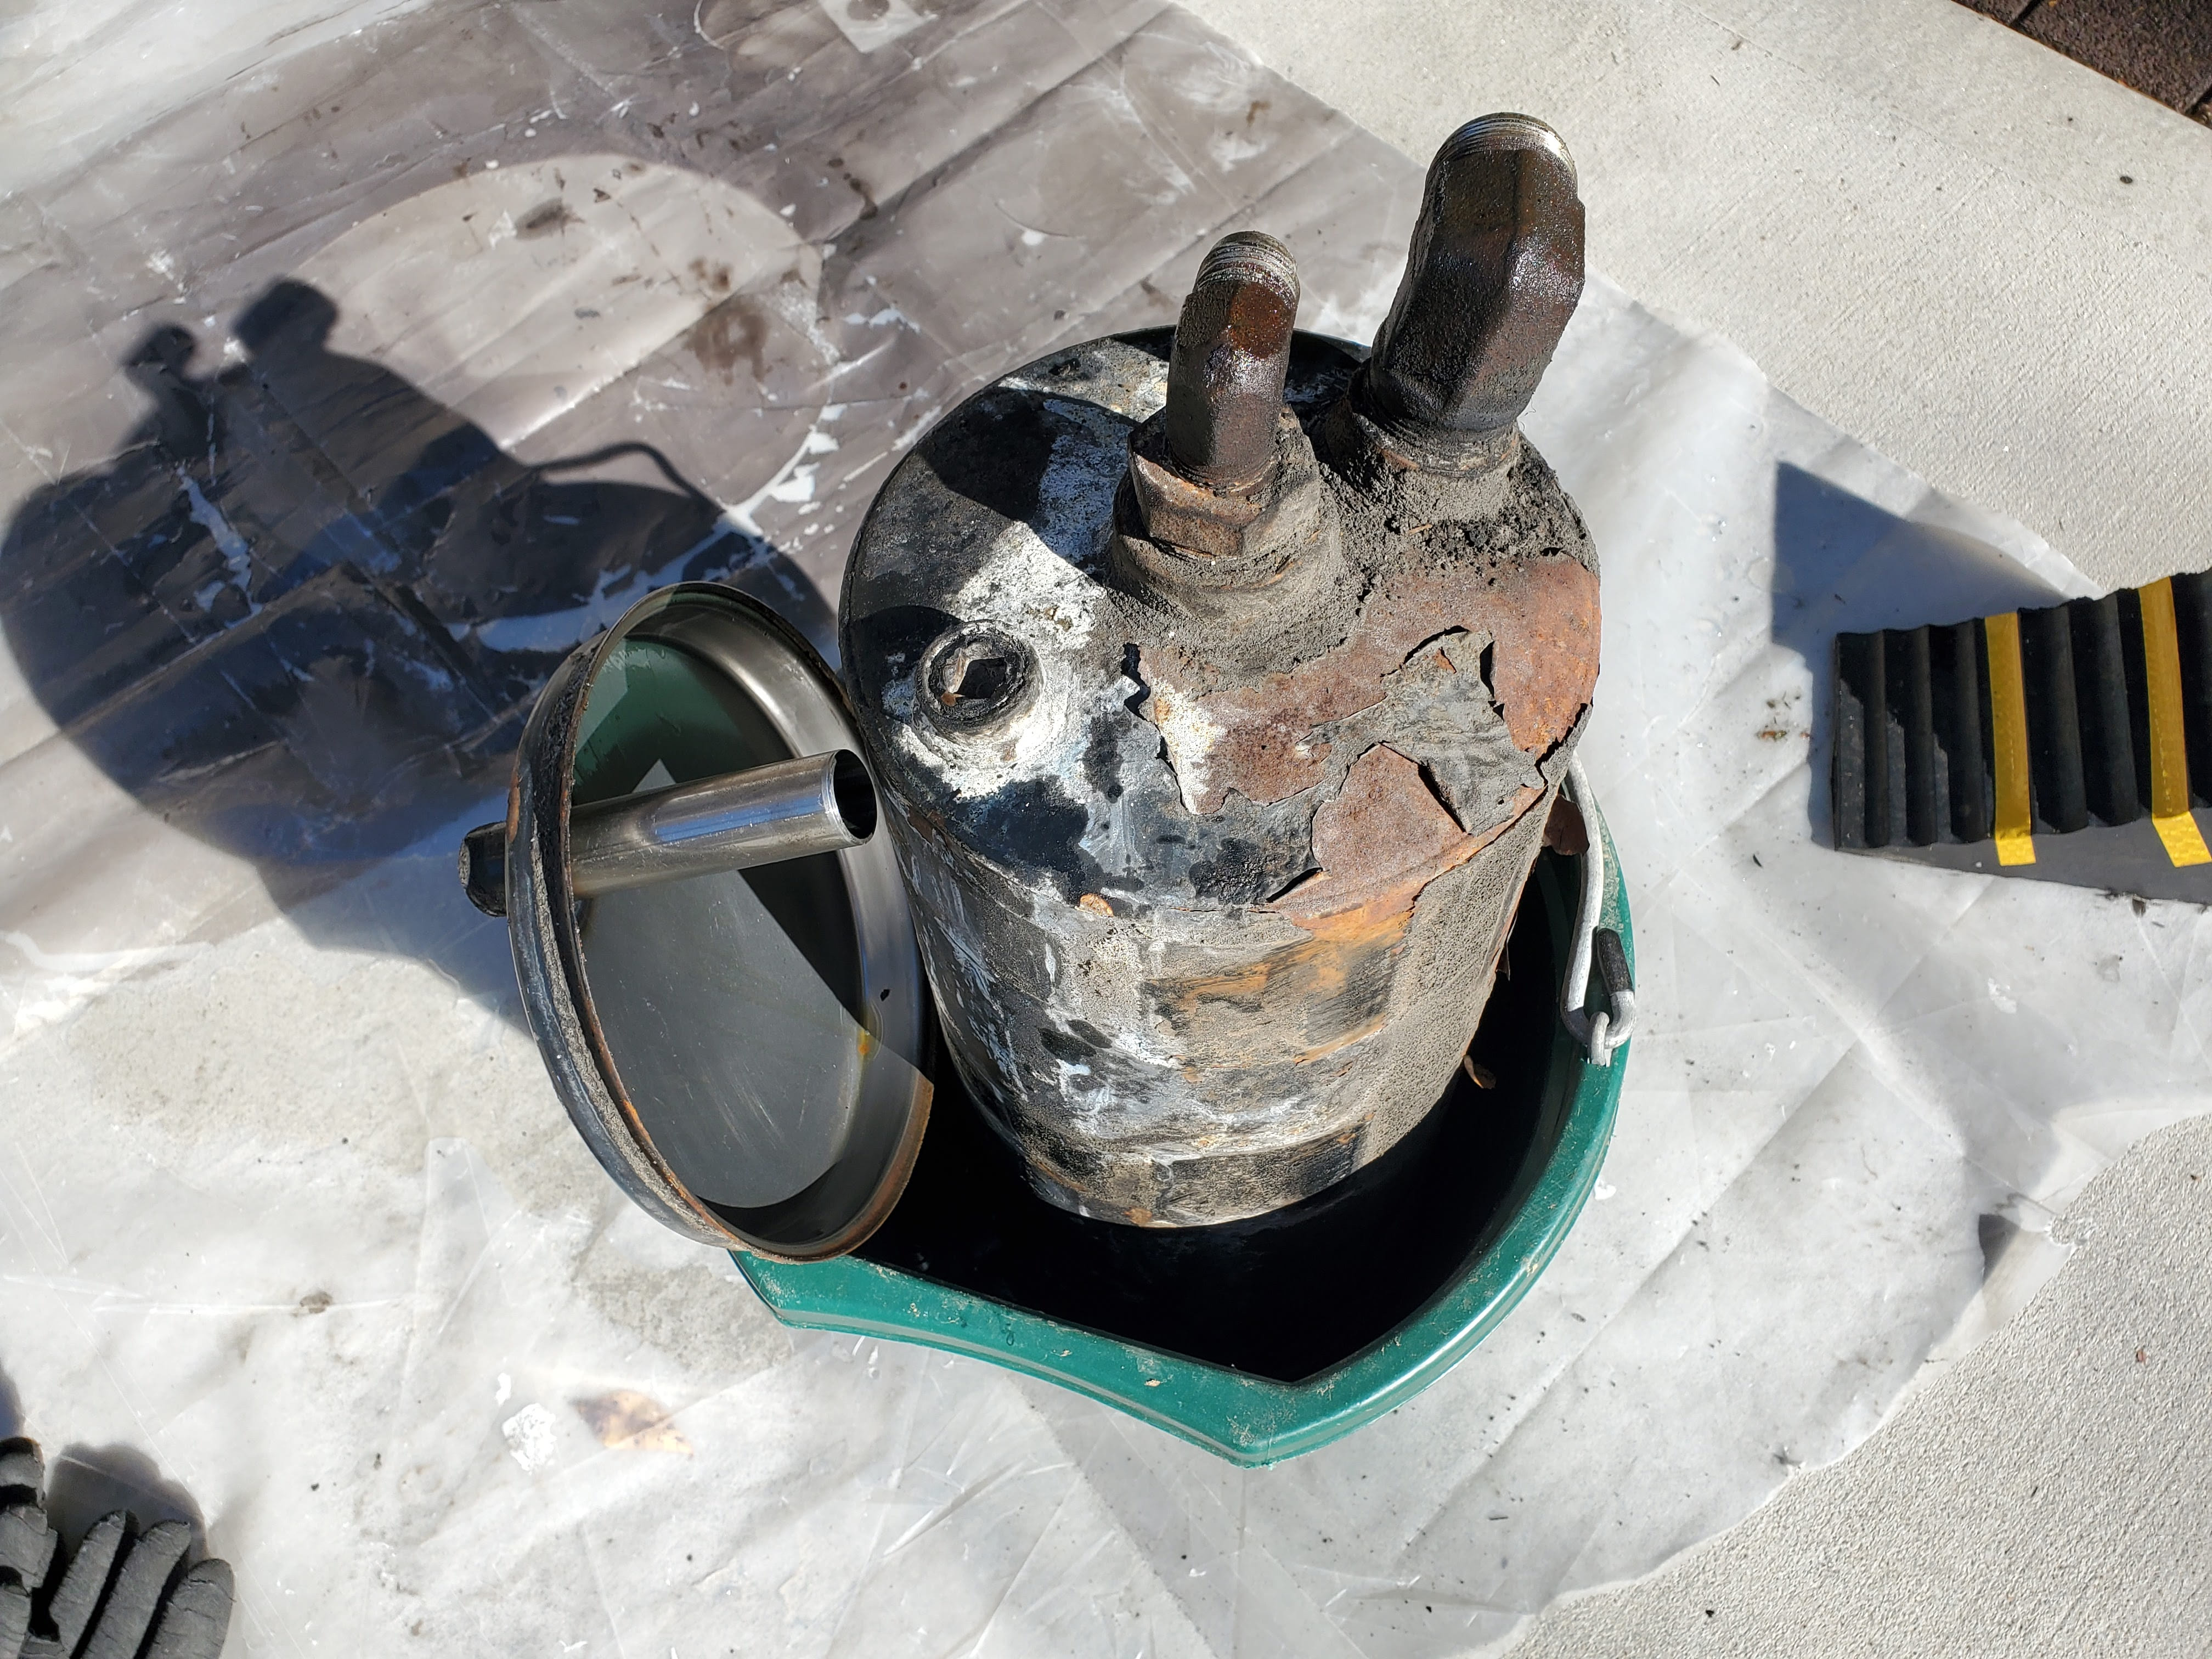
The tank was likely recoverable with a weld patch etc, but always good to check the internet for what is available and at what cost. Ebay came though with a NOS Nelson 16 Quart Hydraulic Reservoir Tank $100. We purchased that, and it was exactly what was in there and included site glass, dipstick, cable, etc … Just supply your own fittings or salvage and reuse.
New Fittings
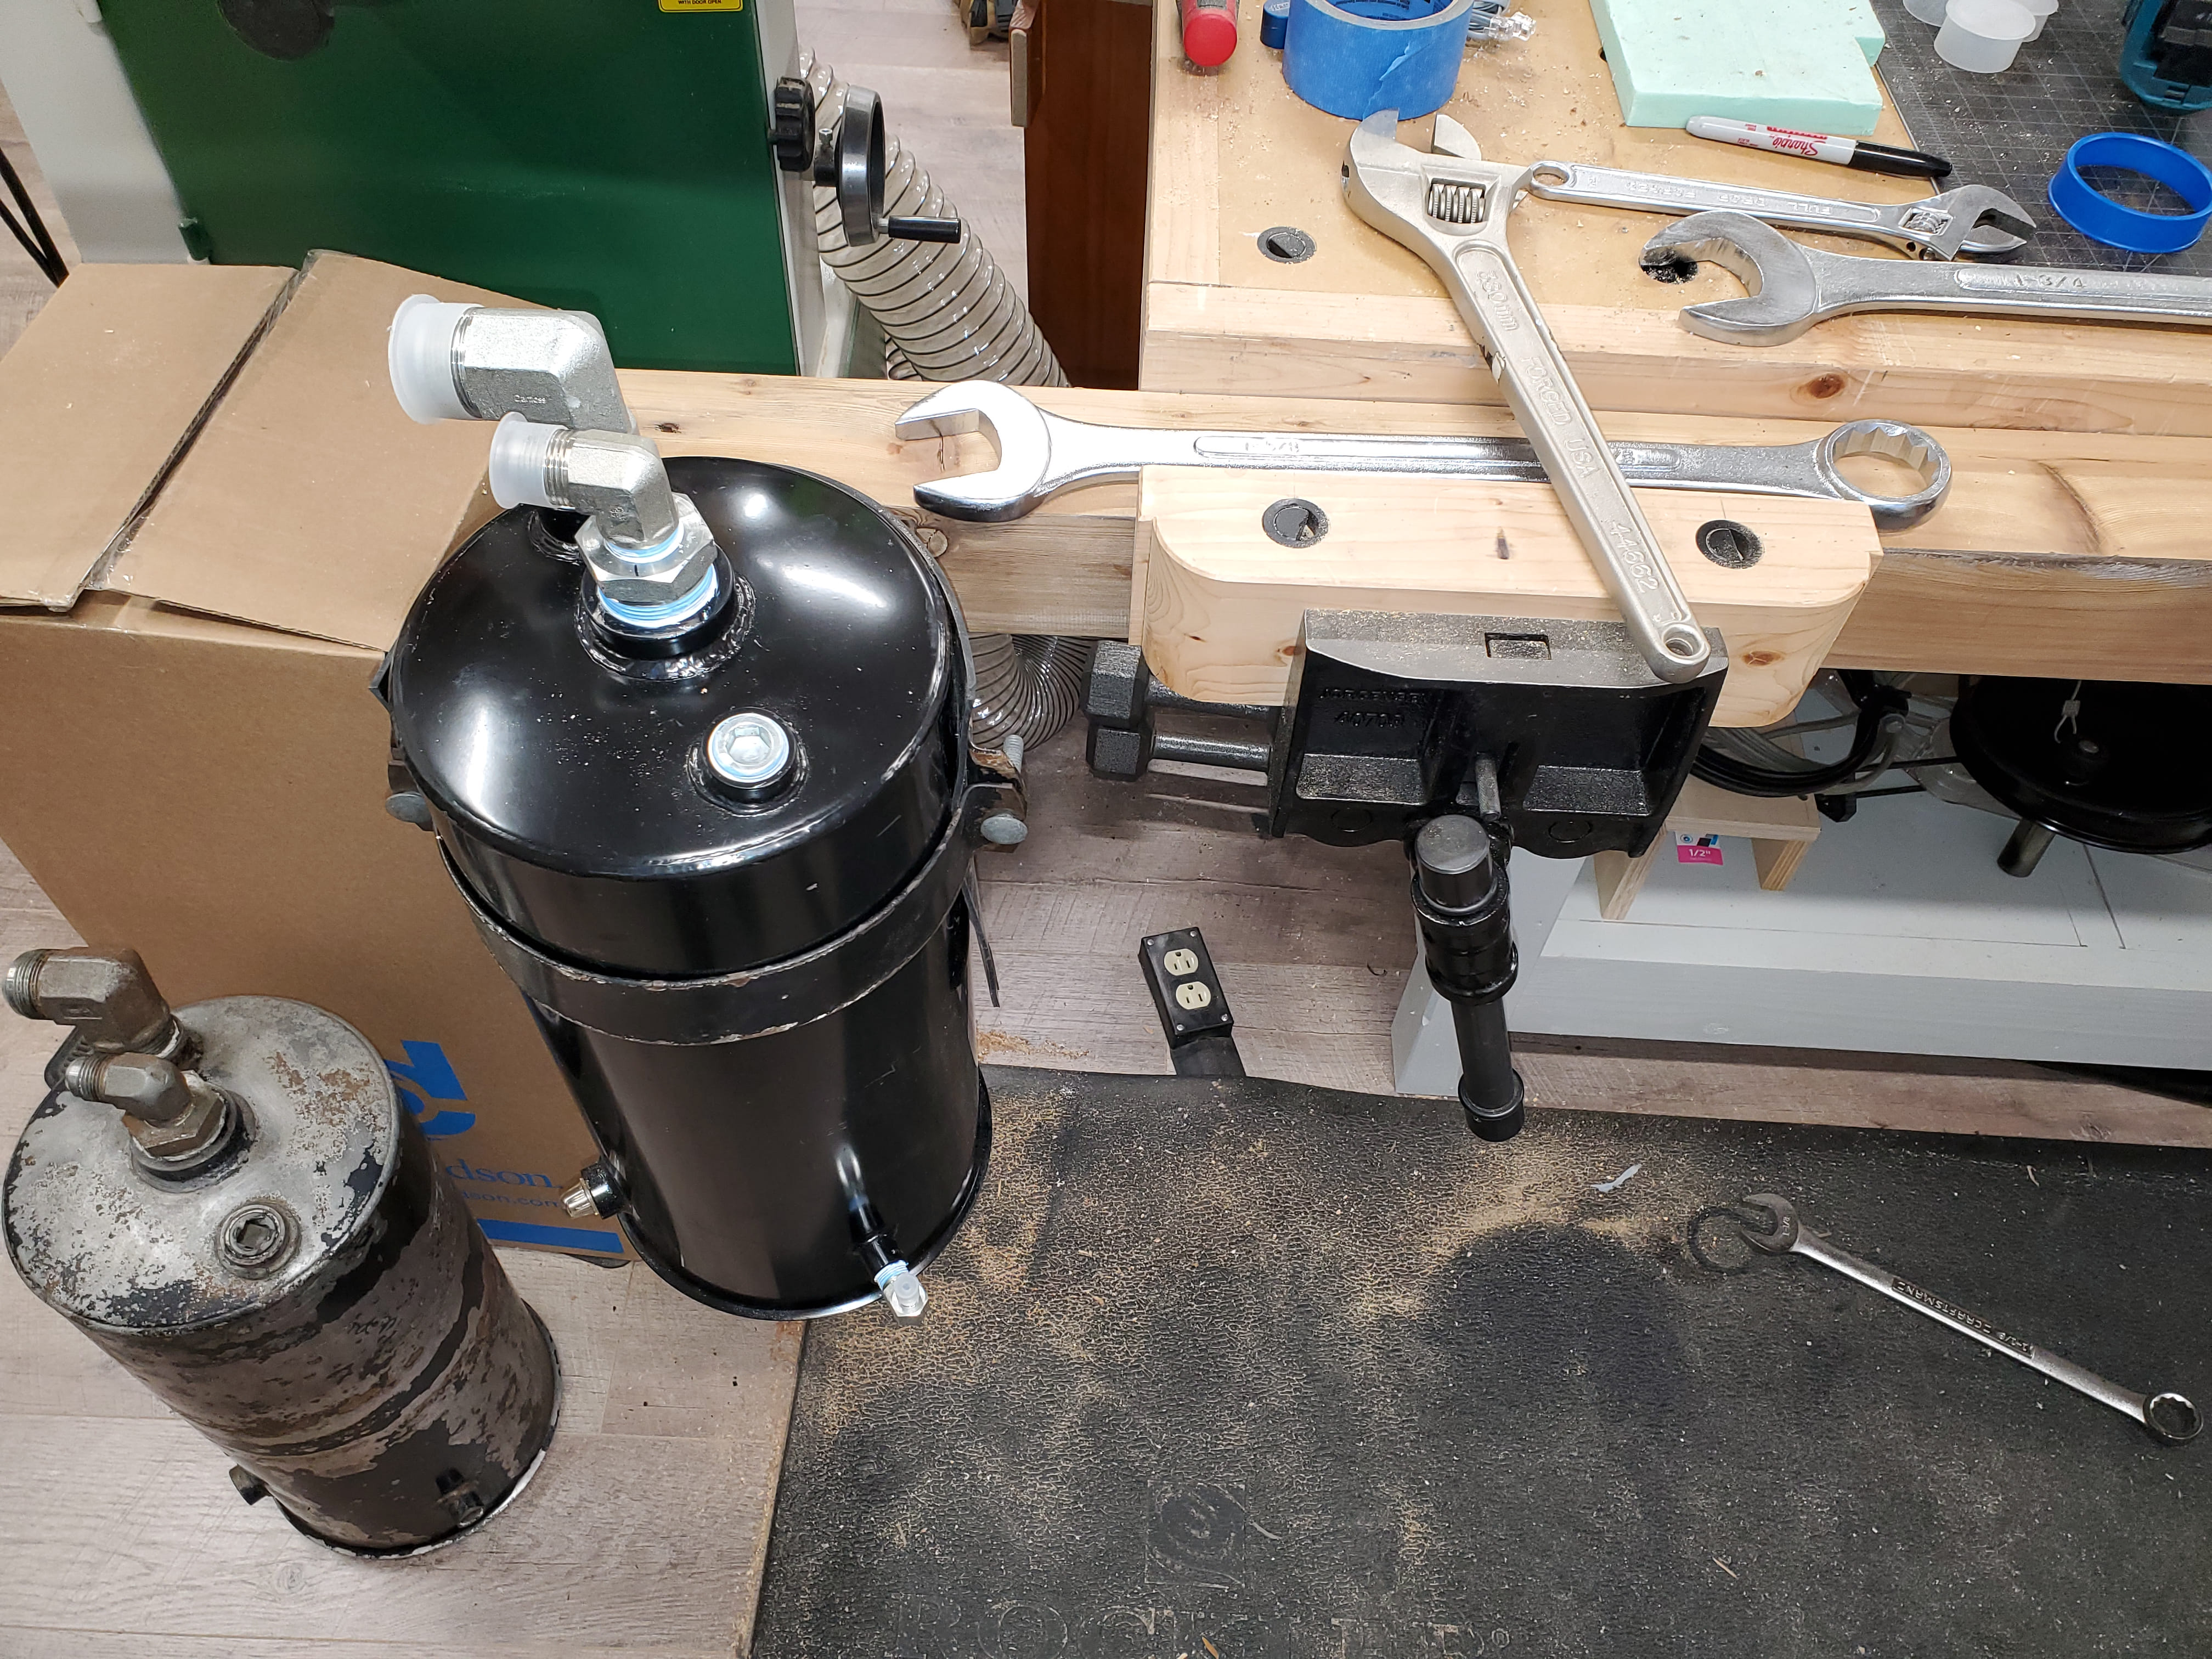
For the fittings, mine were as follows (shown as connection size, check what YOU have) and cost ~$30
- (1) 90° Elbow, 37° 1/4” JIC Flare x 3/8” MPT (upper hose) 2024-6-4S
- (1) 1-1/4” MPT x 3/4” FPT Hex Reducer Bushing (bottom center port) 2081-20-12S
- (1) 90° Elbow, 37° 3/4 JIC Flare x 3/4 MPT (for bushing) / 2024-12-12S
- (1) 90° Elbow, 37° 1-1/4 JIC Flare x 1-1/4 MPT (bottom outside port) / 2024-20-20S
The most difficult items with installing the fittings are A) Getting a grip on the tank and B) aligning the fittings so they point in the needed directions. I made myself a hillbilly pipe wrench using a 4x4 and the tanks mounting clamps. This held the tank secure (added a rubber slab to help) and the 4x4 clamped into my bench vise. With that you can apply the needed grunt.
Tank Installation
The “Z” brackets were precision formed back to full dimensional accuracy with a bench vise and Engineer Hammer, wack wack wack, looks good now … wack. The brackets and the engine wall got the POR15 treatment.
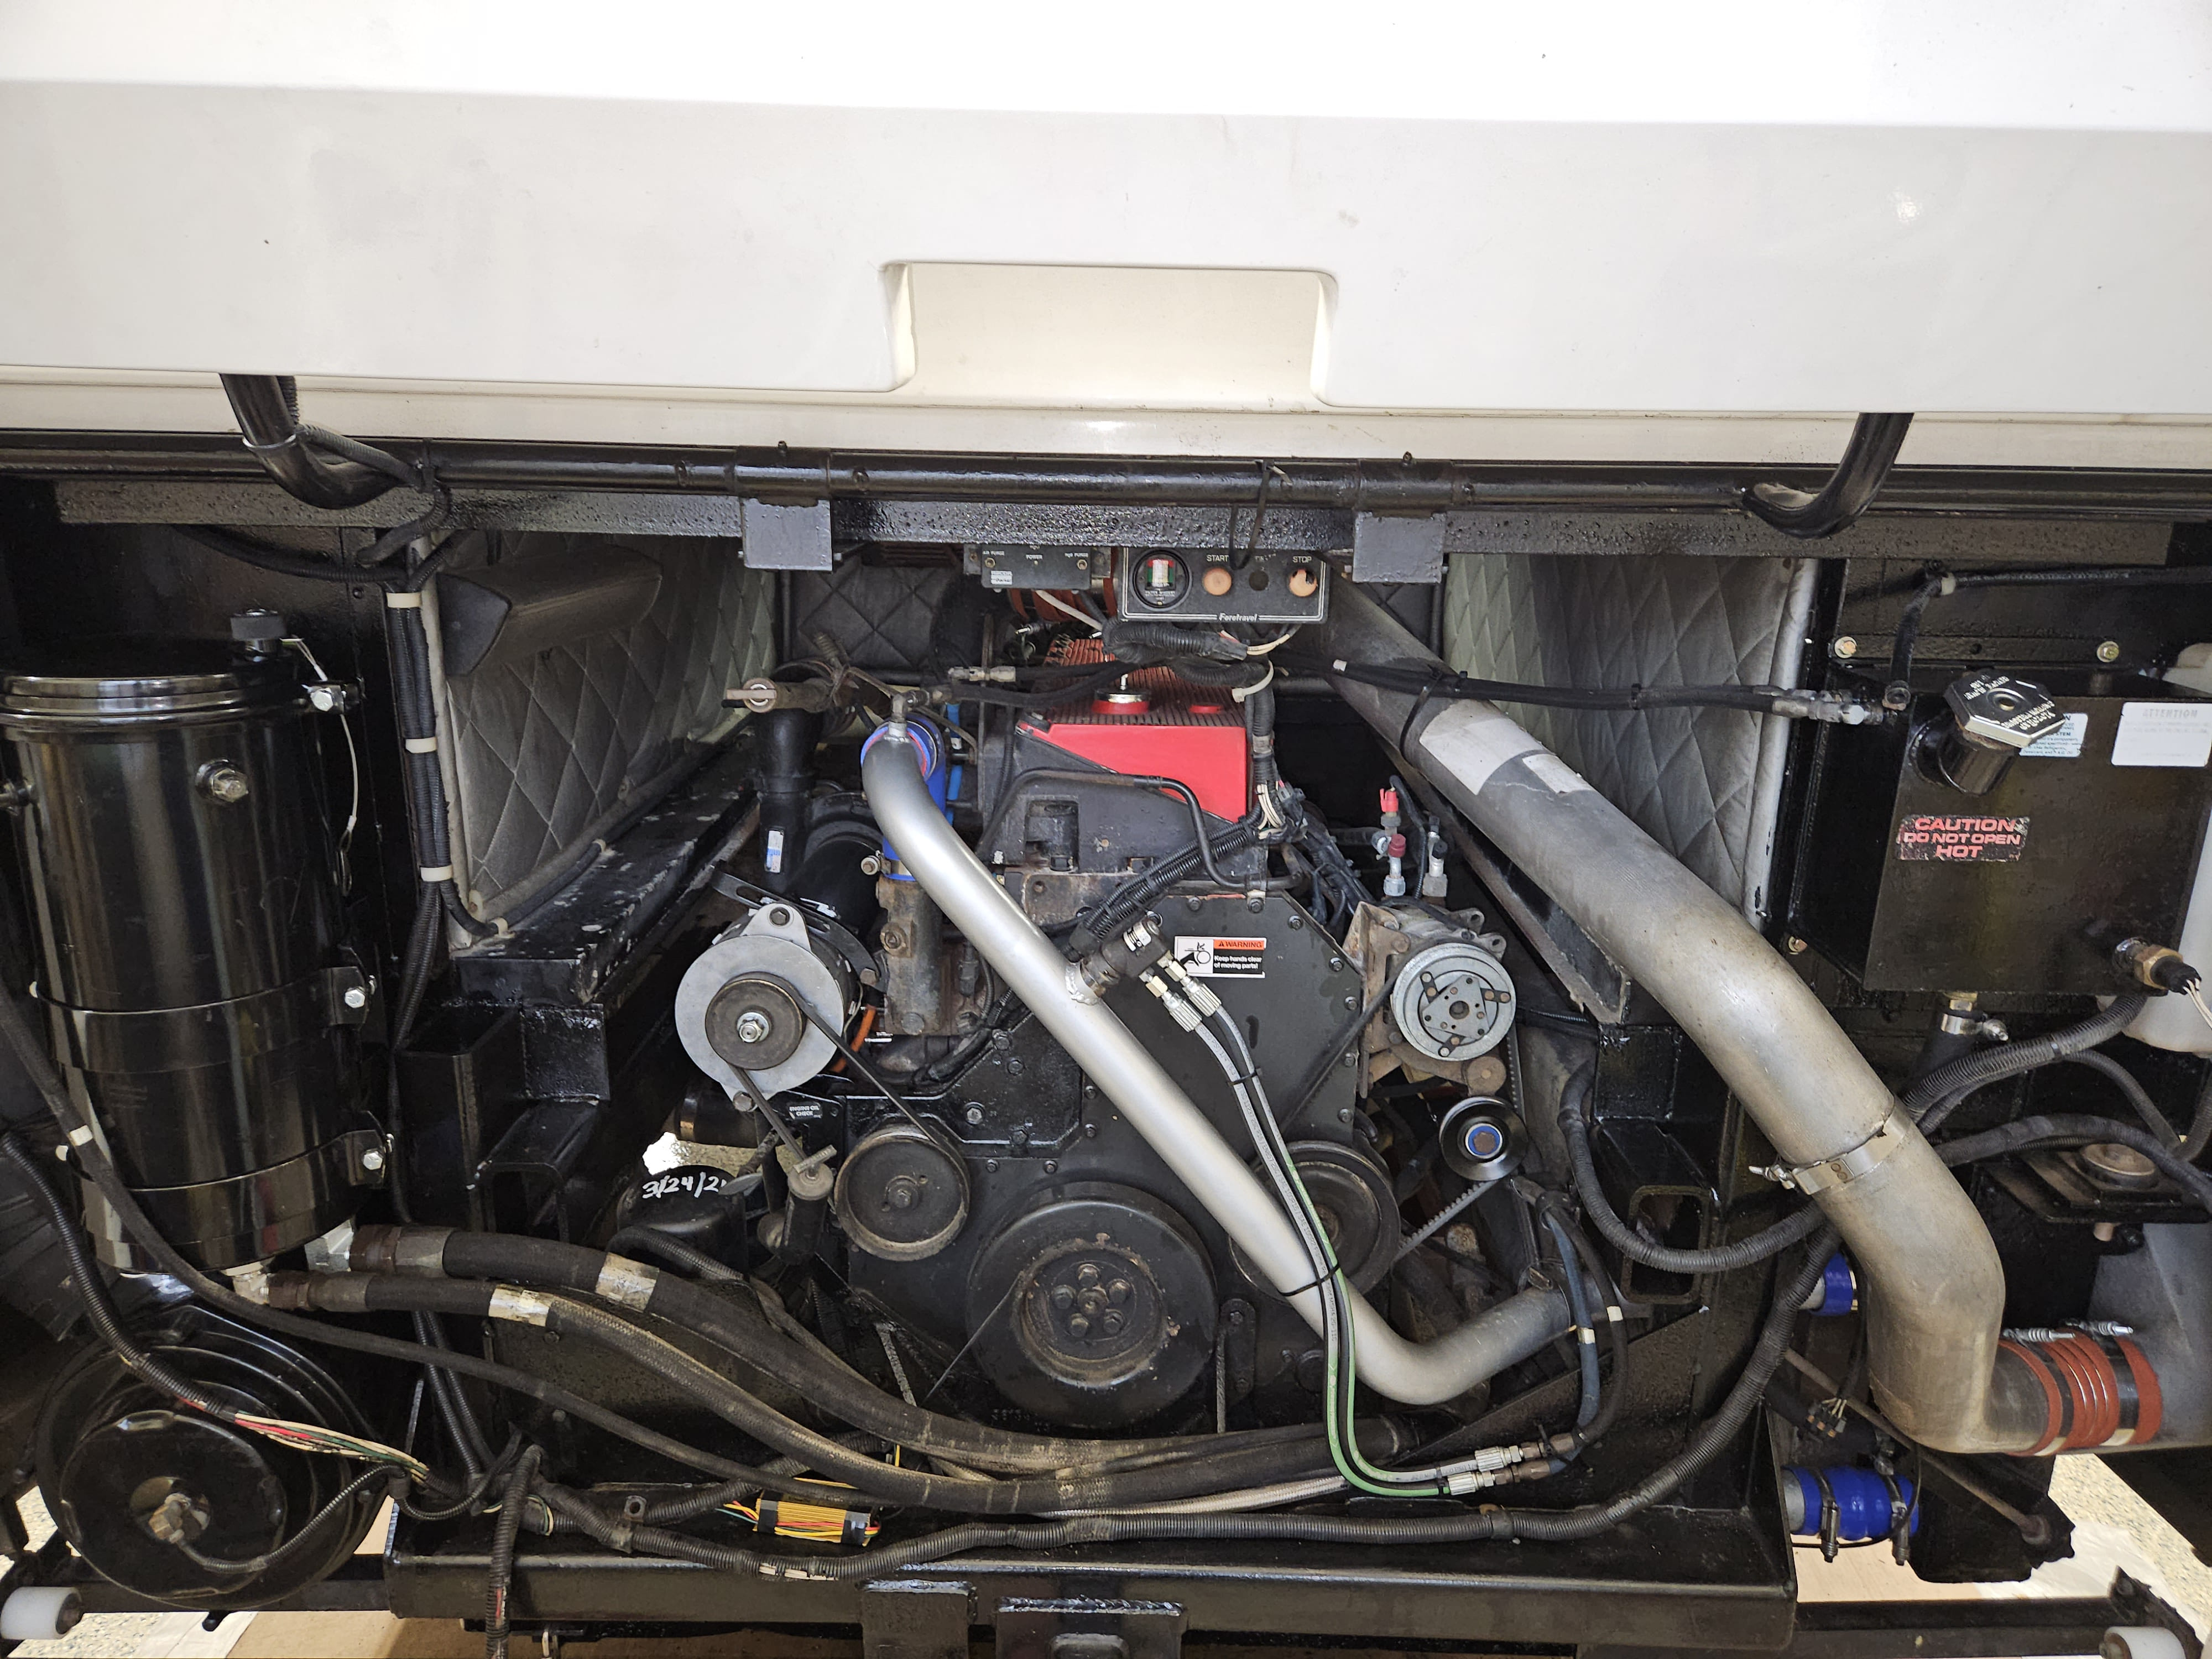
Putting it back you just reverse the process. Bolt in the Z brackets, attach the retaining rings, tank and hoses. Before filling it up with oil, in our case 15W-40 SAE 400 Plus, I decided now was a good time to change the air filter and the vacuator valve.

Remember what I said about someone hitting that immovable object? Yeah, a good bit of damage to the air filter housing,
but that’s for another topic.