Compression Crimping
I spent some time learning a crimping technique while preparing for the inverter and battery bank upgrades, and I thought it would be useful to share a few things and the underlying reasons why compression crimping is important. Done right, a crimp isn’t just a mechanical connection — it’s a cold-welded bond that can rival the strength and conductivity of the wire itself.
What Is Compression Crimping?
Compression crimping is the process of mechanically joining a terminal lug to a cable by squeezing them together. This isn’t the job for a basic hand tool — especially not when you’re working with large-gauge wire like 4/0 AWG. For that, a hydraulic crimper capable of delivering tons of force is required.
Done correctly, compression crimping doesn’t just “hold” the wire inside the lug — it reshapes both the copper strands and the lug barrel at a microscopic level. The pressure forces the metals to deform, eliminates air gaps, and creatse a highly efficient electrical and mechanical connection.
Here is a Polar Wire article on crimp testing that provides a comprehensive overview of electrical crimps Crimp Testing
Cold Welding: The Hidden Strength Behind a Proper Crimp
At the right compression force, something amazing happens: cold welding.
Cold welding occurs when two metals are pressed together so tightly that their oxide layers and surface irregularities are broken, allowing pure metal-to-metal contact. The atoms at the interface no longer see a boundary between wire and wire — they effectively become a single, continuous piece of metal.
A properly executed cold-welded crimp offers:
- Extremely low electrical resistance, reducing voltage drop — especially important in high-current applications like inverters and battery banks.
- Exceptional mechanical strength — often stronger than the wire itself.
- Long-term reliability — with no air gaps for moisture to intrude, corrosion risks are minimized, even in marine or mobile environments.
Real-World Example: Practicing with 4/0 High-Strand Cable
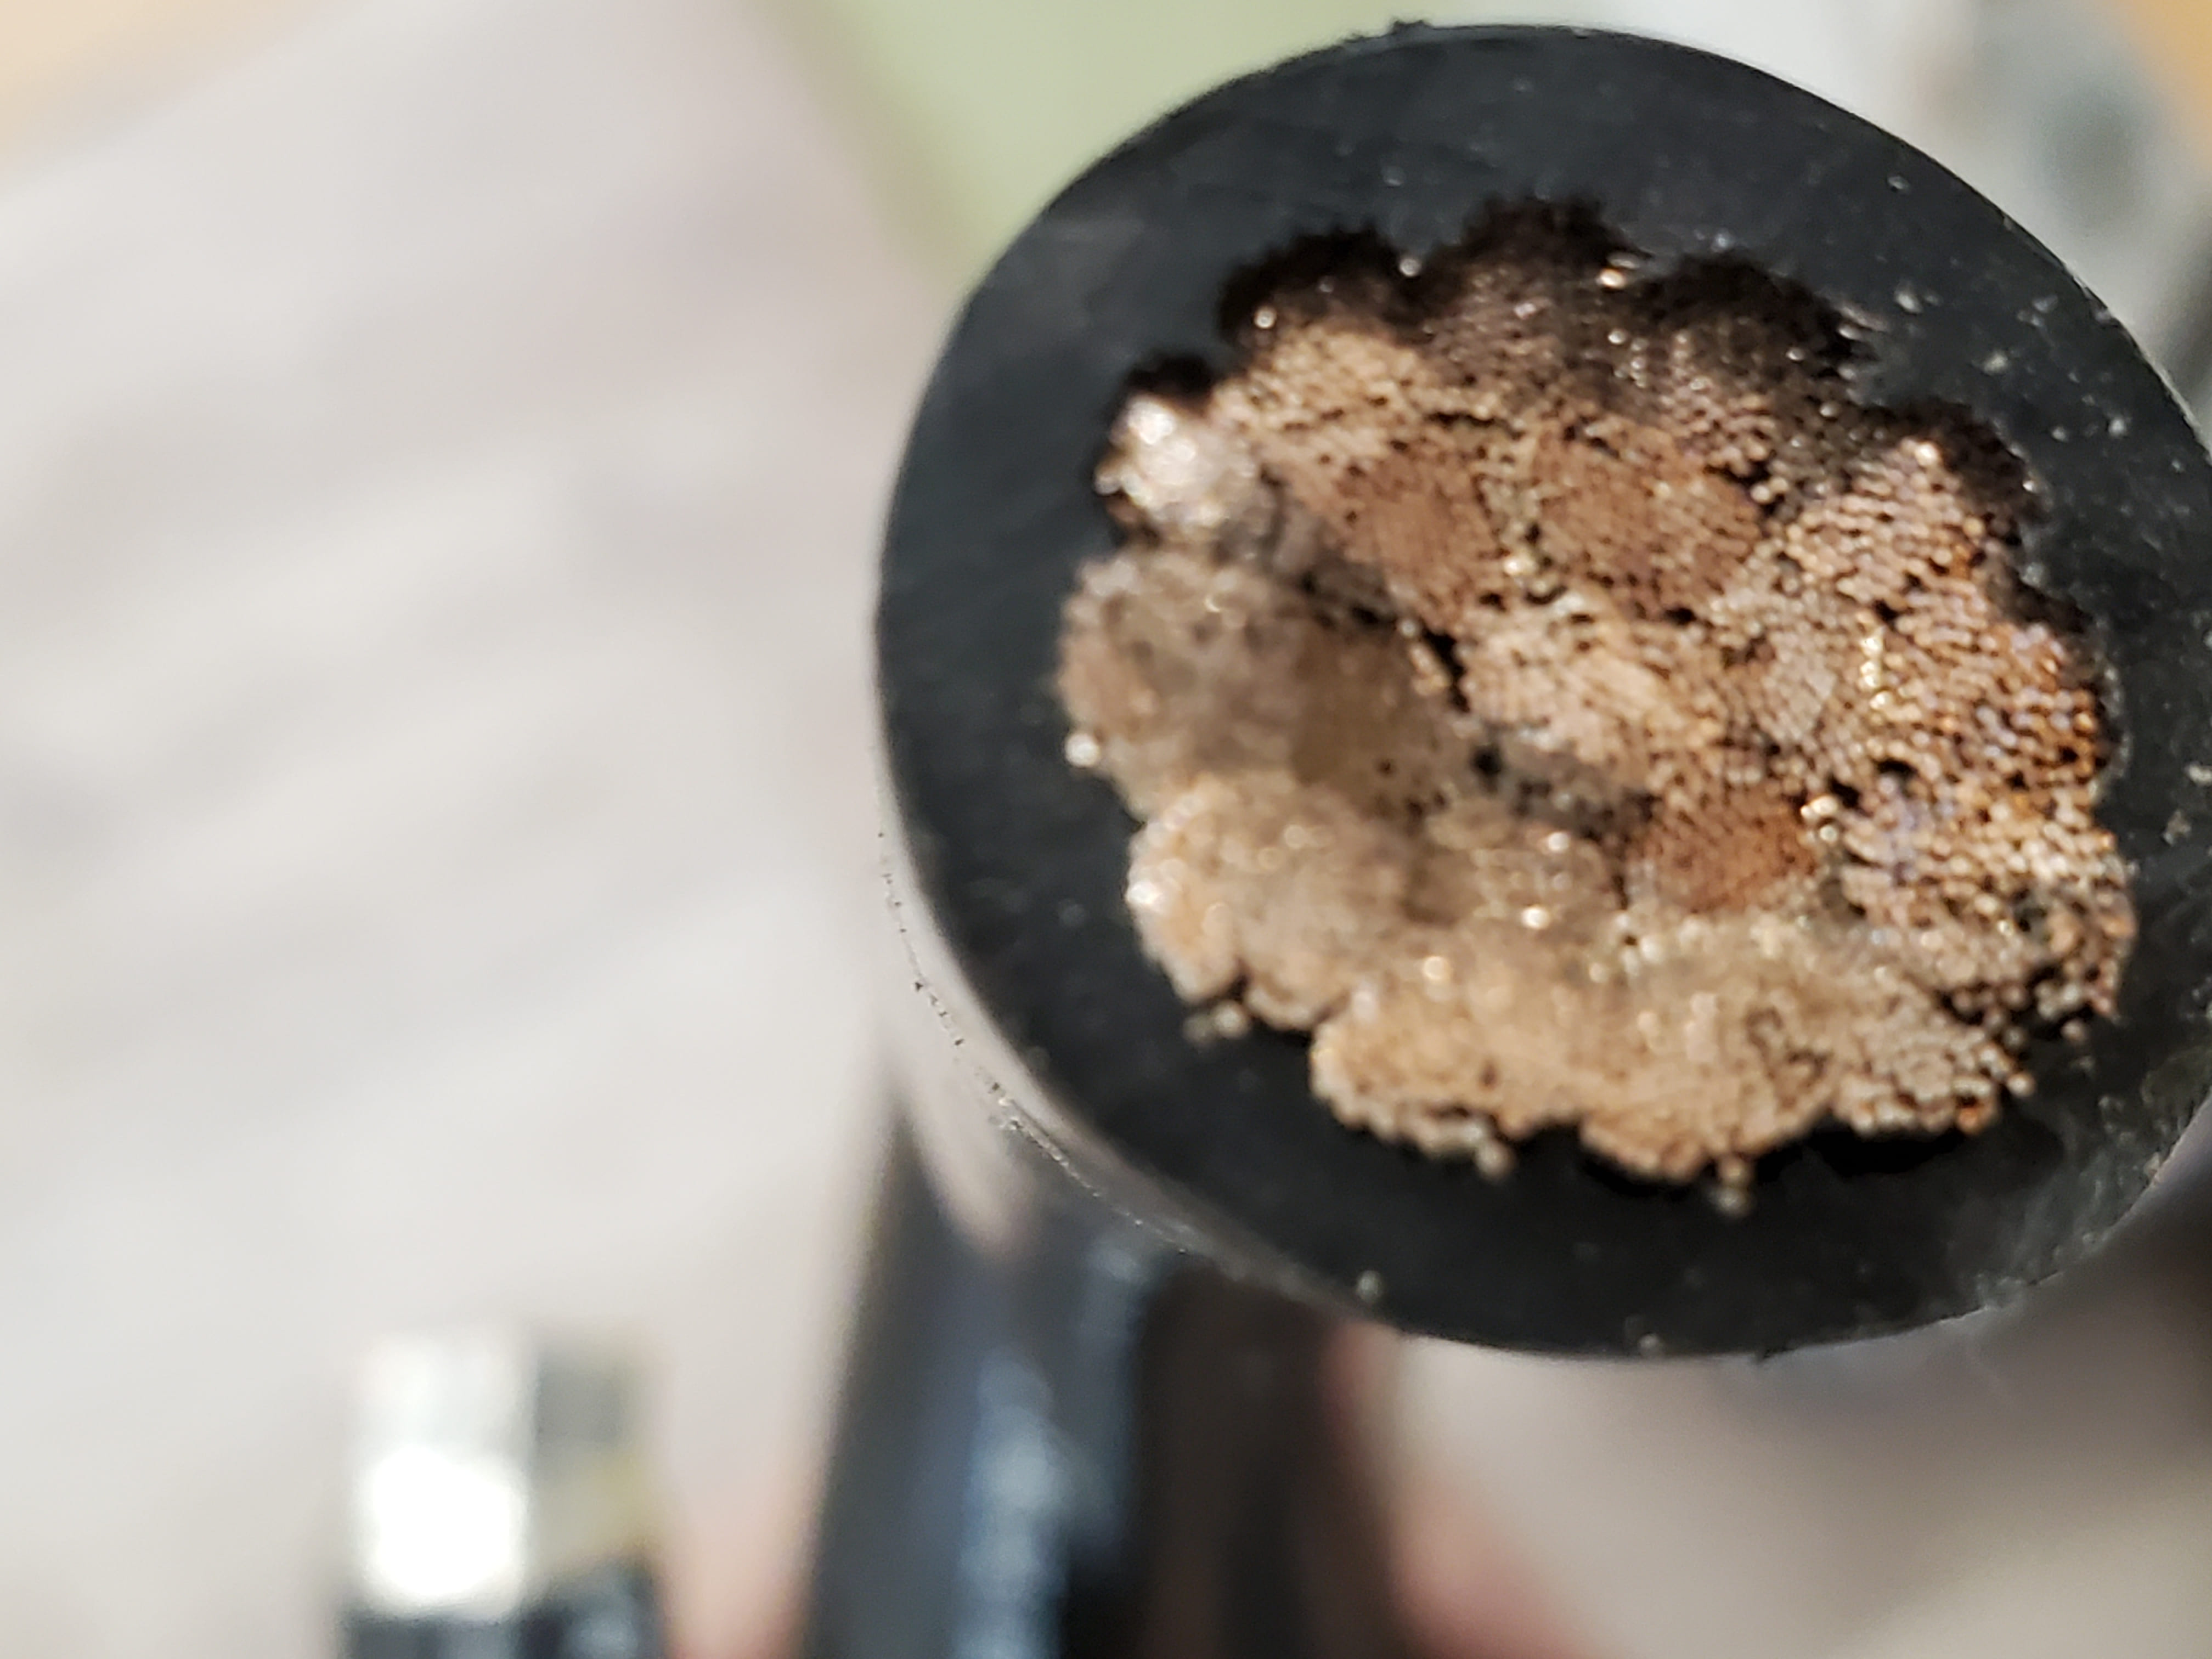
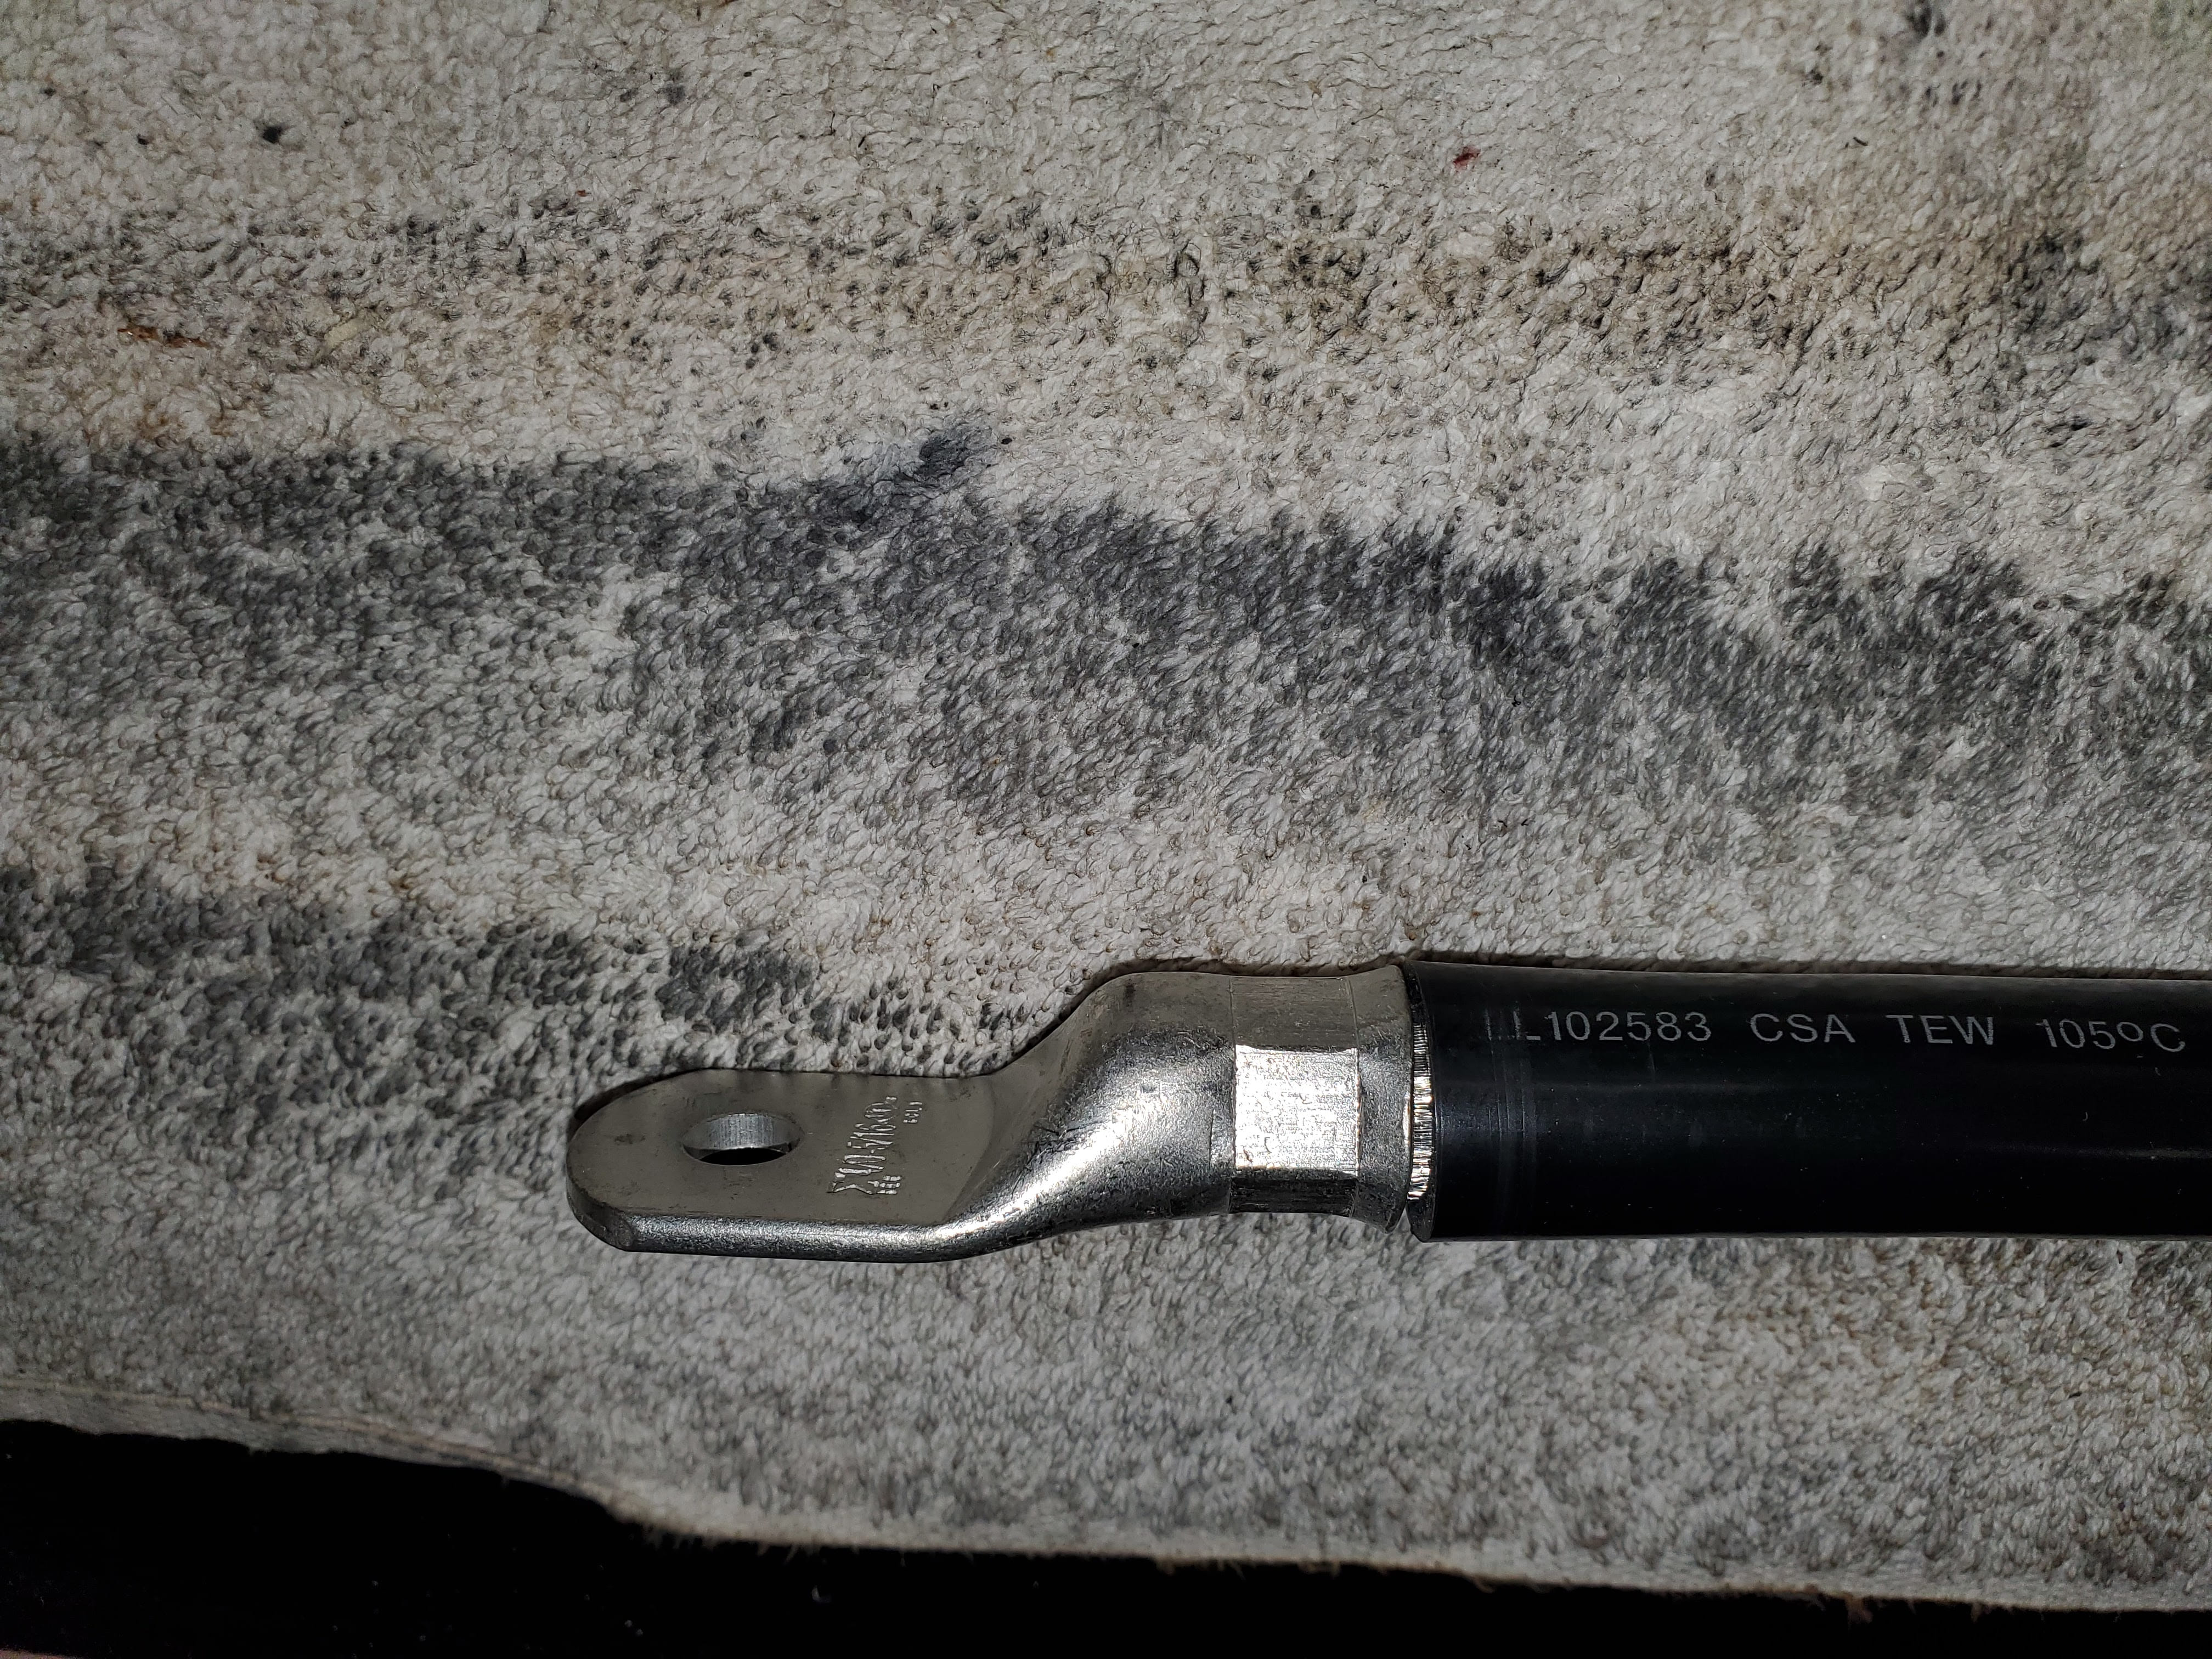
As I prepared to update my inverter setup, I sacrificed a few lugs to both learn and practice the crimping process. My test setup used marine-grade tinned copper 4/0 cable (Pacer-branded) and two different styles of lugs: a Sigma “starter” lug and an FTZ “power” lug. The original wire cross section can be seen in the picture to the left.
Using a budget-friendly hydraulic compression crimper — the kind you can pick up from Amazon or Harbor Freight — I quickly learned that while the dies are labeled for wire sizes, they should only be treated as a starting point. Factors like wire stranding, lug wall thickness, and manufacturer tolerances all affect fitment.
In testing:
- The 4/0 die left only light surface dents on the Sigma lug — clearly under-compressed.
- Moving down to a 3/0 die produced a proper, tight crimp, with the hexagonal edges nearing sharpness.
- The FTZ lug, which fit the wire more loosely, also required downsizing to the 3/0 die to achieve a full crimp, although it showed over-compression flash. It really needed something between the two sizes.

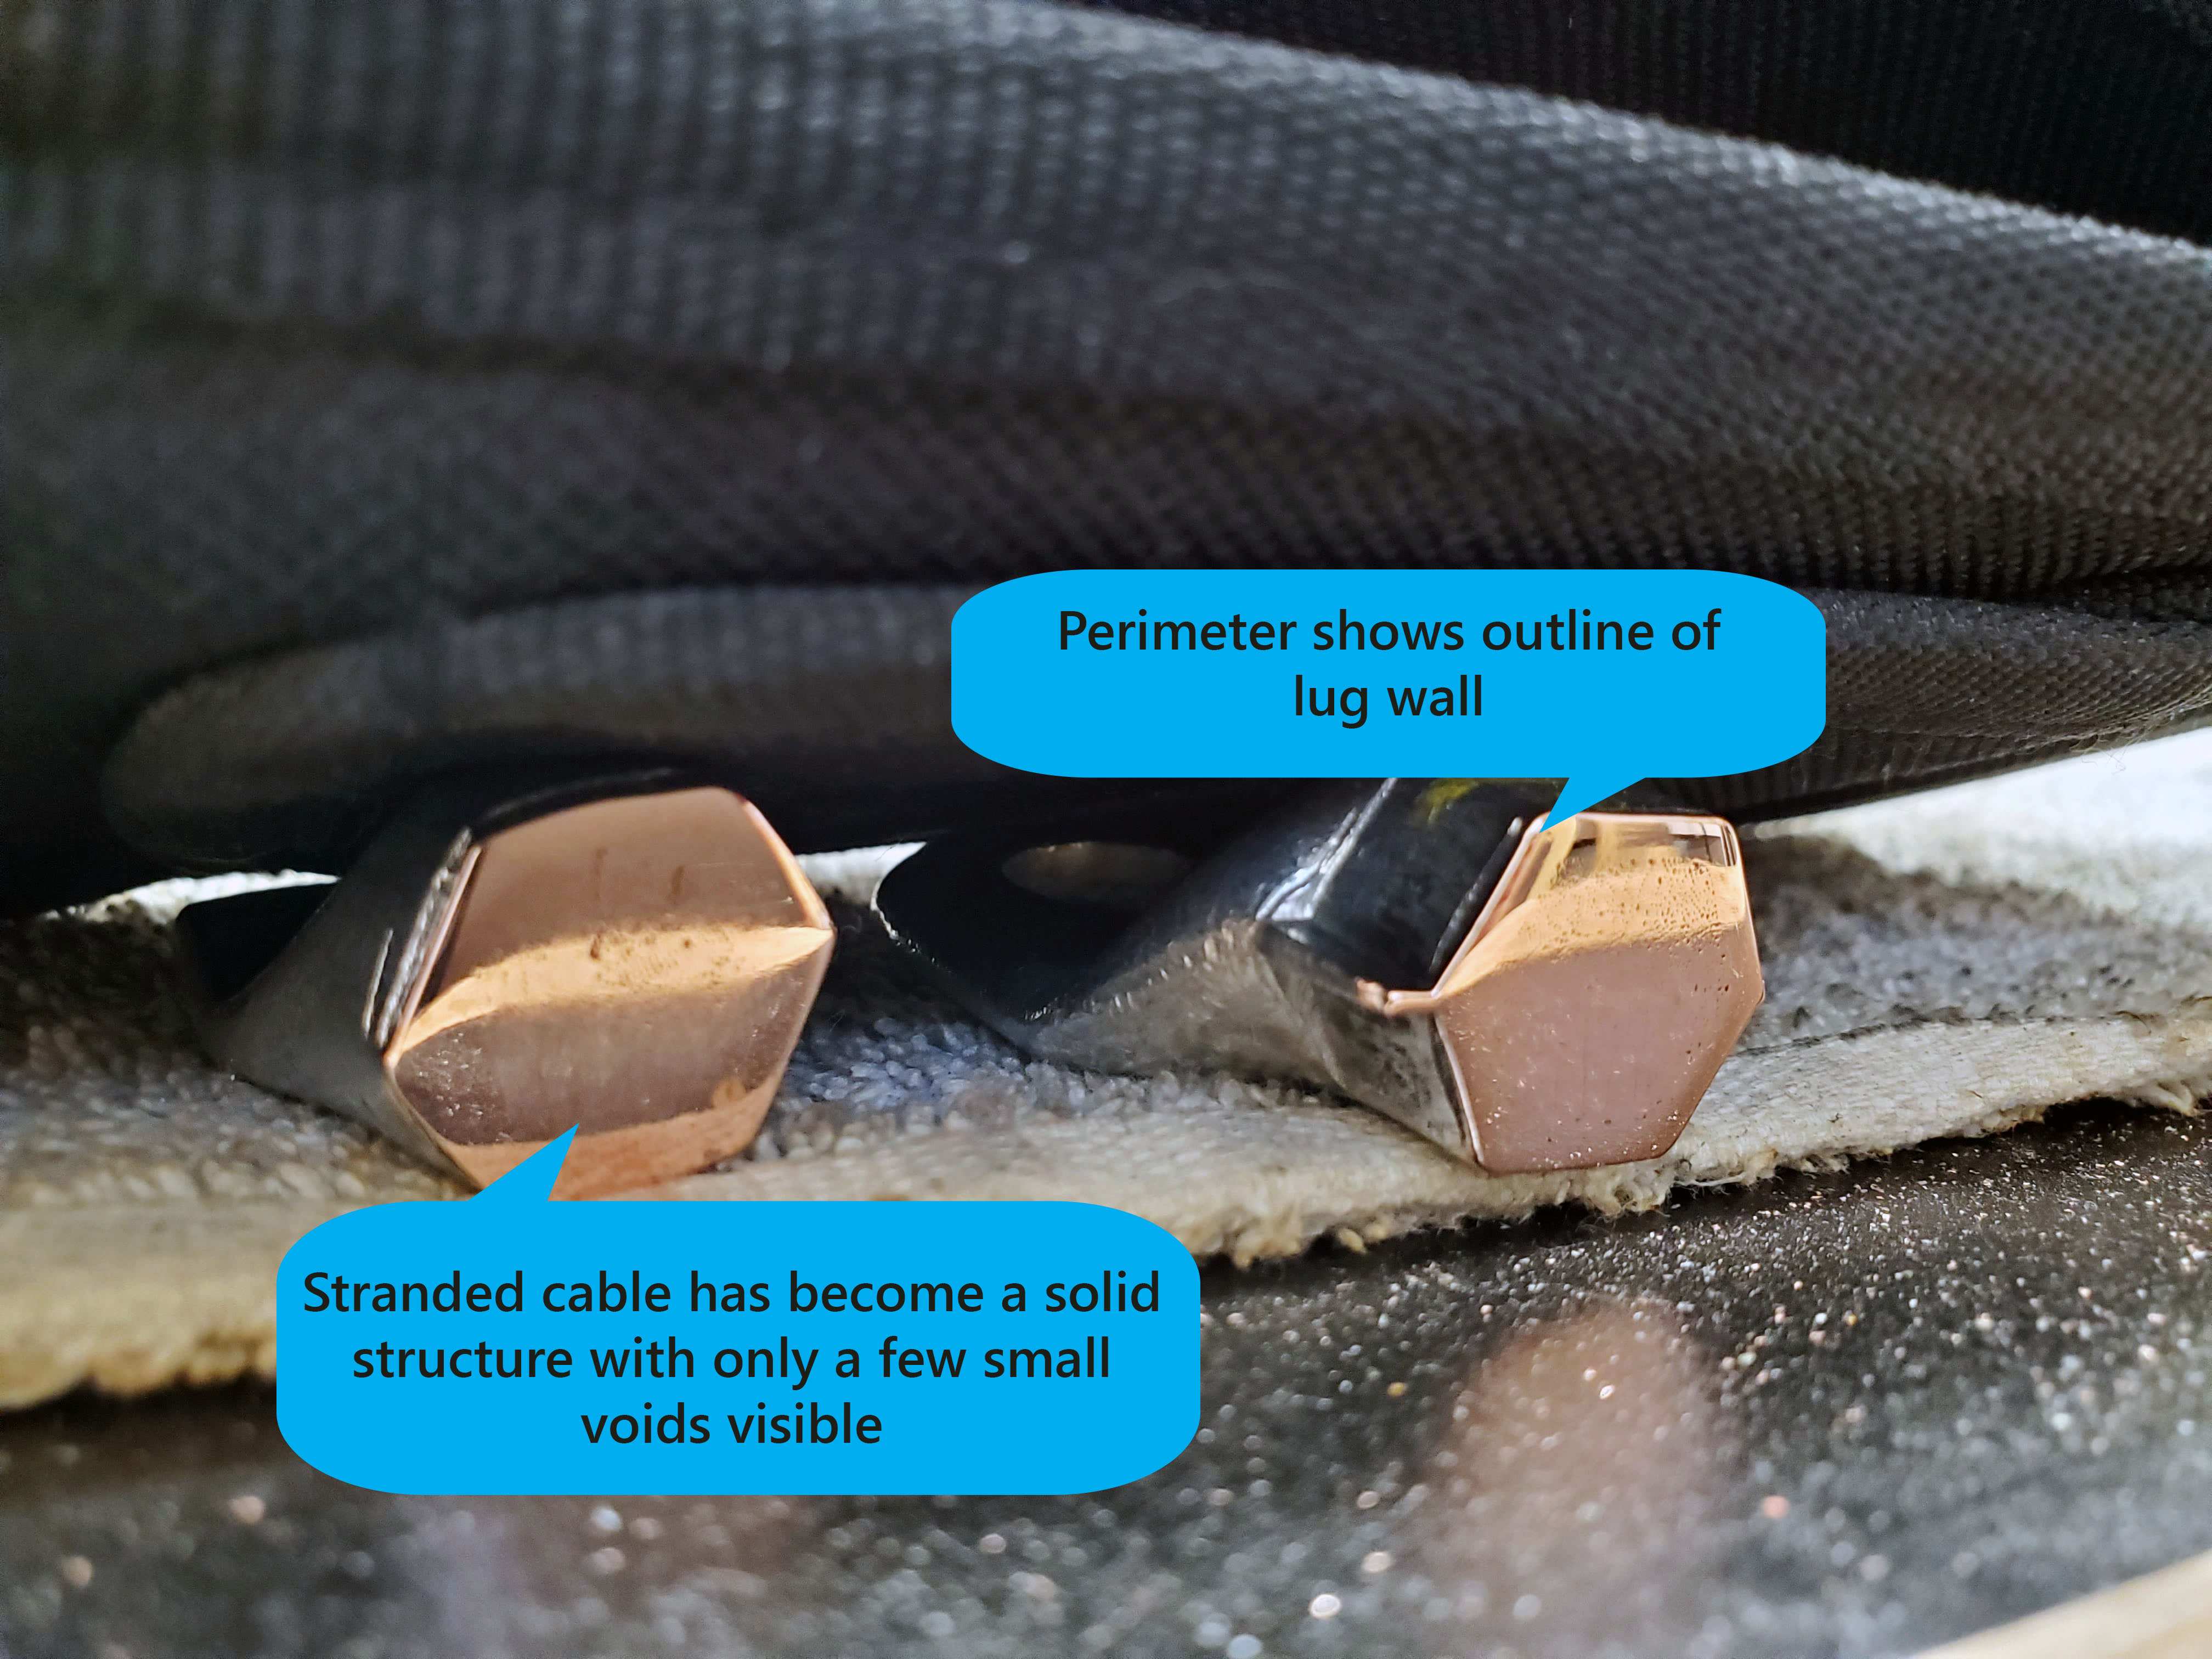
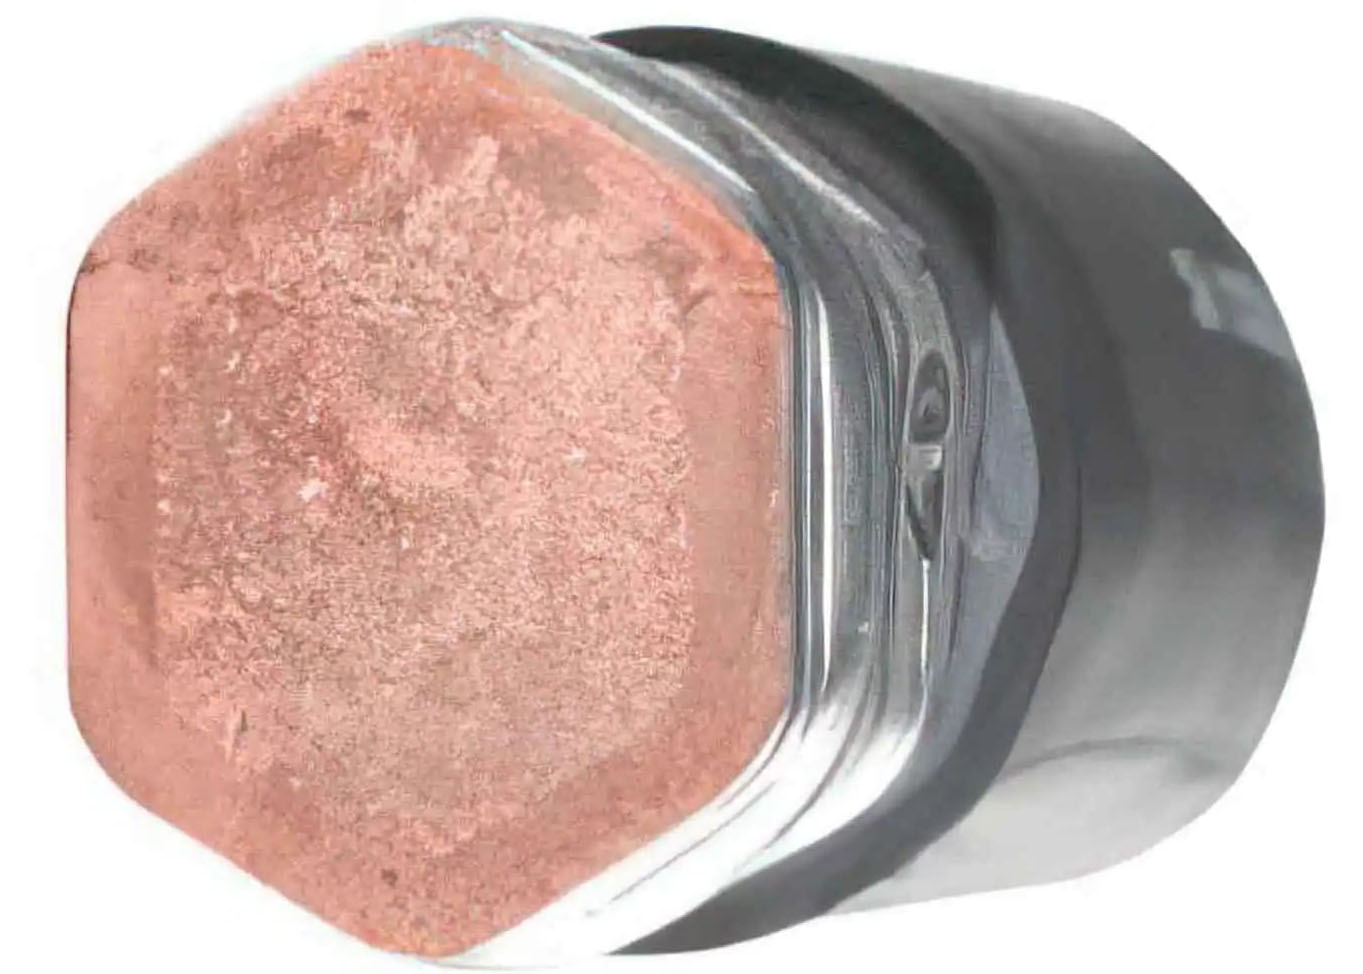
Curious about the internal structure, I cut the crimped connections in half. The result was textbook cold-weld: the copper strands inside the lug had compressed into a solid slug, with the hexagonal crimp perimeter clearly visible, confirming a mechanically and electrically sound bond.
Steps for a Proper Compression Crimp
- Strip the insulation just enough to fully seat the wire into the lug barrel.
- Insert into a properly-sized lug minimal to no gaps.
- Select the correct die size. Start with the manufacturer’s chart and adjust as needed for wire and lug fitment.
- Crimp with high force. A hydraulic crimper rated for 10 tons or more is ideal. I used a two-step method: a first pass with the “correct” die, followed by a second compression with a slightly smaller die for a tighter finish. Trying to do it in one pass tended to produce more flash.
- Inspect the crimp. Look for hex corners that approach sharp and minimal to zero over-compression flash.
- Seal the joint. Use adhesive-lined heat shrink for moisture and oxidation protection.
Choosing the Right Tool
After testing different combinations of lugs, wire, and crimpers, I ultimately invested in a TEMCo TH0005 V2.0 Hydraulic Cable Lug Crimper). This is a 10 ton crimper and comes with 32 die sets, including many in between half sizes for all of the common AWG sizes.
Why It Matters
Poor connections are often the root cause of voltage loss, excess heat, or outright failure in high-strand cable systems. A well-executed, cold-welded compression crimp eliminates the connection as a weak point. Done right, the joint won’t loosen, corrode, or degrade — and will likely outlast the rest of your system.