Bathroom Tile Backsplash
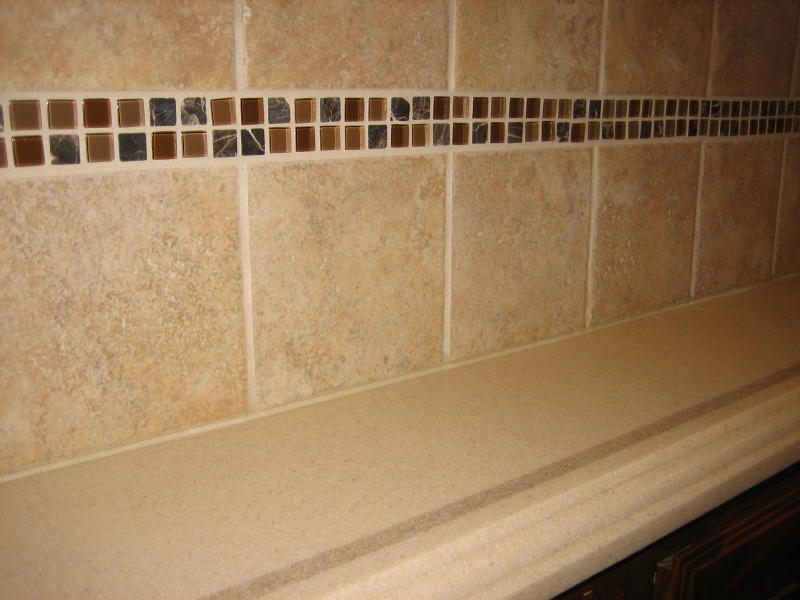
After doing the Kitchen Backsplash and seeing that the various materials (grout, mastic, caulk, etc) we chose was able to survive the bumps and thumps that the interstate system can deliver, we decided to tile the bathroom backslash.
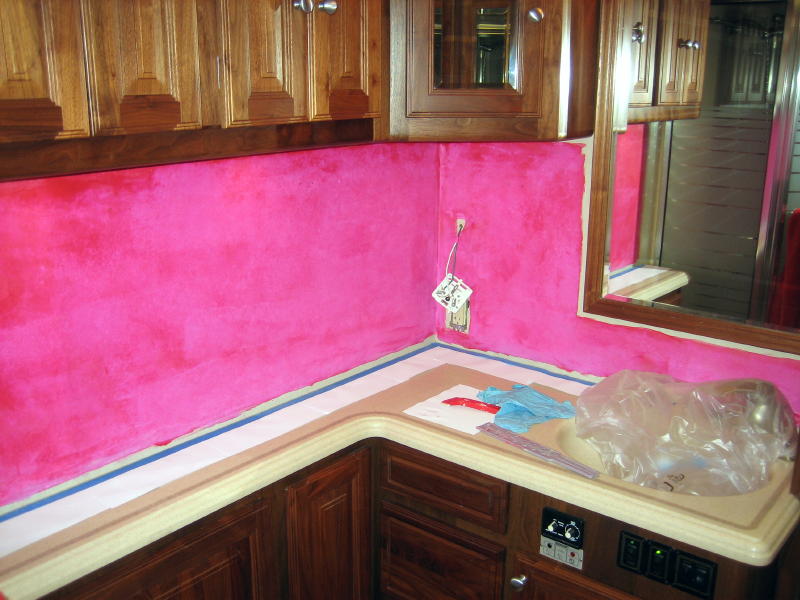
For the bathroom, we left the existing wall material in place, it was a thin “plastic” like material so adding tile over it was not going to cause any problem’s (unlike the kitchen Corian backsplash which had to be removed). We did scuff the wall surface with a 3m pad,and then coated it with flexible membrane designed to help prevent cracking.
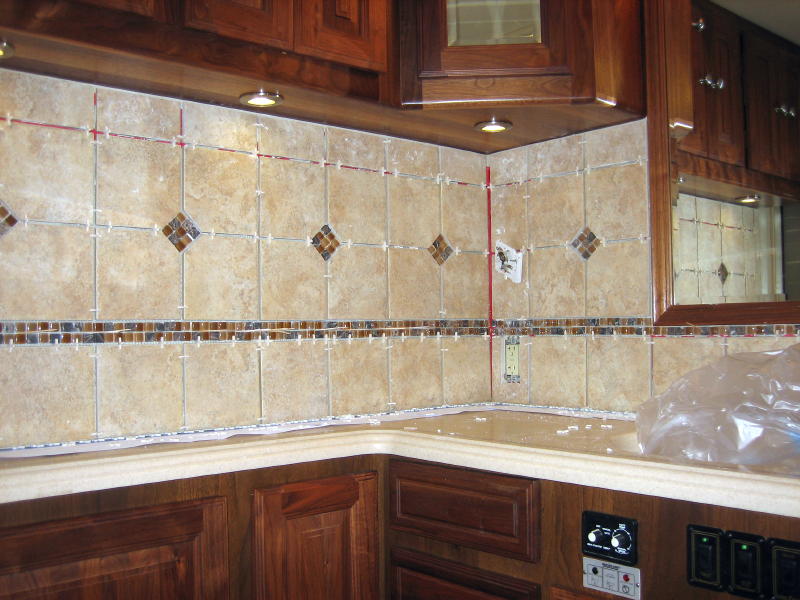
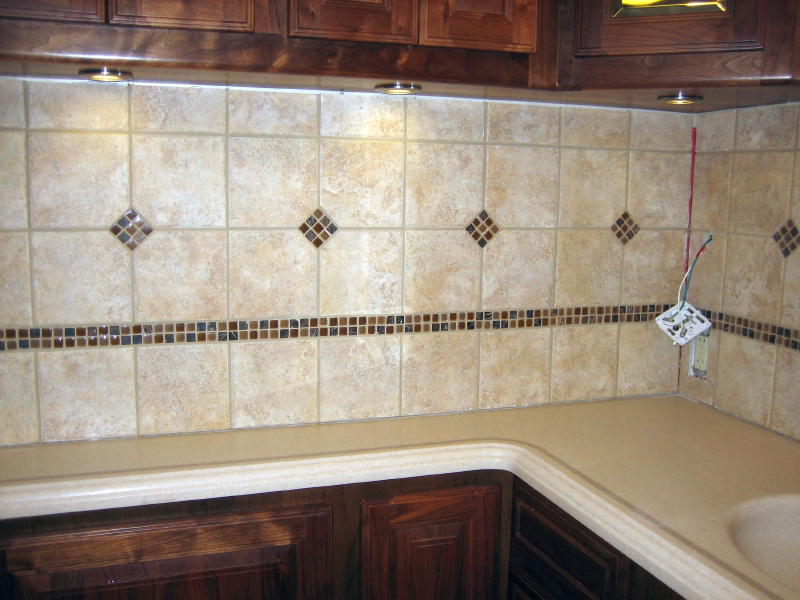
Here’s what it looks after 5 hours of cutting and setting tile. The pink membrane coating mentioned above is one measure to minimize/prevent cracking. The mastic we used also has a component which allows for movement without cracking. The bag said it could absorb as much as 1/16th inch of movement. We can grout 24 hours after the last tile is set (time for the mastic to cure), so we’ll wait until Monday for that part of the process. The grout that we used is equally flex “forgiving”, we used one with polymer additives specifically added to prevent cracking.
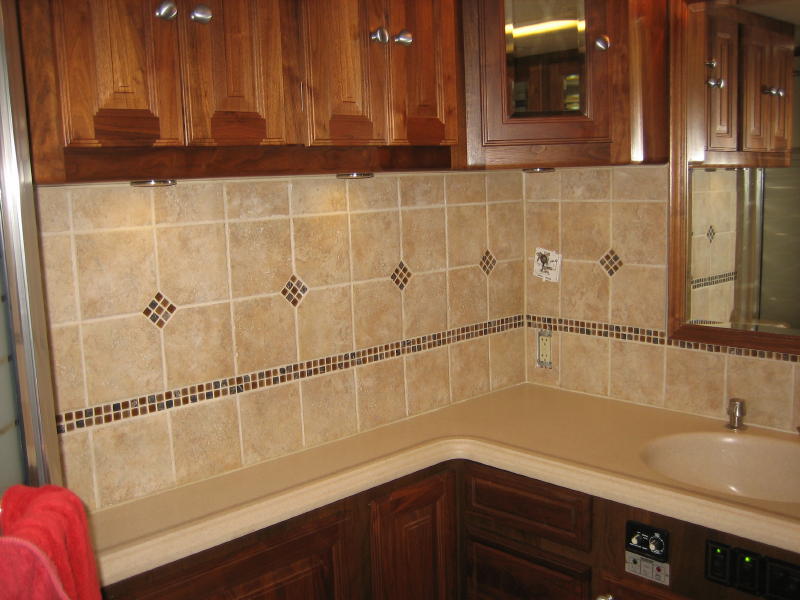
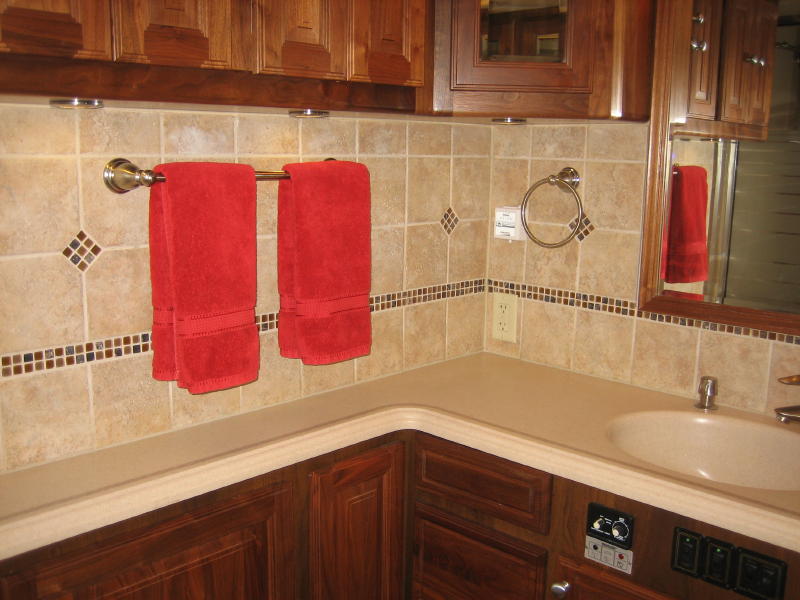
The final product with the towel bars, wall plug, etc back in place.


