Replacing the Air Tanks
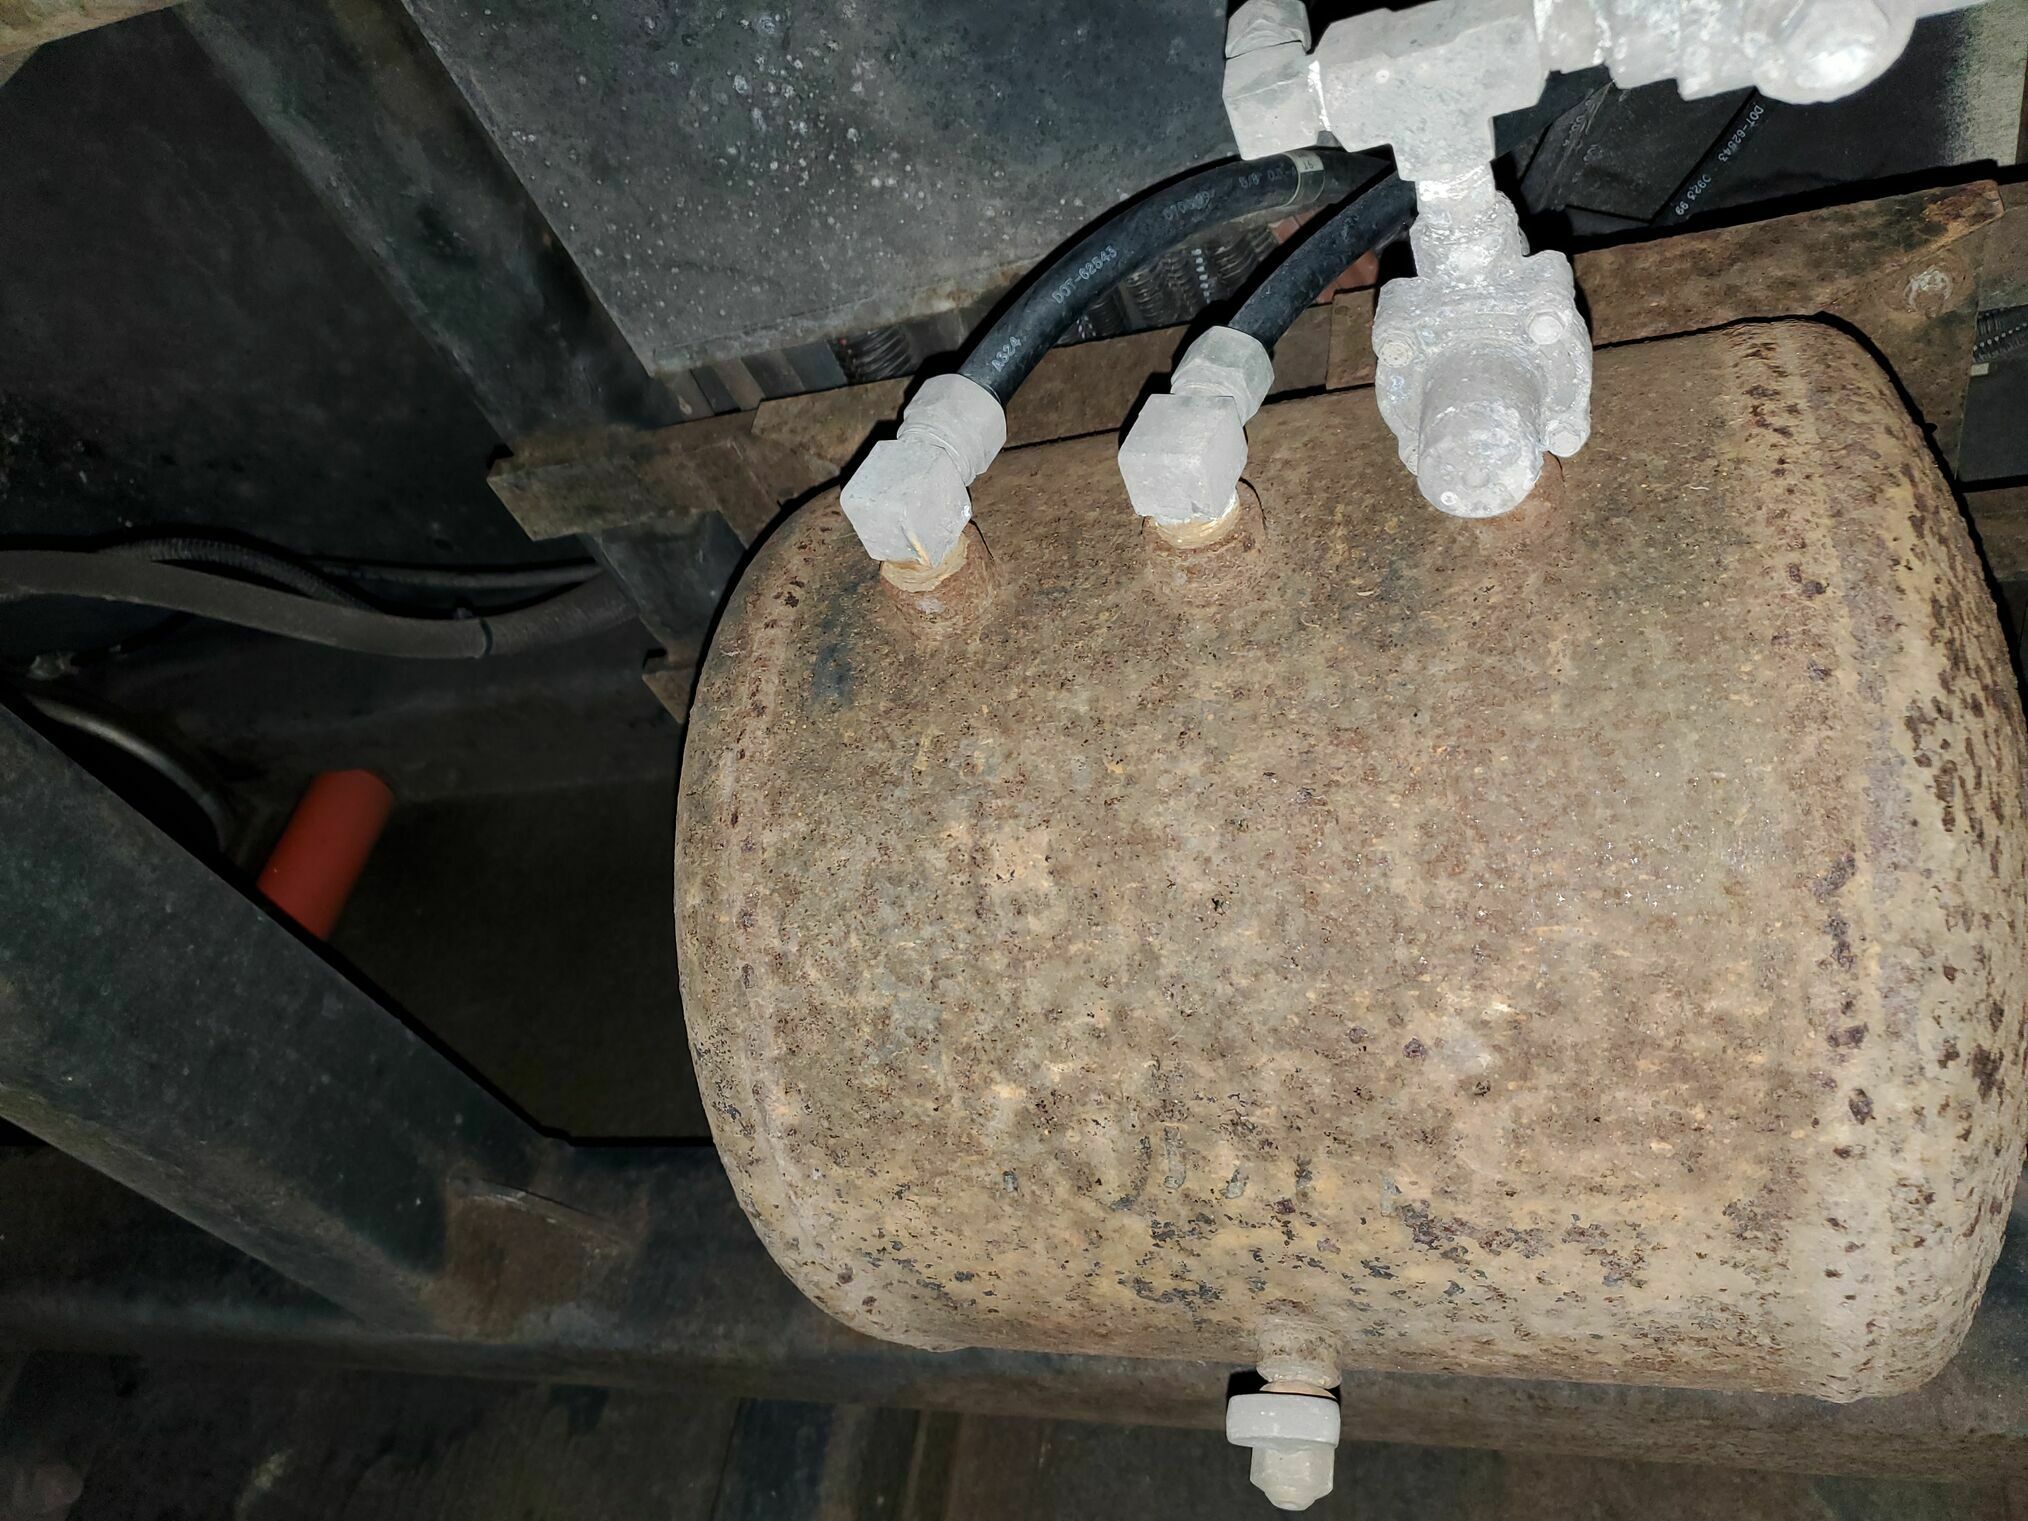
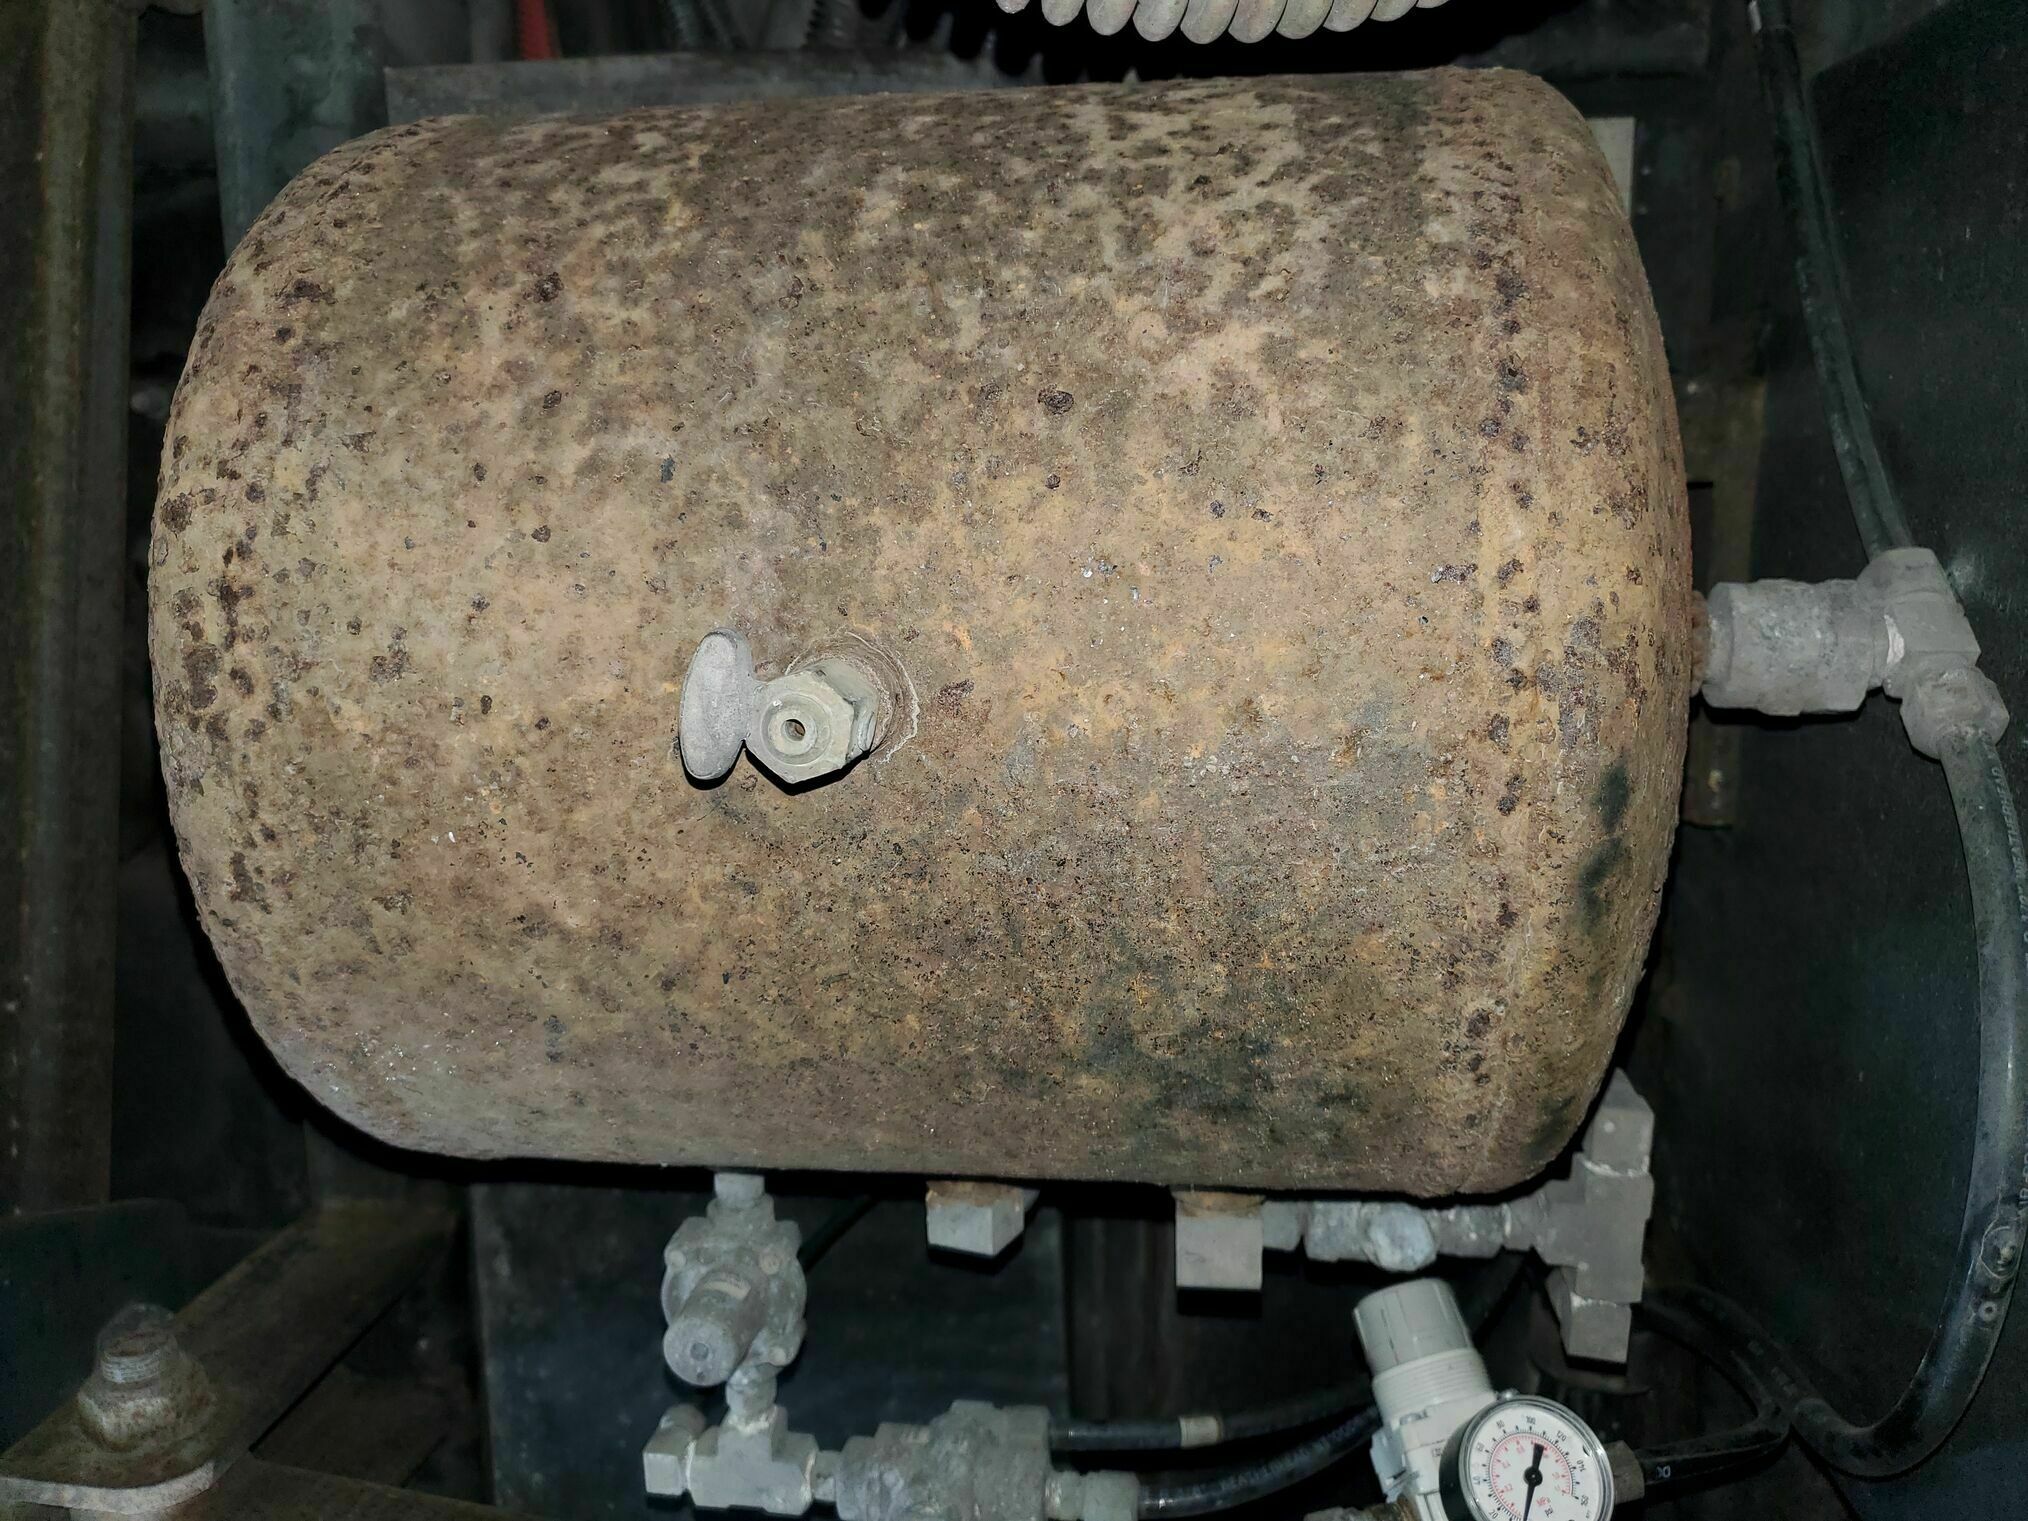
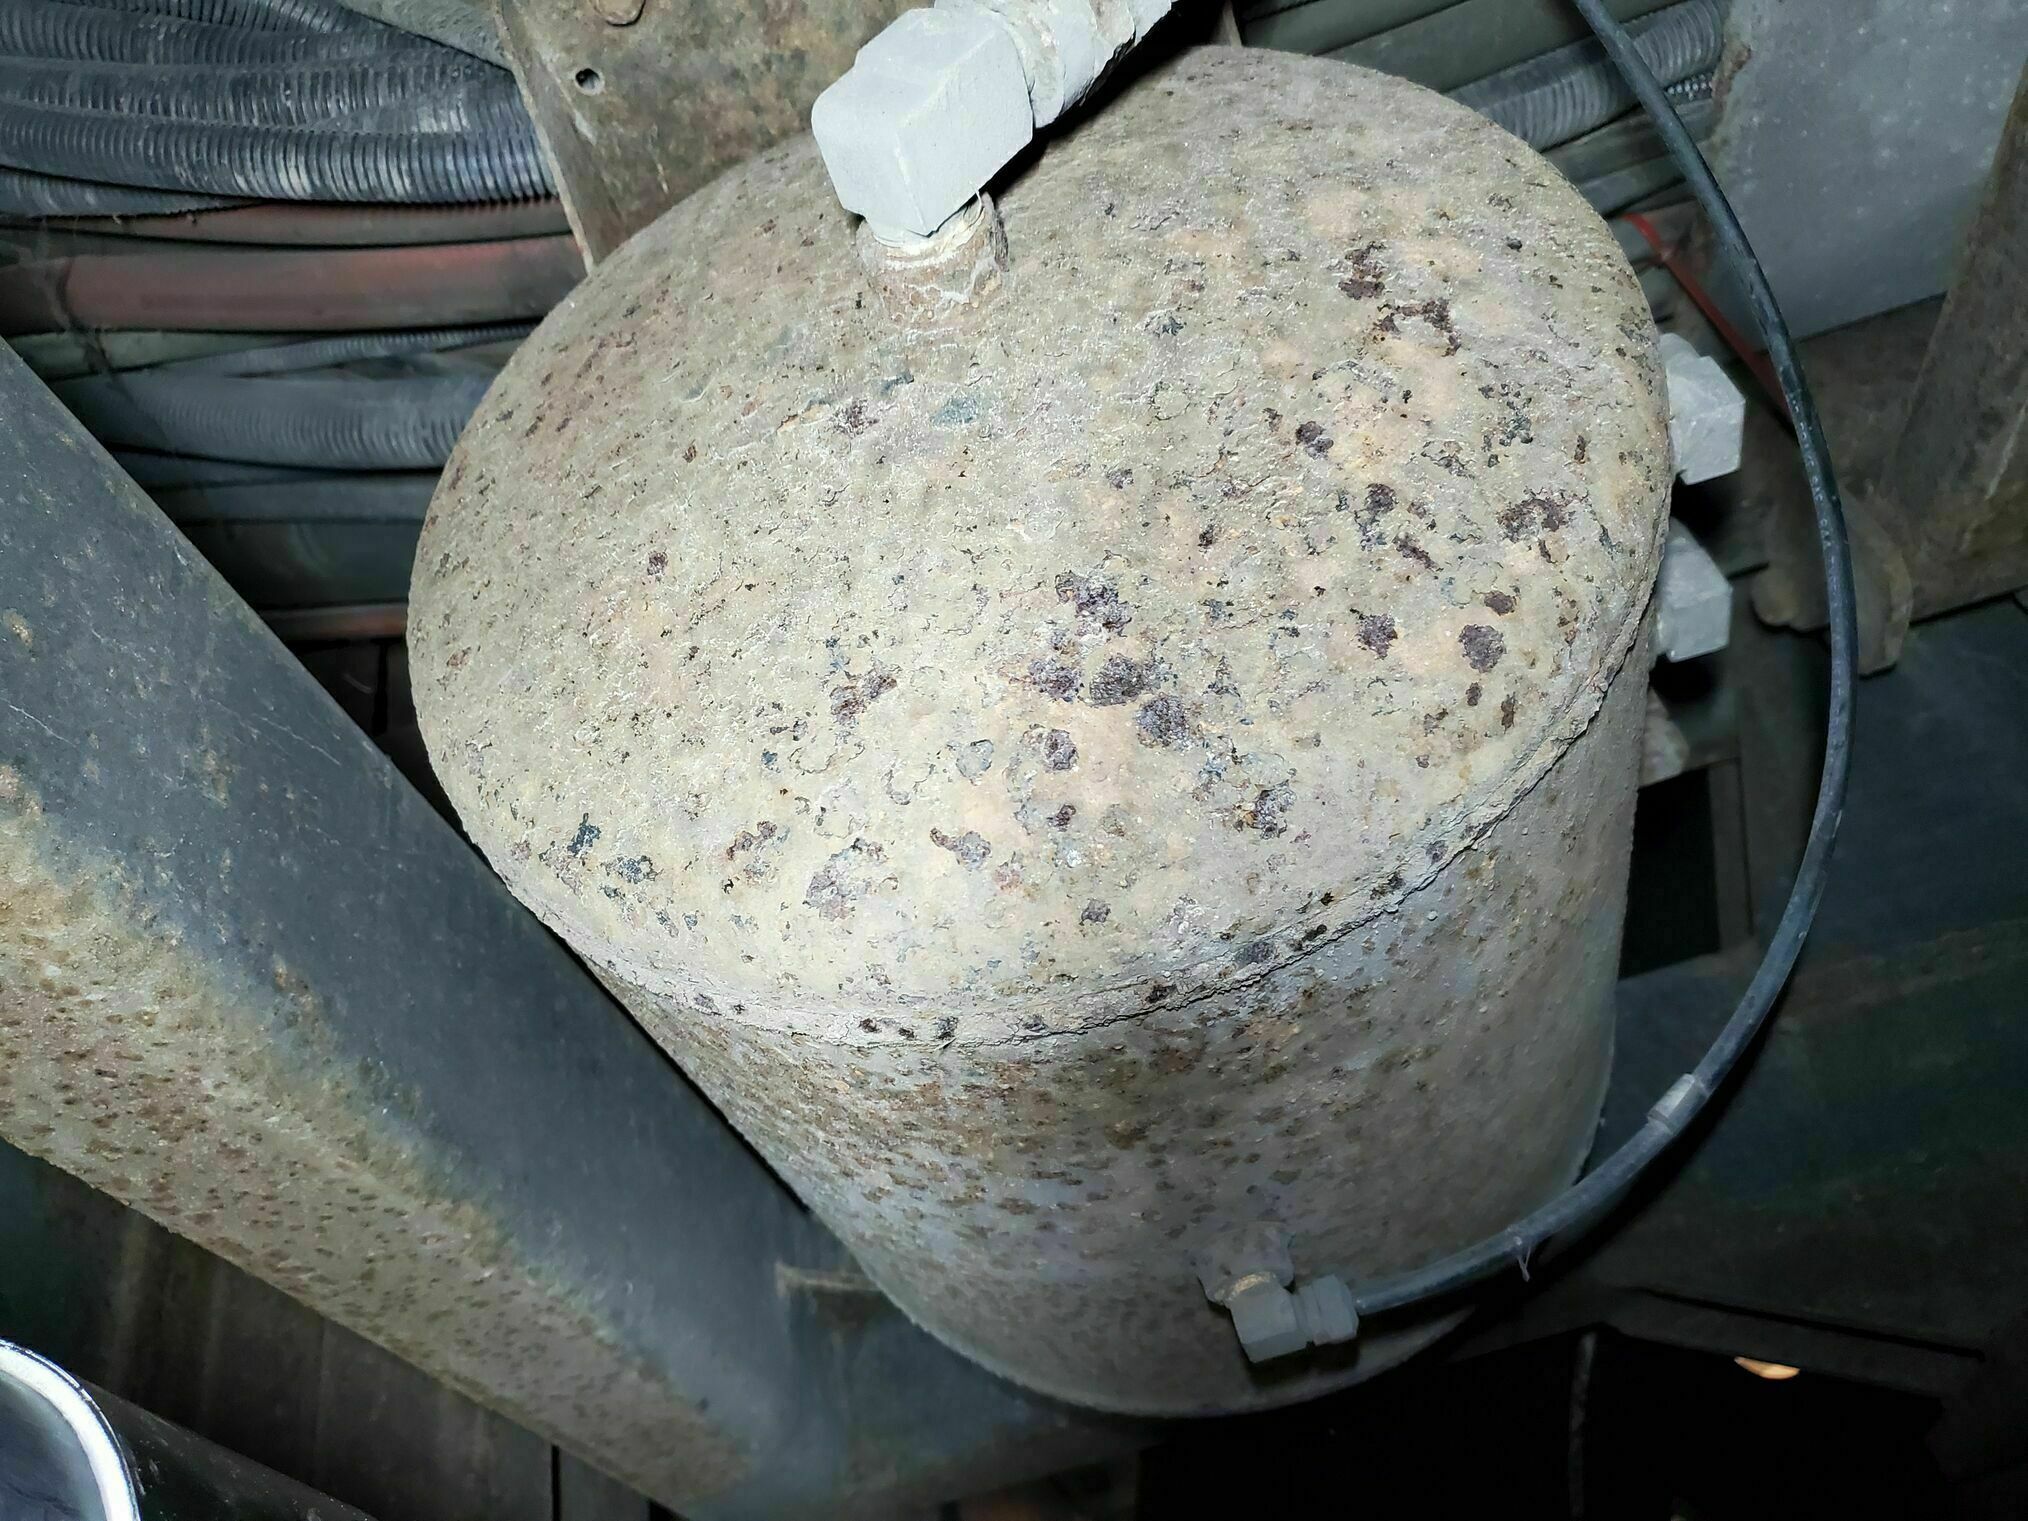
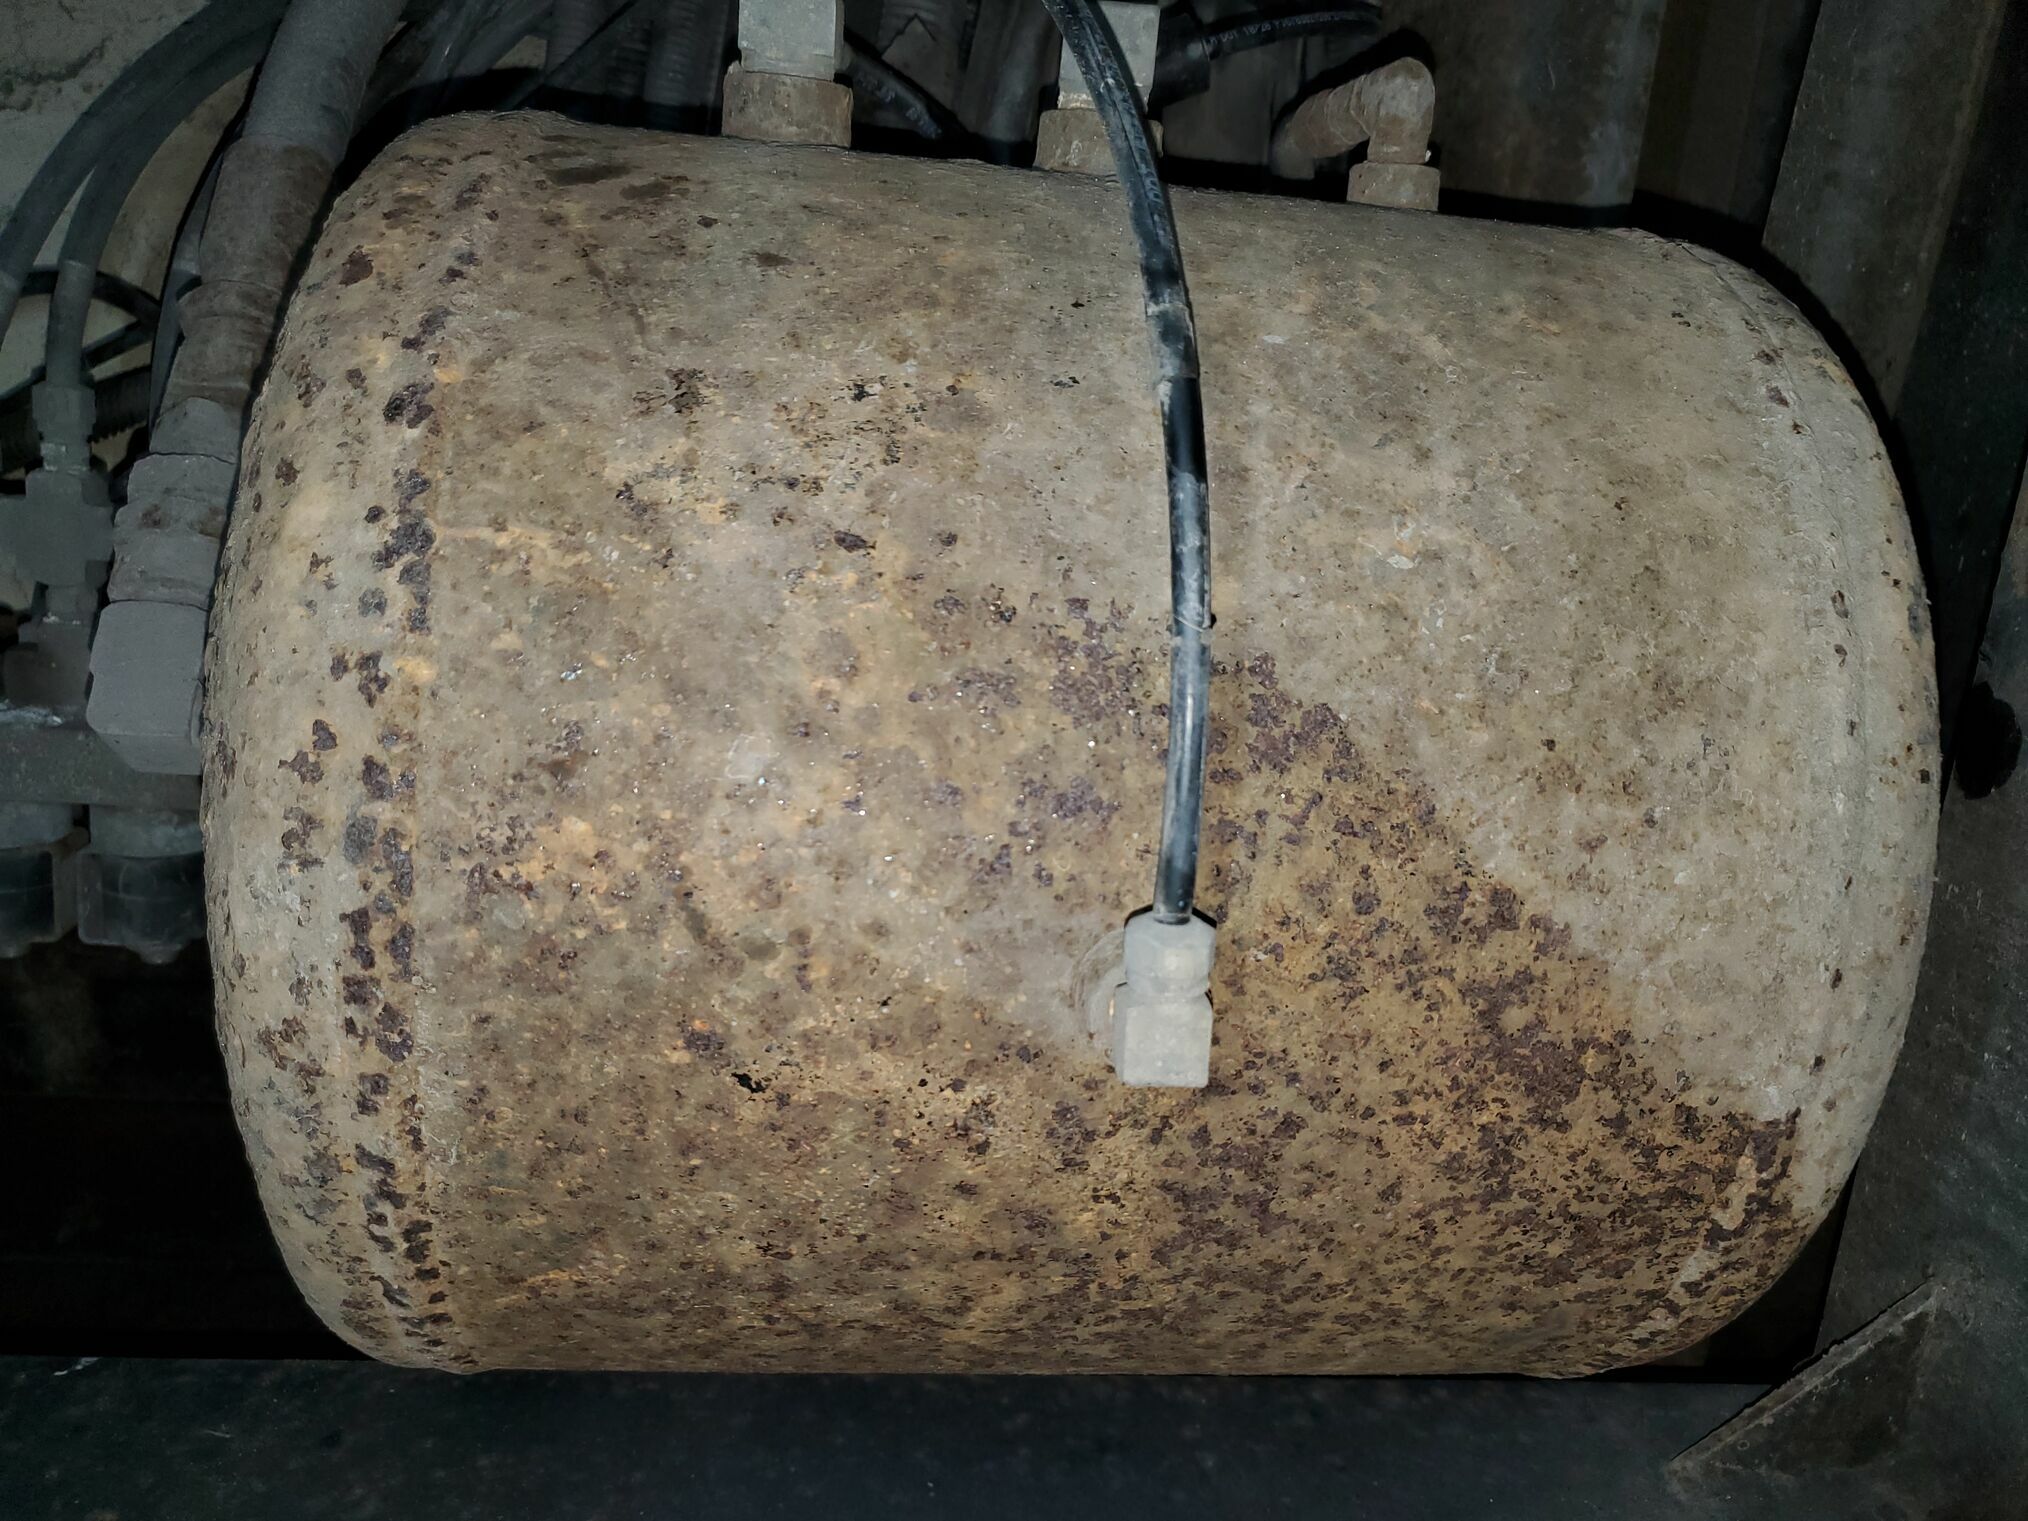
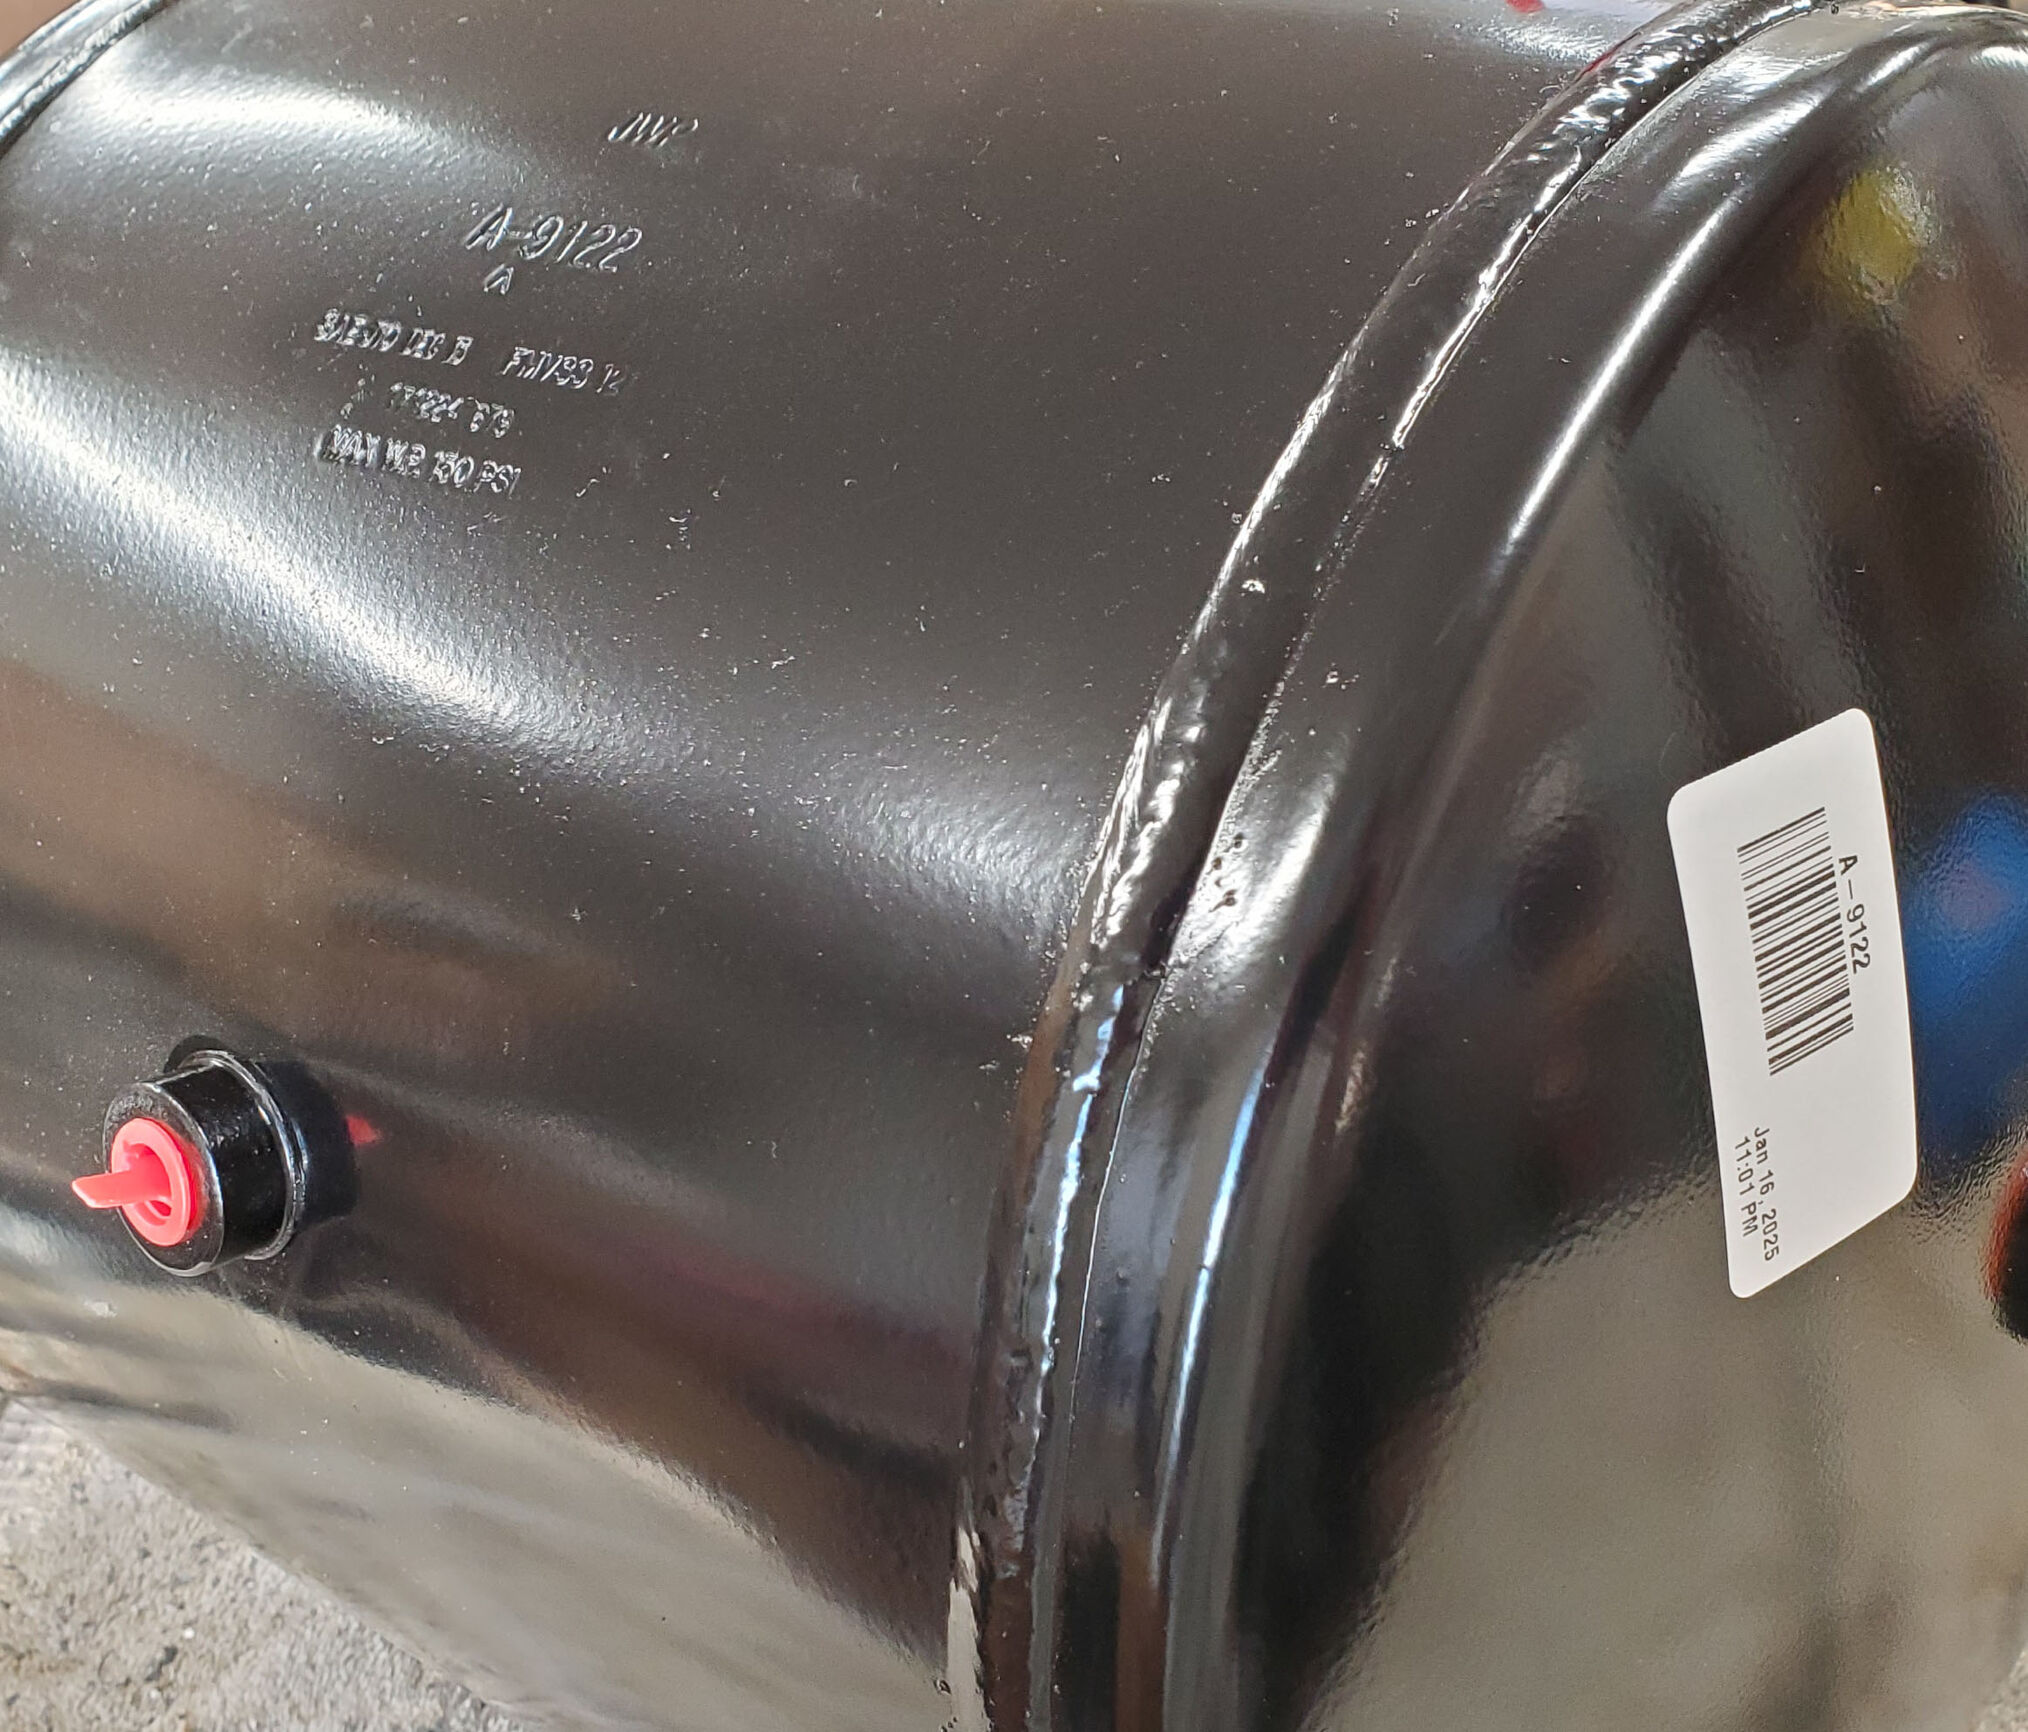
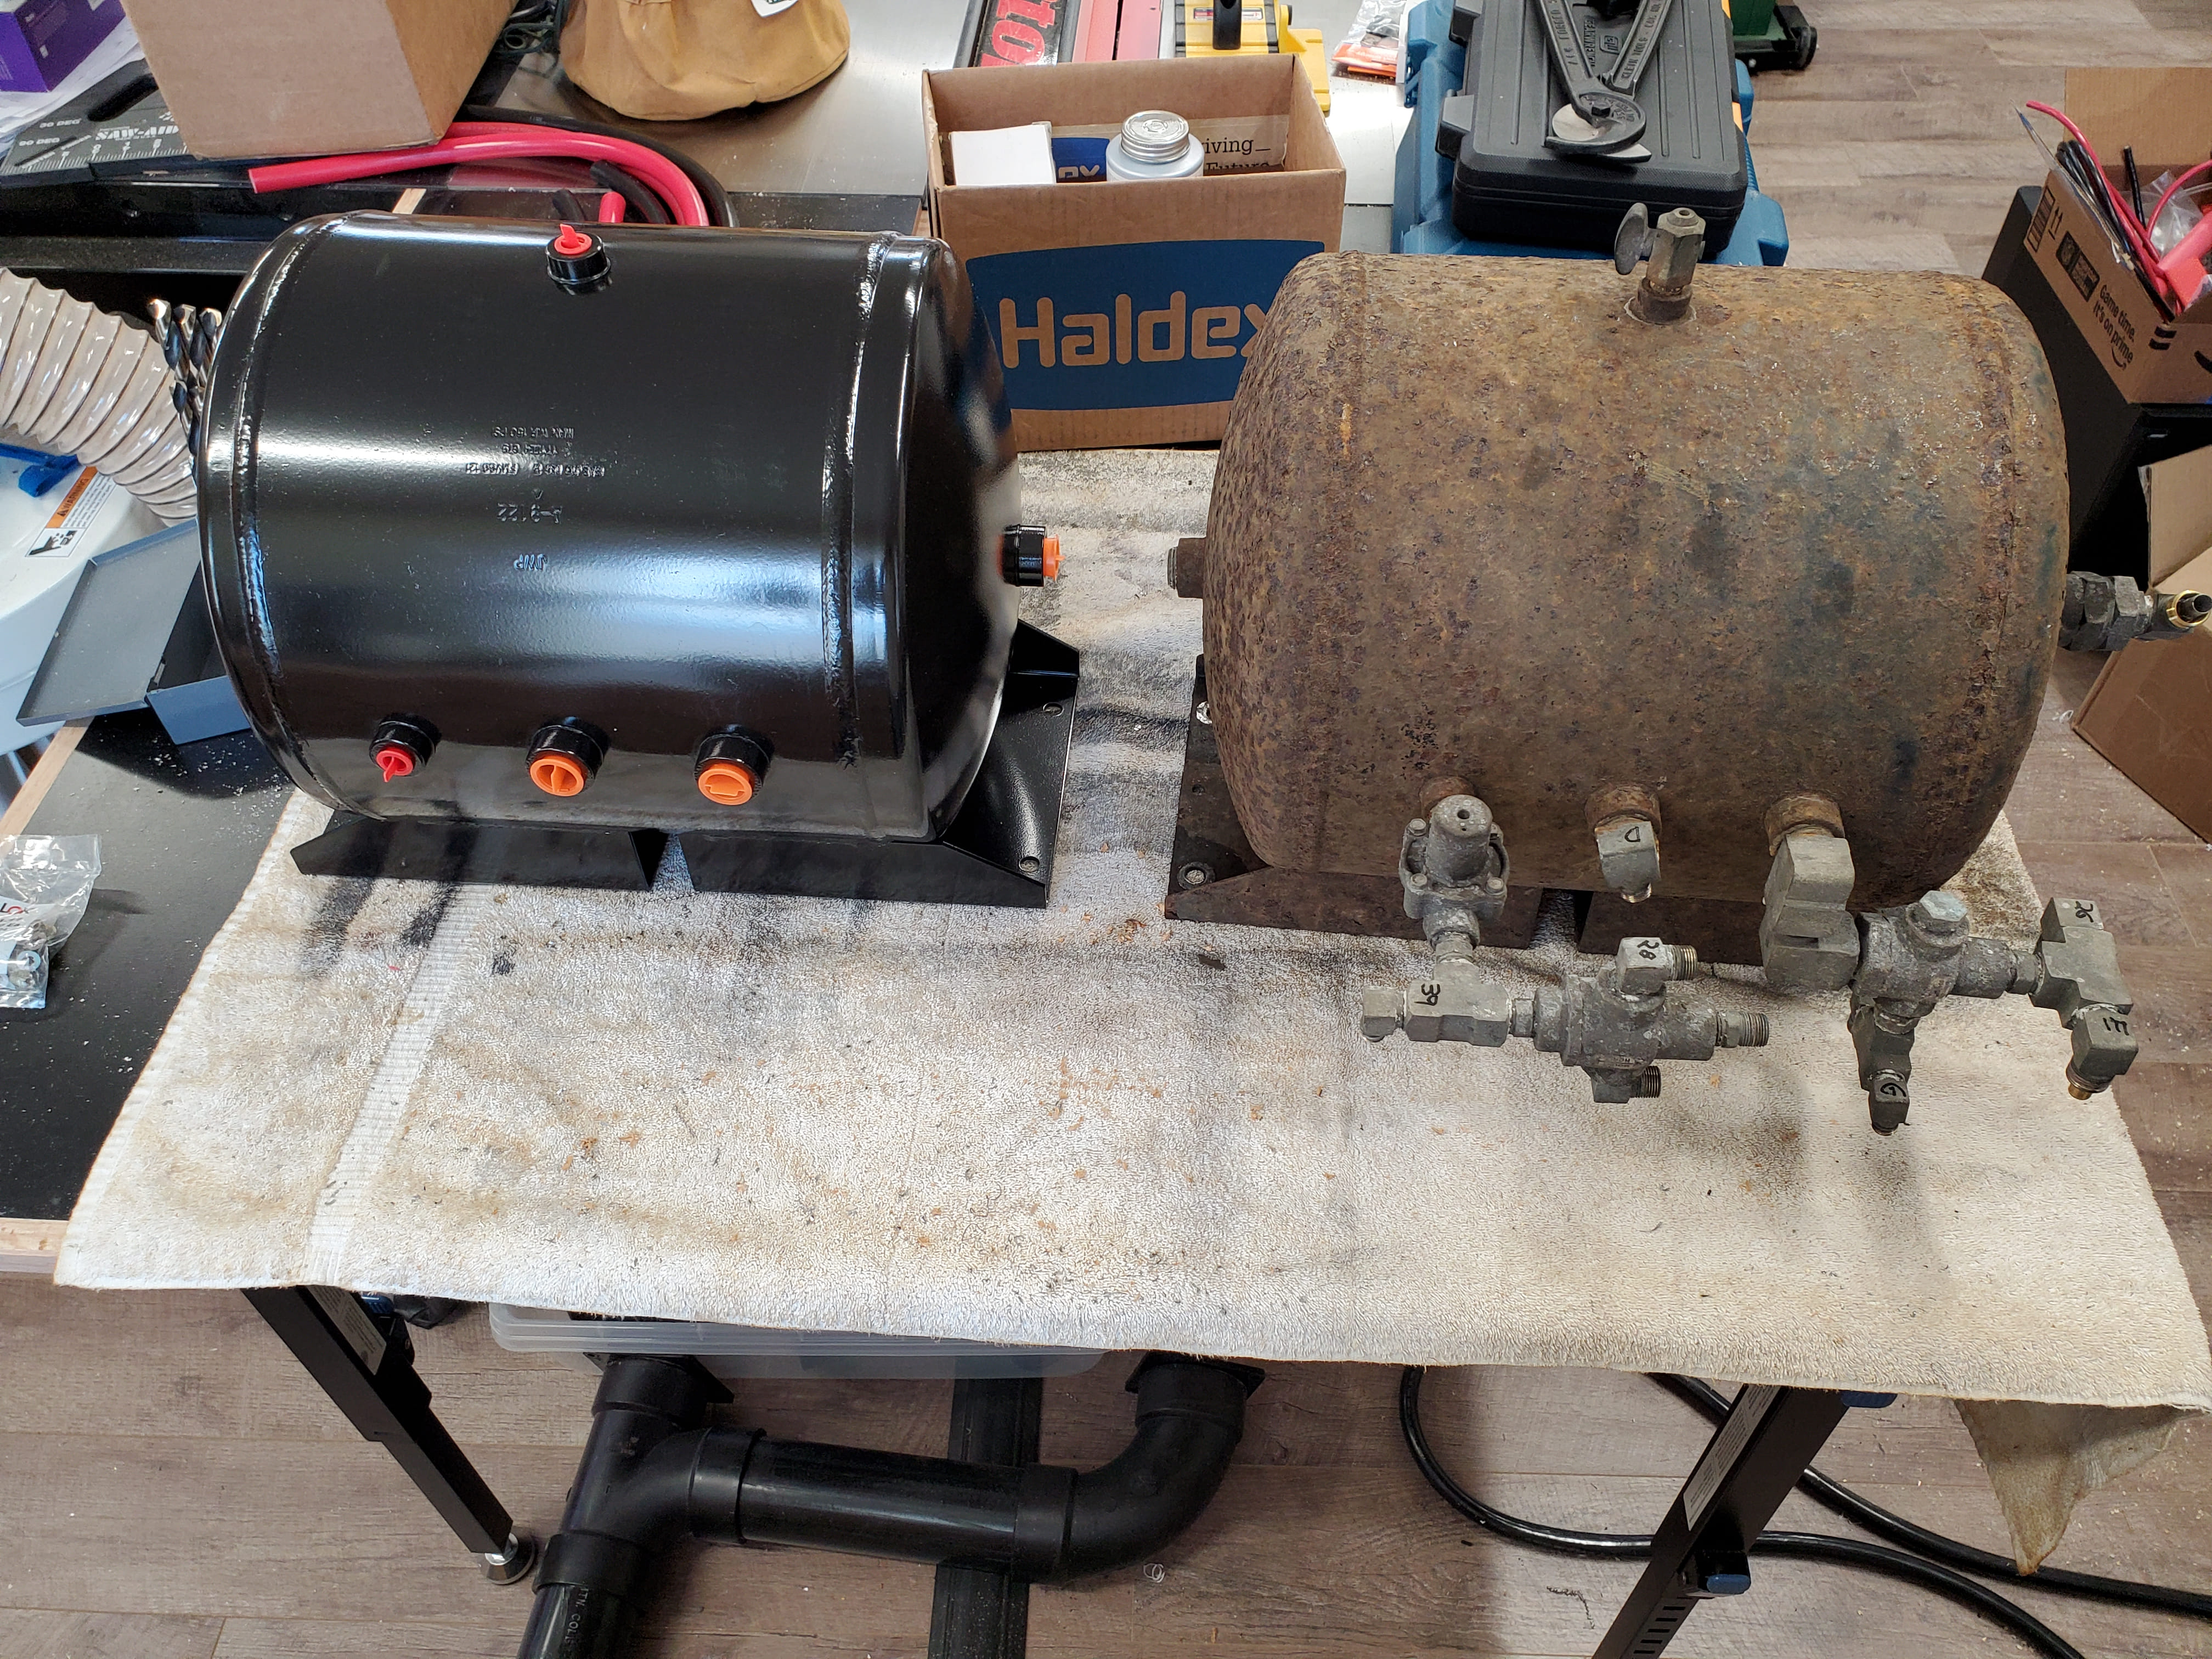
Here is what our tanks looked like. On our year coach there are (3) identical tanks, each with a unique set of valves & plumbing tree attached to them. The tanks were stamped Midwest Products Inc, 06-16-9 and by 2003 those were replaced with JWP (Johnson Welding Products) A-9122. I believe this style was used on 1990 through 2005 coaches, 2-3 on each.
Our leak down rate was excessive, going from full to nothing in an hour. We also had a longer than “normal” pressure up time, it would gain up to the 100psi and then take a bit to extra time to finally “pop off” at 125psi.
Old Tanks
The leaks appear to all before the air bags / HWH manifold as we can fully raise the coach and it will remain there for a week or more with little to no lowering. The air bags had been replaced in the last couple of years.
Deciding that replacing all the components; single check valves, double (shuttle) check valves and pressure protection valves would be good PM as they all are 25yr old originals. I also felt that removing the tanks would be the easy way to get that work done as I also wanted to clean the rust off the tanks, give them a good inspection for leaks, and then paint them.
All the valves on the tanks were Meritor WABCO parts and I cross referenced them to Haldex part numbers. I was able to find most of these on Ebay in the $20-25 price range, search on all of the part numbers as NOS will show up. There are rebuild kits available but I was not sure a Haldex kit would work in the original part, plus those rebuild kits were in the same price range I was finding NOS on Ebay.
Looking at the tanks and thinking about the effort to de-rust, de-scale and paint vs the cost of new tanks, we began to investigate getting new tanks. More on that adventure below.
Finding New Tanks
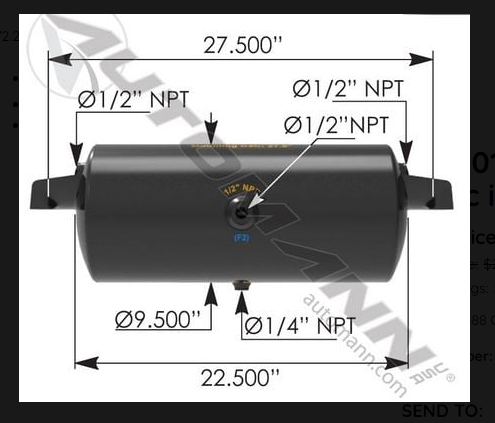
A call to FT parts and the tanks are no longer available, but they do have a potential replacement. That replacement is an Automann 172.2001D which is a universal tank, NOT a drop in replacement. They were clear that it had the right tank fittings, but we needed to update the way things were mounted and possibly replace several air lines.
The original tanks are 15” long and 12” in diameter with top-mounted brackets. The universal is 22.5” long and 9.5” in diameter with side ear brackets. They hold approx the same volume of air, within 100cu-in. Installing those replacement tanks would take a lot of effort, some existing air lines will not reach, and you need to fabricate mounting brackets for the coach. That is after you determine a place/orientation where they would fit.
Not wanting to go that route, we started calling around to salvage yards and doing searches for air tanks “close” to what we had. All the salvage yards turned up empty and finding a cross tank was not yielding anything useful, either via the web or our local truck parts store. There were a couple of Freightliner tanks that looked close (a little lower air volume), but those needed to have brackets fabricated and welded on (they were simply raw tanks).
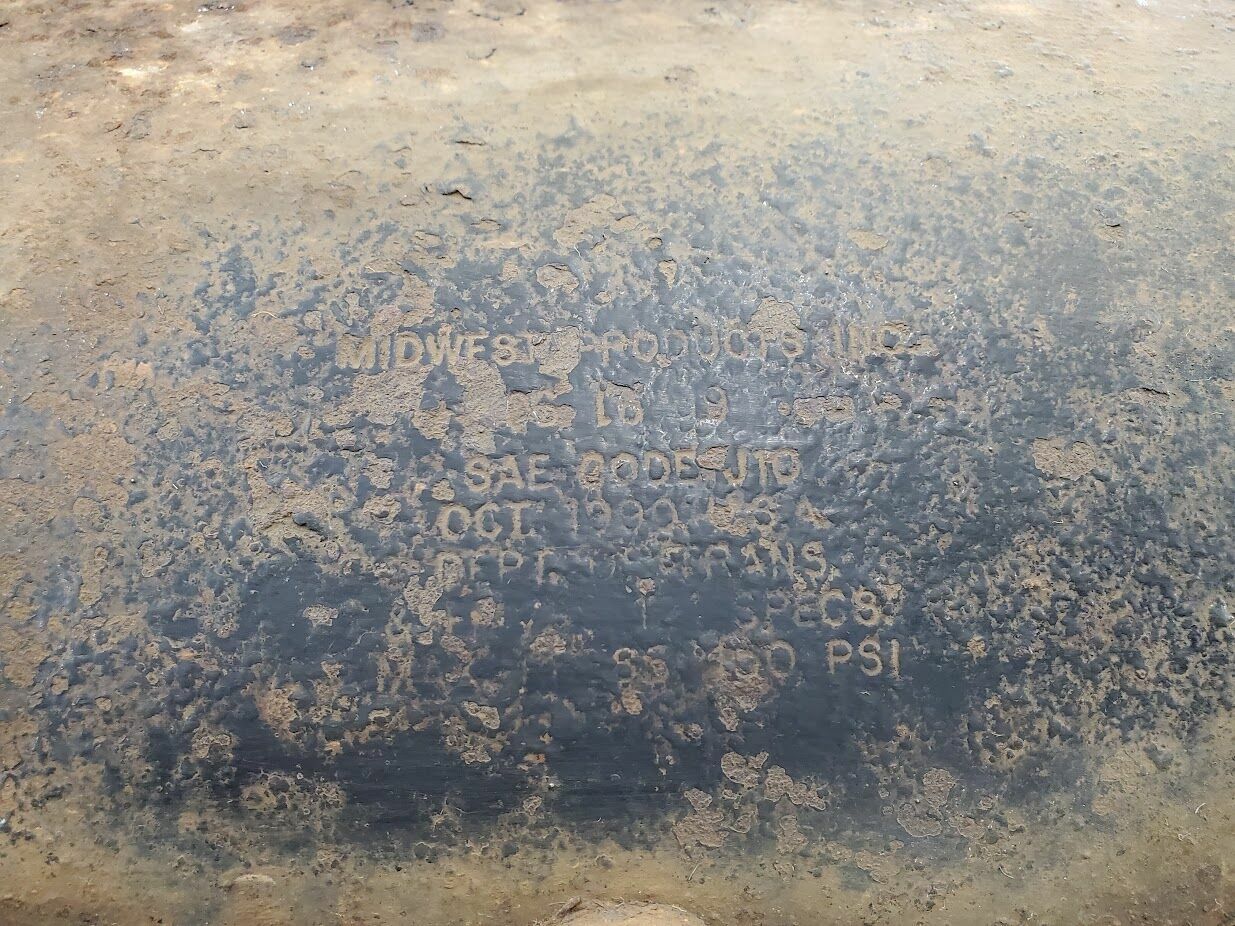
The tanks on our coach were stamped Midwest Products Inc, 06-16-9, very difficult to read due to the rust and could only be seen on (1) one tank. Foretravel stopped using Midwest Products (2000-2002?) and began to use tanks made by Johnson Welding Products (JWP) P/N A-9122. Same exact tank, just a new vendor and P/N. We contacted Johnson Welding Products (JWP) to inquire about availability or even special ordering them. Unfortunately, JWP did not respond to emails or phone calls, even to simply say sorry bubba, yer outta luck.
In researching JWP, we discovered they had recently been sold/acquired by Tramec. We contacted Tramec. They were very quick to respond and apologized that JWP was unresponsive. They indicated that the change over was still a work in progress, but they would check with JWP on the availability of the tanks. It took a couple of weeks and some back and forth with Tramec (Darcy Brady/Customer Service) but we eventually were put in contact with Brook Hessey, the Territory Manager for our area of the country.
Brook called us, got all the information on the tanks, and had his inside team dig into what was going on. Within a few days, he contacted us again and said that indeed those tanks were no longer being produced, but they would fabricate them for us as a sort of apology for JWP’s lack of responsiveness!. The only downside was that these would be raw tanks, no brackets.
We contacted several fabrication shops in the area that could make brackets, and we made contact with a certified tank welder. Most regular welders did not want to take on the liability of working on air (brake) tanks. Can’t say I blame them. We contacted Brook and asked for bracket prints and let him know we had found fabricators & welders to do the final assembly work. A few days later he called and said they would make the complete tanks, brackets and all, awesome news.
To order the parts, we had to go through Fleet products and place a special order. Brook put us in contact with the correct person and did all the prep work so we could easily place the order. The price came to $250 a tank … that is tank, tax, crating and truck shipped to our house. FT wanted $220 for the Automan tanks (plus tax and shipping), just for perspective. I know you can get those Automan tanks in the $150 range, plus tax, plus shipping, plus bracket fabrication, plus some new air lines, plus creative process aggravation, etc.
New Tanks Arrive
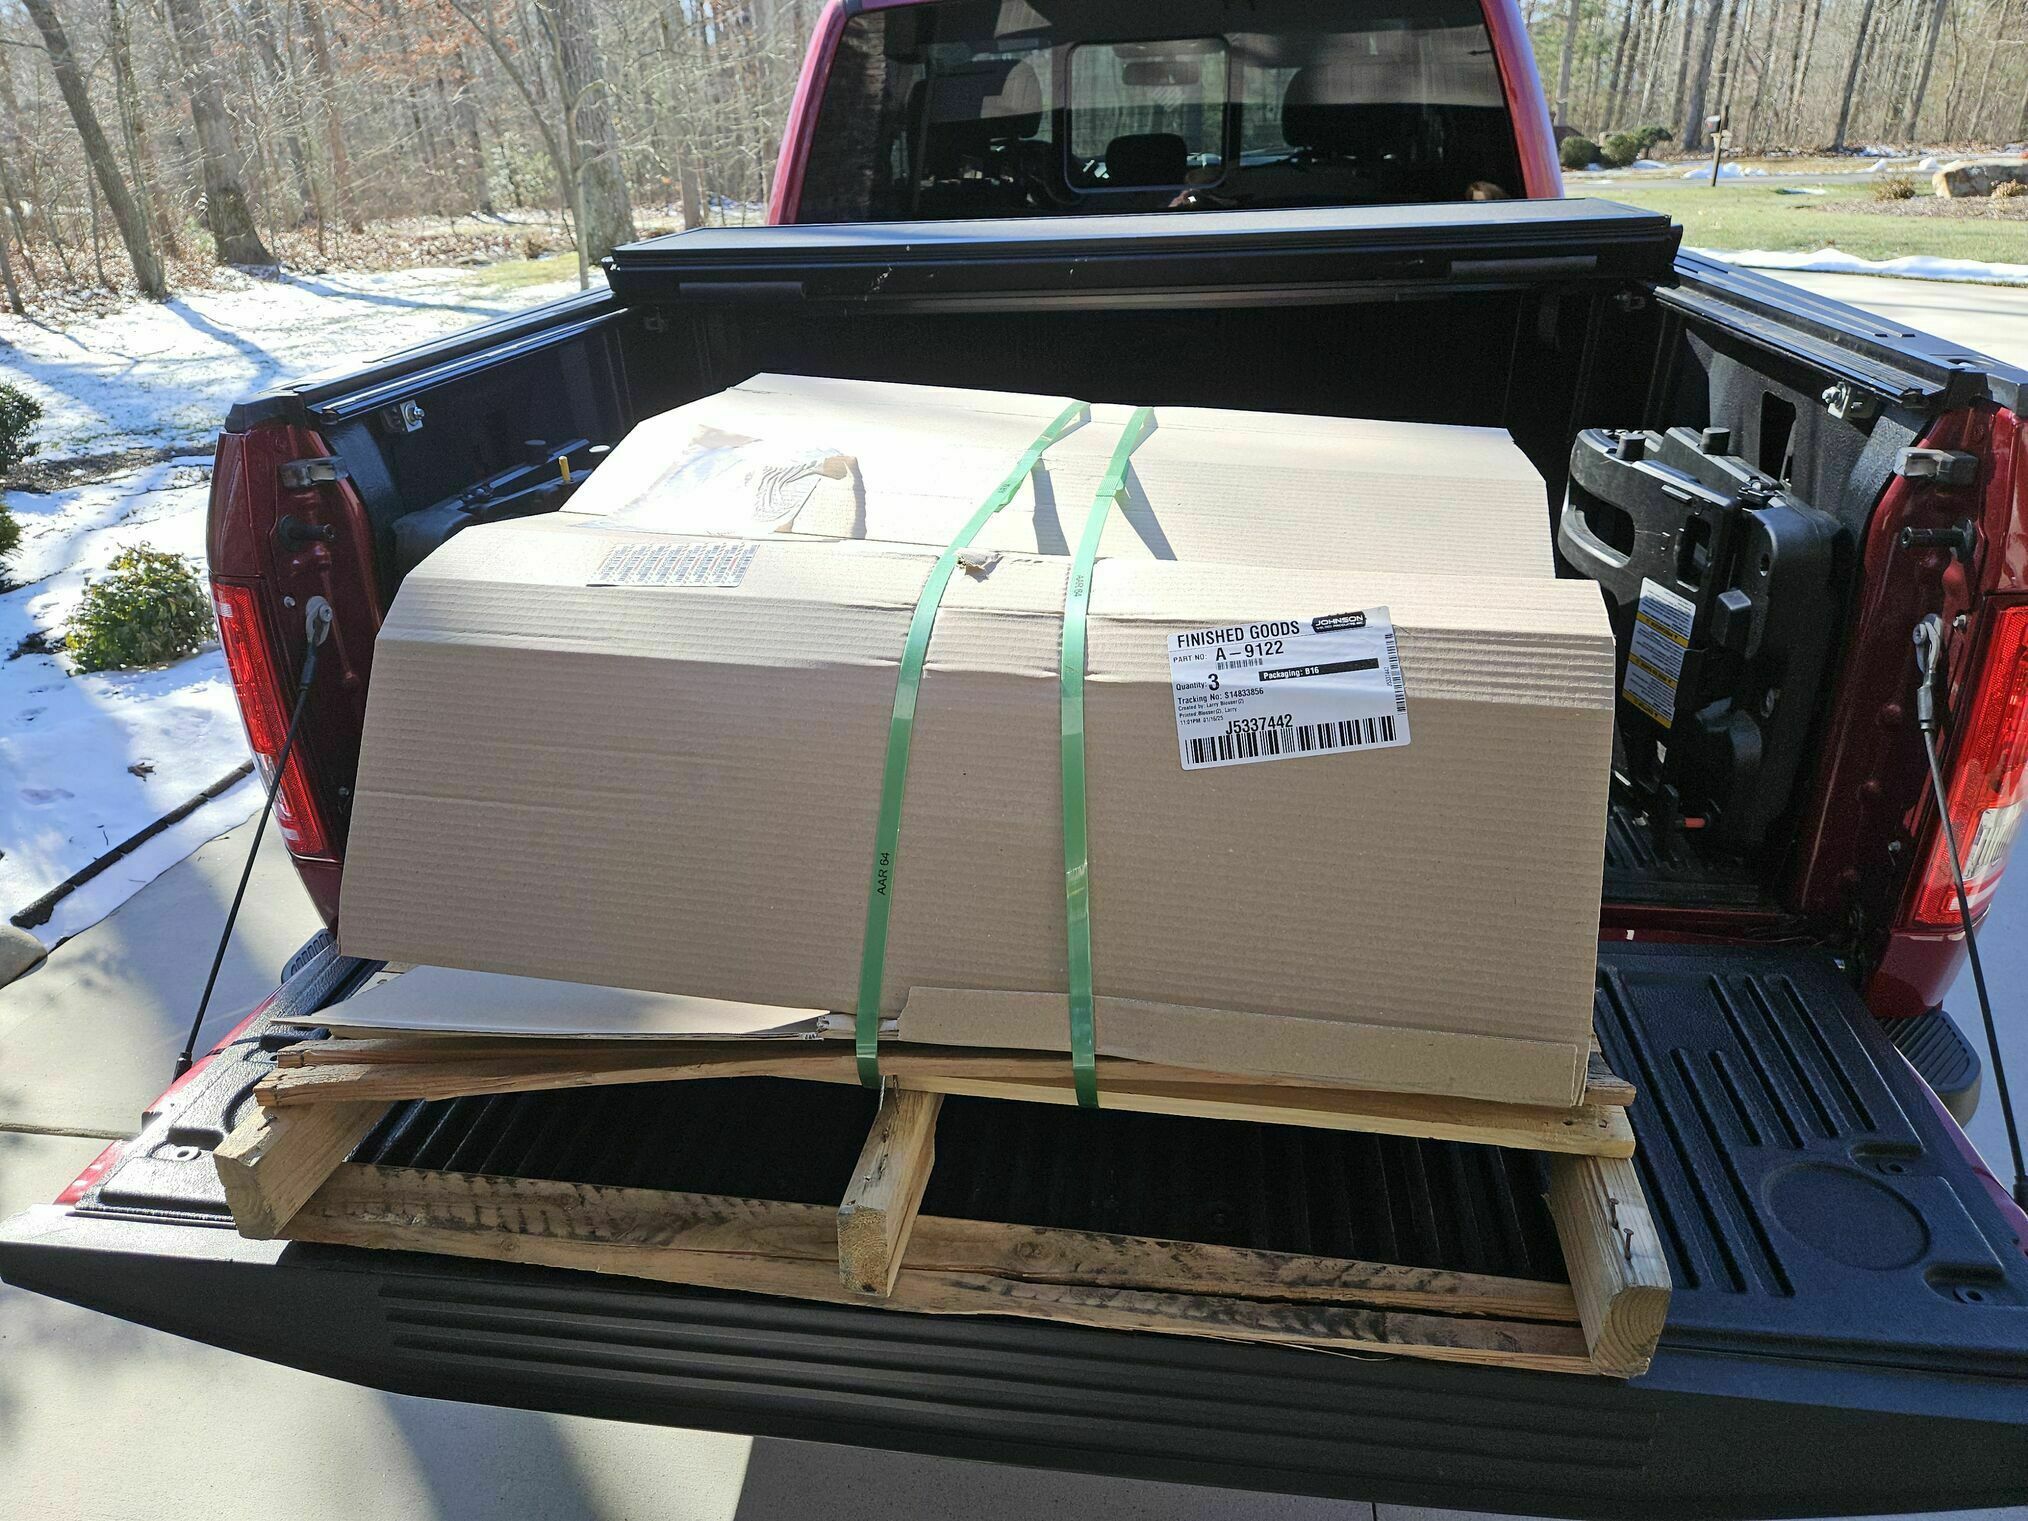

It did take a couple of months for the order to be fulfilled, fortunately we were in no rush to go anywhere during Nov/Dec and had plenty of other coach projects to keep us busy while we waited. Little things like actually getting it running again :D
Both Brook and Darcy were great to work with and were very responsive. We did ask if we could let folks know the tanks were again available, but Brook said this was a one-off build and that they would not be offering these or building them again. We asked a few times for them to keep the P/N active to no avail. However, if you were in need of tanks, I’d surely give them a call. You never know. I’m sure if there was a large order they would consider it.
Tank Swap-out
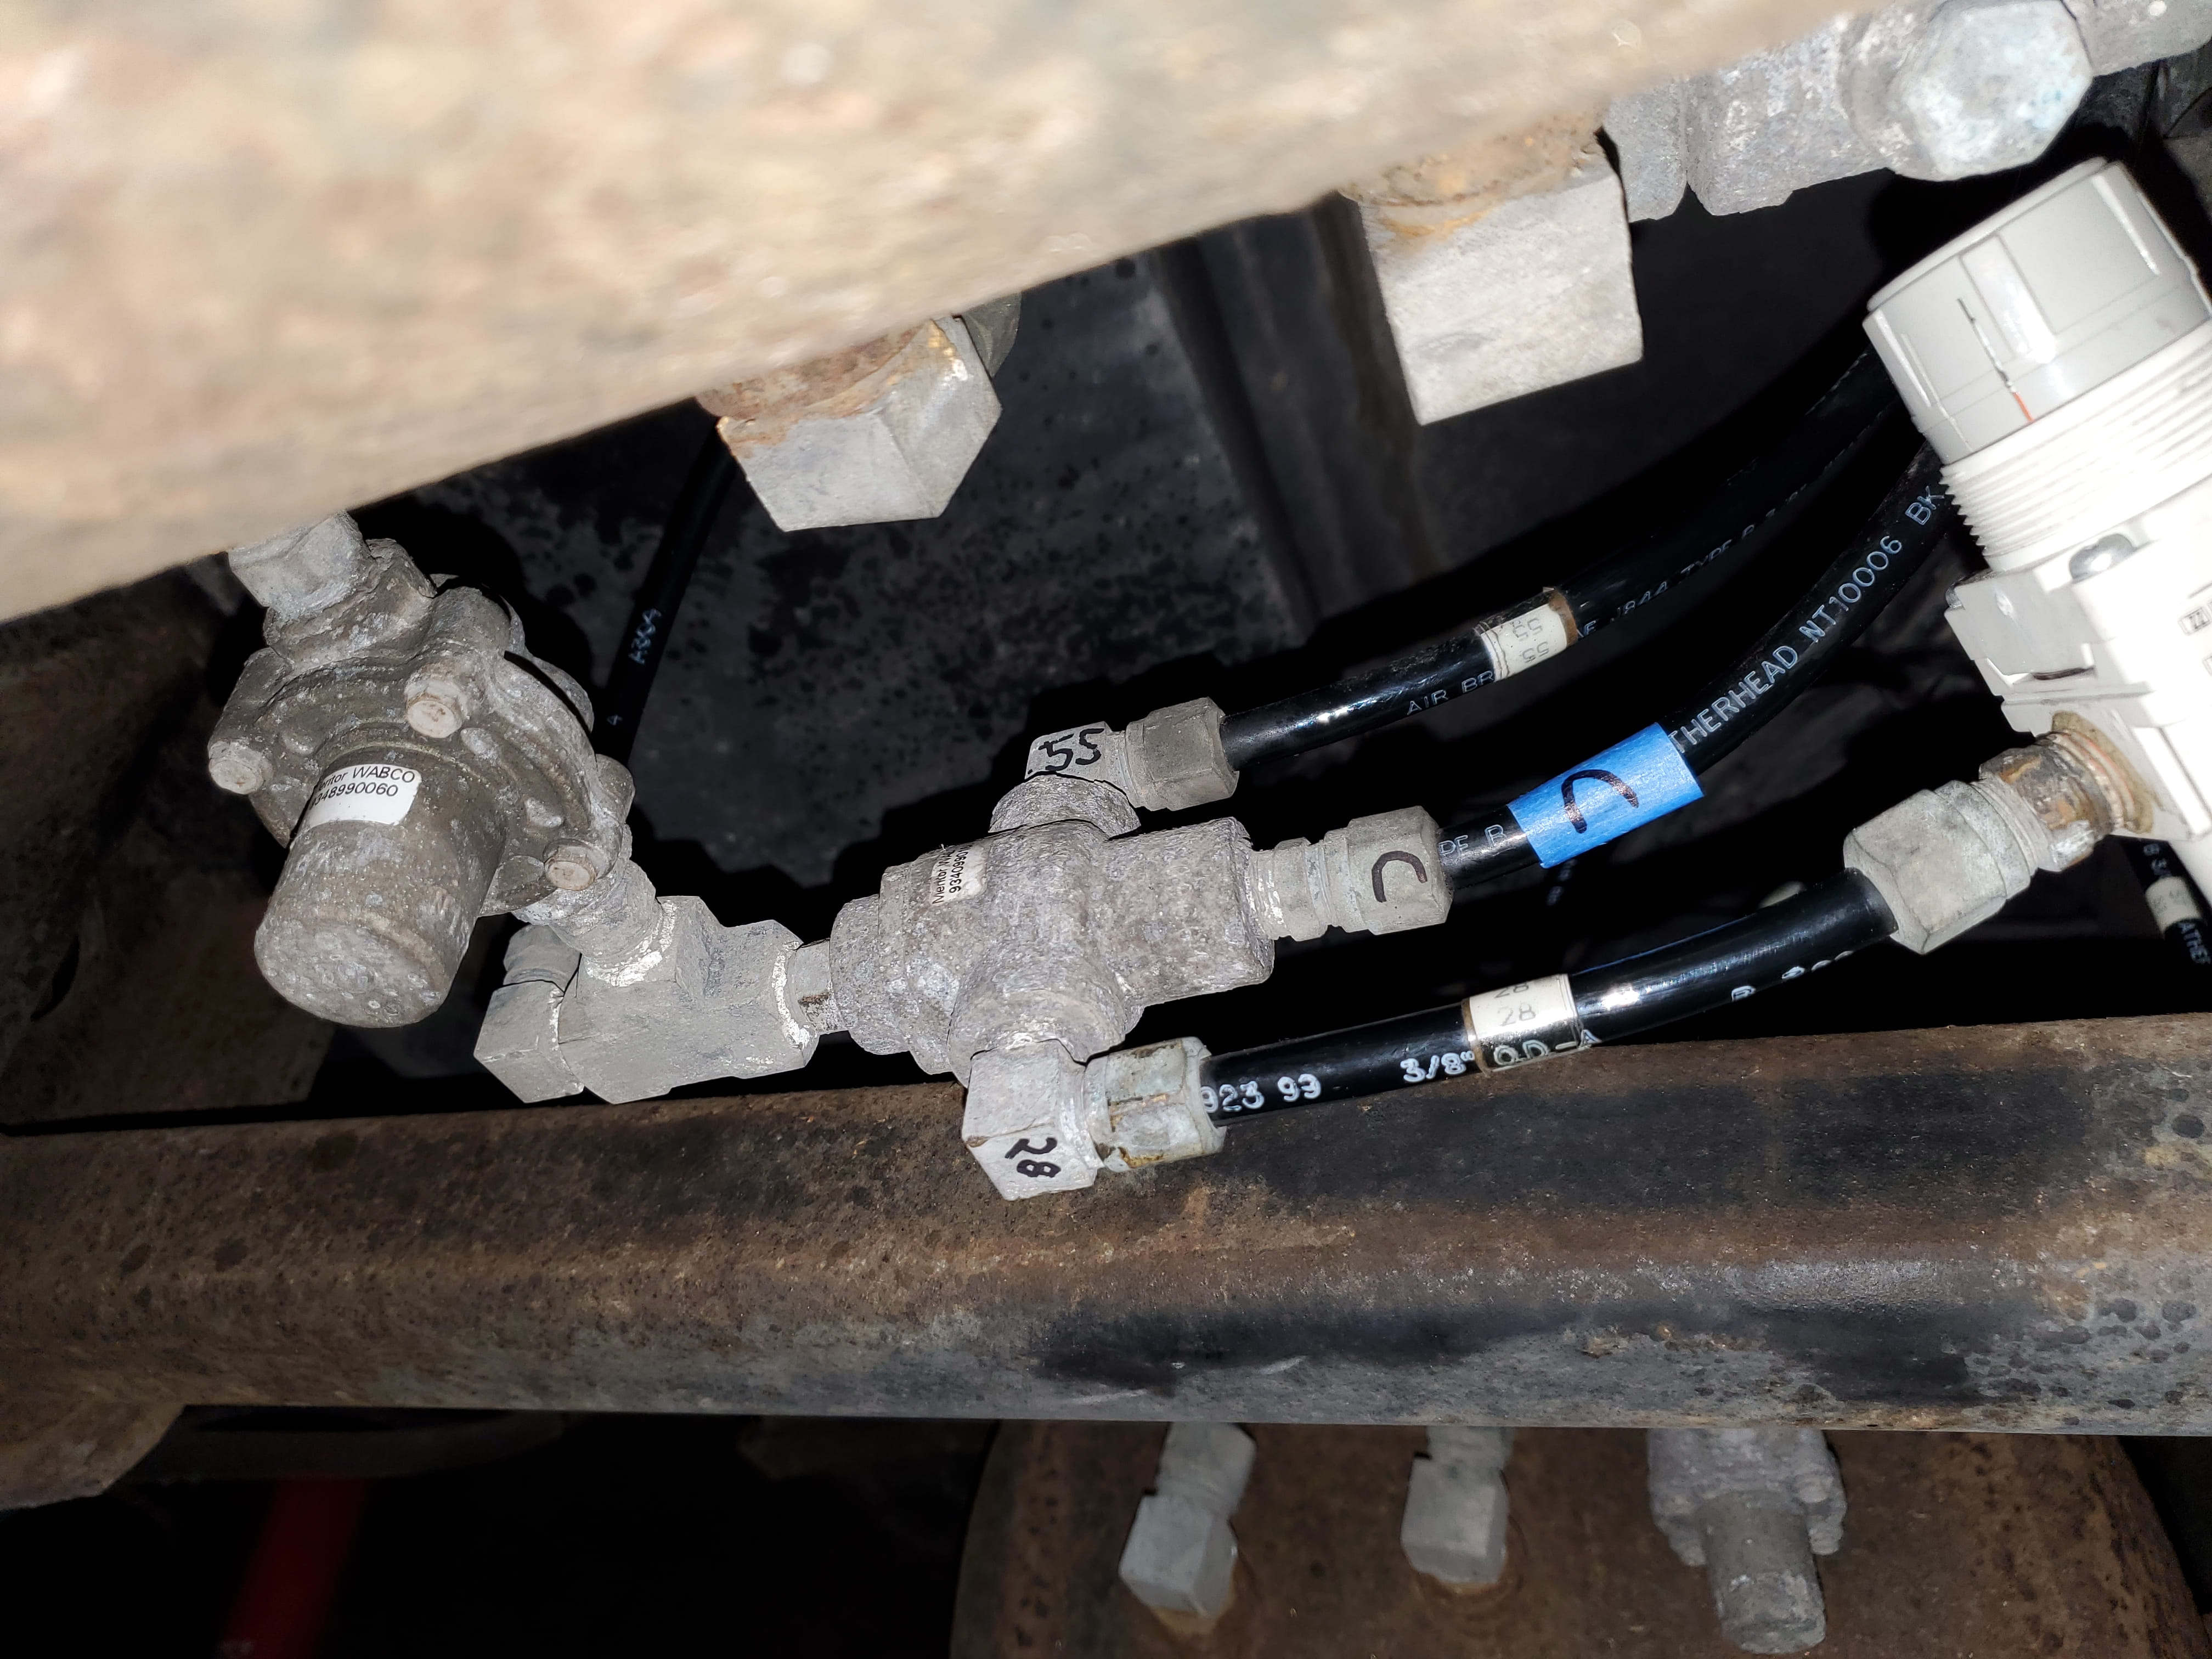
With the new tanks on hand, the replacement started. I began by disconnecting all the air lines from the tanks. Ours were all D.O.T compression fittings, no push connectors were used or found anywhere. I marked the air line number on the tank fittings as I removed them, this made it easy to put things back as they were. Be sure to hve your safety blocks in place.
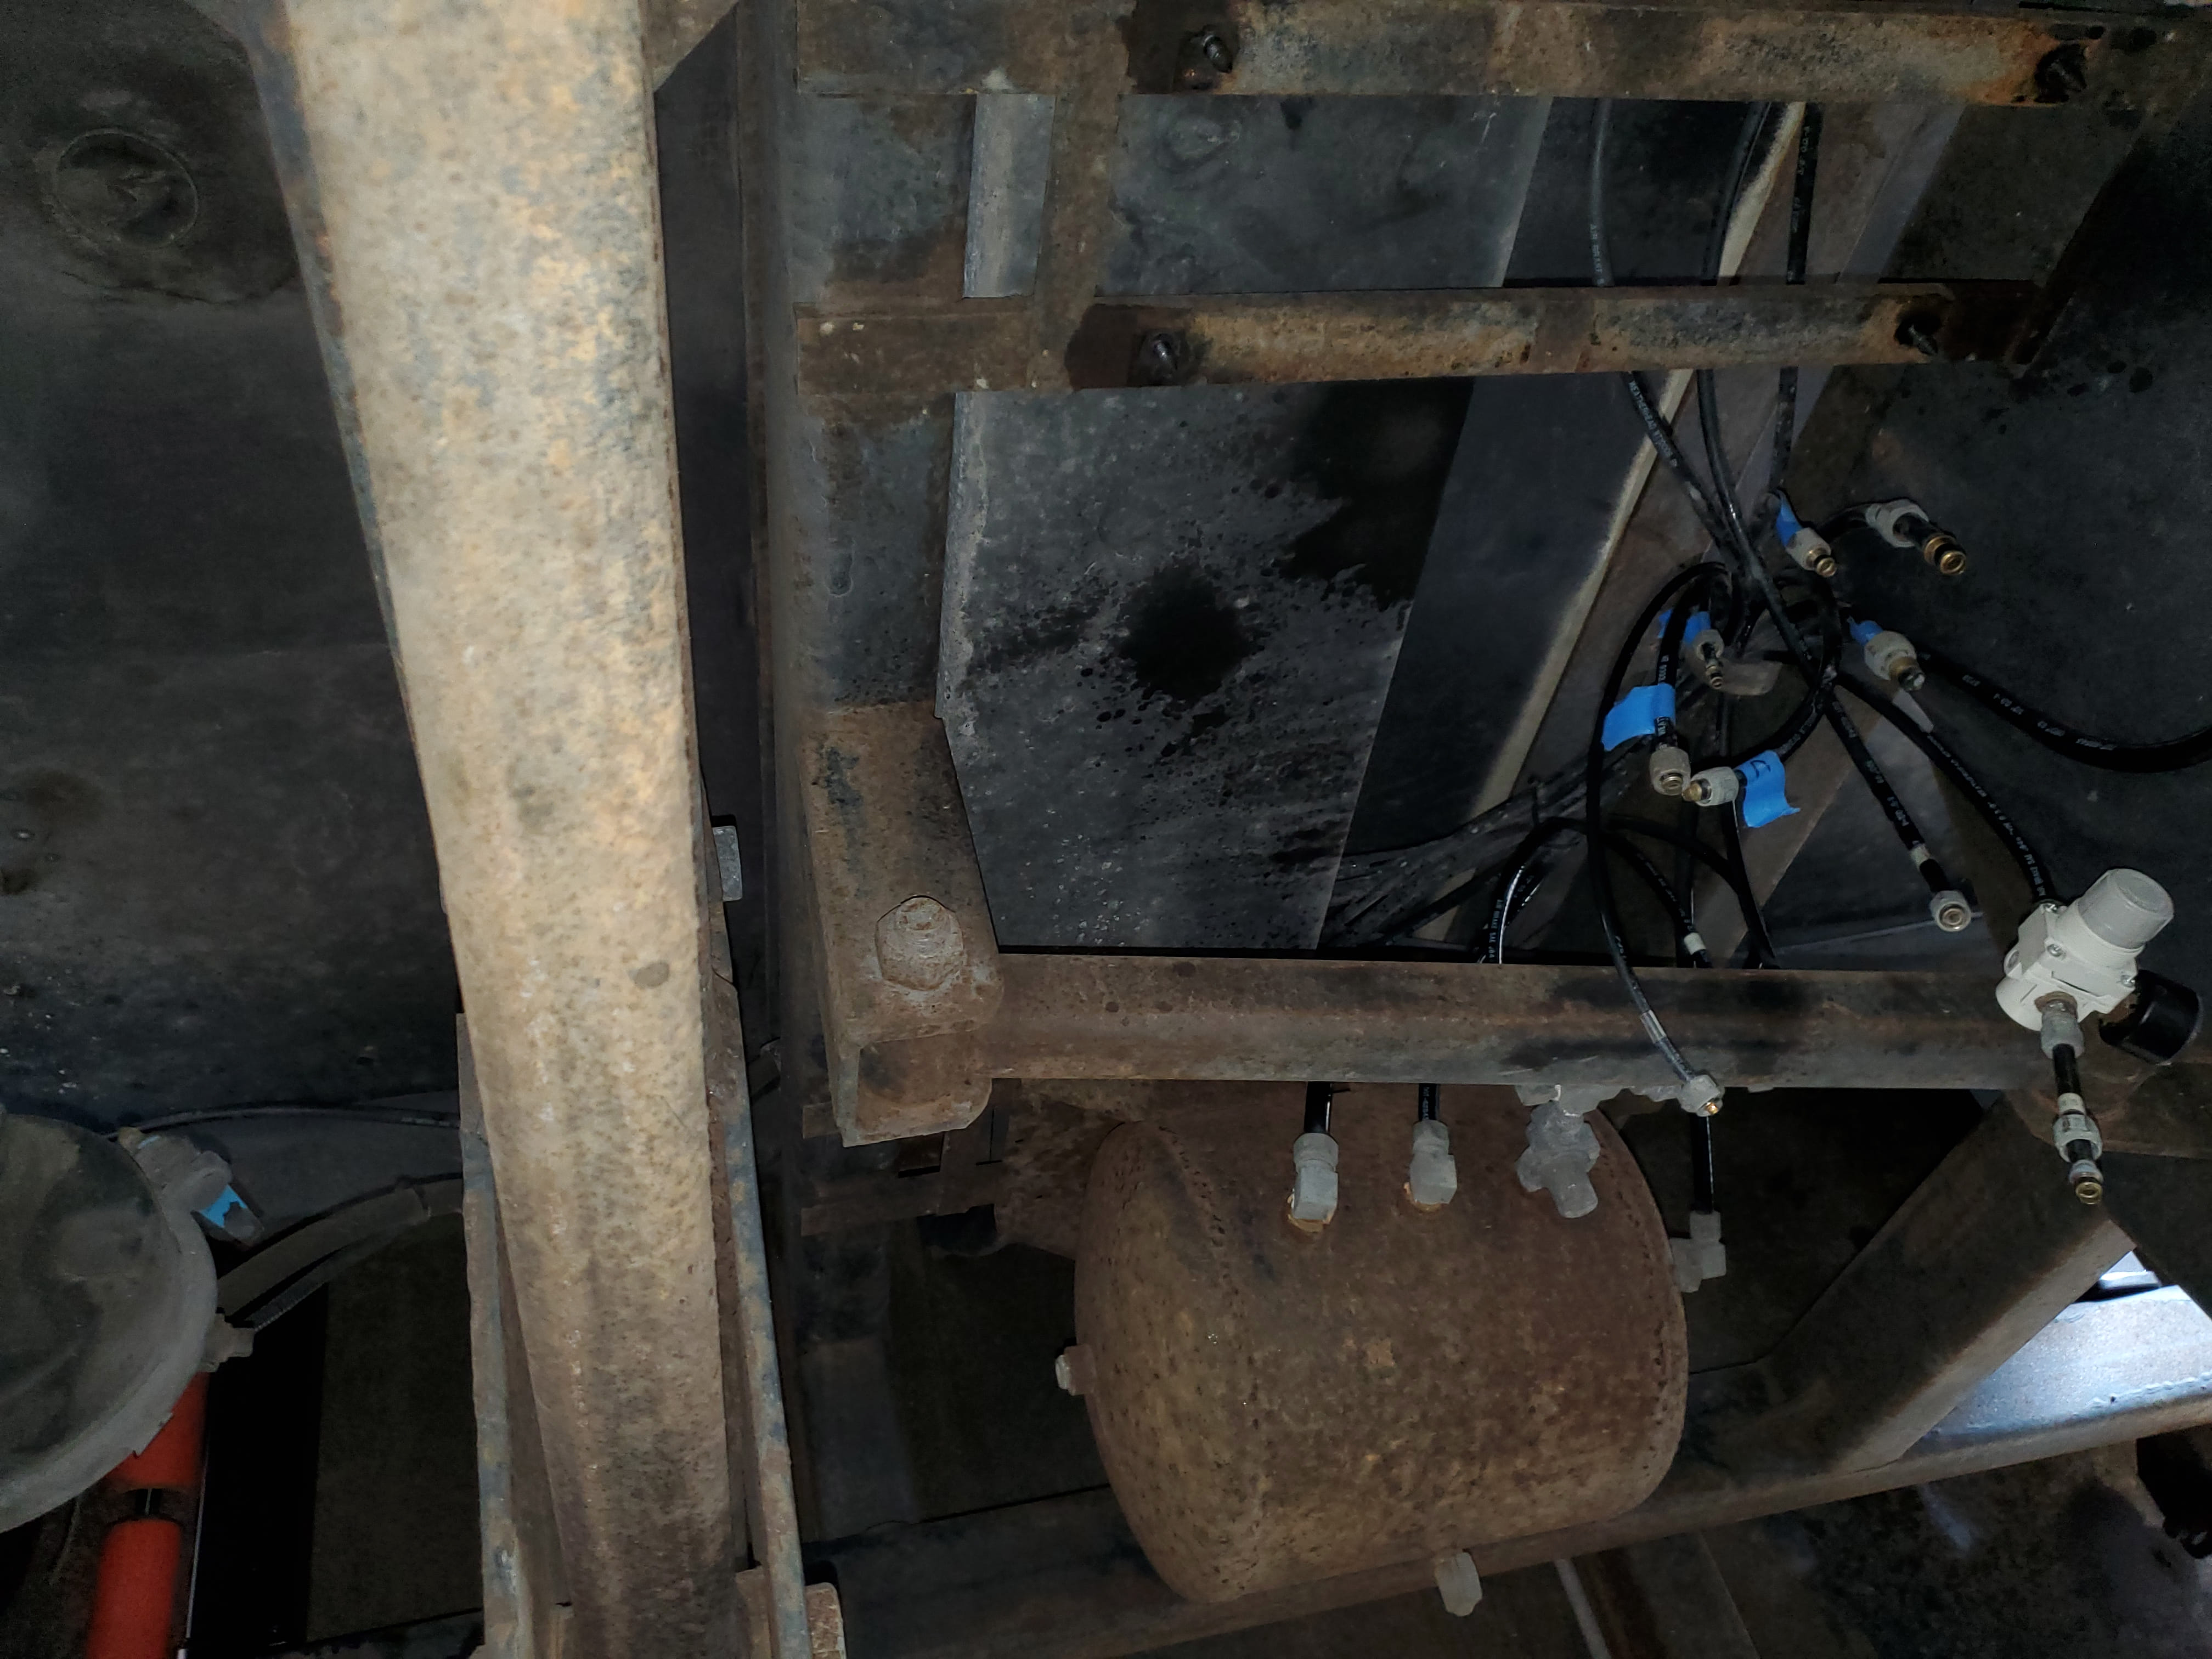
Once all the airlines were disconnected, the tanks were removed. The two (2) front tanks are held in place with nuts/washers. I had given everything a shot of liquid wrench the day before and everything broke free with ease. The studs are actually Rolok’s that are driven down through the brackets which themselves are then fastened to the frame.
The rear tank (wet tank) is secured differently than the front. Its held with (4) Rolok’s driven upwards. Two (2) are driven into a metal bracket, the other (2) are driven into the frame rail. I was concerned about the frame rail ones snapping, they were not moving with a socket wrench but did come right out with an impact driver, start off on low.
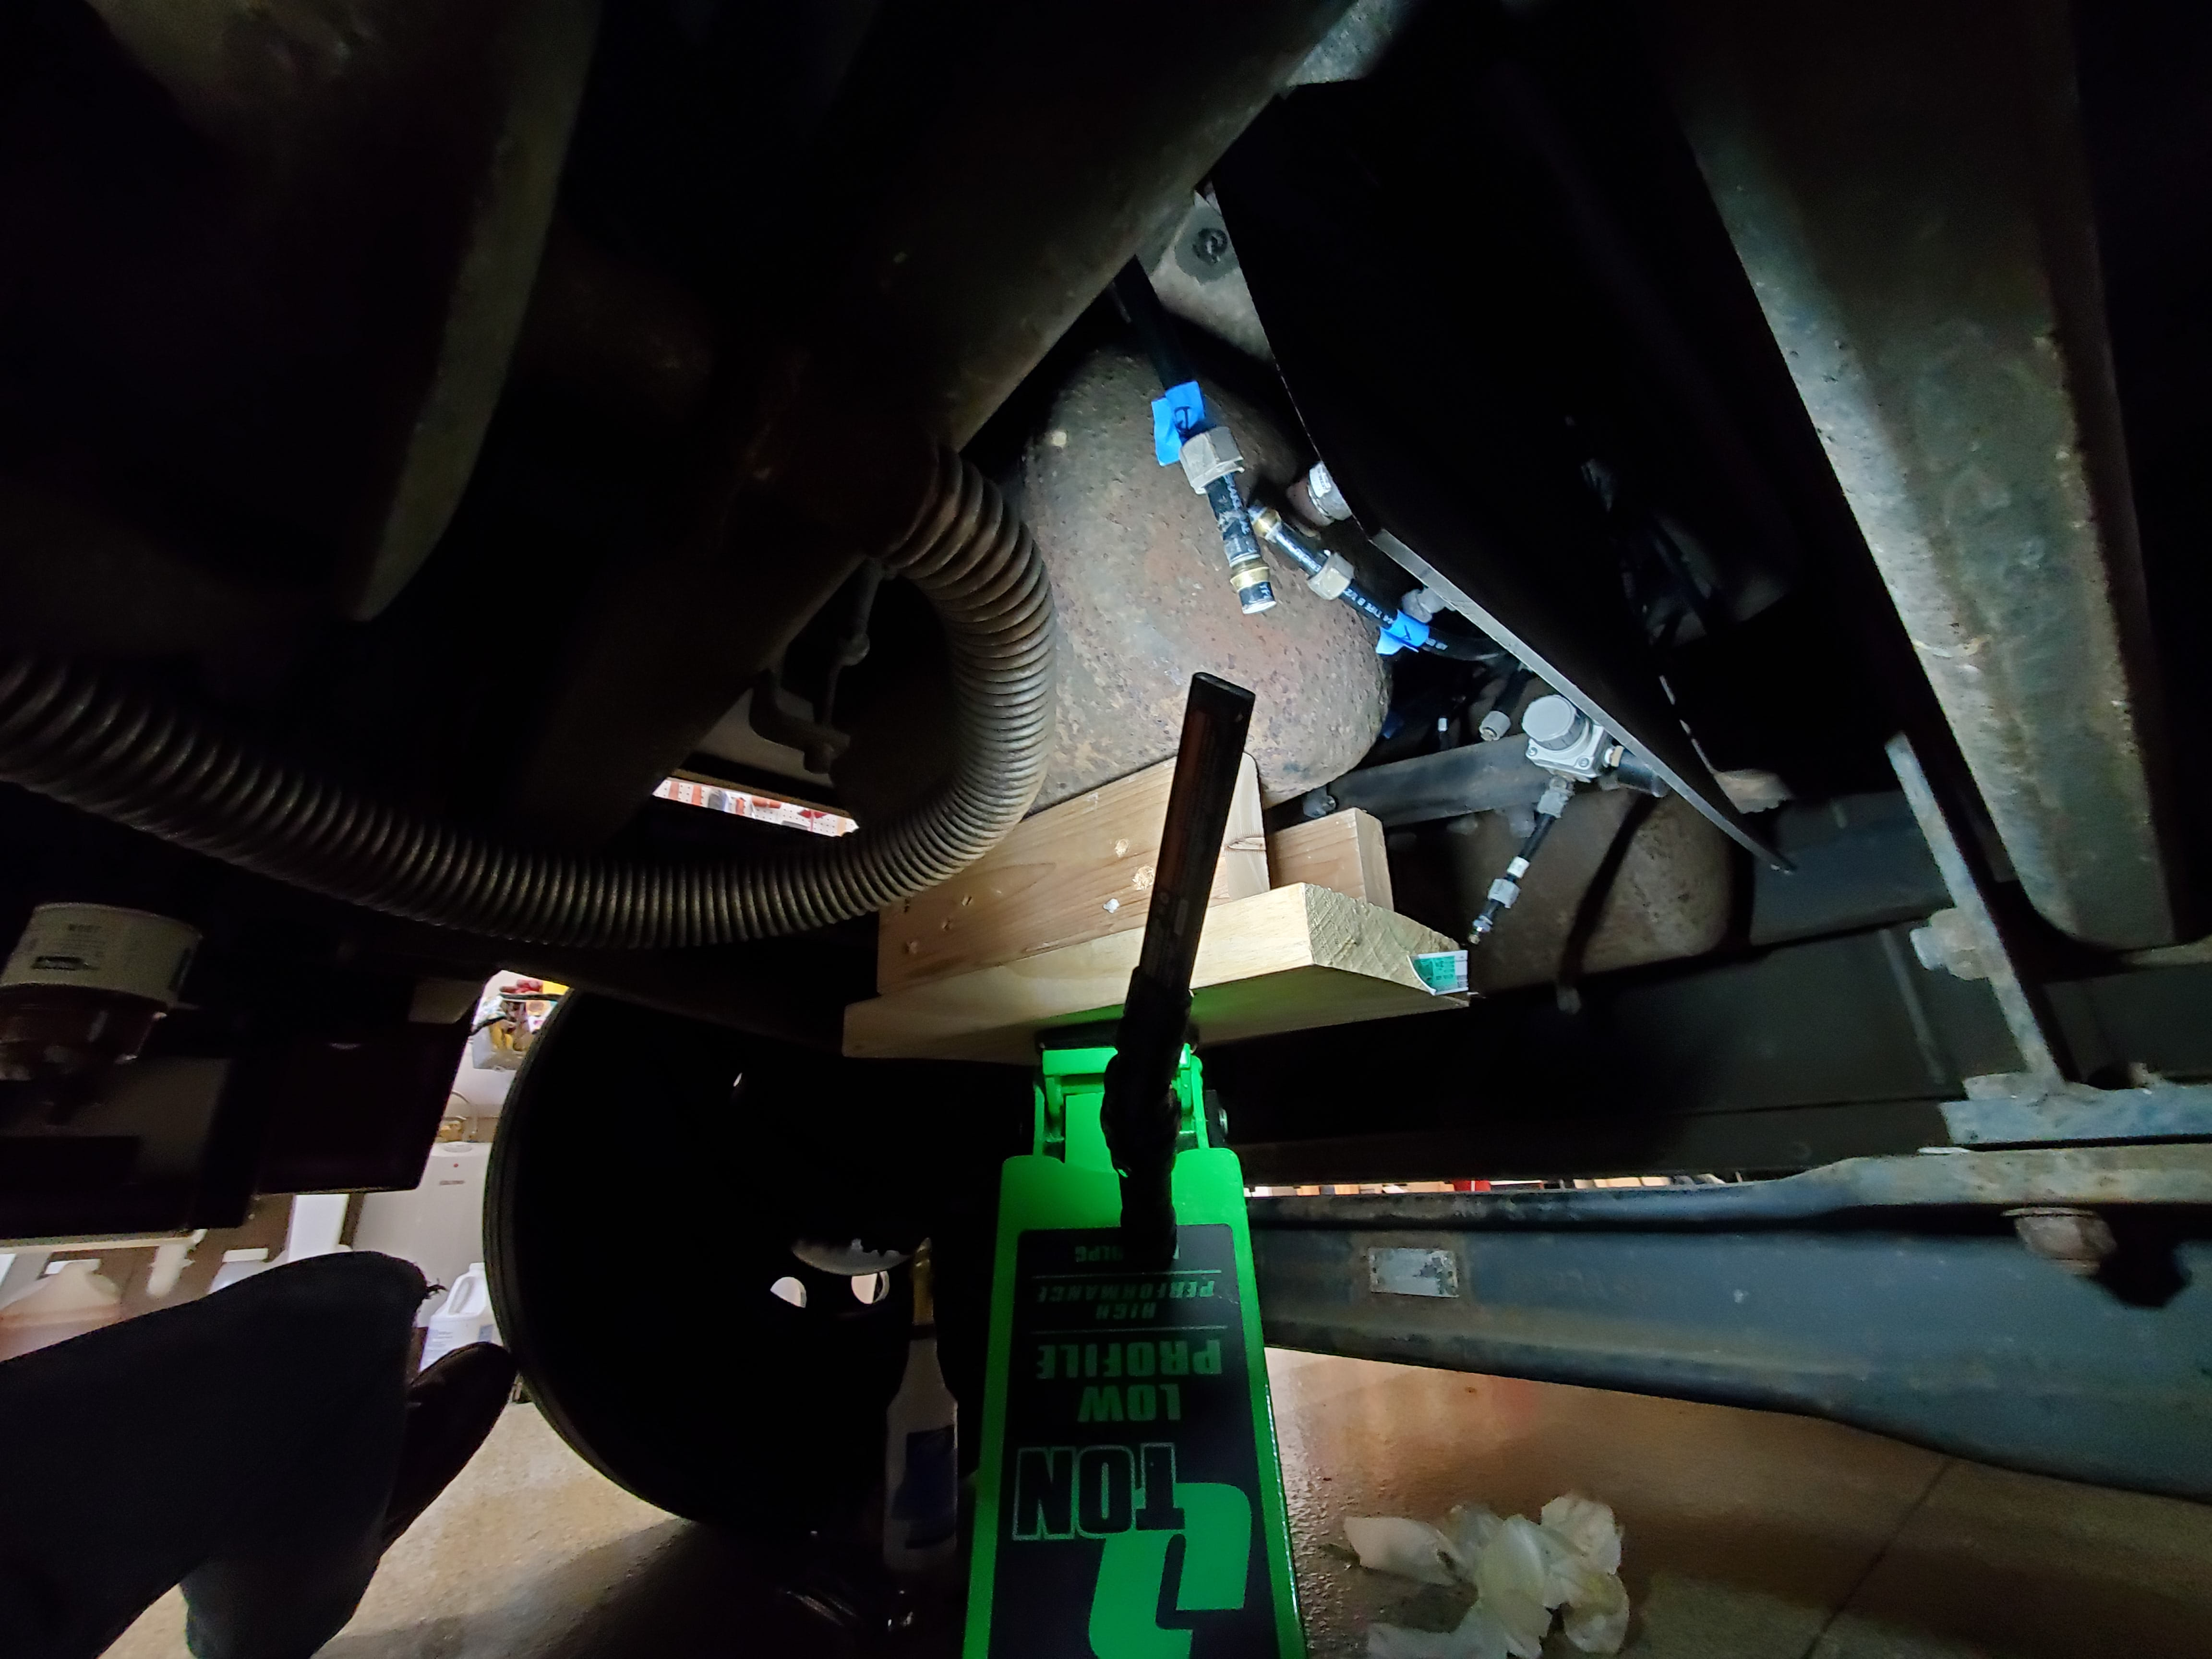
The tanks are not heavy, I lowered them onto various helpers, blocks, jacks, whatever would fit under them, and from there onto the ground. They cleared everything when sliding them out from underneath the coach, plenty of room.
New Fittings
Once on the bench, I started to remove the fittings from the old tank and then decided to just get new fittings. We took the tanks to the local truck repair shop and they went, fitting by fitting, and matched them. He then went to the back and got his set of snap-on Weatherford fitting sockets and handed them to me stating I was going to need them more than him, just return them when I’m done. Came to find that was actually the owner that helped us and those were his Dad’s tools. Friendly shop and they will work on motorhomes (J&K Truck Repair)

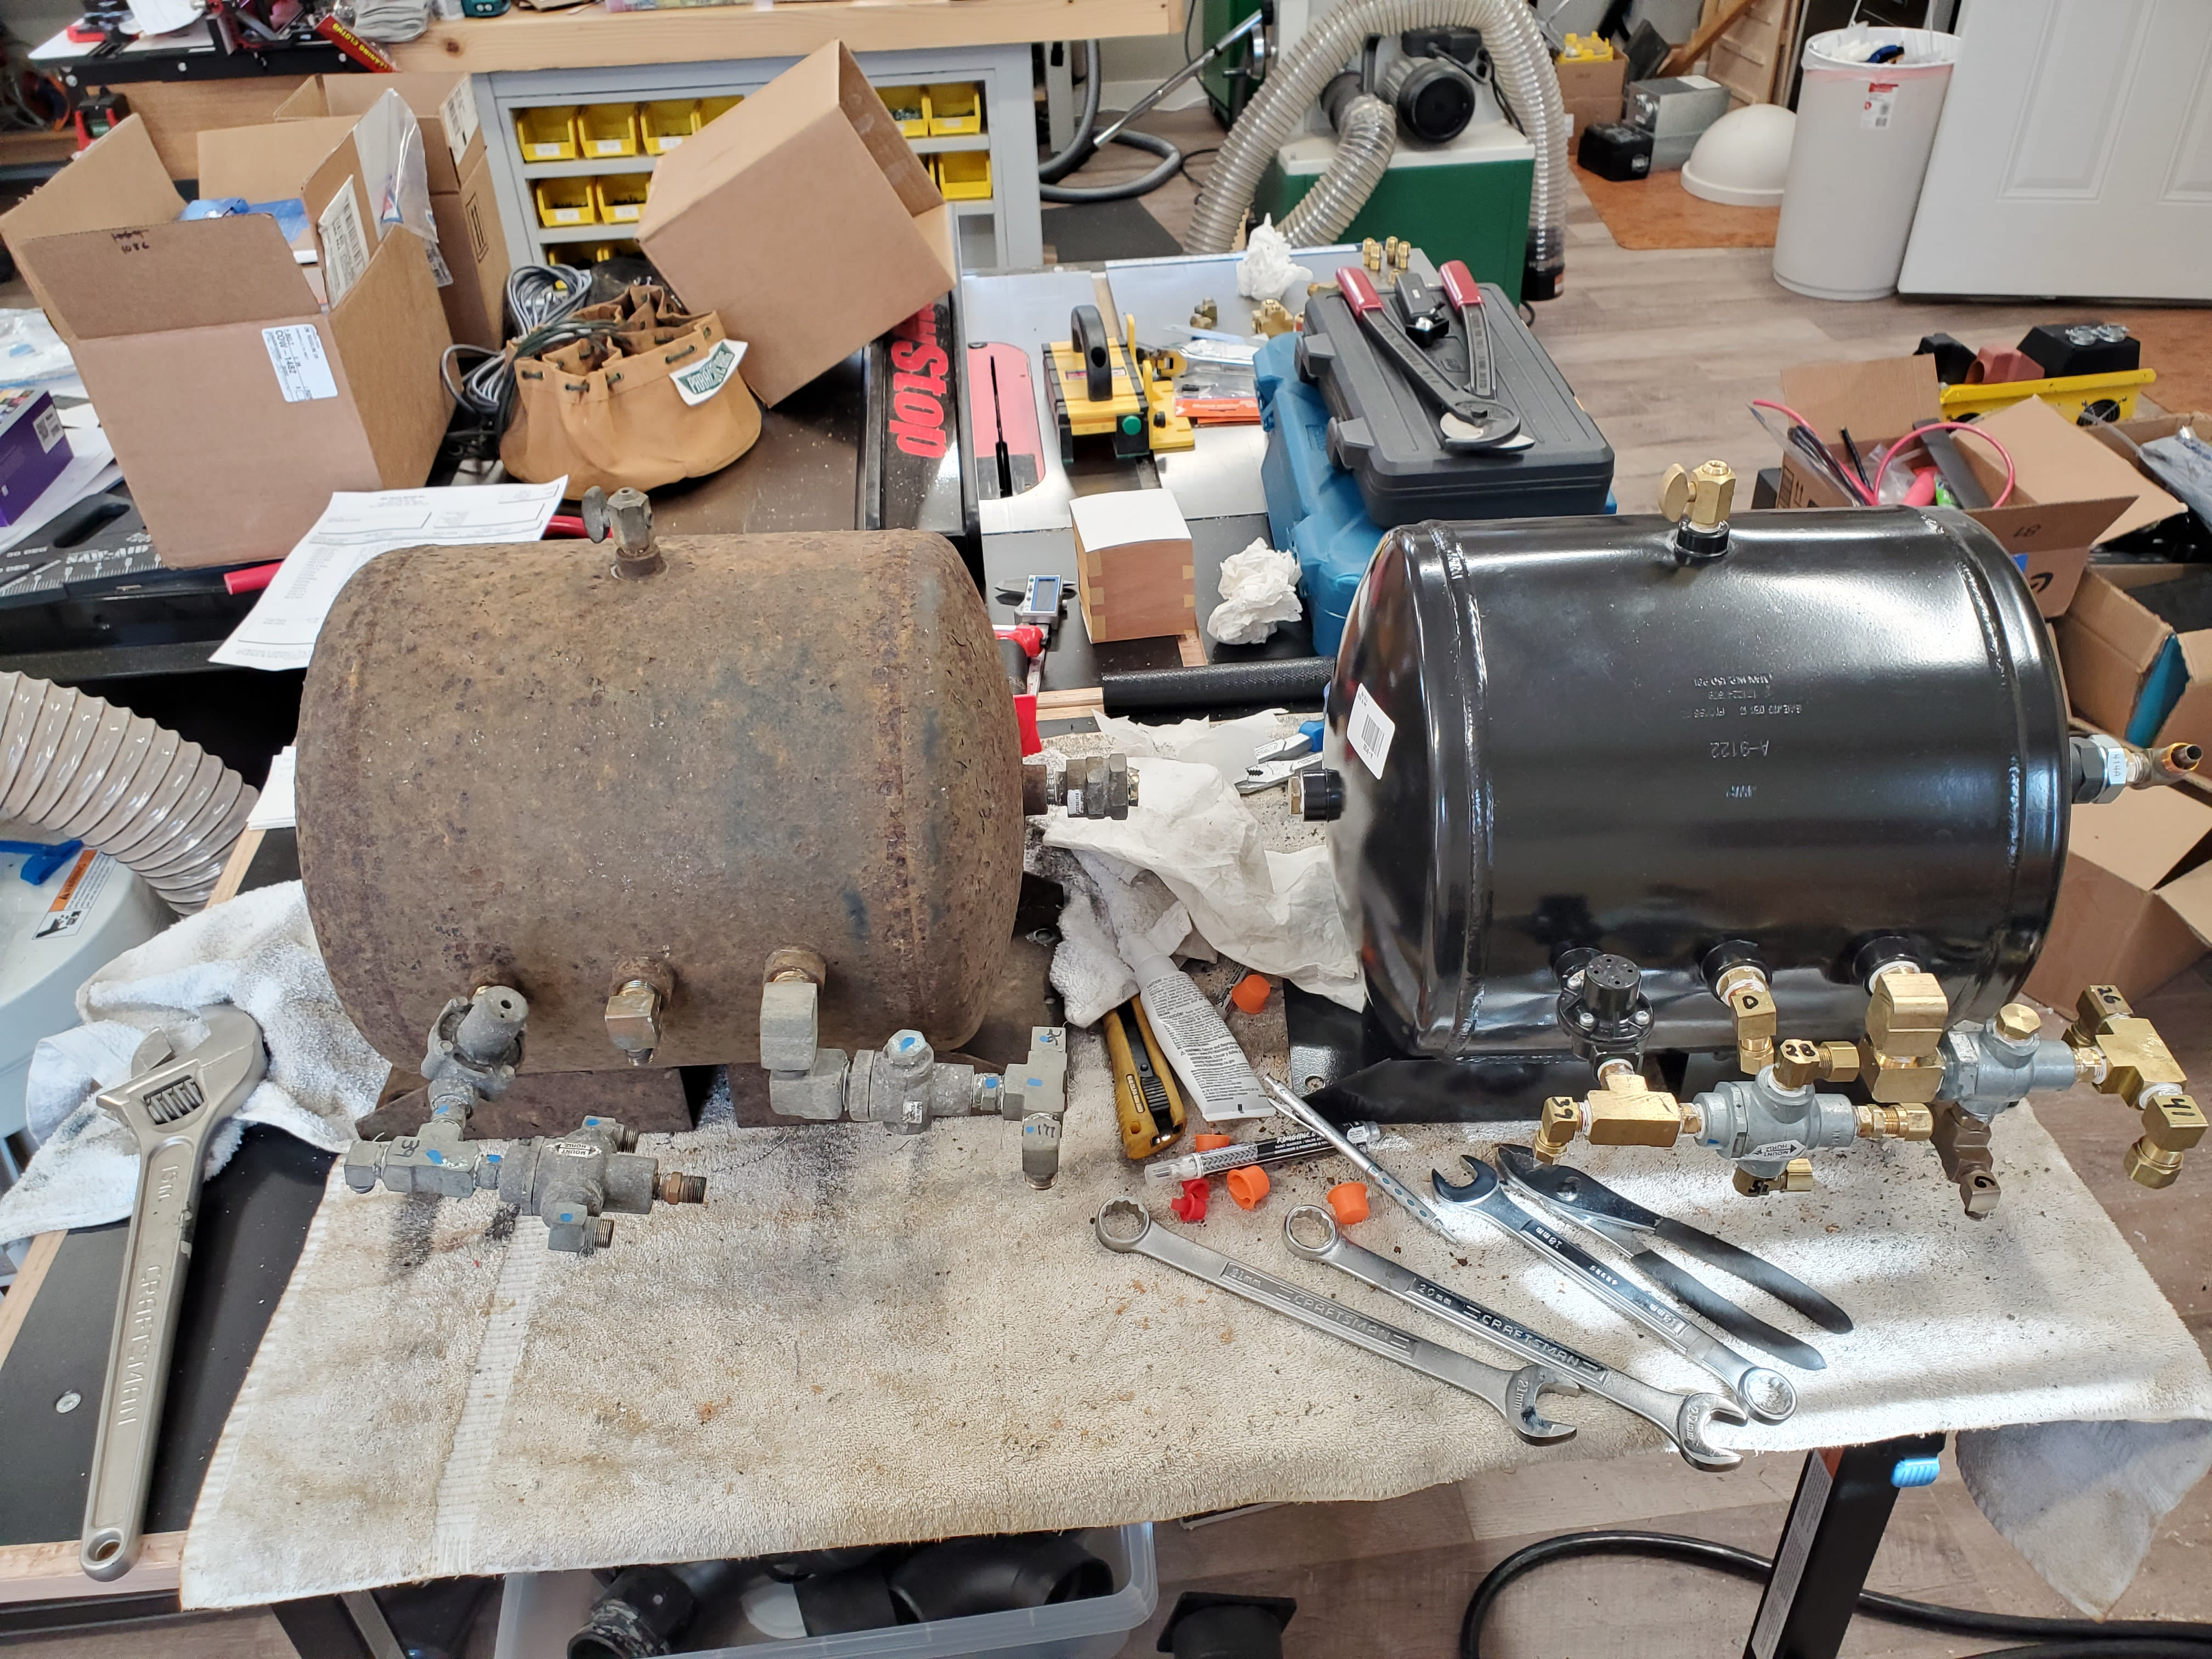
With the new fittings on hand the assembly started. I used loctite 565 on the pipe threads and simply went fitting by fitting. Be sure to position / orient everything close to where they were so you don’t have any problems reattaching the air lines, many do not have any extra length. Also notice the flow direction arrows on the pressure protection valves, you don’t want to install them backwards.
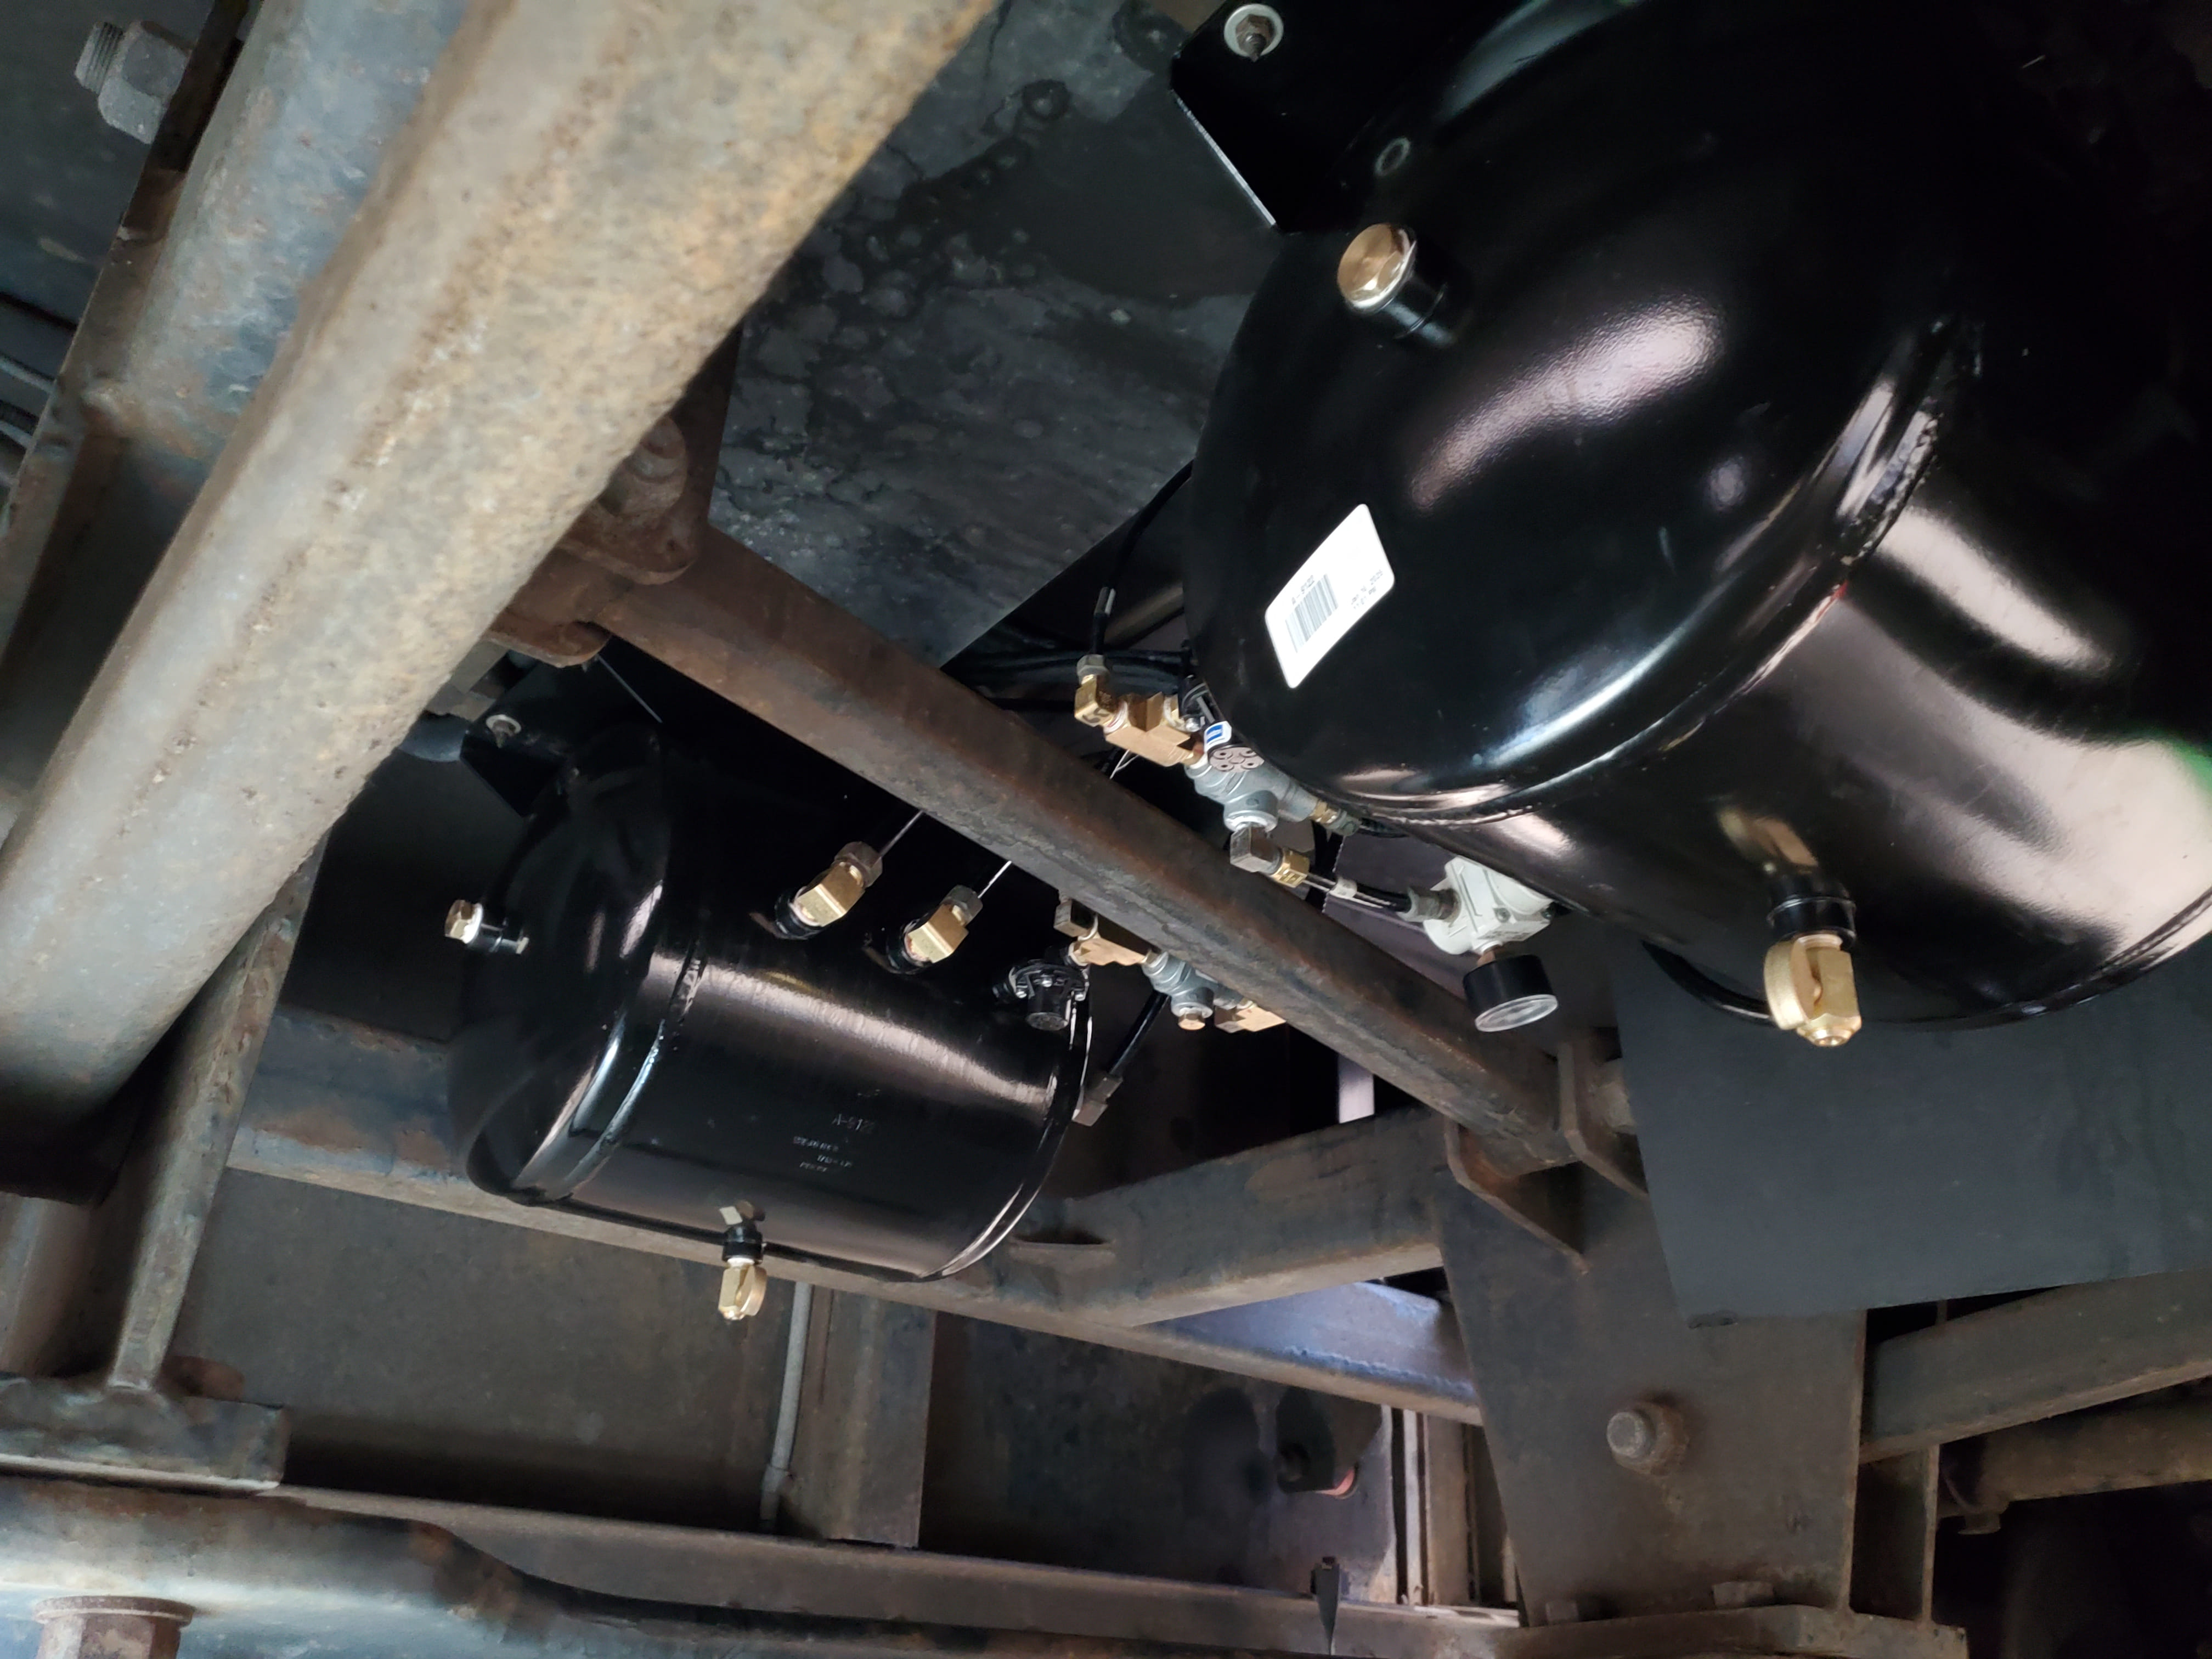
With all the fittings in place, reverse the process. Slide the tanks underneath, lift them up and attach them. I did the front tank, then its air lines, then the rear and its air lines, and so on.
Many air lines are just long enough, so I reused the existing ferrule/line on several of them. In a few areas I clipped them off and used new. When reusing them, the original tube stiffener was generally still in the air line. Using a pair of side cutters positioned between the stiffener and the tube end, applying lite pressure they easily slide out. All of the new fittings had the stiffener as part of the connector body.
I fully seated the tube/ferrule in the connector, then hand tightened the nut. For the final snug I used a wrench but only turned it a couple of nut flats. When done I had two very small leaks, both of which stopped after a couple of loosen/tighten cycles.
Whats that NOISE
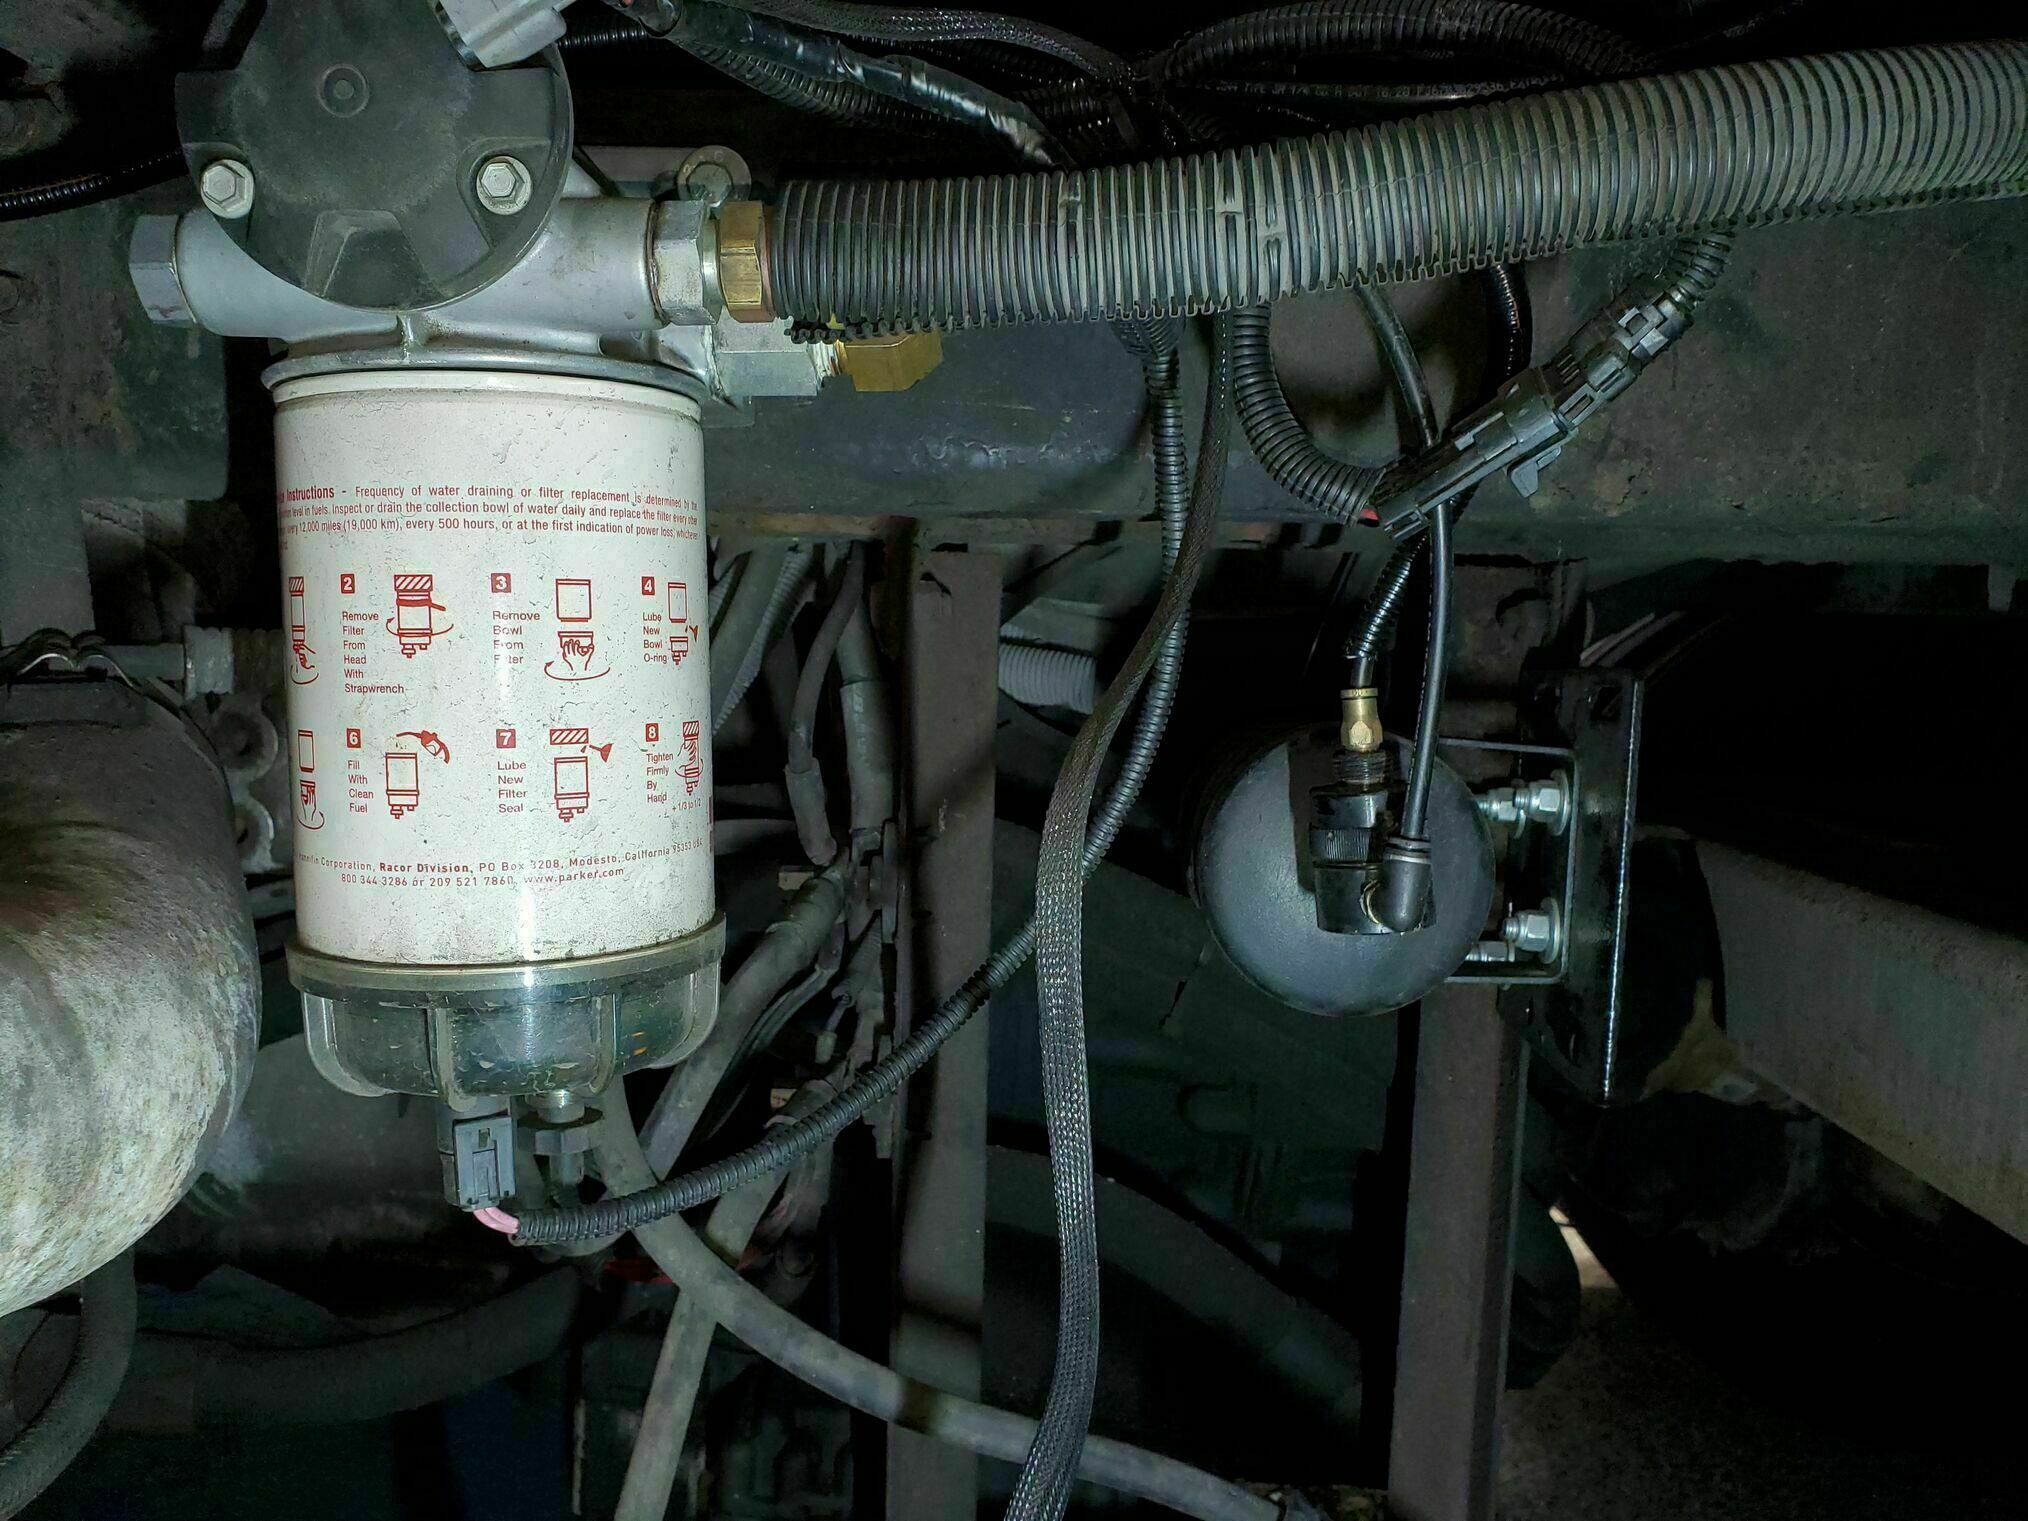
One thing we found was the replacement Haldex KN23000 check valves were very noisy. In our setup the wet tank line runs to a tee and each side of the tee feeds the tank inlet via this check valve. When the tanks were filling they would make a kind of Groan/Honk Noise OK that is not the actual sound, but its close enough to what you hear whenever its adding air.
Here is a video that explains what is happening:
In discussions with James Johnson at MOT, he was very familiar with the noise issue. The fix in our case was changing the Haldex KN23000 for a Bendix SC3 / 800372. If you have this issue will depend on your air line / valve / plumbing tree setup. They vary from year to year and slide vs no slide, etc. Anyway with the new valves in place the flutter noise is gone.
One last Item
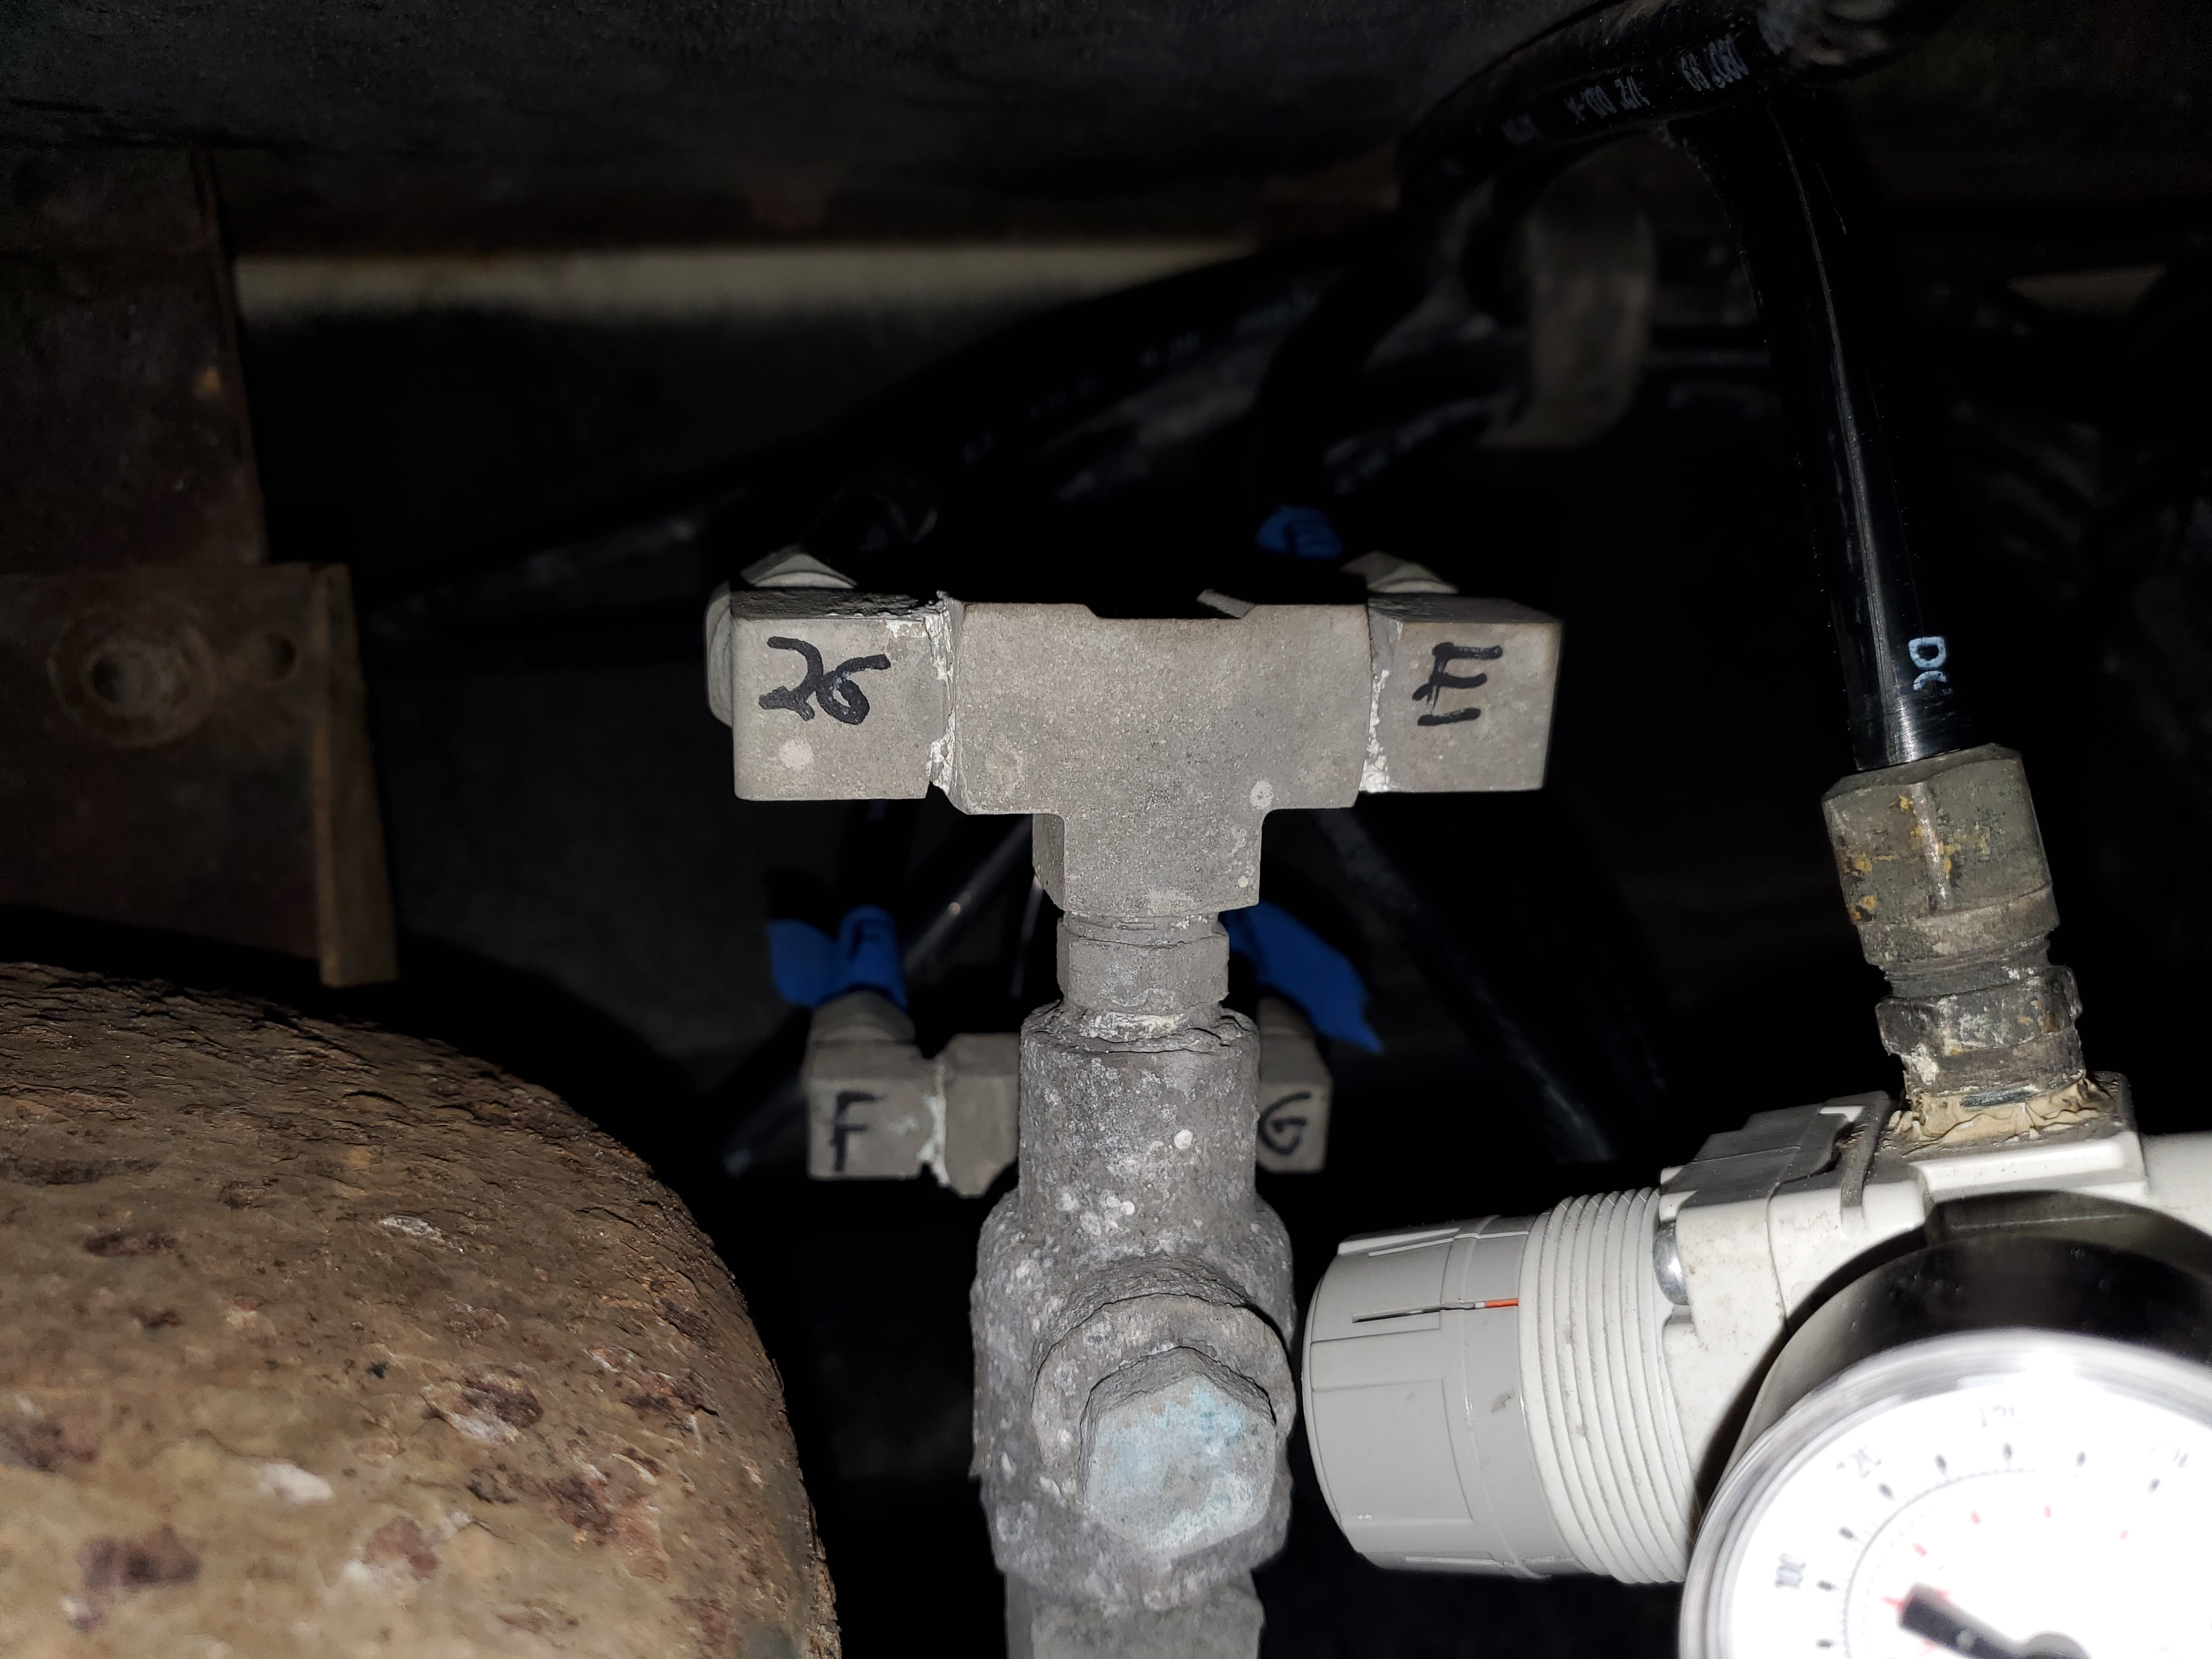
There was still an audible leak when the tanks were full, you could hear it for a short time after shutting the coach down. Sliding under I found the pressure regulator to the HWH front 6 pack was leaking from the stem. This is the one normally set to 65psi, but this one was set at 105ish psi, very strange.
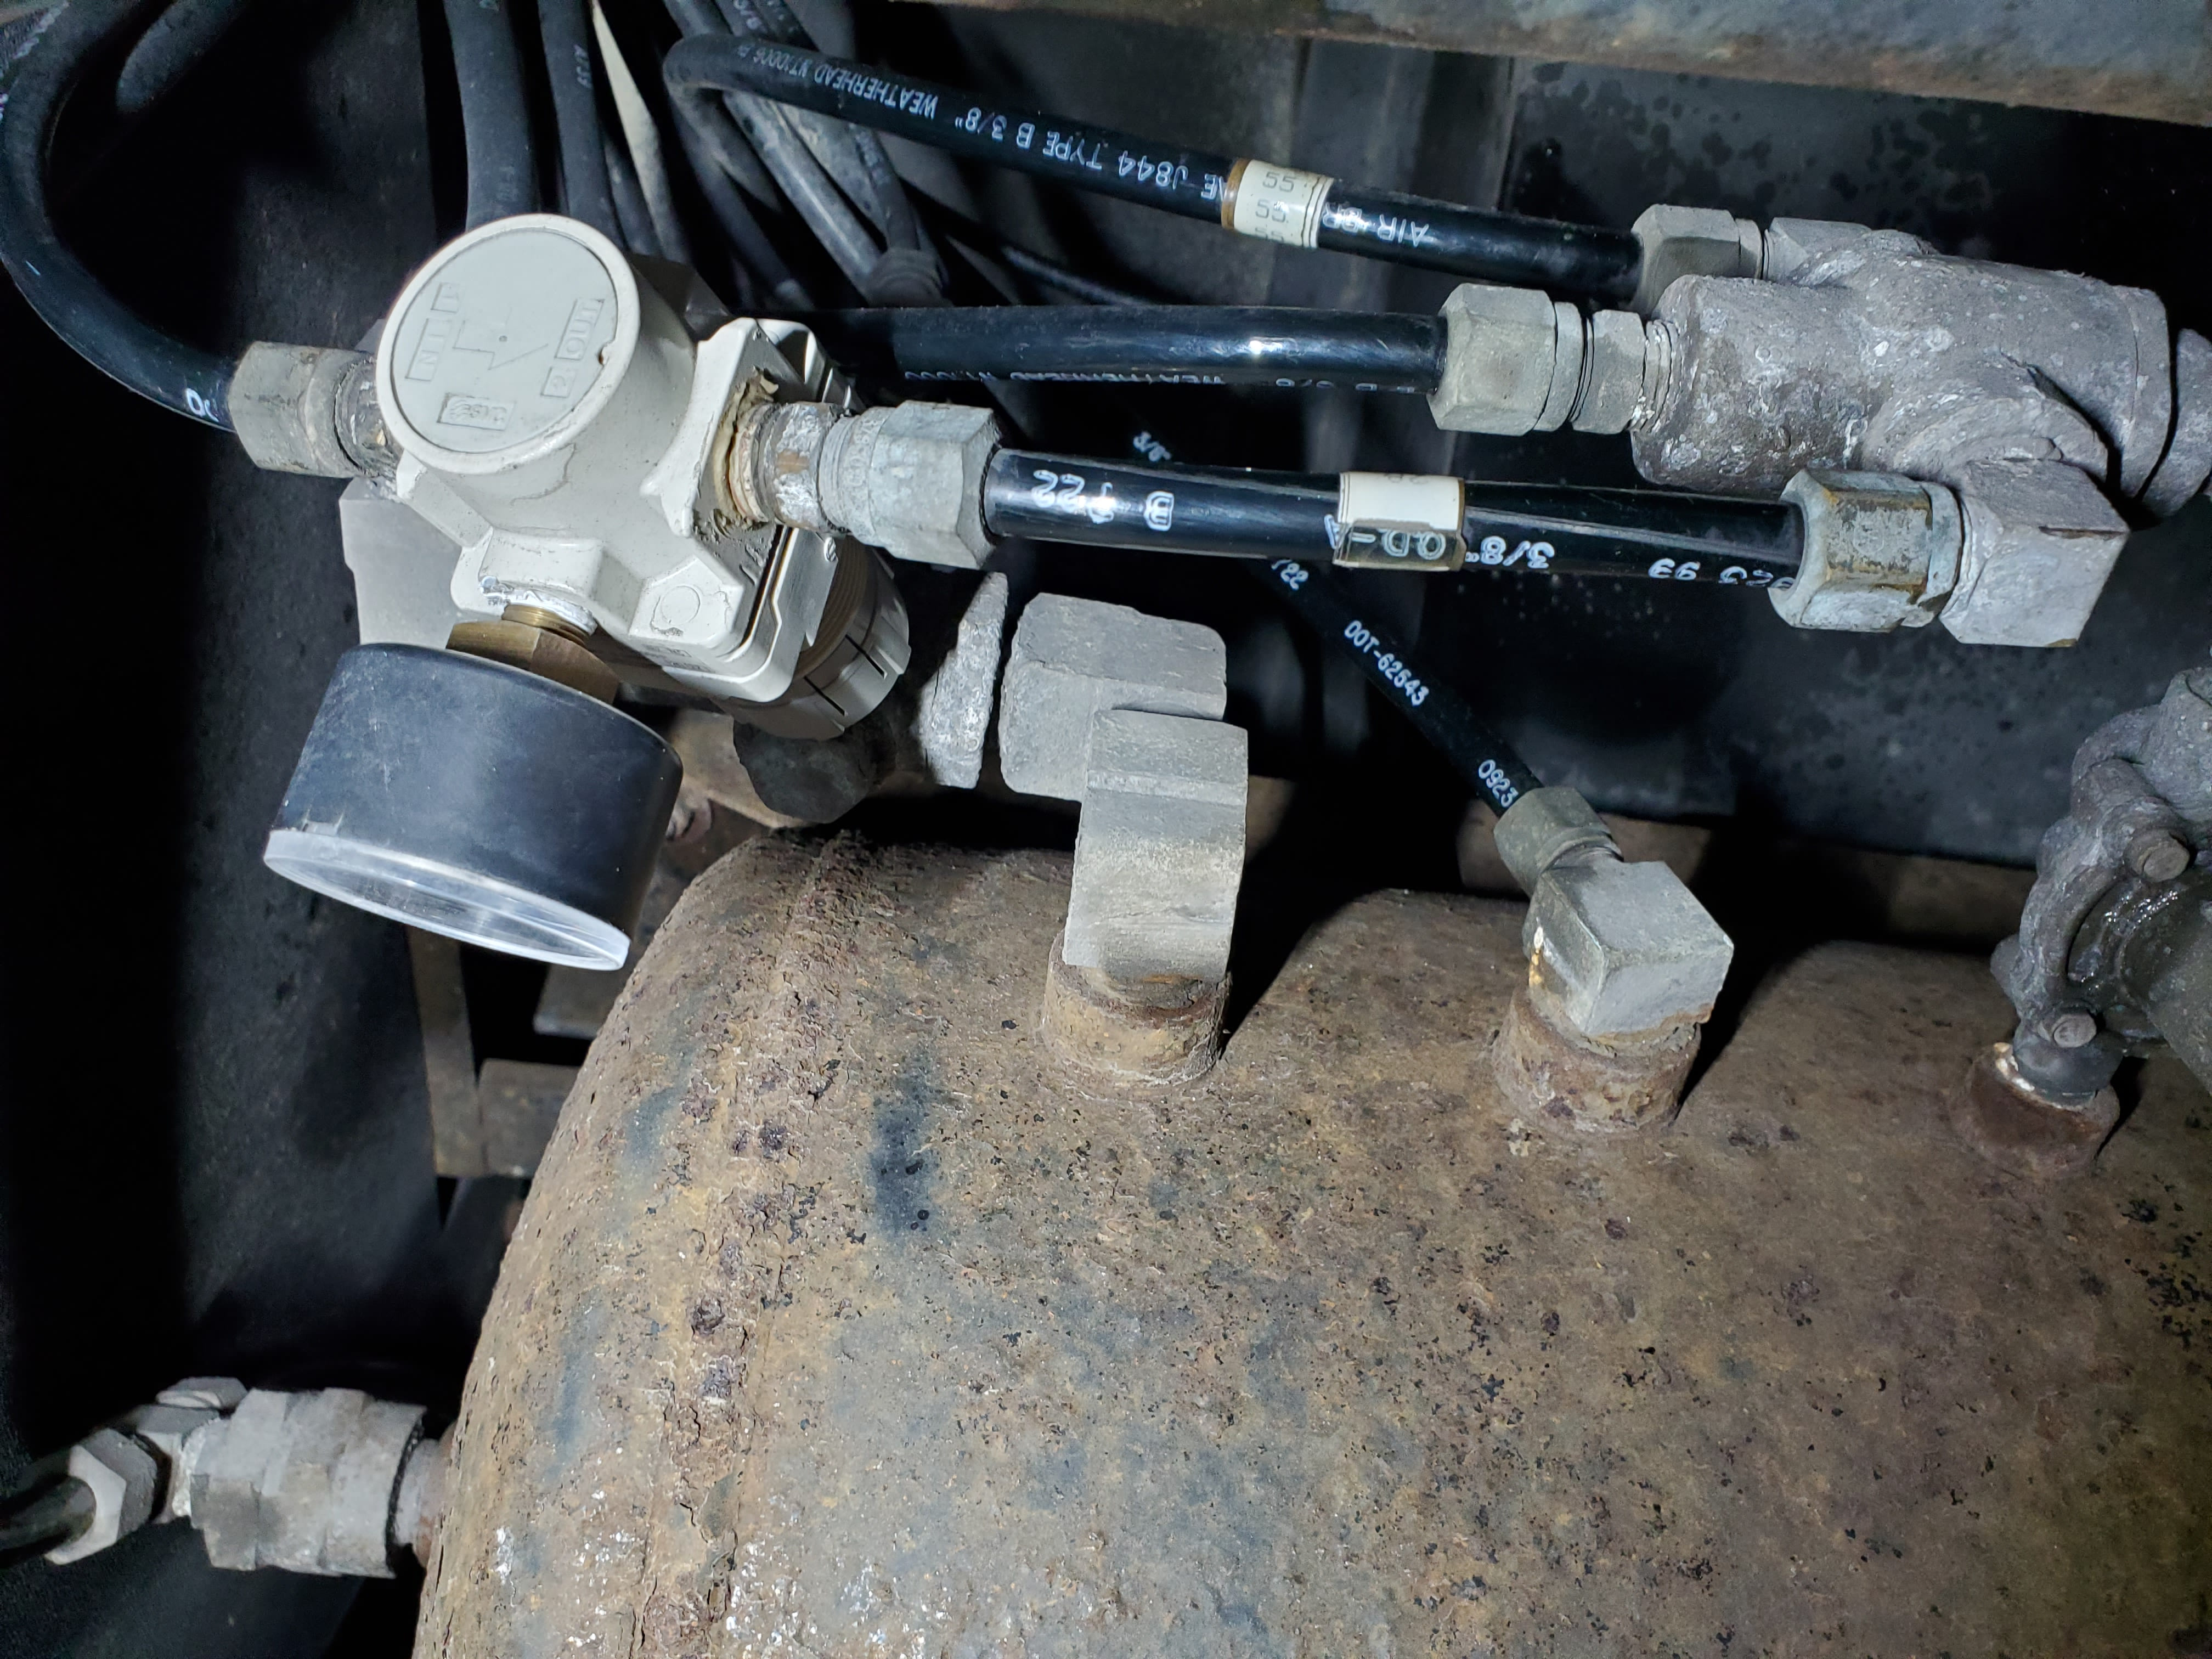
Off to Lowes to get a replacement, installed in the same way as the existing one and … same problem, even worse. Looking at it for a bit I realized it was in backwards, the outlet was towards the tank and not towards the 6 pack. I then checked the pictures taken before the redo, and indeed, the original regulator had been installed backwards and like a Lemming I did the same. I had set it to 65psi which is what made it leak down even more.
Being in backward explains why the old one was set so high, it would leak down the tank until that set pressure was reached, so the system would charge to 125psi and immediately leak down to the 105/110 range. This also explained my slow-ish pressure build (at idle) from the low 100’s to 125psi.
With everything complete we are getting < 1psi per hour leakdown at the tanks, a vast improvement. I know there are some small leaks at the step cover valve so that will be next.