Replacing the Air Cleaner
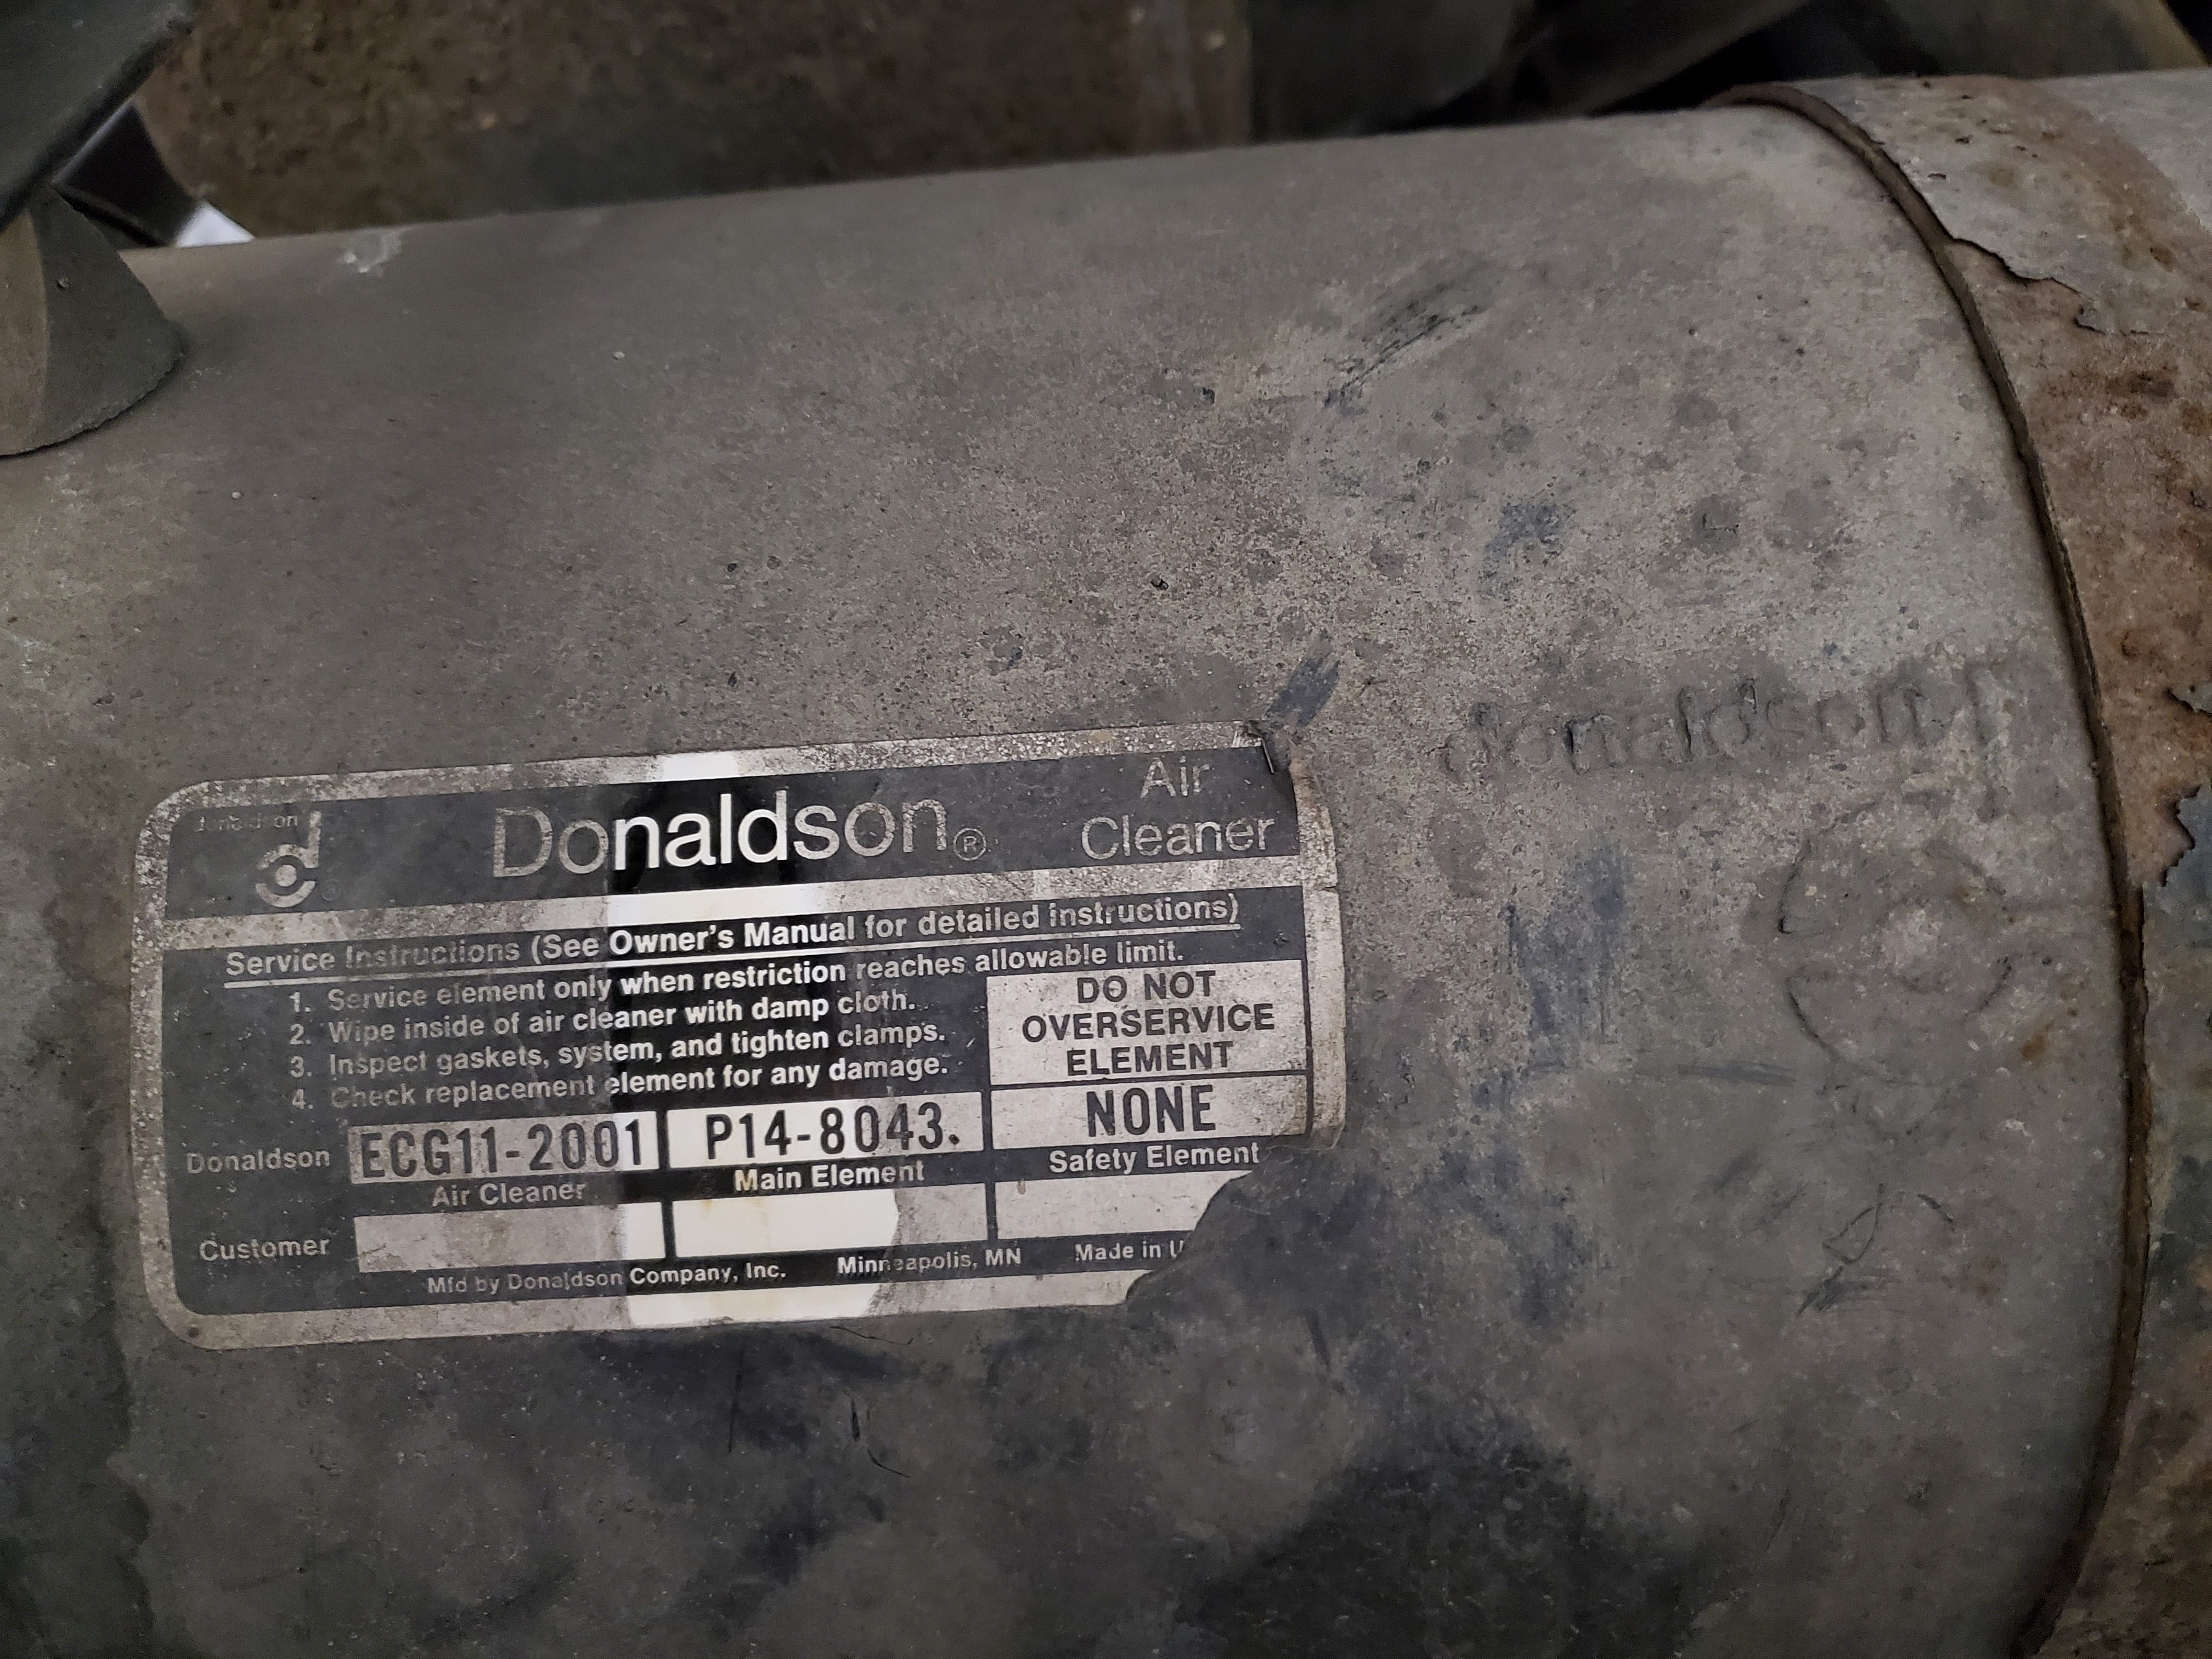
What started out as a simple job of replacing the air filter and the Vacuator (a.k.a. duckbill) valve on our Donaldson ECG Konepac G11-2001 air cleaner ended up becoming “one of those” projects.
The filter had not been replaced recently. It was not listed as serviced (going back 10 years) in the records we received when we purchased the coach. You do not want to over service the air filter, but 10 years is too long.
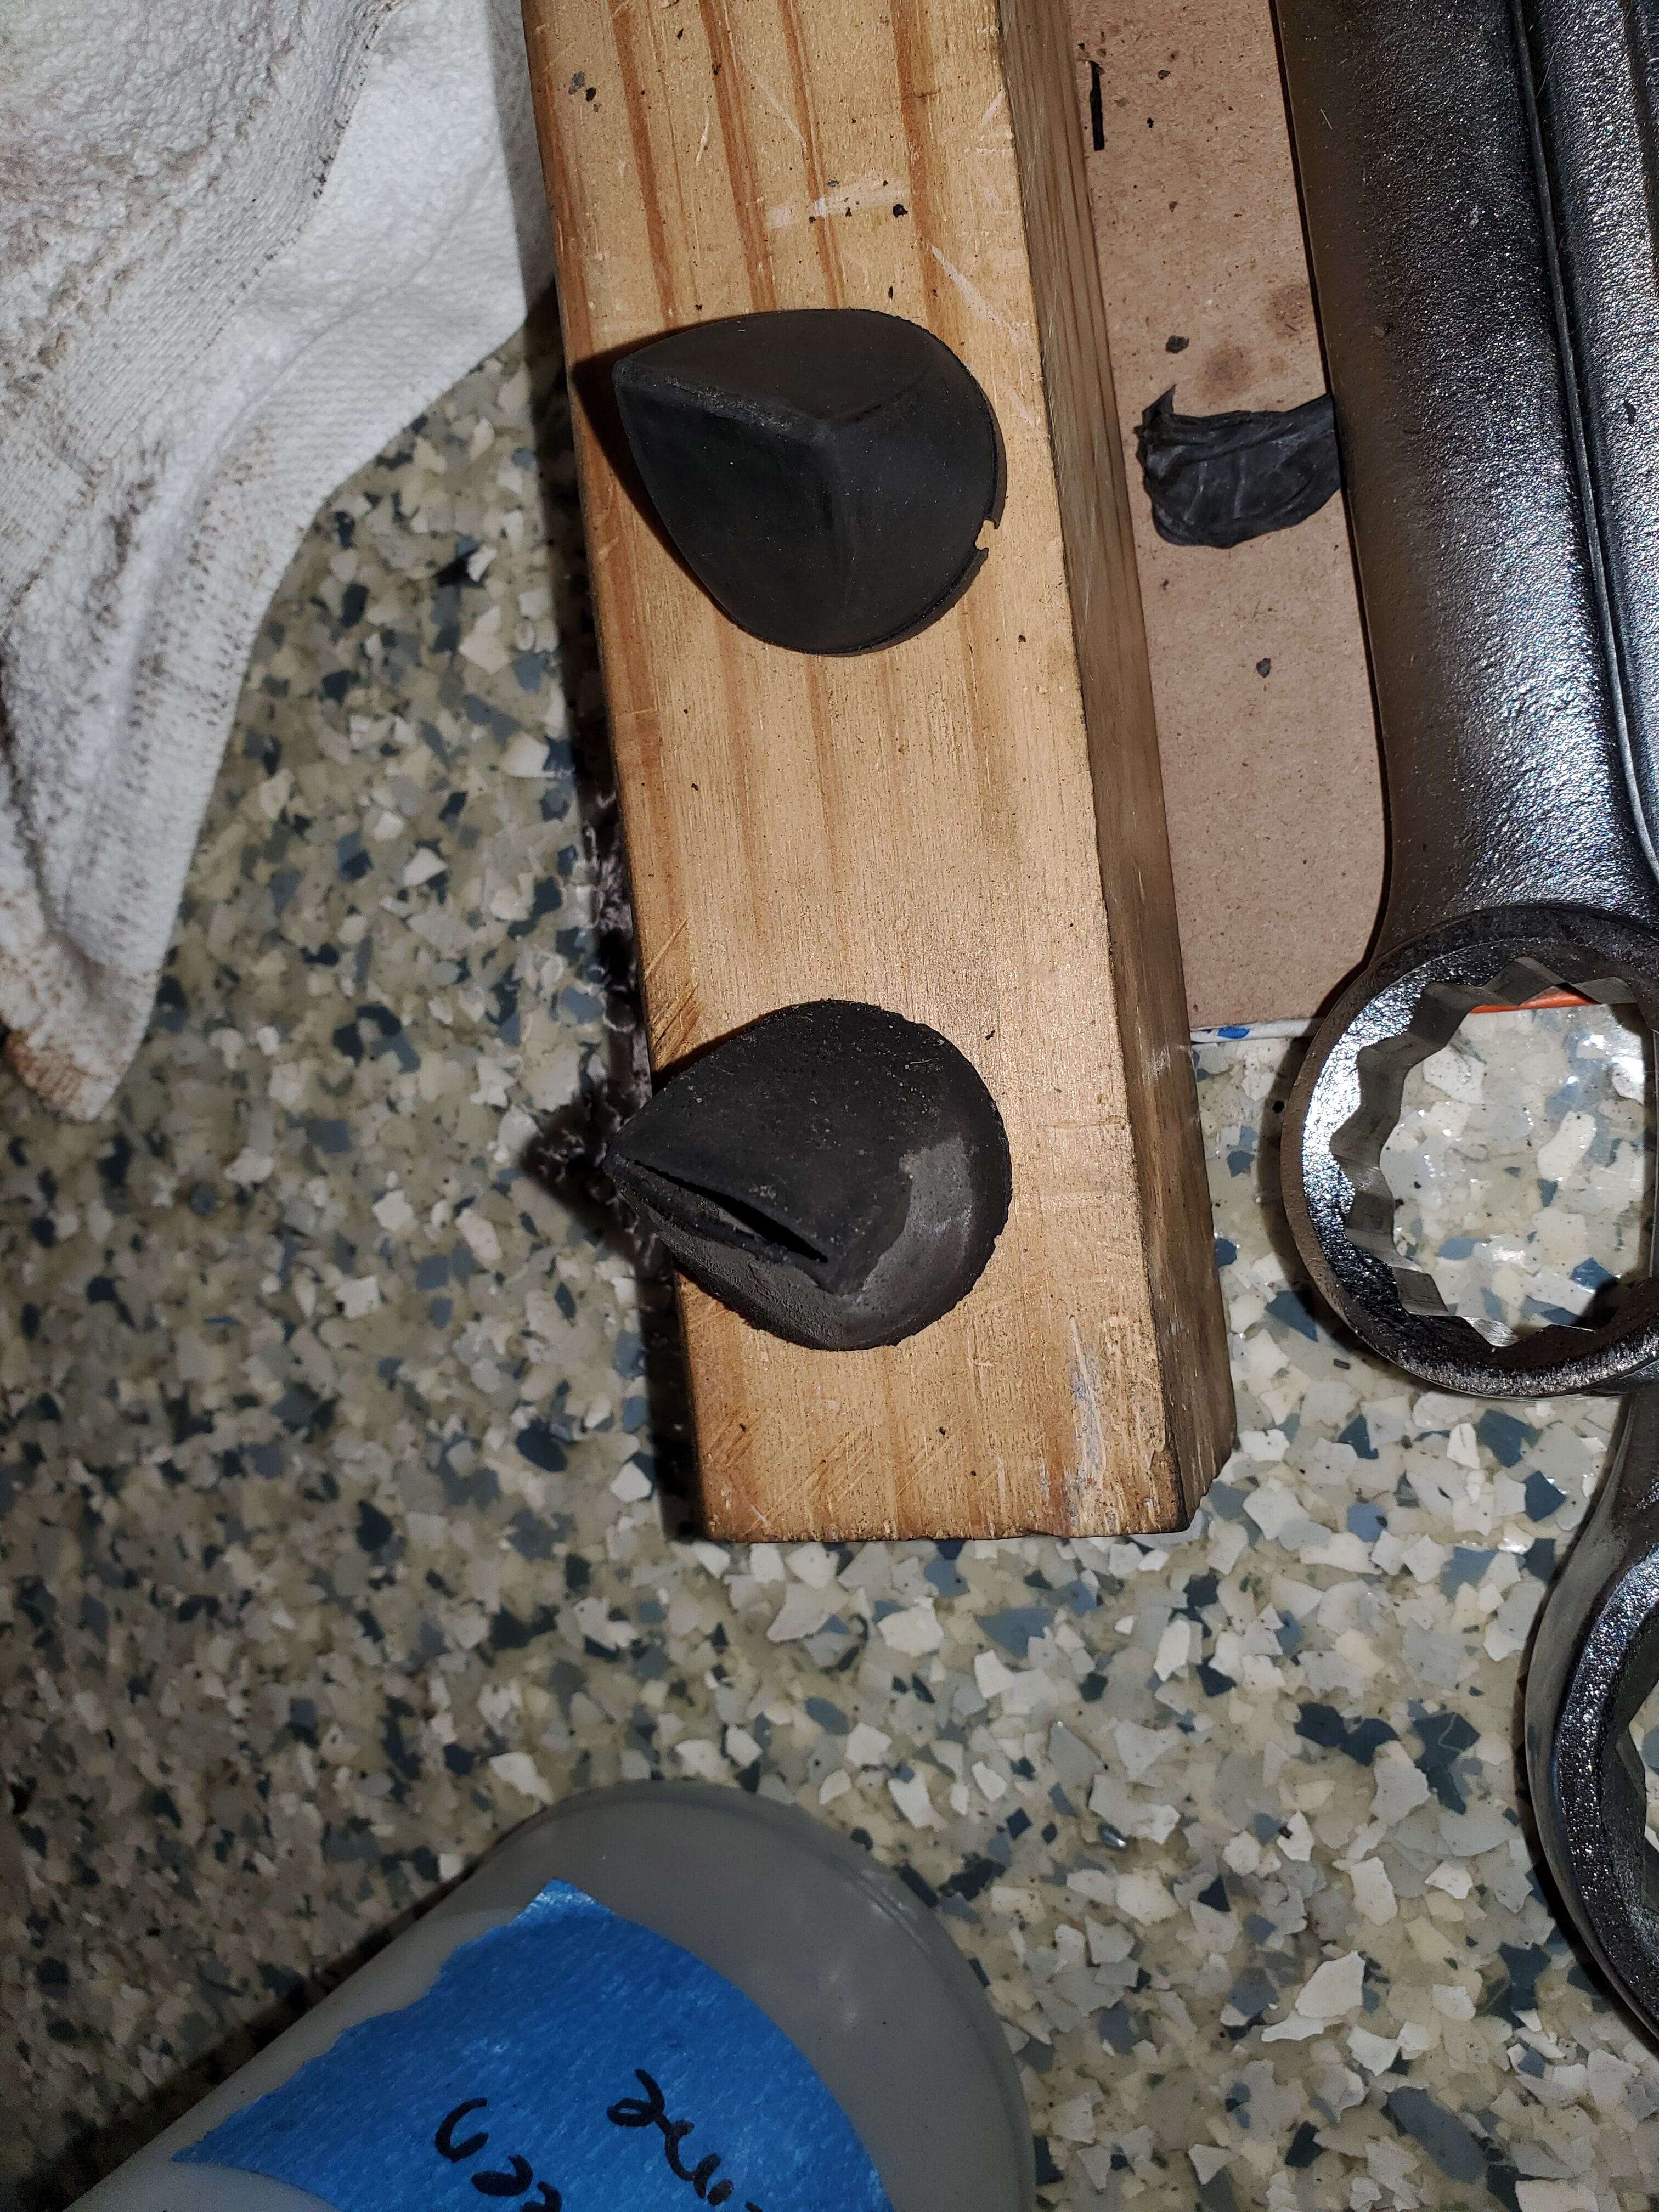
The duckbill had visible wear, so that needed to be replaced as part of this service. We ordered a new filter (P/N P148043) and duckbill (P/N P149099), the parts arrived within a week.
New Service Parts
With new parts on hand, I removed the service access cover, its held on with (3) plastic nuts. I then gently removed the old filter so I did not to knock off any of the dust cake. Accidentally bumping it while still inside leaves more dirt and dust that you will have to clean out. Any dirt left in the air cleaner housing can spell problems for your engine (search on diesel engine dusting) if it gets by the filter.
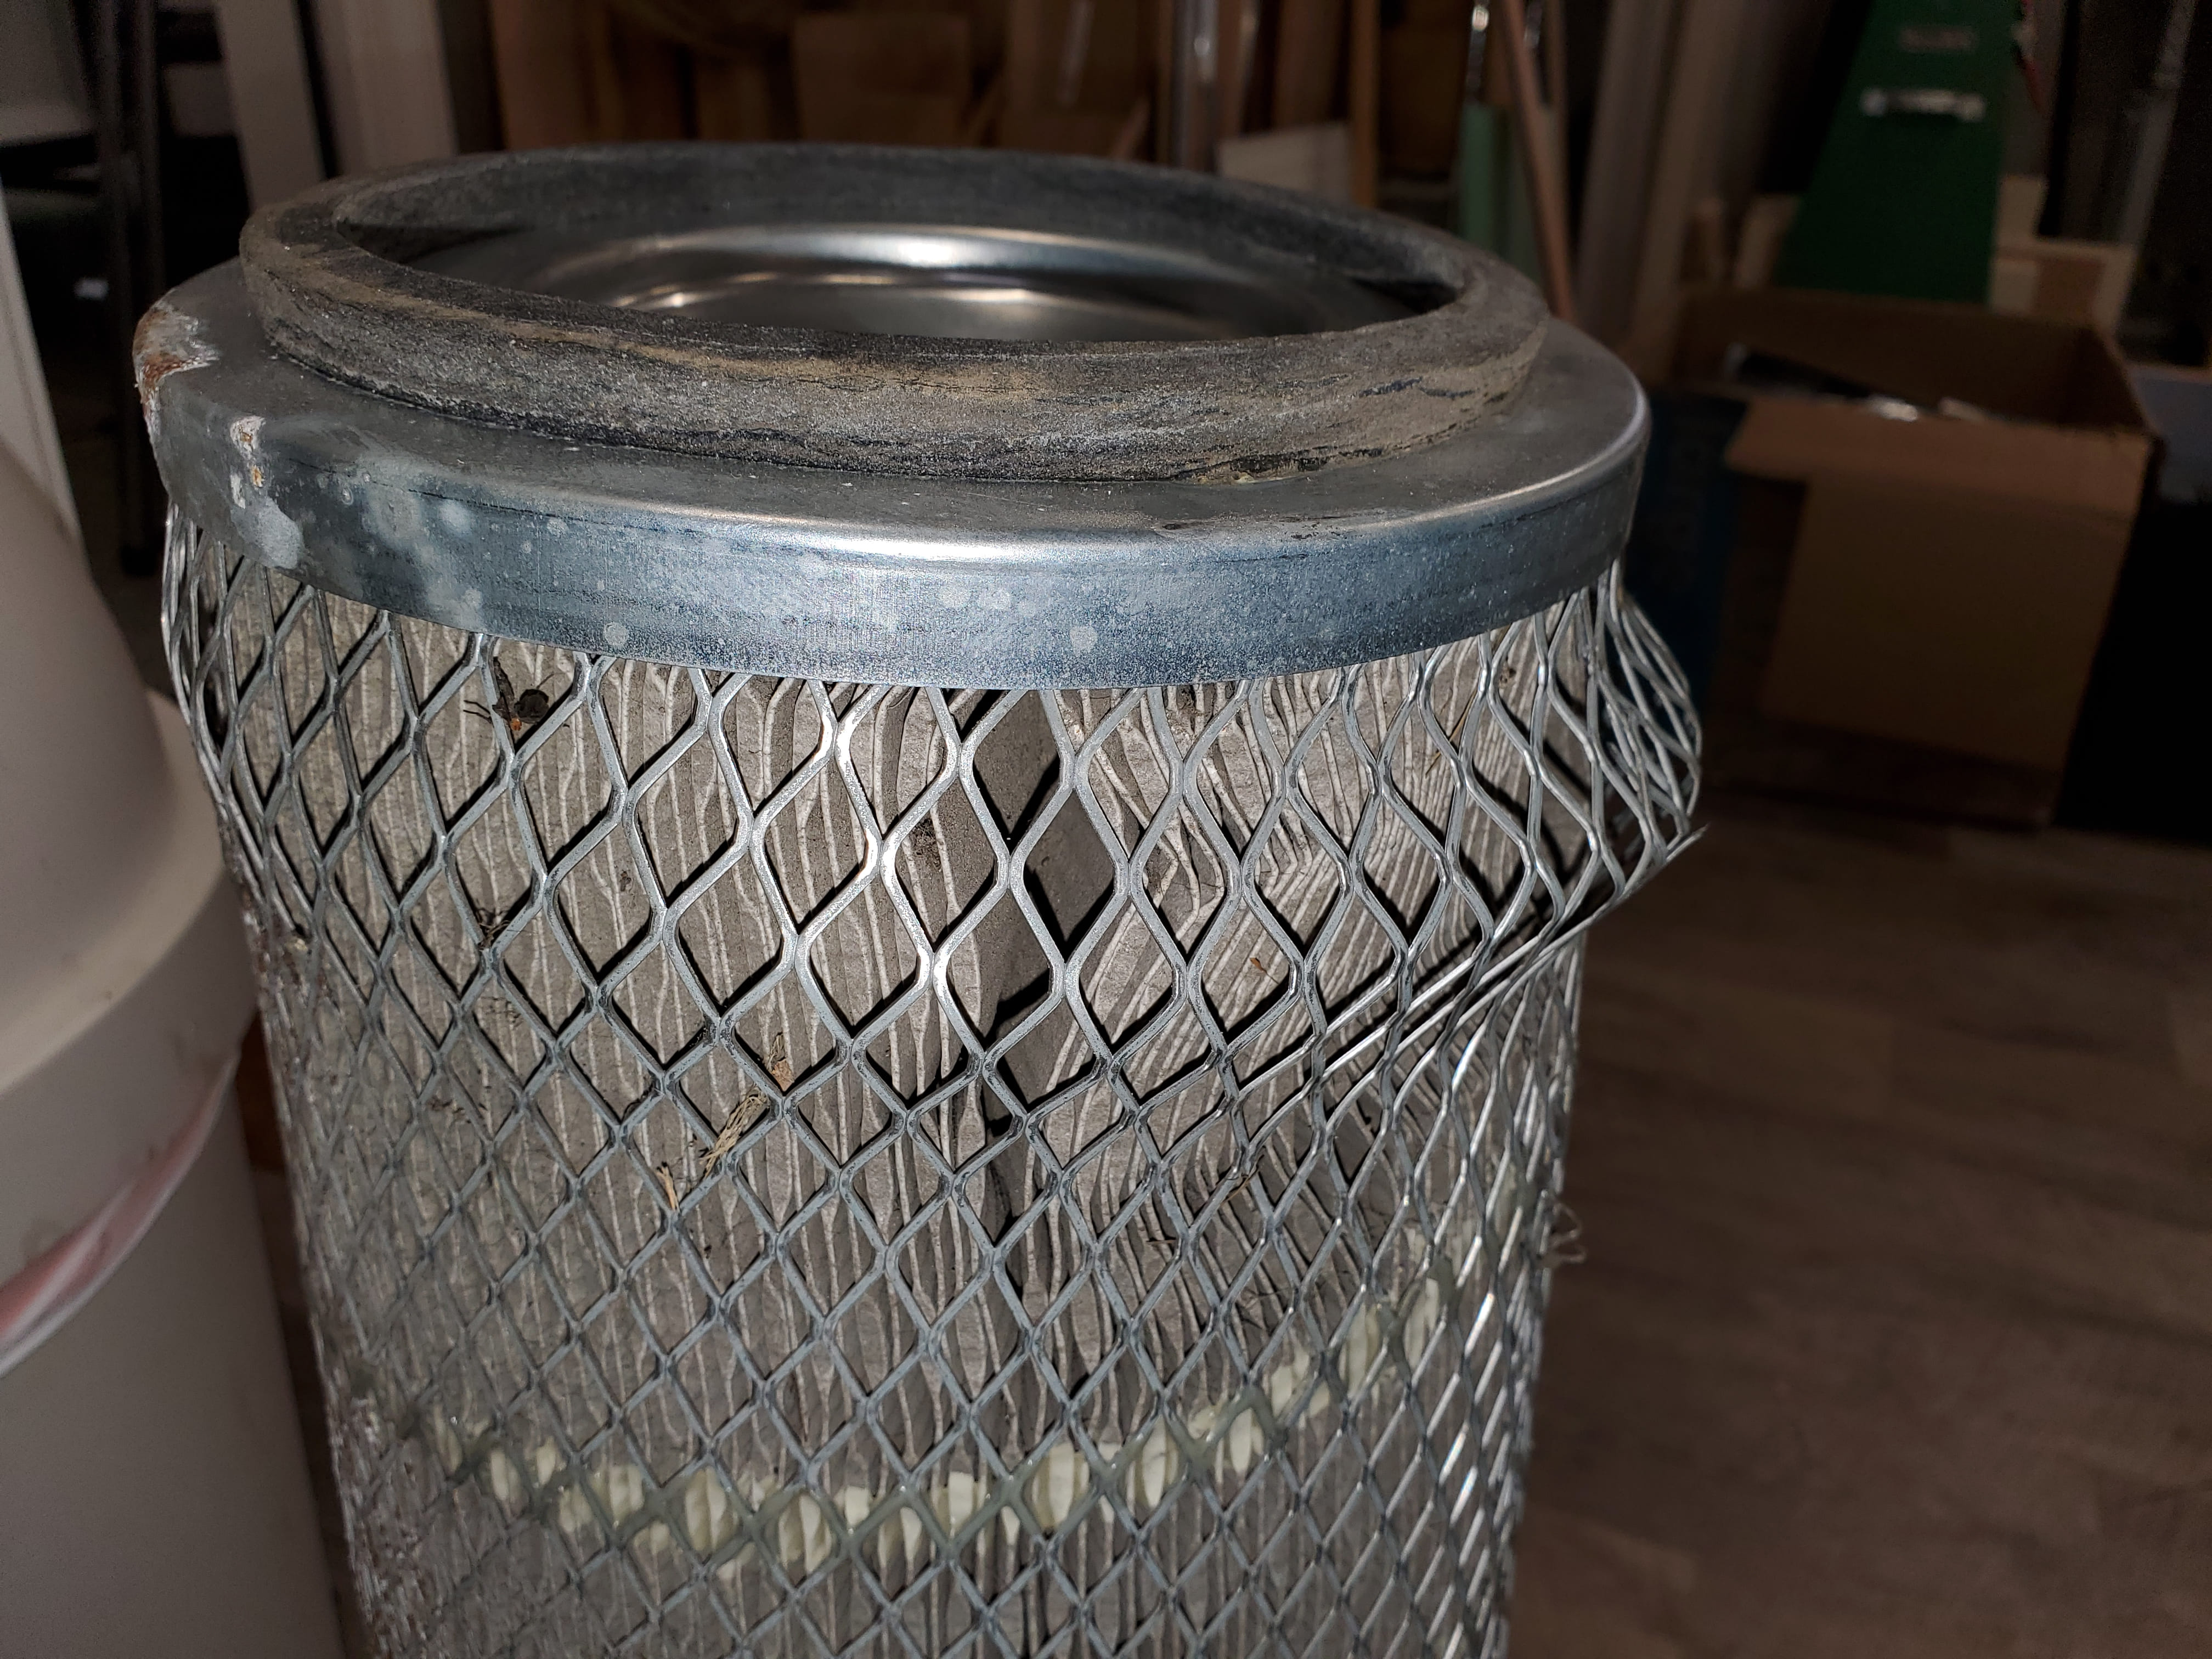
With the filter out, you can see our first problem, then end of the filter is damaged which was concerning. Maybe it was installed wrong or damaged during installation. Maybe it was shipping damage and it was installed anyway?
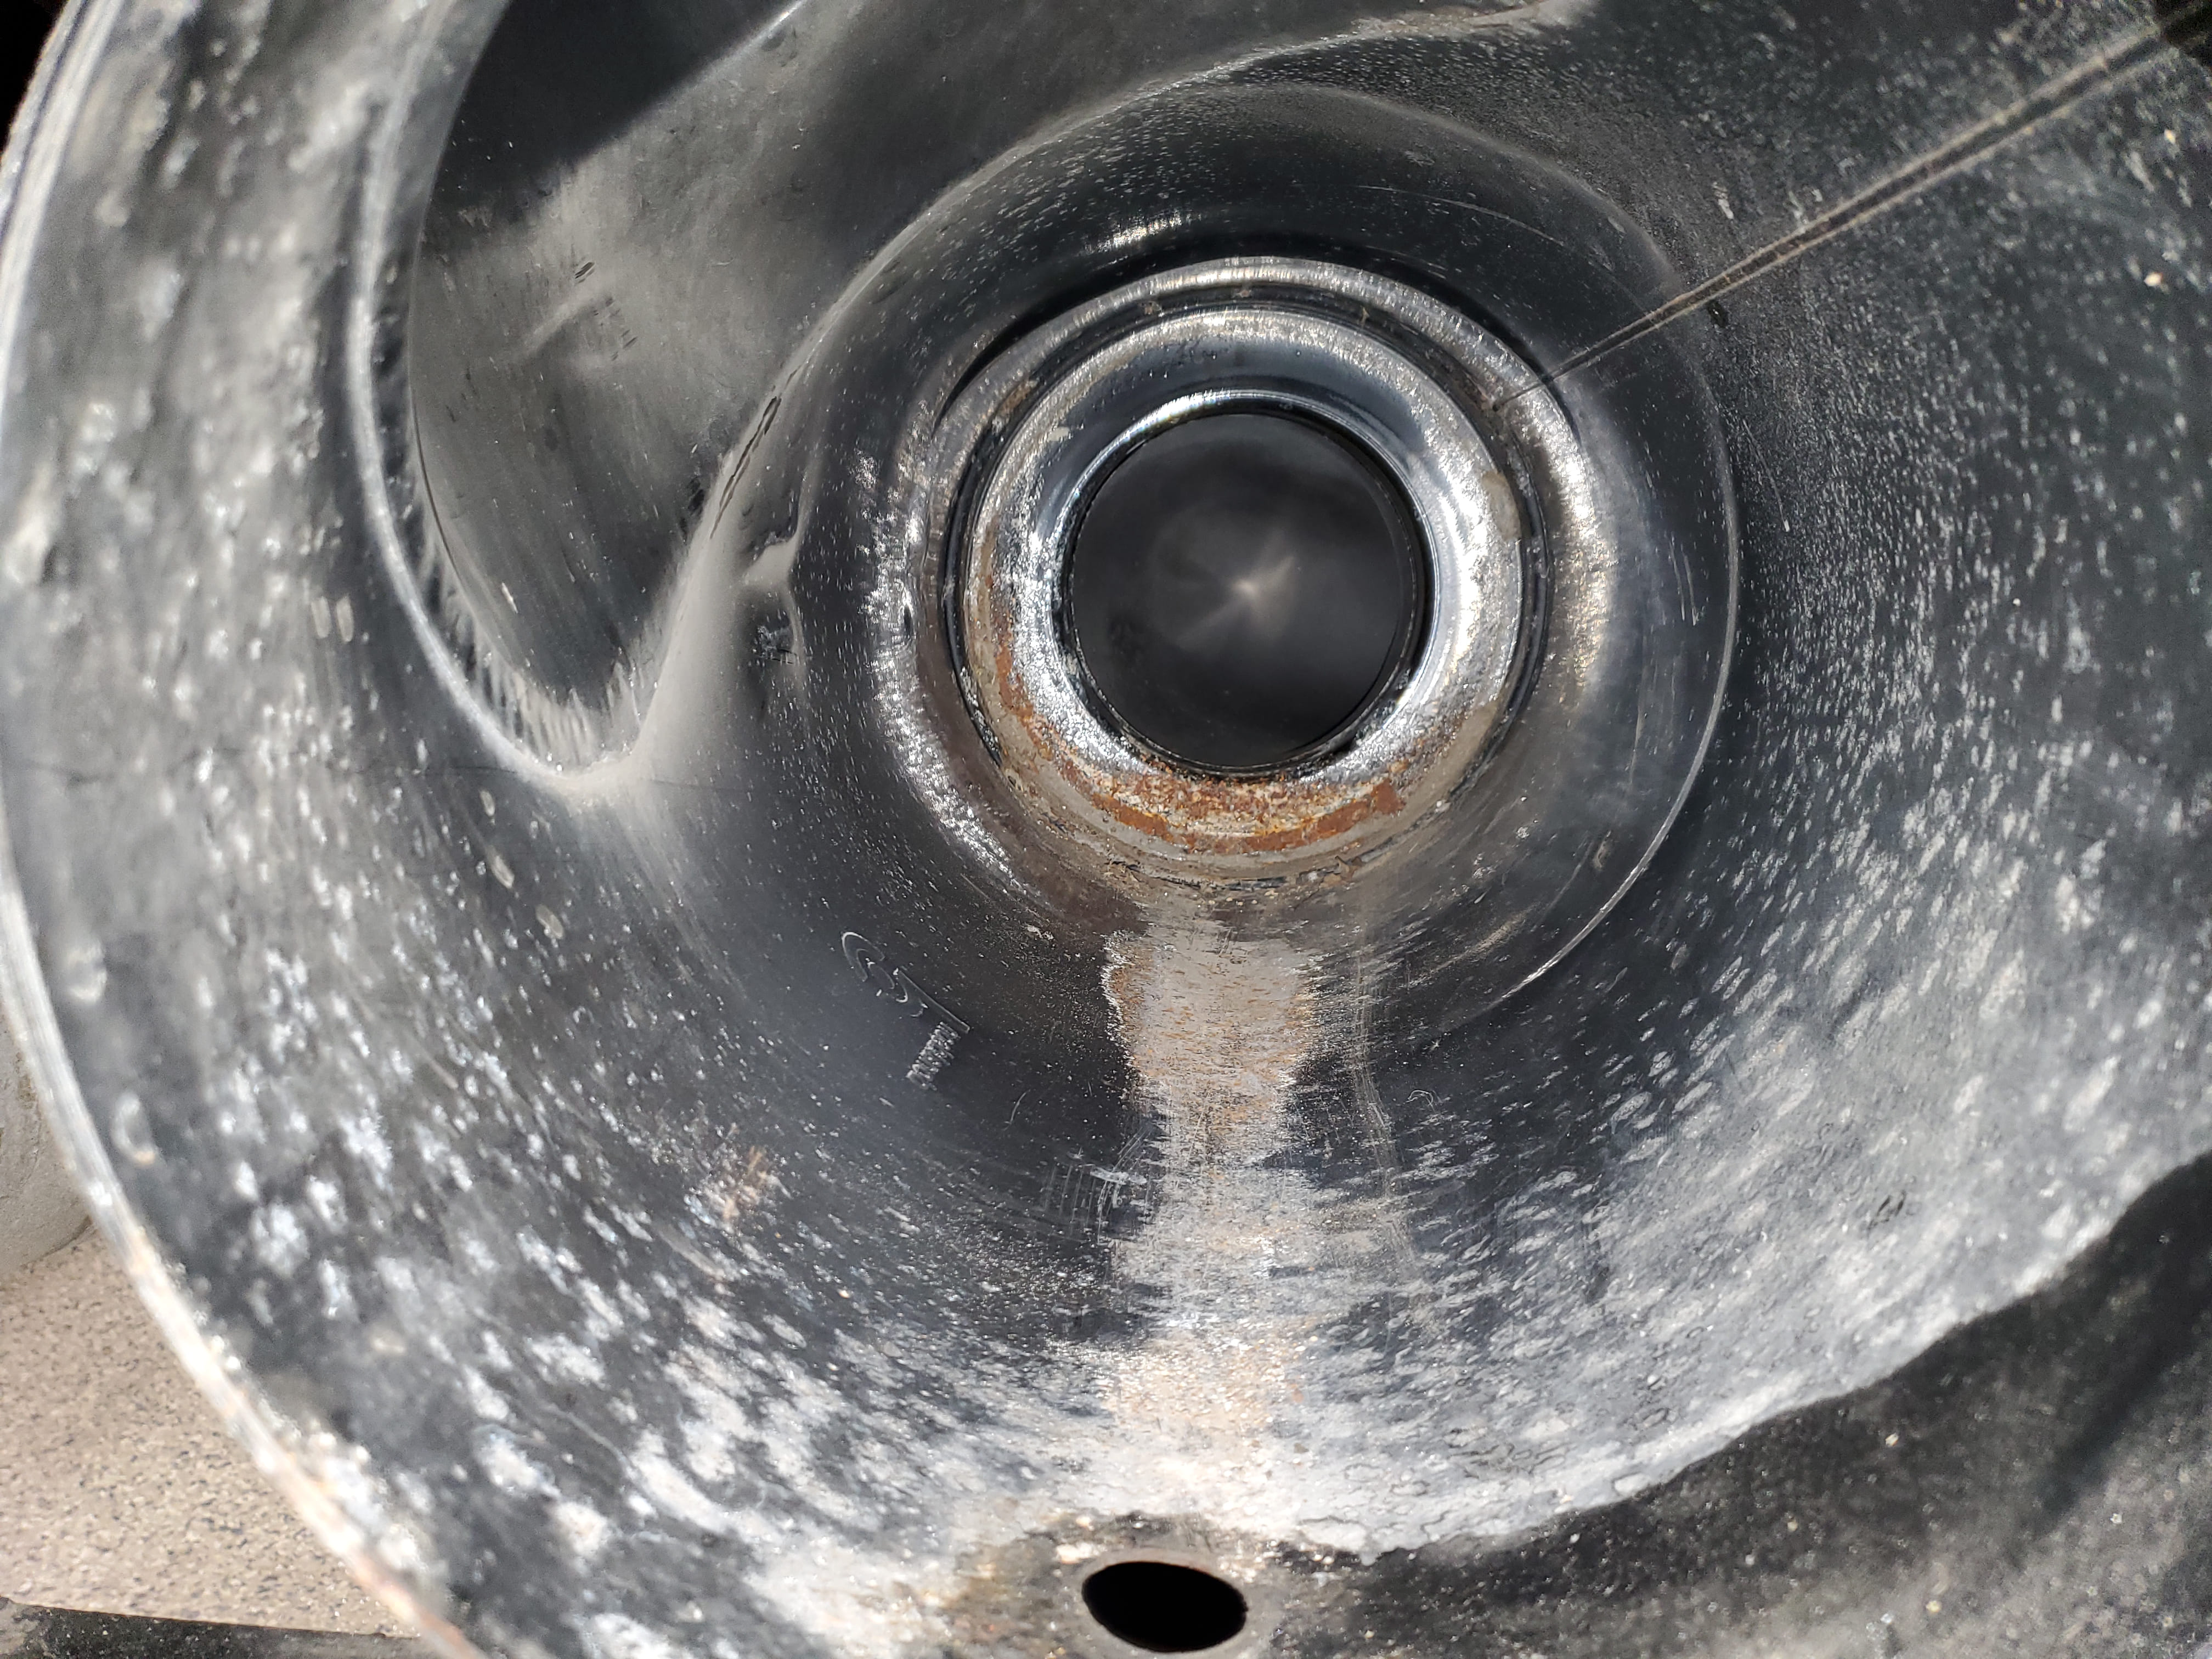
Looking inside the air cleaner I noticed, what I considered, excessive rust/crud build-up especially towards the back of the housing. I vacuumed all the loose bits out, cleaned with a damp cloth. Then cleaned it with a Scotch-Brite pad, more vacuuming / damp cloth.
While doing the cleaning I could see a pronounced raised area about 1/3 to 1/2 of the way back. Looking more closely at the access cover, it had been pushed down on one side. Light-bulb moment, the air cleaner had met the same immovable object that had caused the Hydraulic Tank problems.
Next Steps
Knowing the tank had damage, it was time to remove it and get a better look. Its held in by two metal mounting bands (P004079). The screws to loosen the bands were badly bent and would not turn, I considered cutting the bands but did not want to potentially further damage the housing. Instead I unbolted them from the chassis. There is room to get to (4) bolts, but the wrench swing is limited so it takes some time. A cordless ratchet may have fit in that space and saved time and frustration.

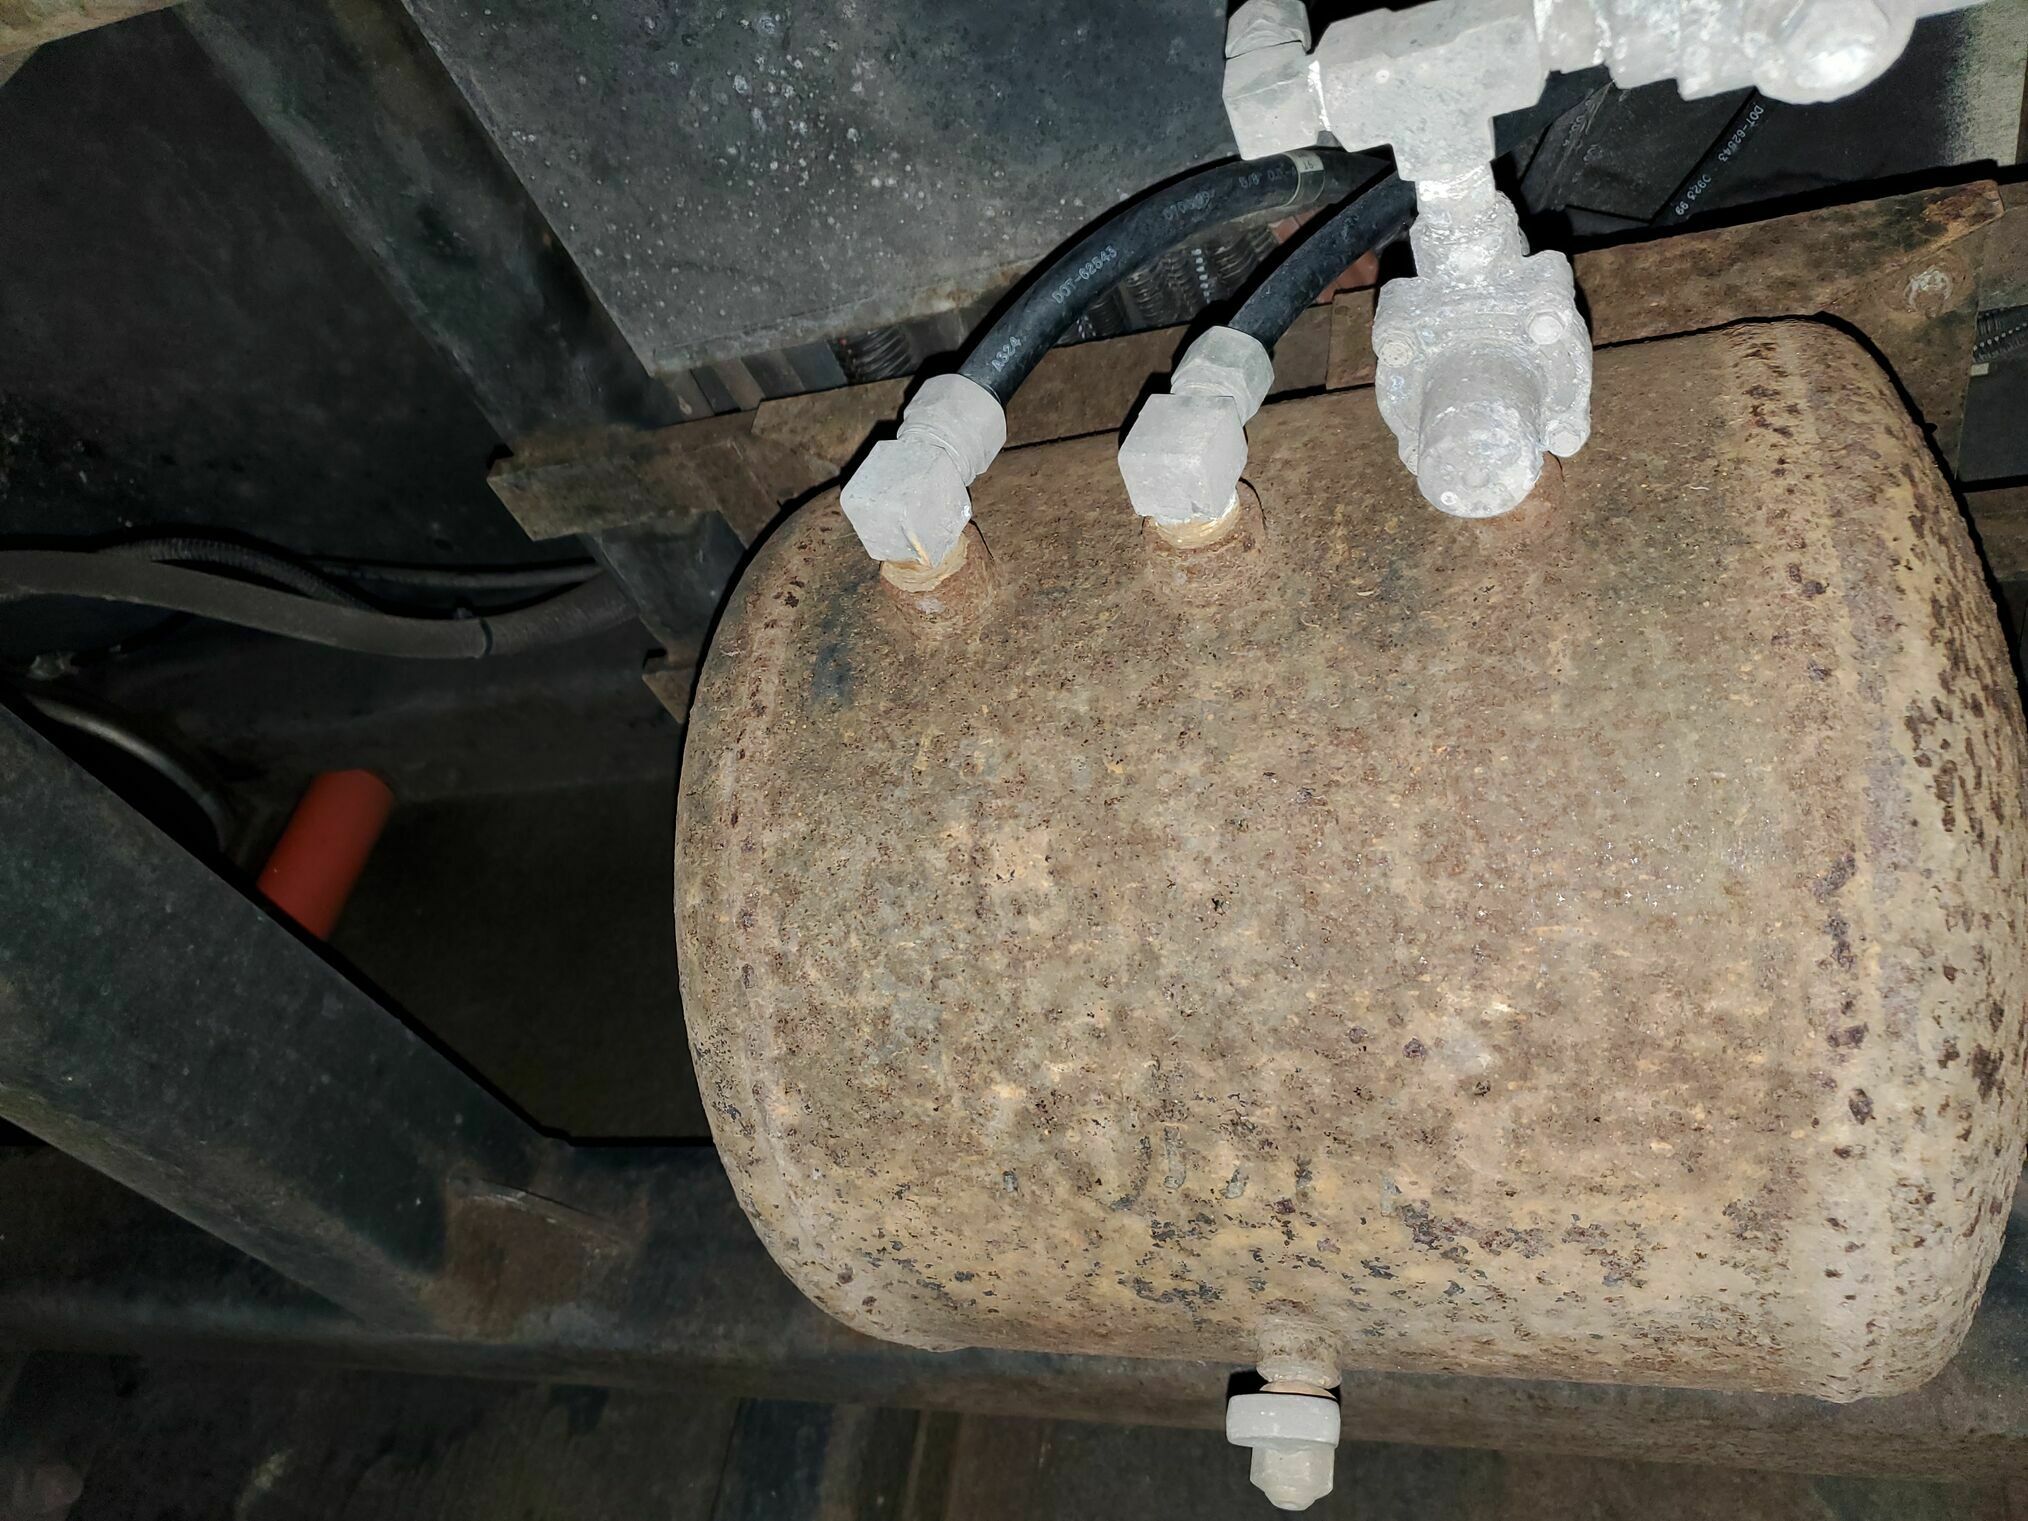
With the filter housing removed you can see how far both mounting bands had dug into the side. The access cover would be easy to repair, it just needed to be pressed back out (Note: the cover is NOT sold as a separate part). Fixing the main body of the tank would be ugly. It is banana shaped, with the short side a full 3/4” less than the long side. I thought about ways to repair it, but also considered how would I know it was making a good seal. Don’t want to dust the engine.
The G11-2001 air cleaner is a current Donaldson part and it costs an insane $1,150. We checked with several salvage yards and none had any availability. We chose to order a new one. After a week, and not getting any shipping notice, I contacted the distributor, who contacted Donaldson … best lead time was 12 weeks. We contacted many other distributors to see if, hopefully, someone had one in stock but none did.
Thumbing through the Donaldson catalog, I notice the G11-2501 had almost identical dimensions to the G11-2001. It also had the same airflow setup. The difference was the 2501 used a latched service cover and not a bolted one. I contacted the distributor to see if this one was available, and to much surprise it was available at Donaldson and at a bargain price of just $900. A few days later and it was delivered.
New Installation
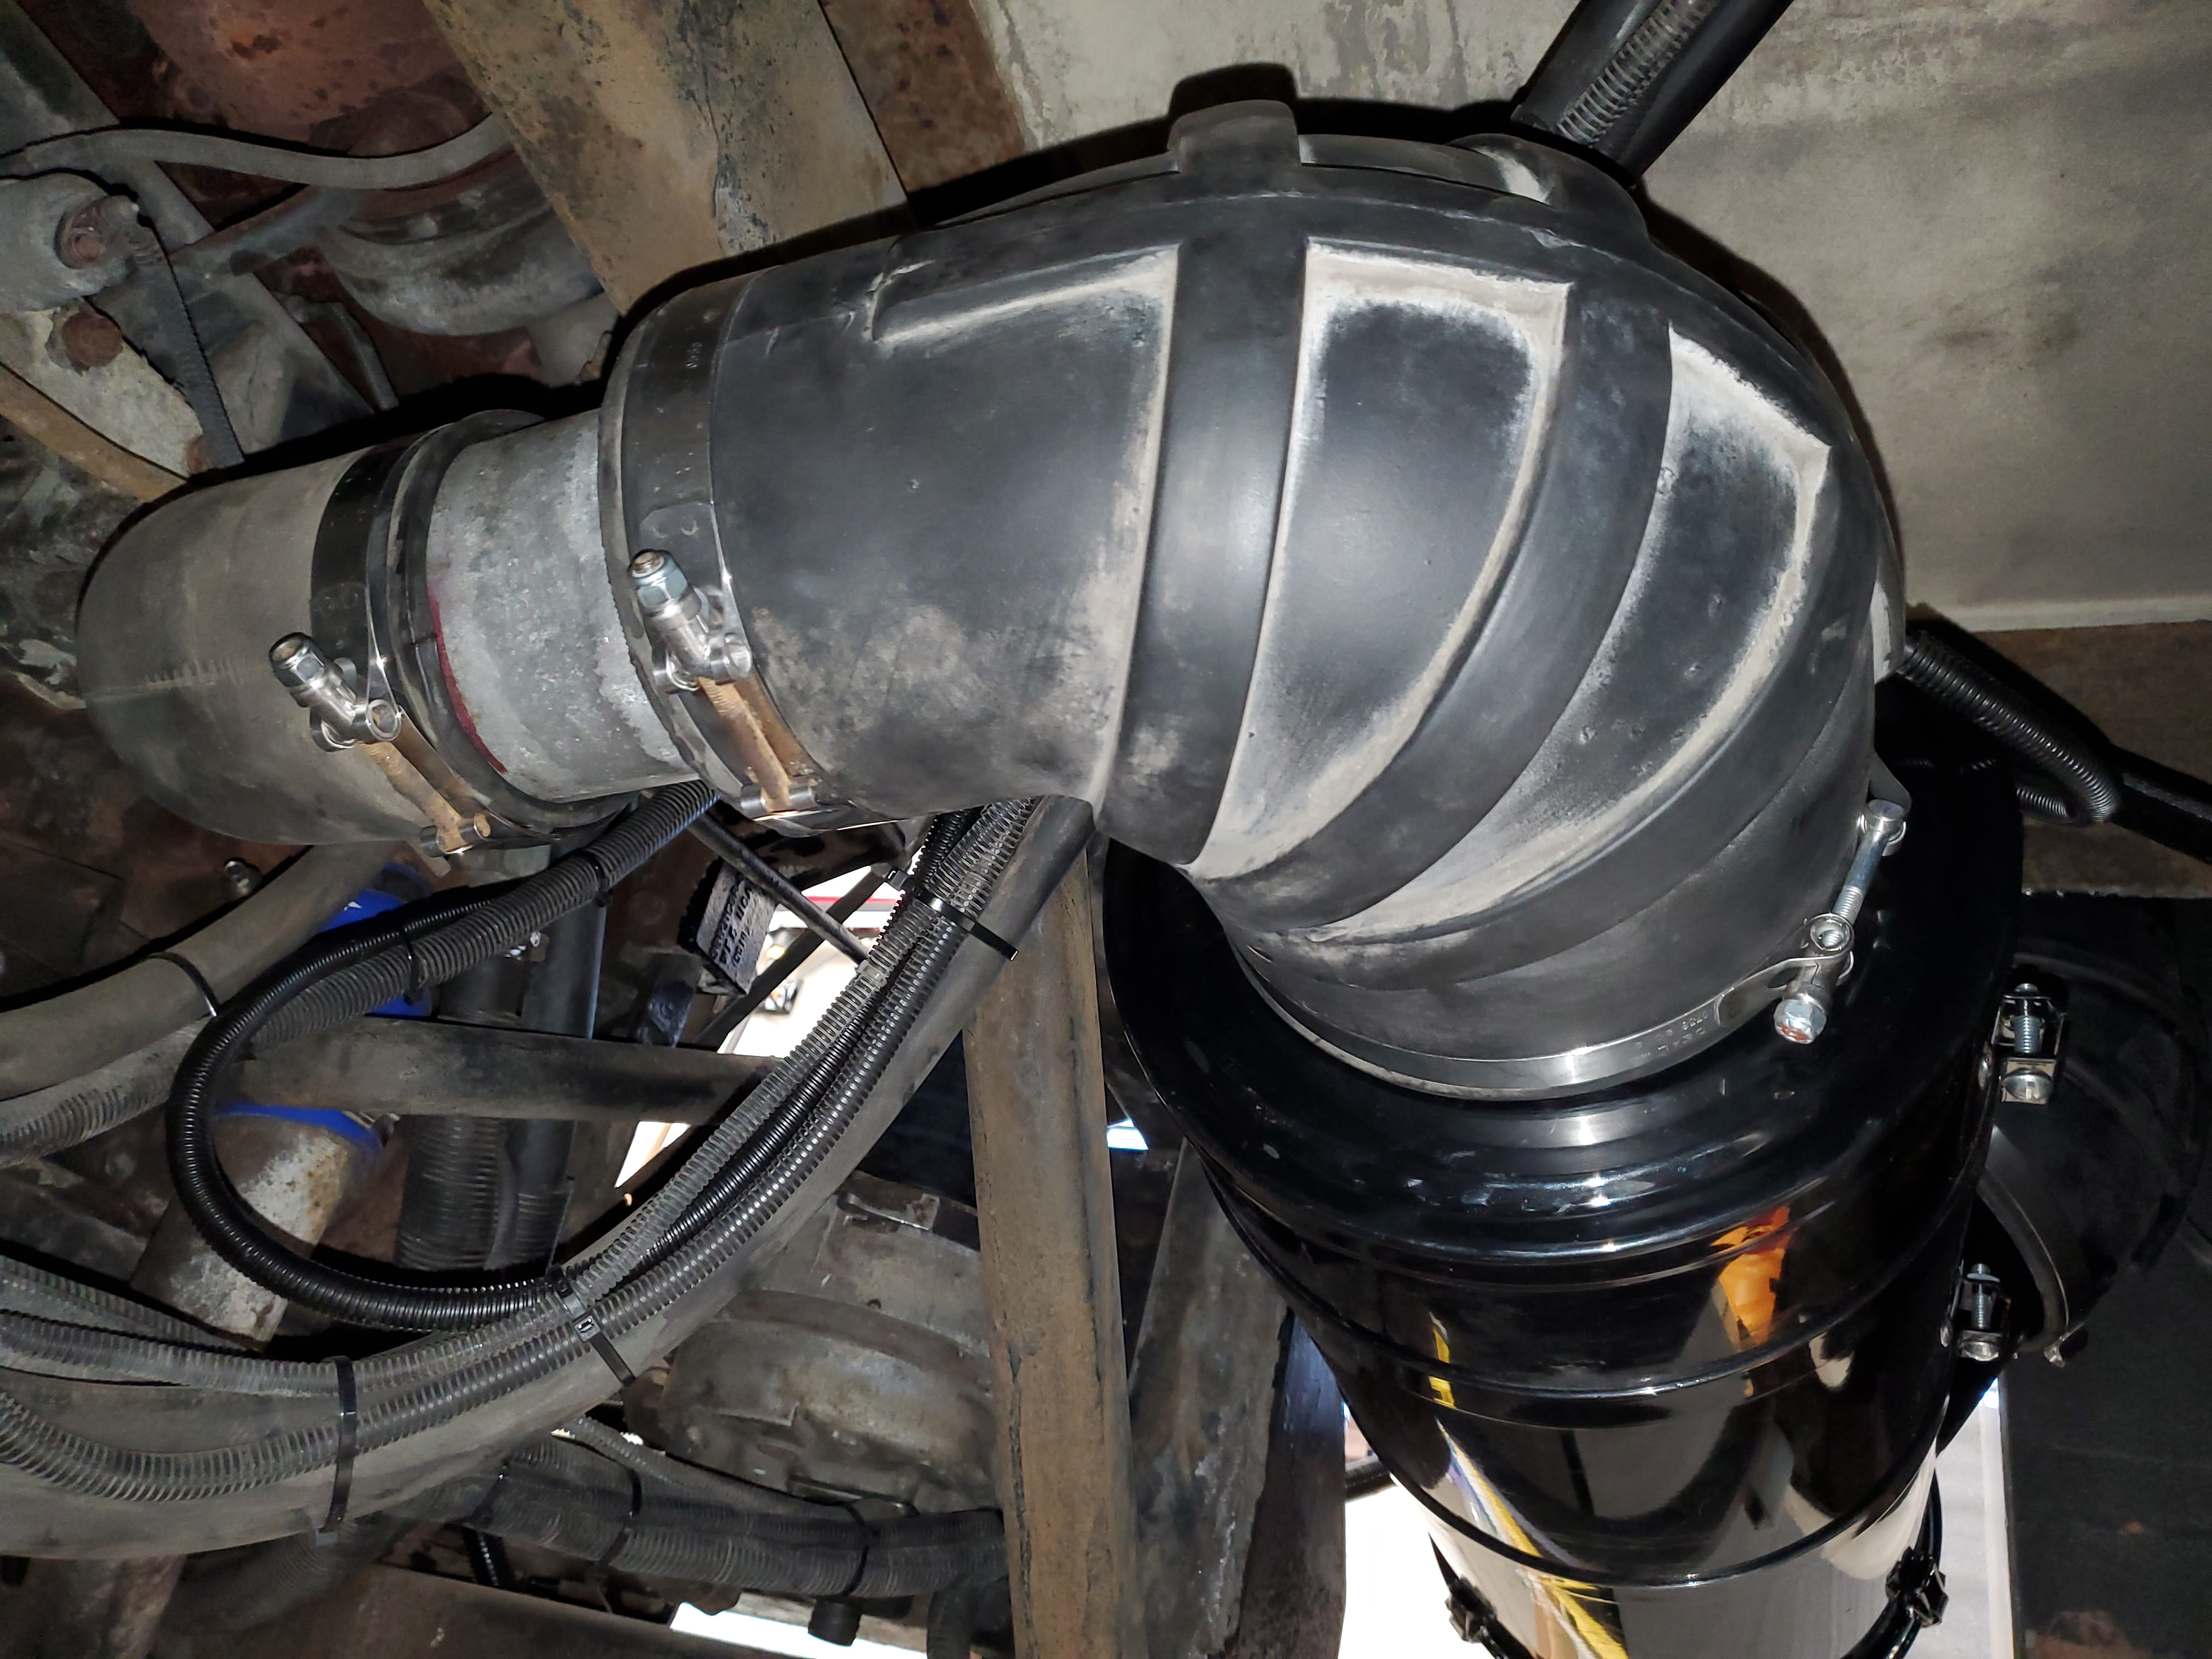
I purchased new mounting bands for the install. Just to note, the bands are fabricated sprung open, you need to hold them closed, with the canister in place, in order to start the clamping bolt. Its surprisingly “springy”, I’m glad I decided not to cut the old ones open while under the coach, it would have been a bad surprise.

With the canister loosely held in place and positioned to the inlet/outlet piping, I noticed my next opportunity. One of the new latches falls directly in line, and under, the hydraulic tank fitting, leaving no room to release the service cover. The chassis does has slots for the clamp bolts, so there is side to side adjustment available, but not enough.
New Brackets
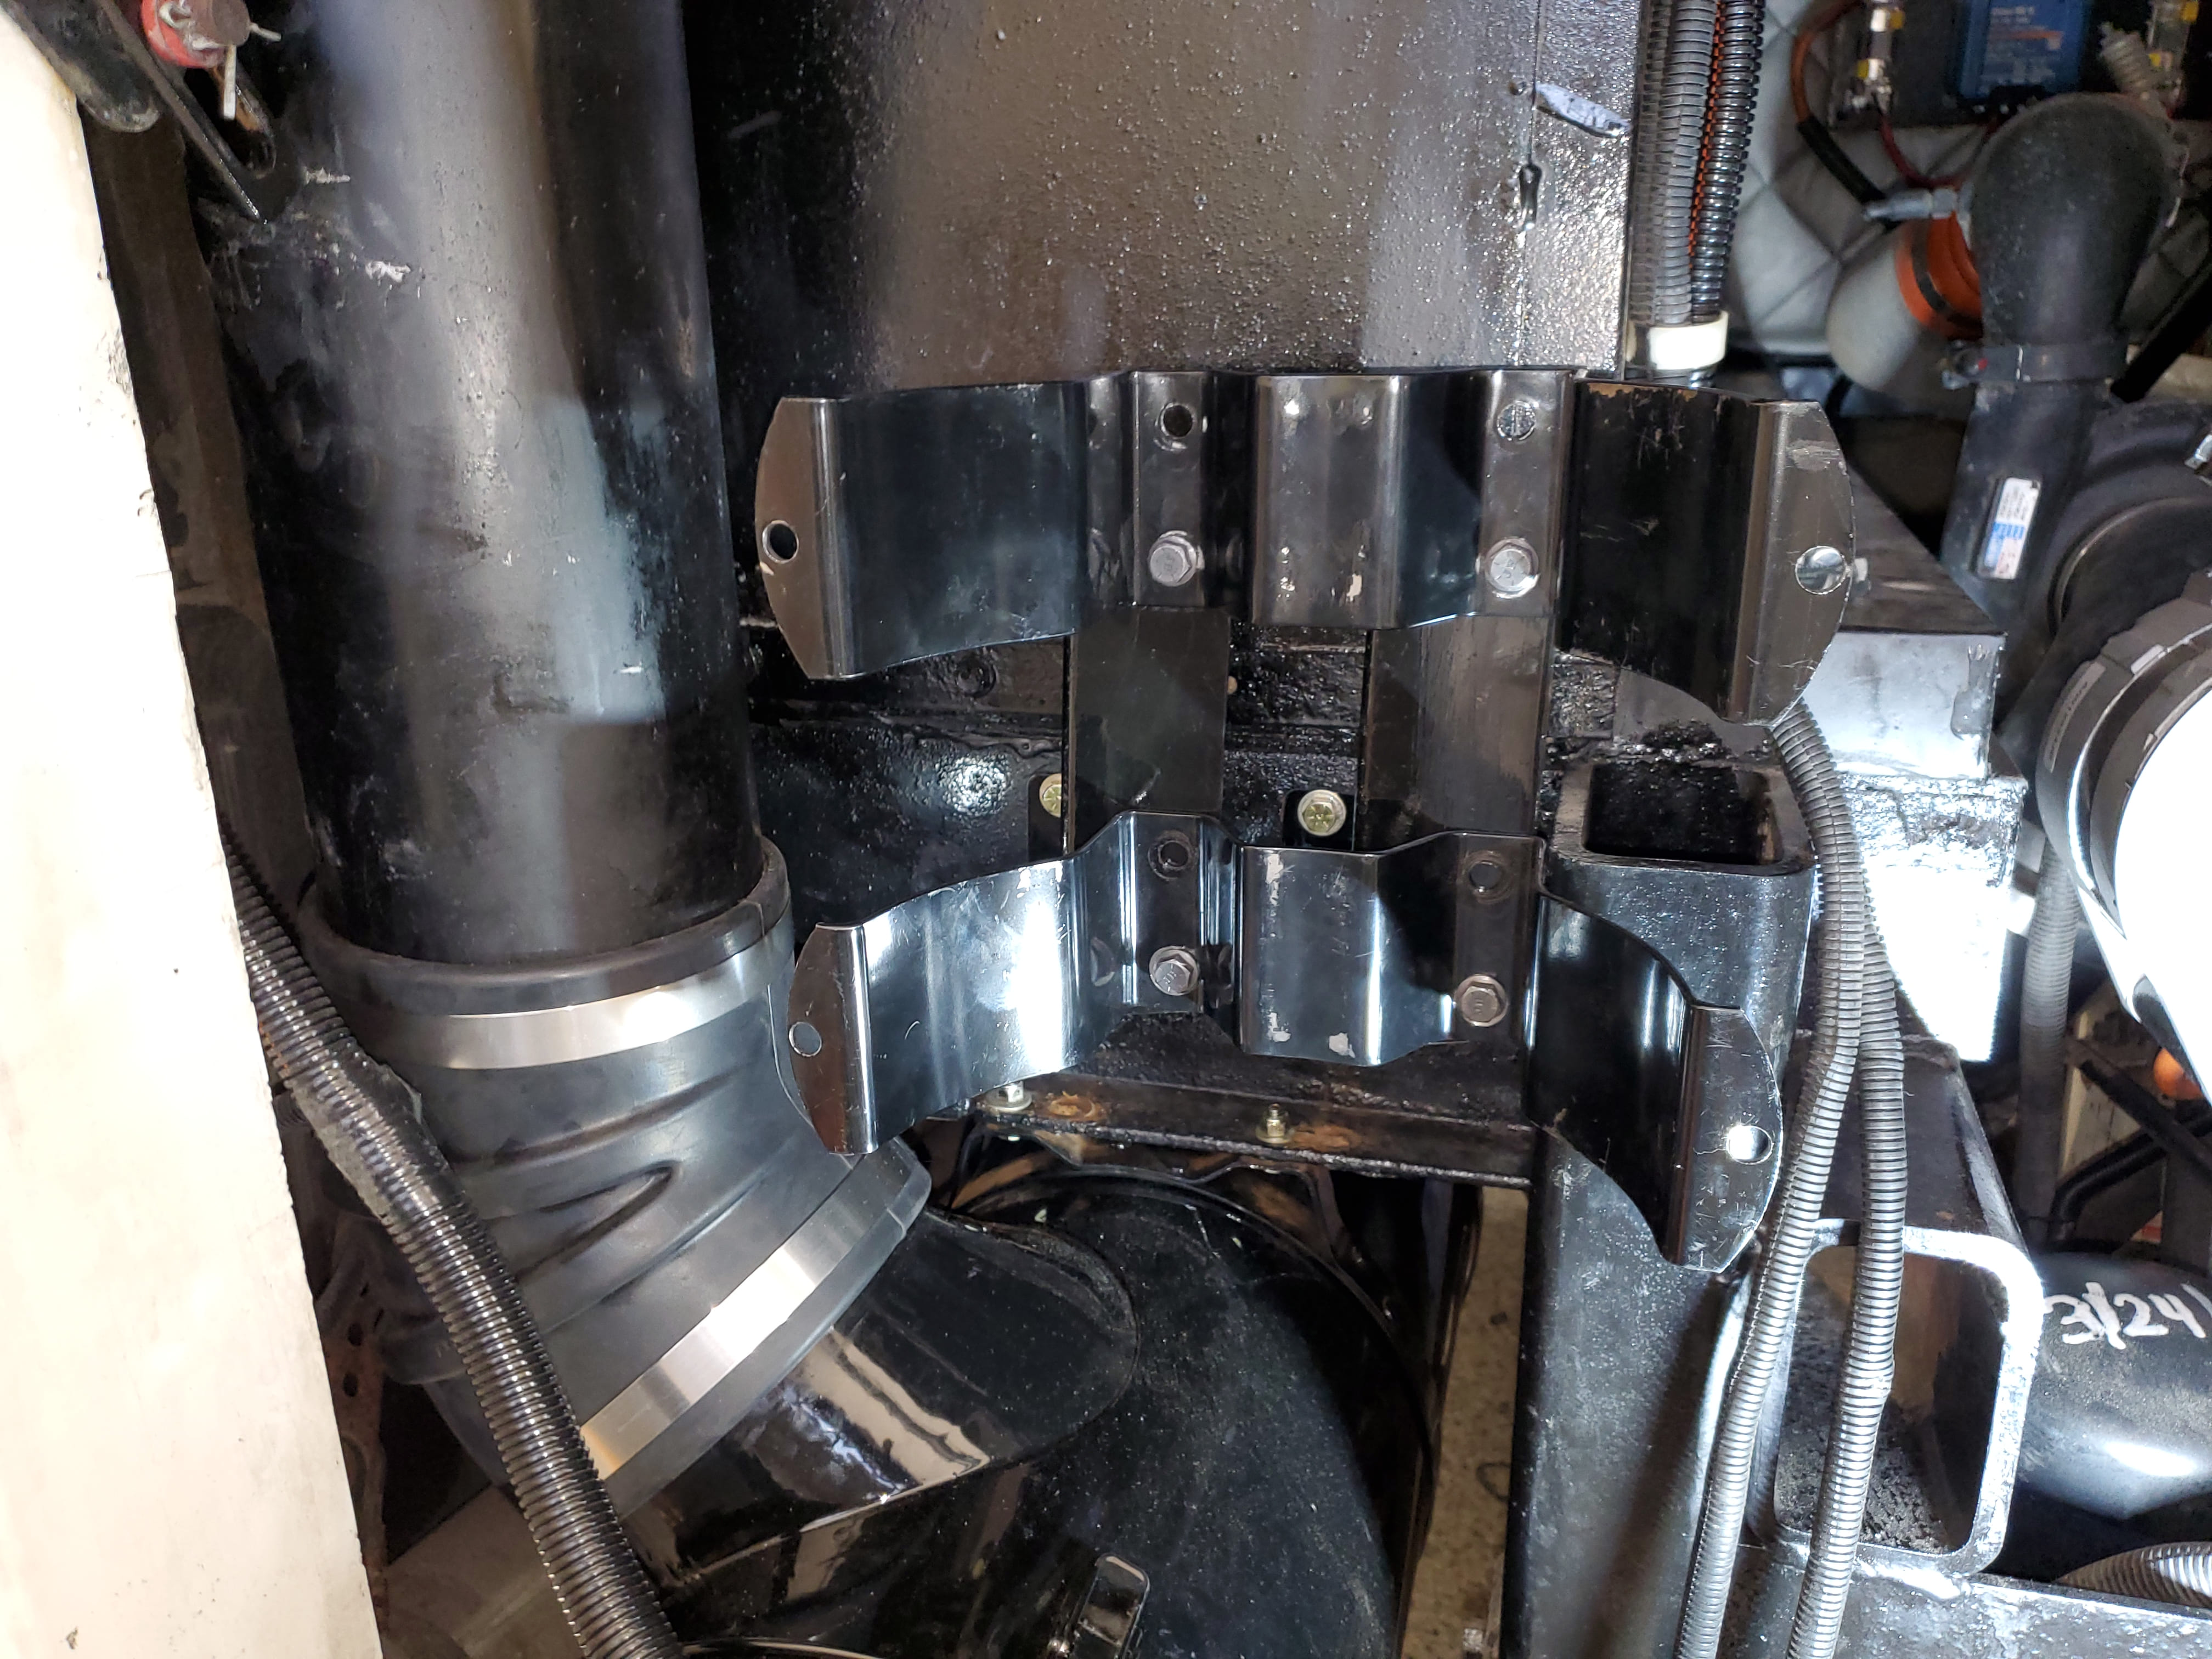
There is room available to move the hydraulic tank towards the passenger side, and some quick measurements showed it would be enough. You may be able to use the existing “Z” brackets and just drill new offset mounting holes. I instead chose to draw up new brackets that had a larger offset and have them fabricated. These allowed me shift the tank mounting clamps over as far as possible and still avoid the frame rail.
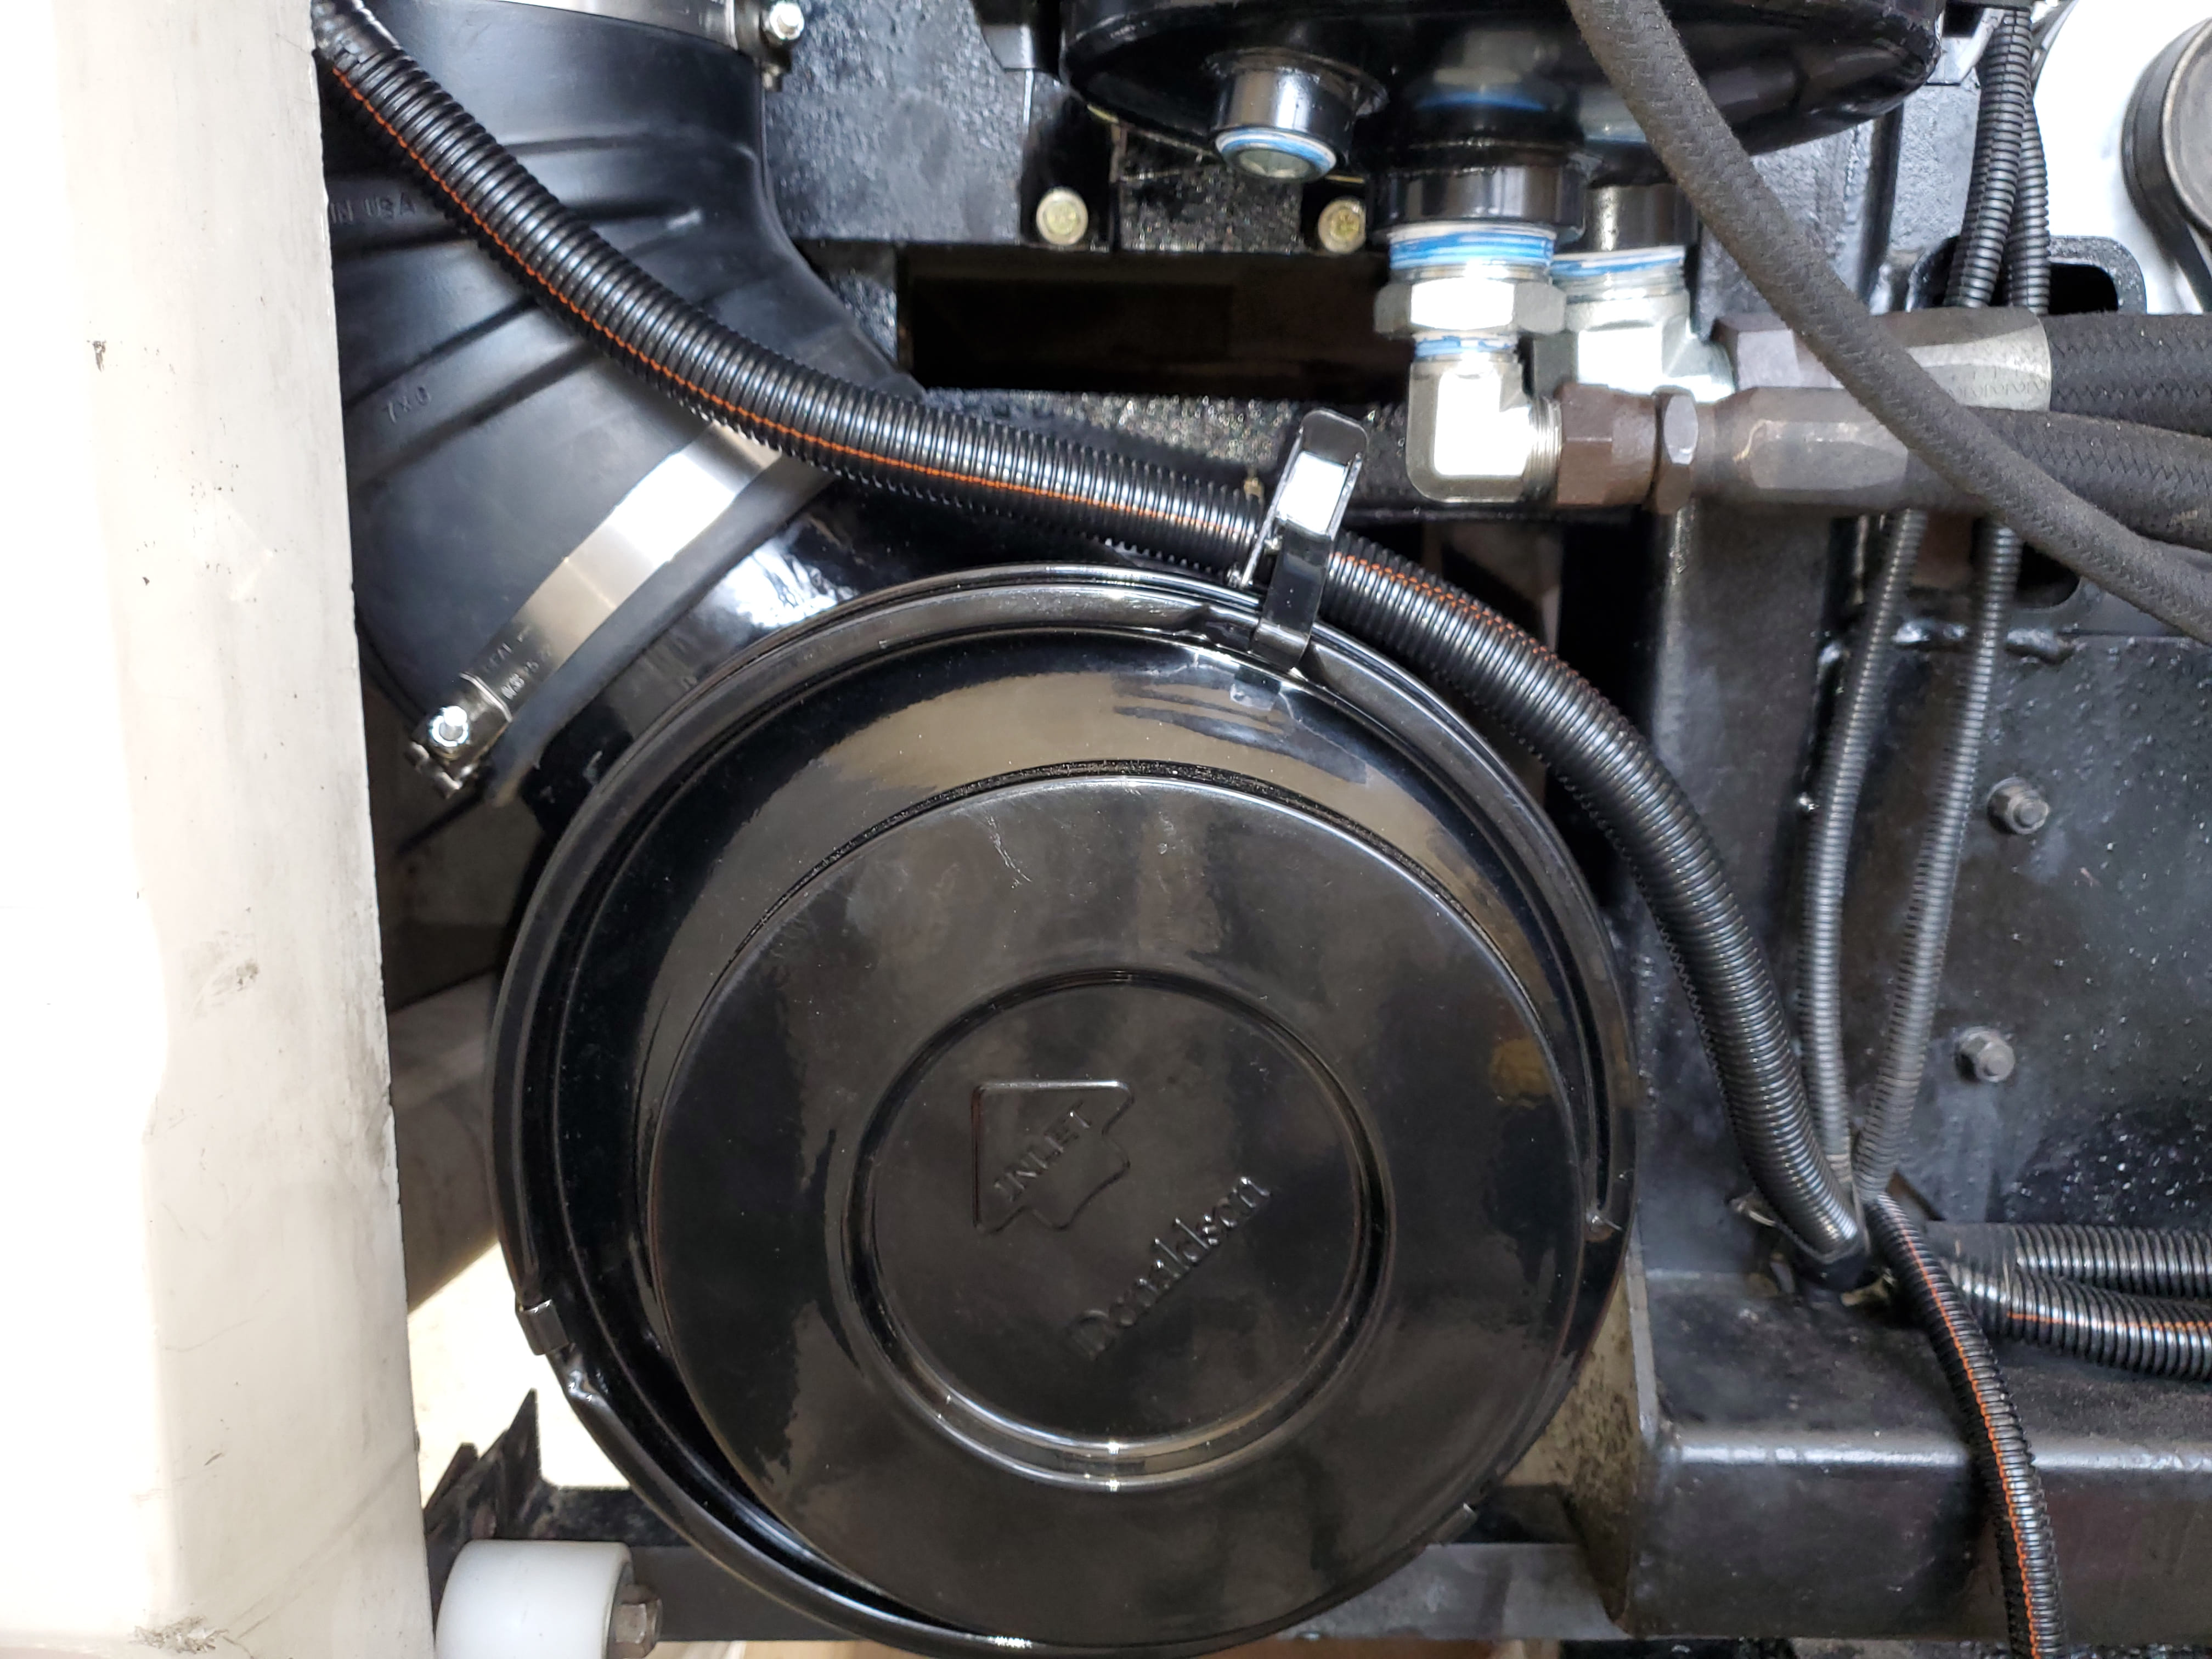
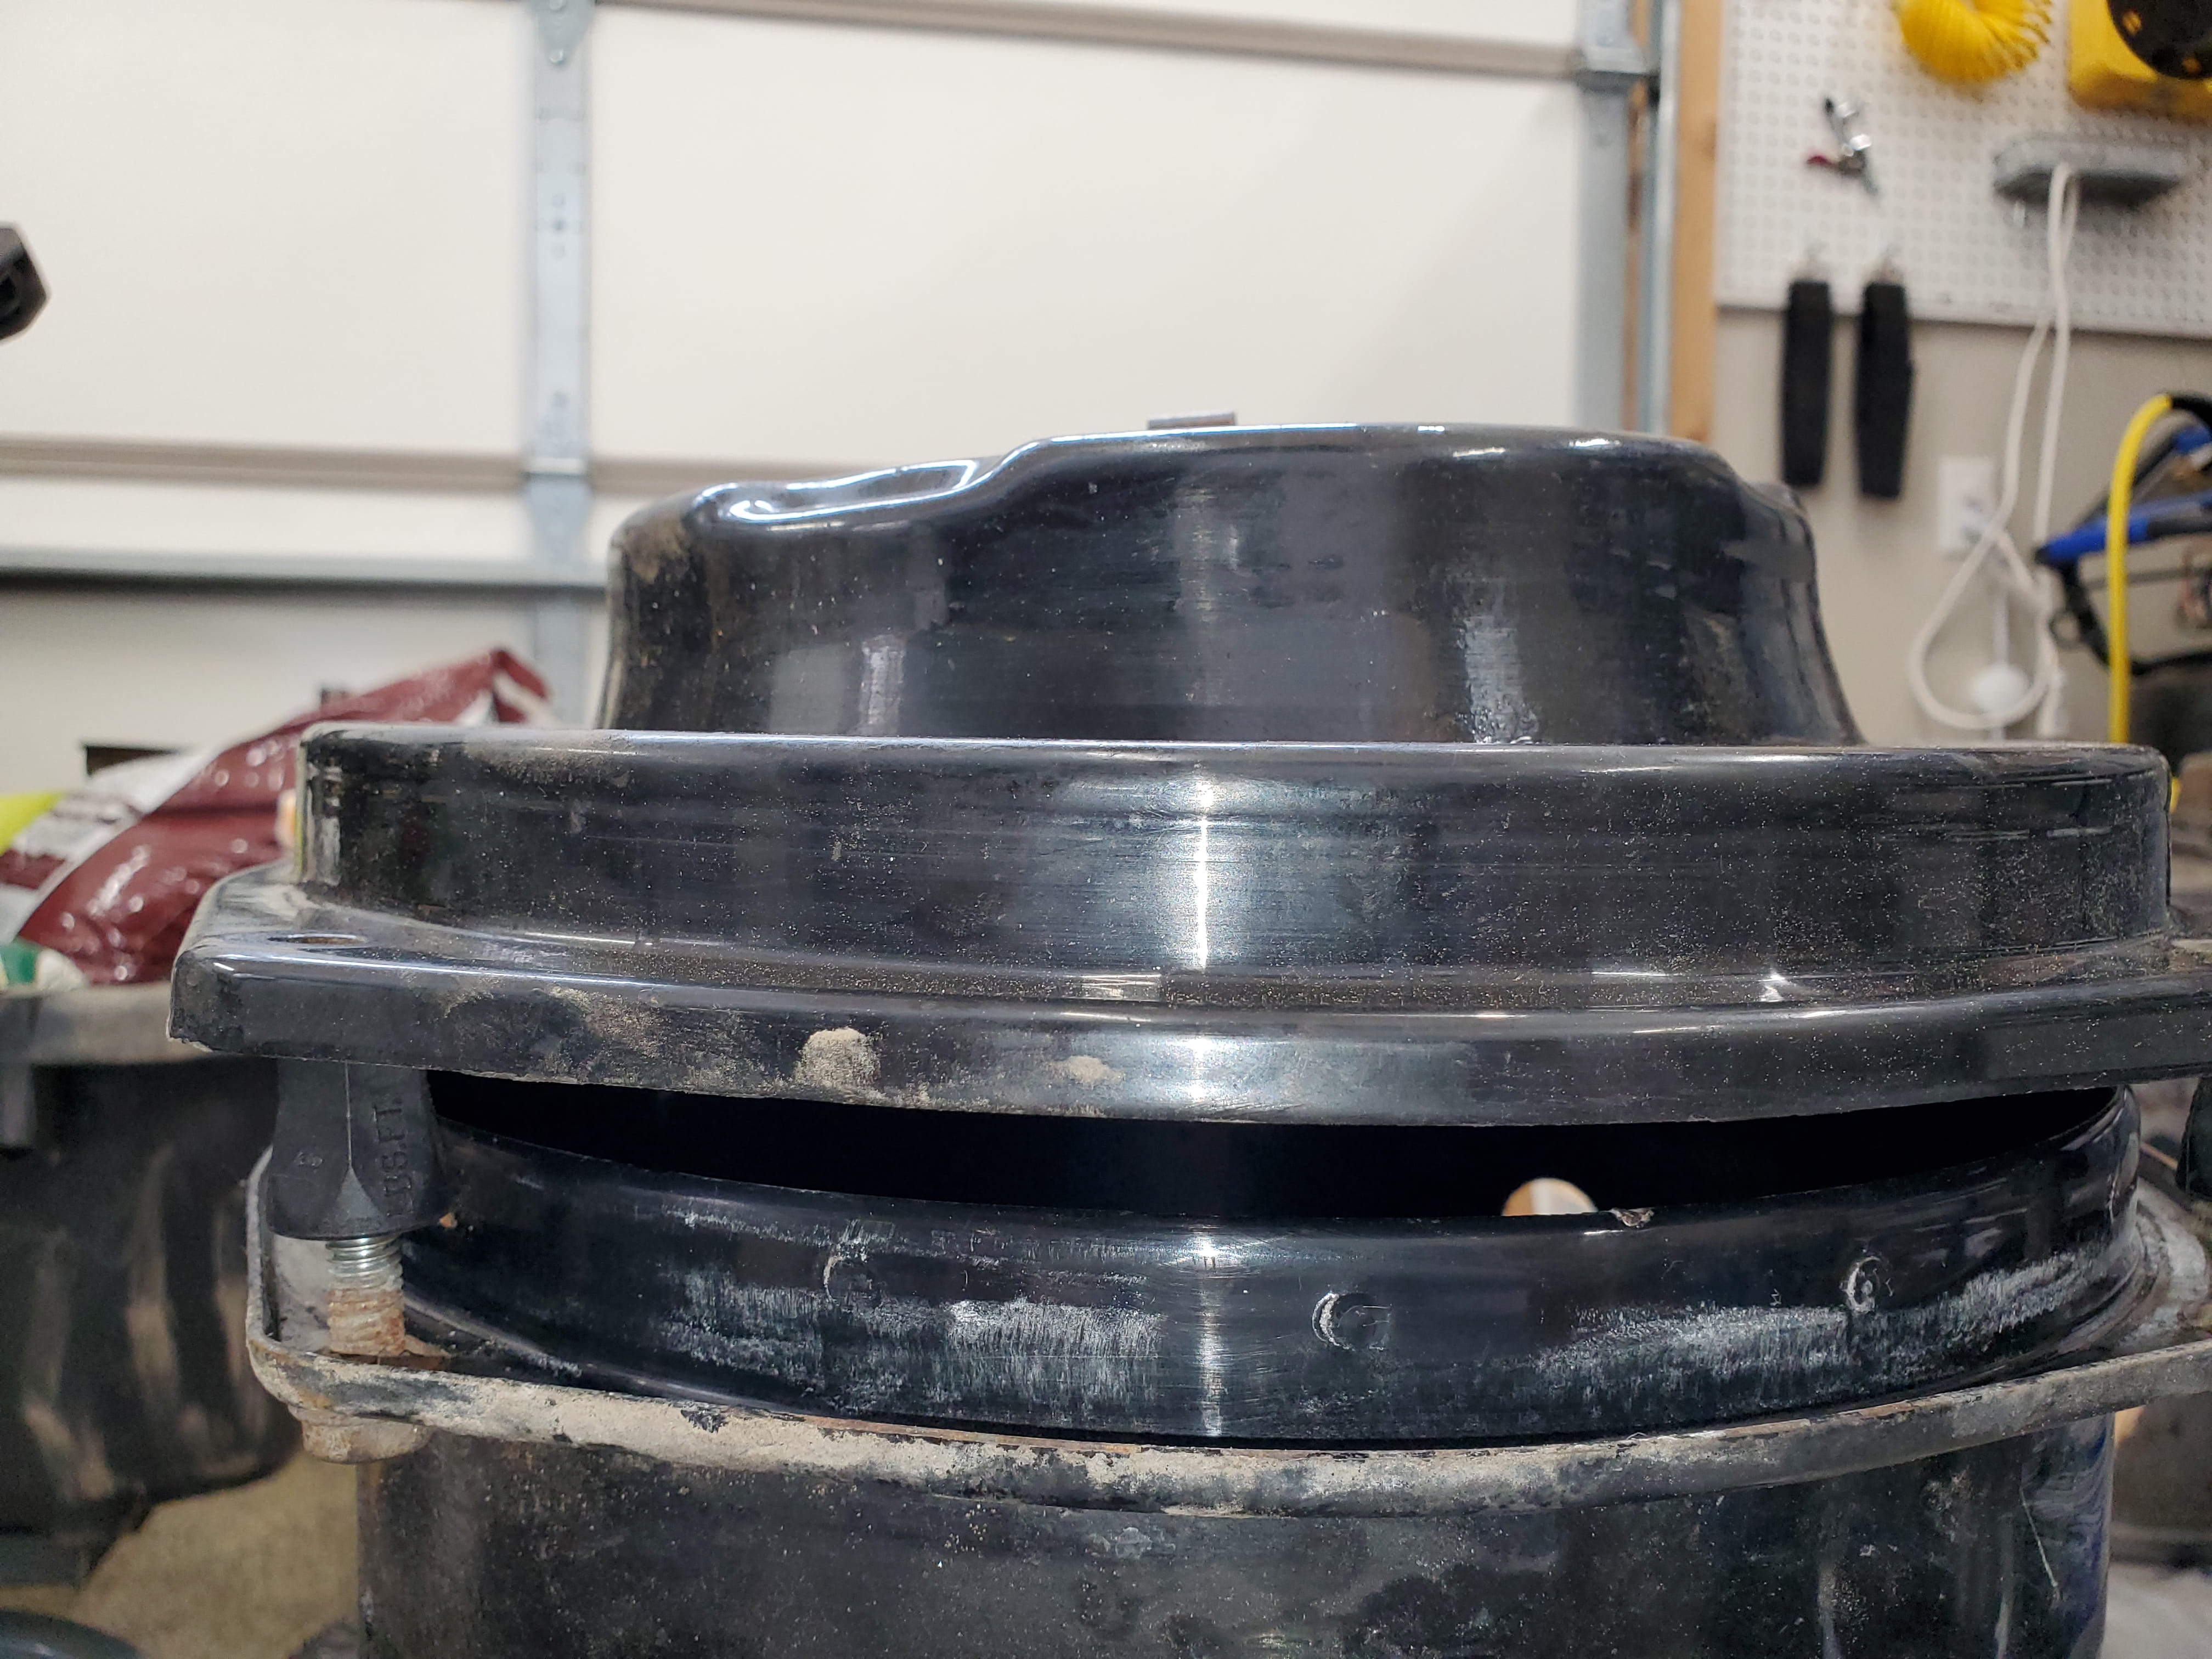
With new brackets on hand the hydraulic tank was mounted towards the passenger side and the air canister towards the driver side and just like that, the latch clears!
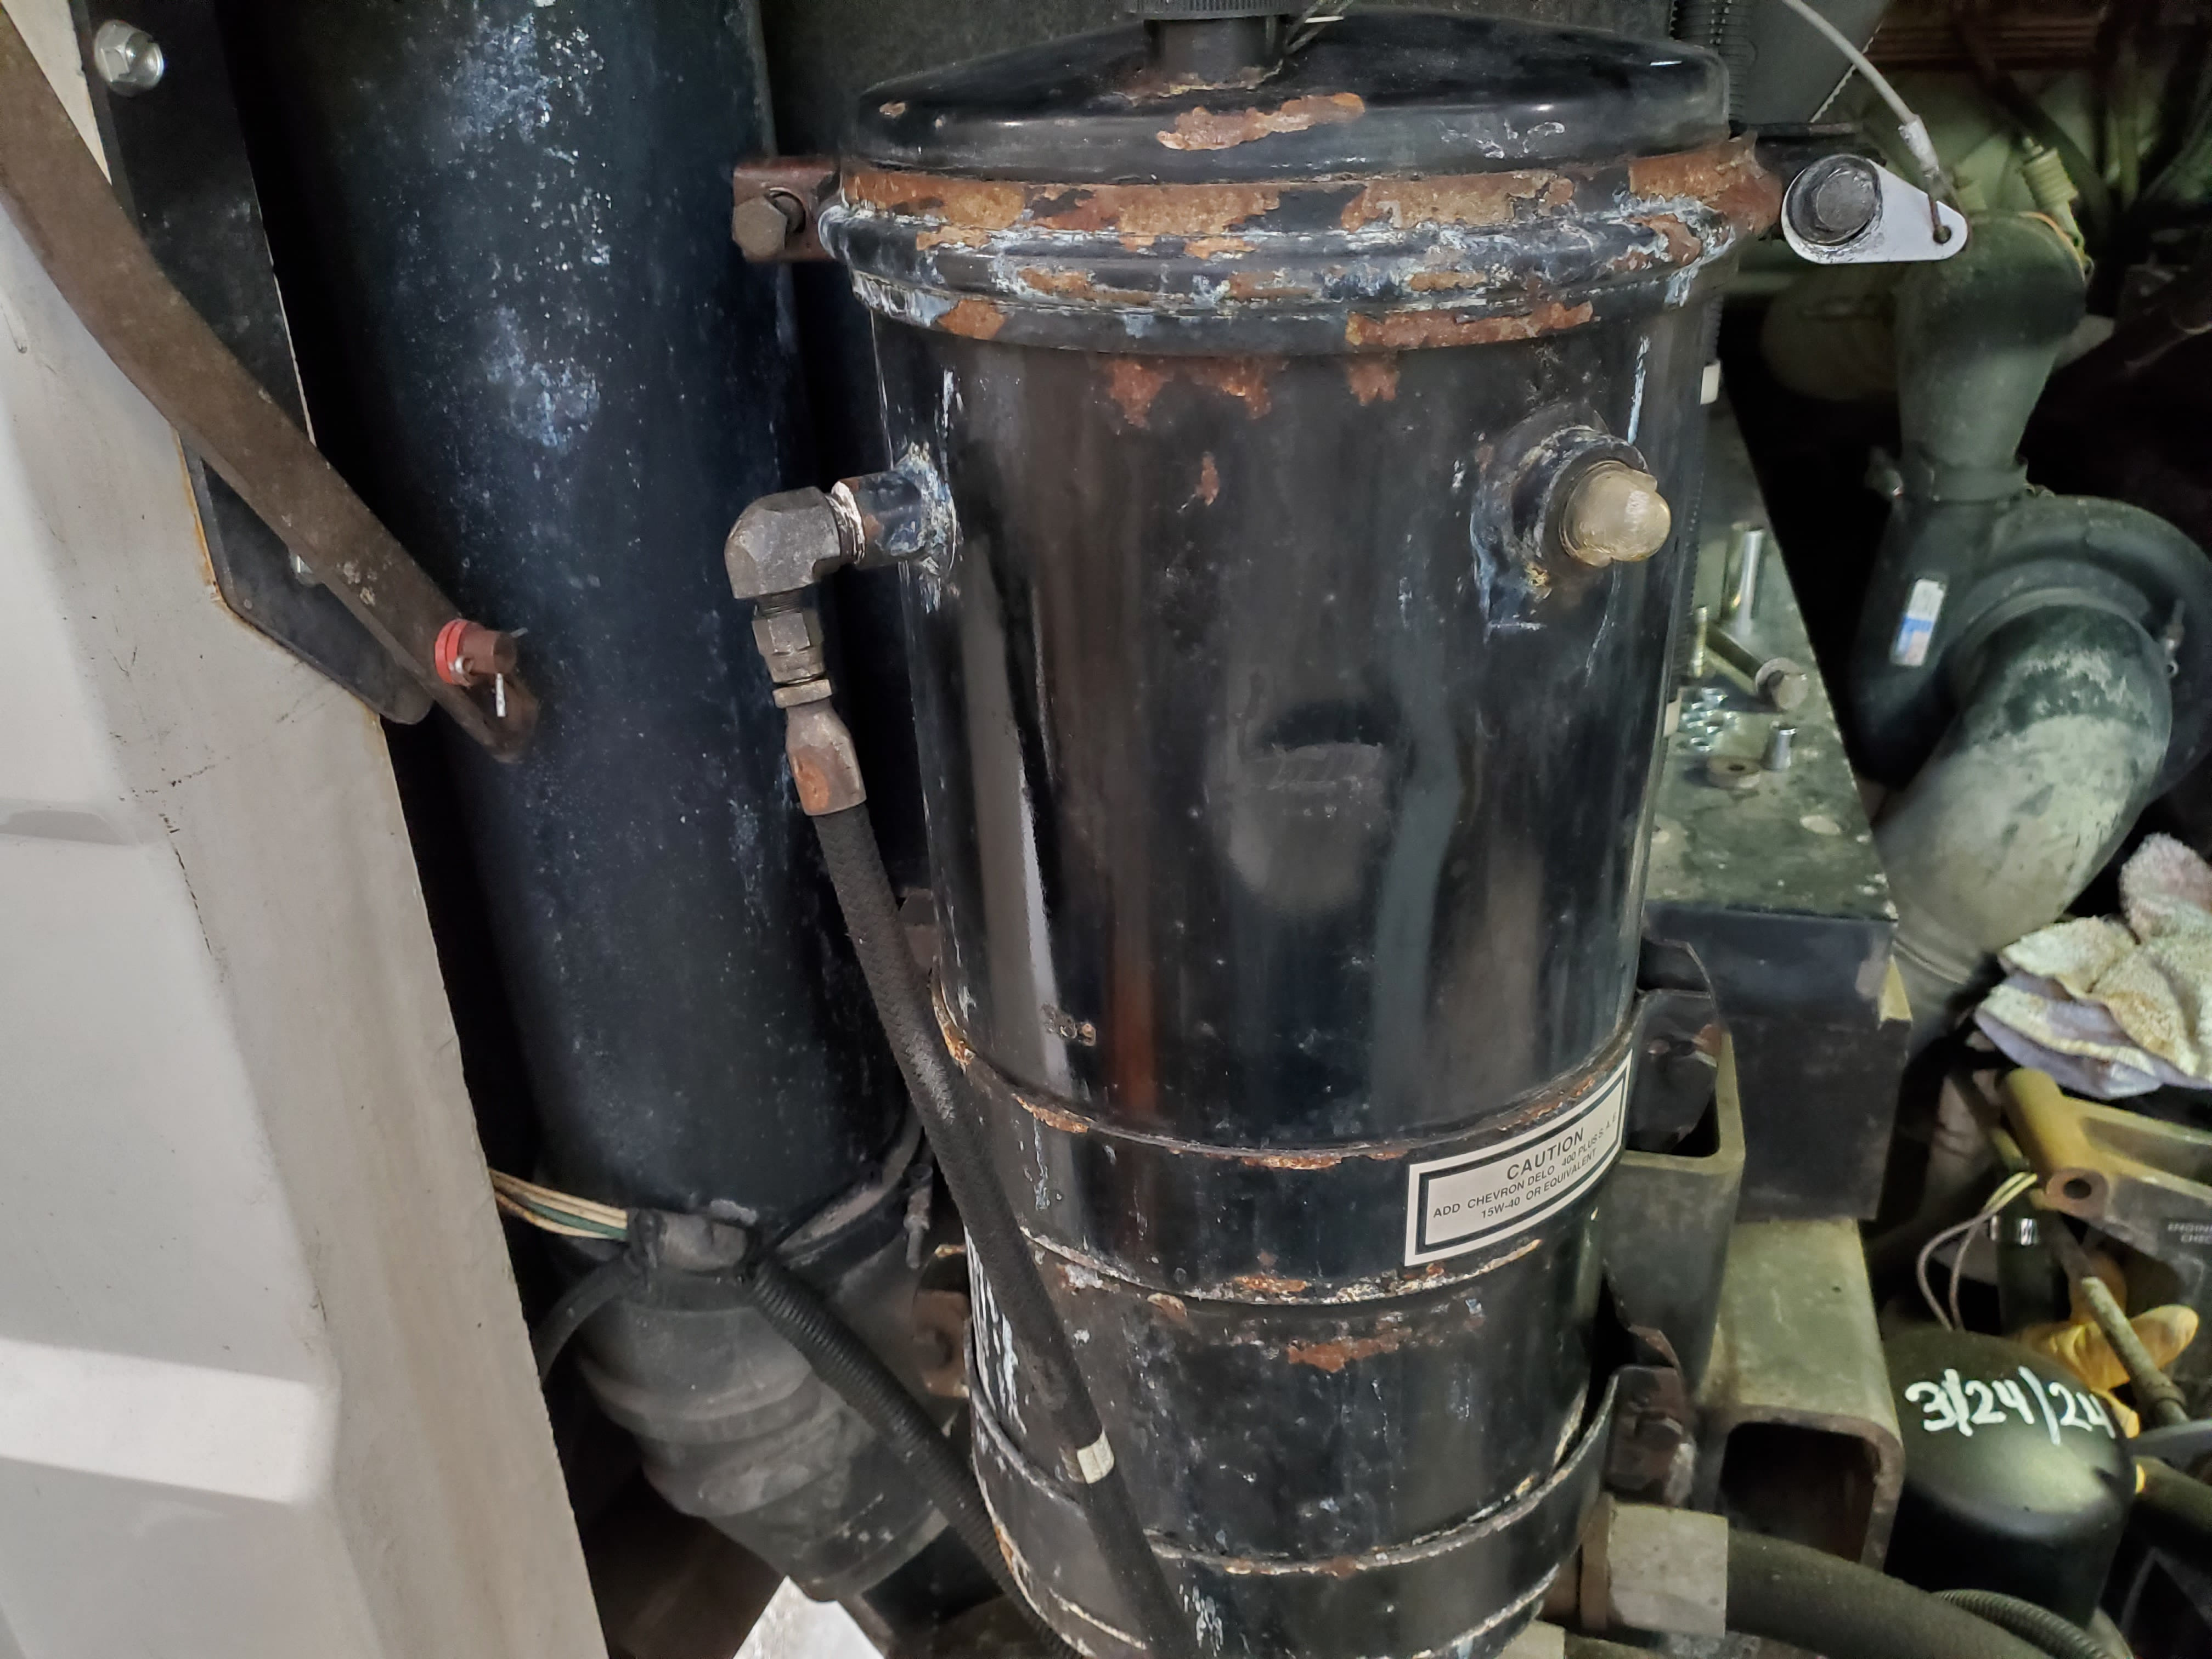
The new canister accepts the same cone filter as the original. It also accepts ones with the access cover pre-installed on the filter. Basically you have more options when shopping. The filter minder tap is not located on the lid but instead its on the rear of the canister. You can reuse the fitting from the original access lid and just re-route the hose (its the shiny split loom in the picture)